
Will the hardware industry's heated debate regarding whether staples perform better than nails or vice versa ever conclude? While tradition promotes nailing down hardwood floors, technology has made stapling the easier option. For years the two have fought this duel, but today, we intend to bring that to an end. The following is a detailed evaluation of both fastening mediums to at last conclude which one is better for hardwood flooring.
While the choice does depend on several factors, on-the-whole, staples are more convenient, but nails, specifically cleat nails, are long-lasting. Cleat nails are the ideal choice for hardwood flooring. However, if met with the right conditions, one may shift to stapling instead.
What conditions are we exactly referring to? Most importantly, what is the basis for this controversial conclusion? To find out why exactly cleats fare better than staples and more, keep reading ahead for an in-depth breakdown.
Contents
What Does History Suggest?
On the topic of fastening tools, one cannot deny the legacy of using nails to fit hardwood floors. Of course, the idea of manually sitting down to hammer each nail is painful but rooted deep in tradition. Near the 90s, this technique focused mainly on cleat nailers that are still widely used today in more developed forms.
As for staples, there isn’t much history as it is still a relatively new but efficient fastener. Thus, based on experience and user reviews, we shall see whether the technology has improved the choices for fastening or do nails still rule the industry.
Can You Hand Nail Hardwood Flooring?
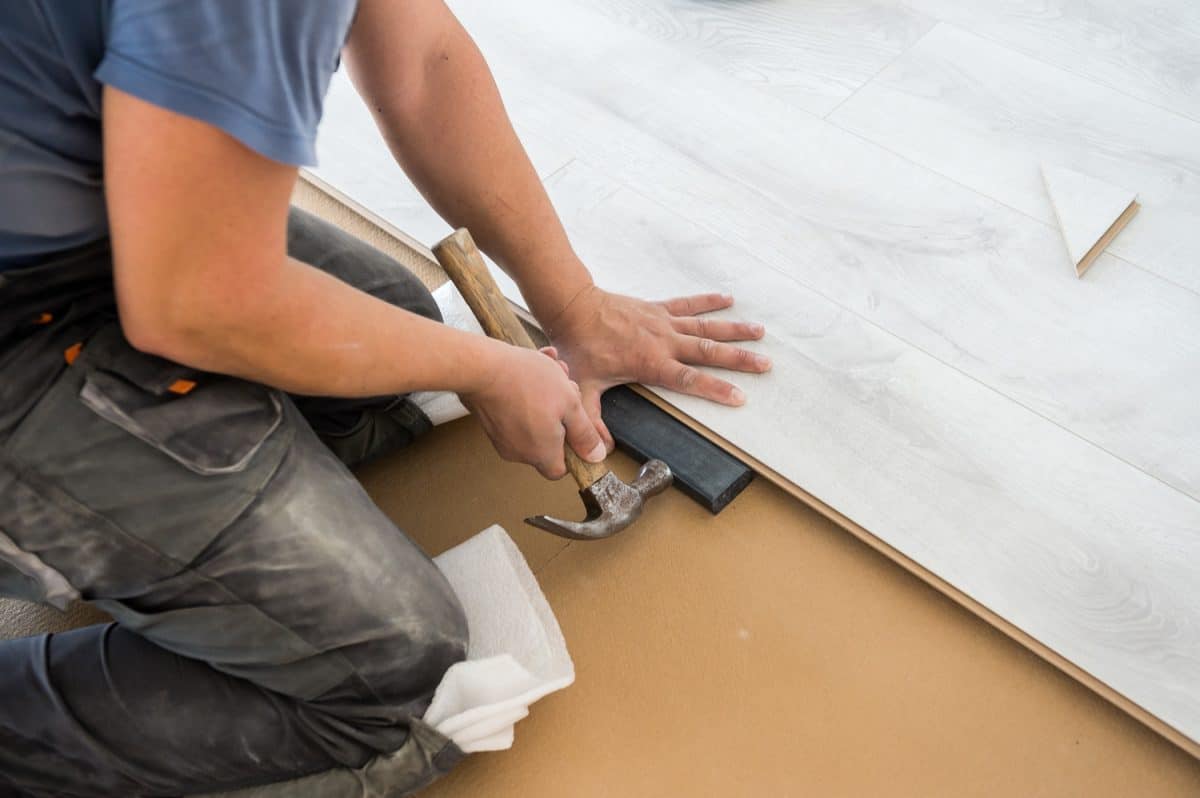
Before air-driven flooring nailers emerged in the market, all hardwood floors in the US and beyond were hand-nailed. Thus, it is the traditional way of floor installation that still applies today.
The process involves a lot of pre-drilling and preparatory measures to ensure the tongue does not crack upon insertion. You’ll have to drill holes, manually hold boards together, refurbish the nails, etc. Altogether, it is a very time-consuming task that lacks the efficiency and quality of machine installation.
Staples vs. Nails
It is high time that the debate between staples and nails shifts the narrative to a more specific nail type. Just like staples, today, you have pneumatic cleat nailers to fasten cleat nails onto the hardwood floor.
Consider the room in your house you plan to work in and evaluate the area to cover with hardwood flooring. Now, imagine fastening, let’s say 400 square feet, with a nail and a hammer manually or with a pneumatic gun that merely requires you to pull the trigger. Which would be more painful and take longer? The nail-and-hammer method is the obvious answer.
Thus, while simple nailing merely requires a hammer, it is not a fair comparison against the more advanced stapling. The best nails are those which are long enough to penetrate deep inside the subfloor. Luckily, cleats meet that requirement, so we must consider this debate between cleat nails and staples to find the best option.
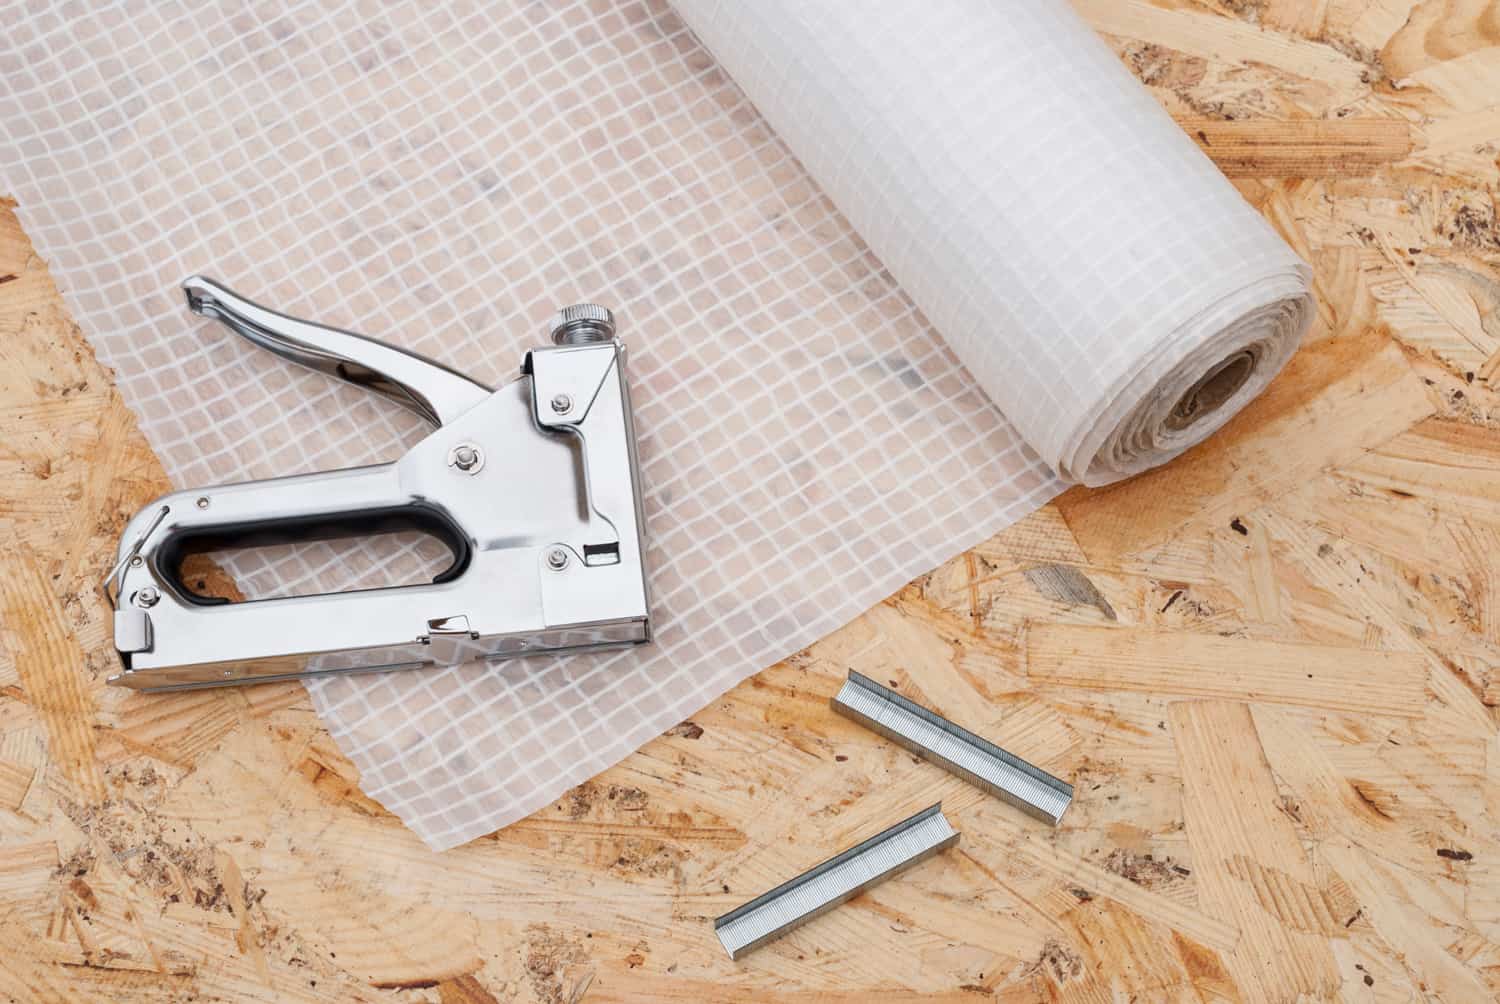
Staples
Staples are a DIY enthusiast's best friend. You grab the right pneumatic tools, a pack of stapler pins and show some skill with building works. There have often been claims for them being the sturdiest fastening option out there. Since both staples and cleats have the same steel composition, what is it that draws the line for comparison? Let's find out.
Hold
Staples can provide a stronger hold on the flooring initially. But, this strength plays to your disadvantage in the long run. They also fasten the floor too tightly onto the underlay.
Wood, being a porous material, is susceptible to expansion. Thus, the lack of room for movement gives rise to creaks, warps, and ultimately collapse of the connection.
The stapled structure may also not work well with plywood flooring bases. As it has a large surface area, it does not fit perfectly into the nail pocket. This may cause the fastening to split open from the tongue of the wood over some time.
Efficiency
Staples save up on your time, budget, and even strength. Thus, they are high on efficiency, if not on the grip.
Its tools are simple, one-time investments. The staples themselves cost only a couple of dollars. They are readily available at retail stores, and pneumatic staplers can even be rented at a daily rate, saving you all the unnecessary expenses.

Click here to see these staples on Amazon.
It is even claimed that over an 8-hour day, a professional could easily fasten 500 square feet of wood by using staples. That value alone helps justify the maximum output rate of staple fastening.
Cleats
As cleats and staples are so similar in their function, let us see how cleats perform compared to the shortcomings of a stapler.
Hold
The cleat structure works in favor of wood’s changing movements. The long body of the nail is barbed throughout. This helps the nail easily insert into the wood fibers, while the length gives it an advantage for penetrating deeply.
Towards the top is a small unbarbed section. When this part rests atop the floor, wood may expand or contract without restriction. None of it would affect the fastening of the floor or the tongues of the wood. Thus, regardless of the weather or humidity conditions, your hardwood is in safe hands when put in place by cleating nails.
Efficiency
While cleats excel in functionality, they fall a bit back due to time and budget concerns. They should cost around the same money as staples but are not as readily available in hardware stores. Thus, due to increasing demand but fewer supplies, the price goes higher.
For installing floor cleats, you will also find that you need more amount of time. If you hire a professional for the job, this also means you'll have to pay at least double that of a stapler fastening.
The Verdict
In conclusion, let us first acknowledge that there is nothing essentially faulty about using either of the two options. It comes down to several factors like the budget or type of hardwood. Take bamboo flooring, for instance.
Even the 16-gauge cleat nailers will cause dimples, let alone staples. It is usually suggested to pair them up with at least 20-gauge nailers. On the contrary, the simple, old oak flooring works well with even staples.
Thus, it is upon you to weigh the pros and cons of each with respect to your project requirements and make the decision.
Do I Need Underlayment for Hardwood Floors?
Underlayment is a material positioned between the subfloor and the hardwood to provide an extra layer of stability and protection. Due to an already extensive installation, some might neglect this step.
However, an underlay is critical for stable flooring. We have repetitively discussed wood’s porous quality and its effects on staple and nail fastenings. With an underlayment, you provide a space for wood's movement without damaging the fastening of the flooring.
What Is the Best Underlayment for Engineered Hardwood Floors?
The best underlay material for engineered hardwood is cork or foam. They are both versatile materials ticking off the boxes for premium underlayment functions. They are sound-resistant, prevent allergen growth, support your fastenings and give the floor an overall stable outlook.
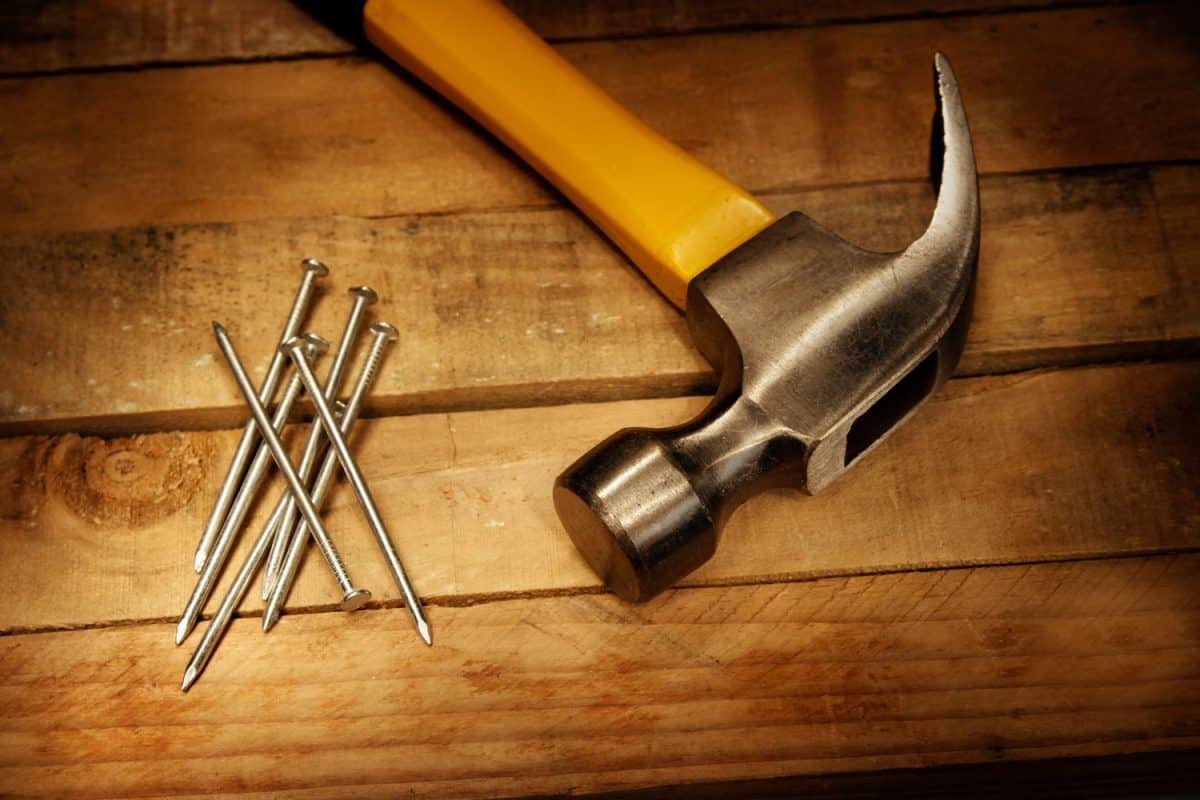
What Kind of Nails Should I Use for Hardwood Flooring?
The longer the nail, the deeper it goes into the wood fibers. Thus, use a flooring nail anywhere between 16-20 gauge. The size of the nails itself depends upon the thickness of the wood flooring. For instance, if you’re using the standard ¾-inch wood, use at least 2-inch long cleats for utmost stability on the surface.
How Many Nails Do I Need for Hardwood Flooring?
To determine the number of nails required for your flooring project, you’ll have to evaluate the nail spacing requirements concerning the total area. You can use an online nail calculator to make the job easier or let the following steps help you:
- You first calculate the area of the room by multiplying its dimensions. This will help you figure out how many hardwood planks it’ll take to cover it.
- Decide on a width for your hardwood planks. Commonly planks of 2-¾ inches, 3-¼ inches, or 7-inches are used.
- Compare the area and width calculated to figure out the number of planks needed for the room.
- Determine the nail spacing requirements. Fasteners should be spaced 8-10 inches apart for solid flooring and 4-8 inches for engineered flooring. Keep that in mind when you plan the structure.
- Multiply the number of nails on a single plank to the total number of planks. The resulting value is the number of nails you’ll need for hardwood flooring.
Final Takeaway
When it comes to choosing a fastener for your project, what you might need will vary. There are no universal tools that you can use that apply to every situation. So, with the information above, we hope you have an idea of what works best for hardwood flooring. All in all, there's no one-size-fits-all choice. It depends on your project.
Before you go, do you have other fastener concerns? Are you wondering if you can use a hammer with brad nails? We go over the topic in-depth in our post here.
Do you own an arrow staple gun? We also have a post discussing how to load brad nails in one! For more information, check out our post here. Until next time!