
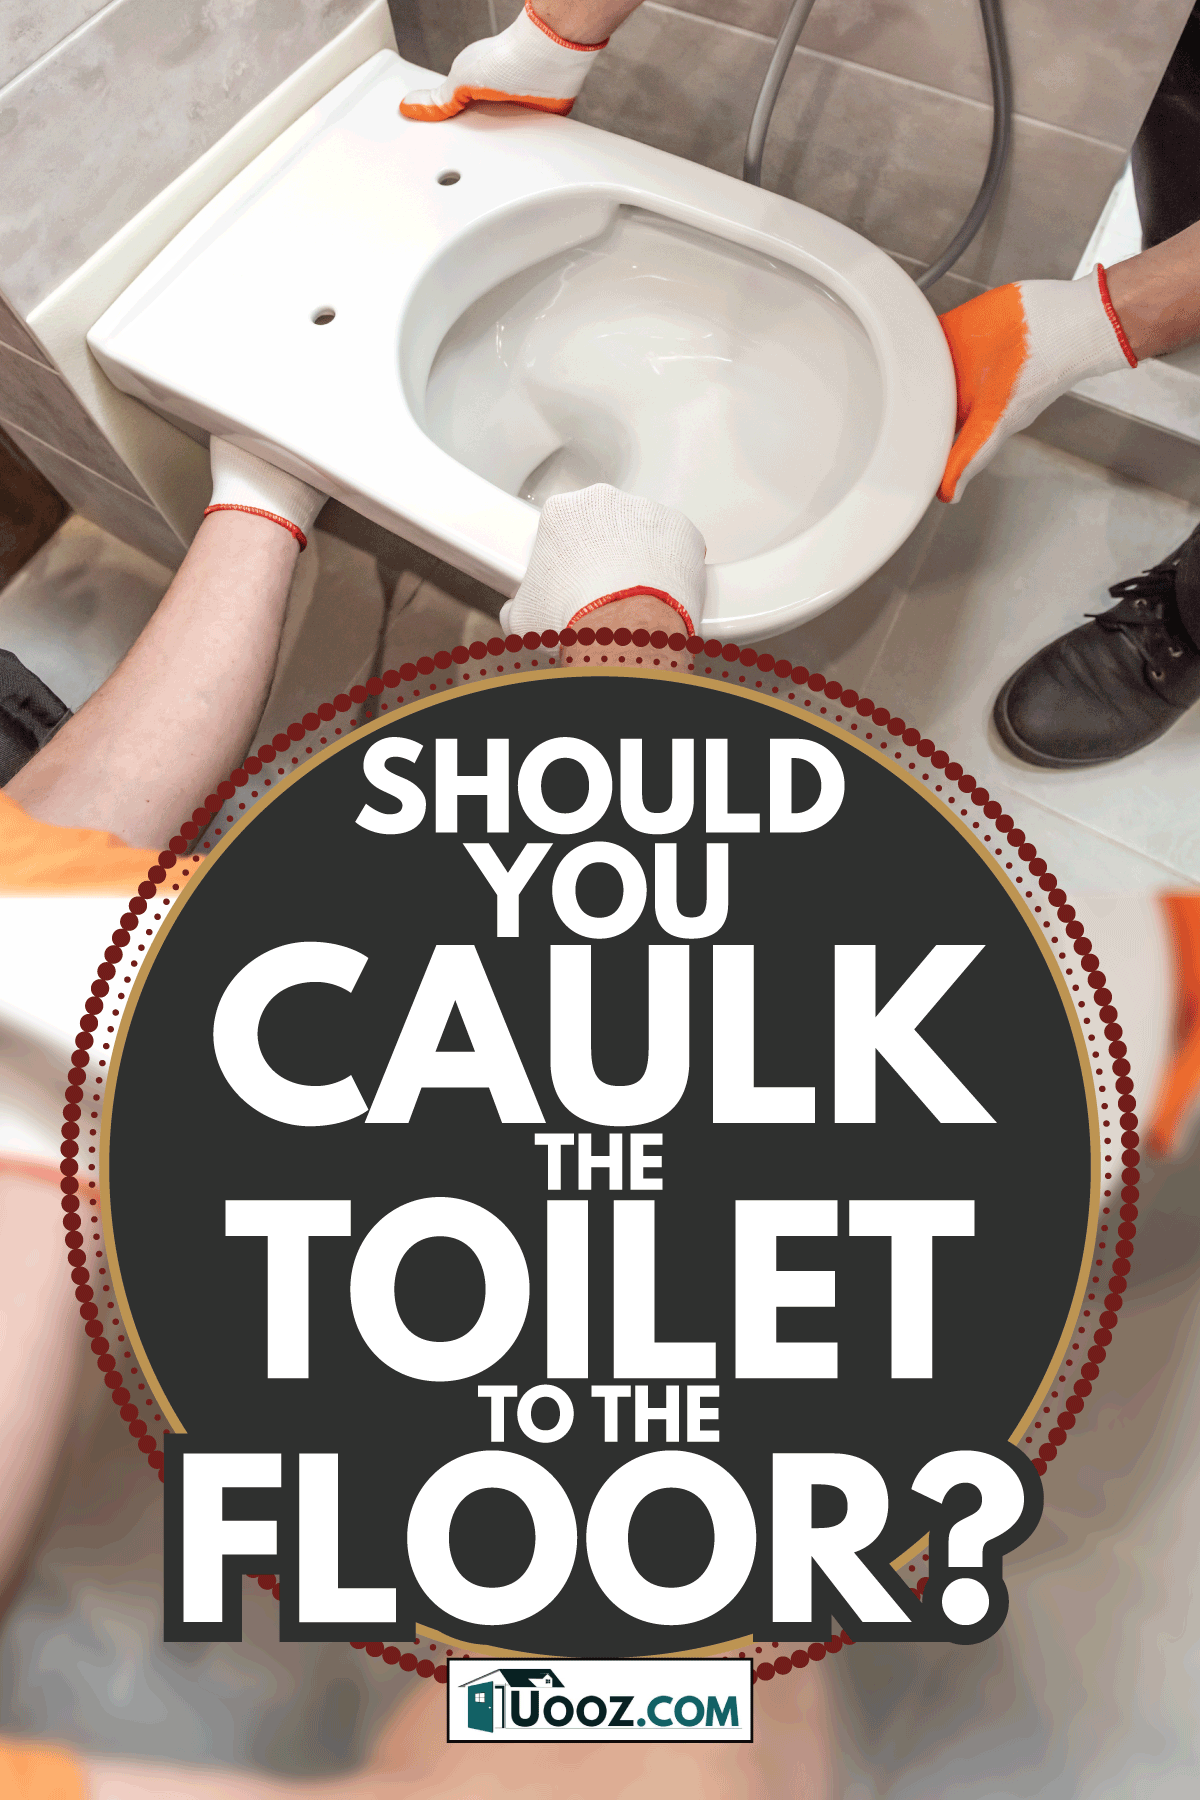
You’ve just congratulated yourself on a great DIY toilet replacement. It’s properly seated on the wax ring and securely bolted to the floor, and it looks great! So do you caulk around the bottom or not? After some thorough research, we have the answer for you here!
You should caulk the toilet to the floor. It is a required procedure in the plumber's codebook, it creates a waterproof seal, and it helps to secure the toilet from movement.
That newly installed toilet looks amazing, and it is tightly fitted to the floor. At this point, many people wonder if they need to seal the tiny gap between the floor and toilet. Read on to find out why it’s an important step, how to do it yourself, and what materials to use.
Why You Should Caulk The Toilet To The Floor
It creates a waterproof seal
Water damage can happen when surfaces that are not waterproof are consistently getting wet. Toilets can overflow, tubs or sinks can splash water, people can have accidents, and those liquids can seep under an unsealed toilet and cause trouble.
Advantages
- It prevents bathtub or sink splashing from seeping under the toilet.
- Prevents odors from toilet splashes or overflow collecting under the toilet.
- It prevents rotting by keeping the area dry.
Disadvantages
- Could potentially lead to unknown damage
- A leak in the wax seal or a crack in the porcelain can trap moisture underneath the toilet, preventing timely repairs.
It adds a secure bond
When a toilet is installed, a silicone wax ring is first attached to the sewer pipe. Then, the toilet is carefully centered and lowered directly onto the wax seal. Finally, the toilet weight presses the wax to create a custom seal between the floor and the toilet drain. The toilet is then bolted into place.
This wax seal's integrity prevents leaks from between the toilet and the sewer drain. To maintain that integrity, the toilet must stay tightly seated on the wax seal. Along with the toilet bolts, caulking the toilet to the floor helps keep the toilet solidly in place.
Advantages
- Eliminates toilet movement that can damage the wax seal between the toilet and the floor drain, potentially causing leaks.
Disadvantages
- If you seal your toilet with grout instead of caulking, it can be difficult to remove if repairs are needed.
The plumbing code requires it
Are you supposed to caulk around the toilet?
The 2021 Uniform Plumbing Code states, "402.2 Joints. Where a fixture comes in contact with the wall or floor, the joint between the fixture and the wall or floor should be made watertight." The only reason not to do so will be if the manufacturer has given explicit instructions for their toilet that includes their own specific sealing procedure.
Grout instead of Caulking?
Some people may opt to use grout on the toilet base, especially if they are installing a tiled floor and want it to match. But grout must be resealed yearly to maintain water resistance. There are some specialty waterproof grouts, but they often require special conditions or several days to cure and dry. The best option is to caulk your toilet base to the floor with silicone caulking made for that purpose.
Learn more about grout here, Is Epoxy Grout Waterproof? Here’s what you need to know.
It creates a finished look
Look at the toilet base in the following two photos; the first has no caulking, the second does. Notice how clean and finished the second toilet base looks after caulking. It’s subtle, but it creates a finished edge, making your house look professional and neat.
Before caulking, you can see a gap between the toilet and floor, creating an unfinished look.
After caulking, the base of the toilet blends seamlessly into the floor.
Advantages
- Looks professional
- Adds to resale value
Disadvantages
- Missing caulking looks unfinished
- Detracts from value
Now that we’ve discussed why you should caulk around the toilet base let’s talk about what type of caulking to use.
What type of caulk for a toilet base?
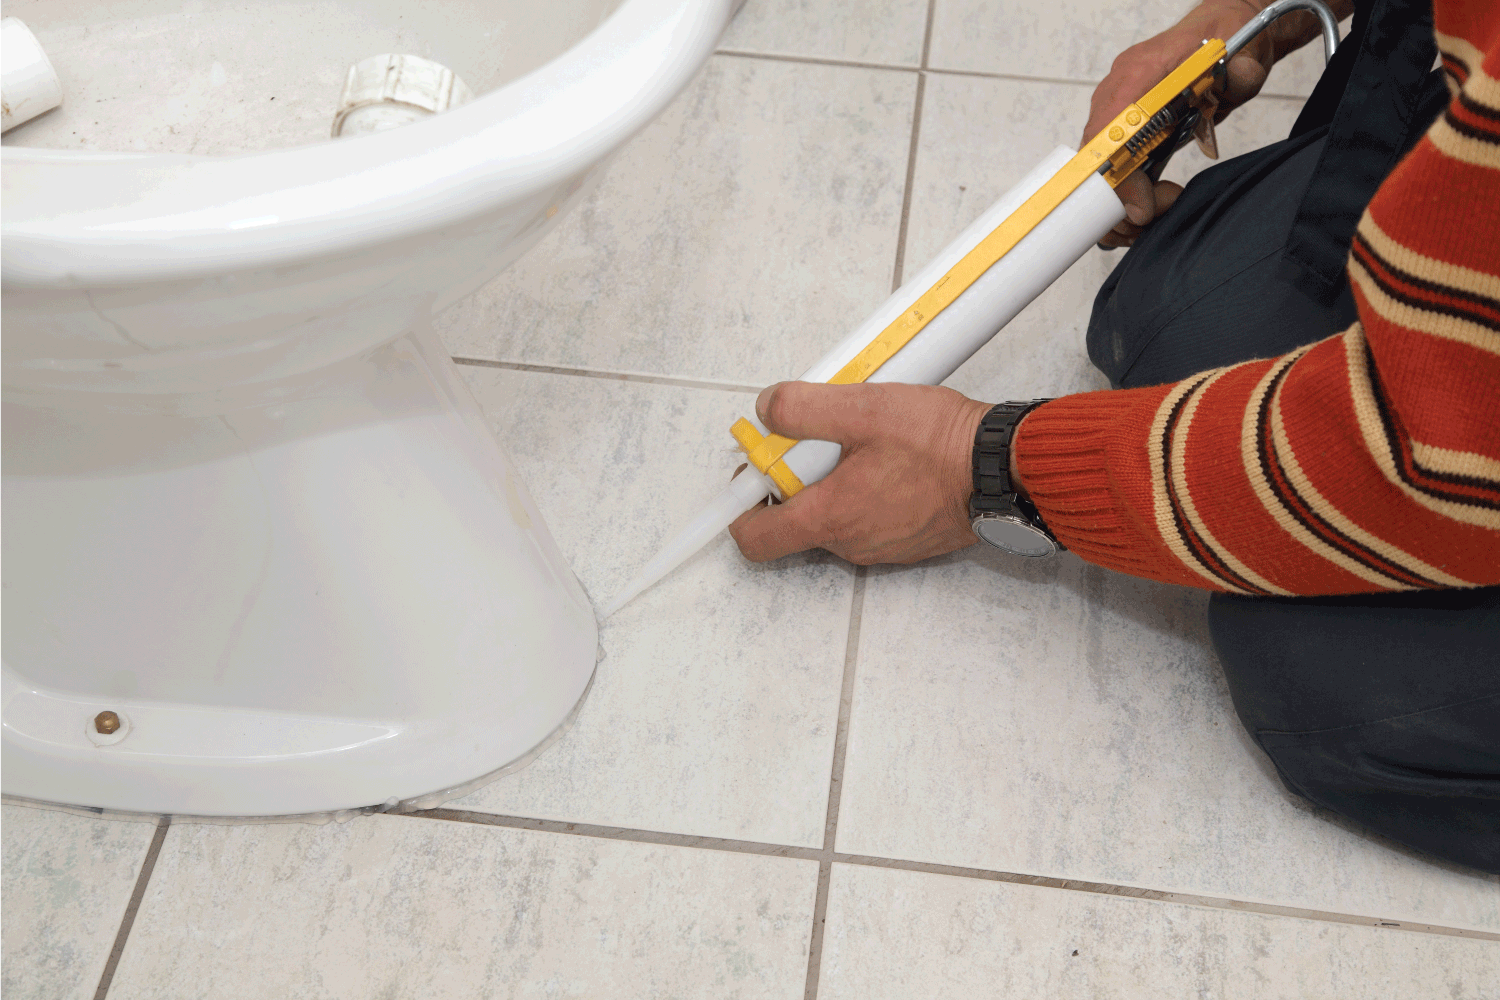
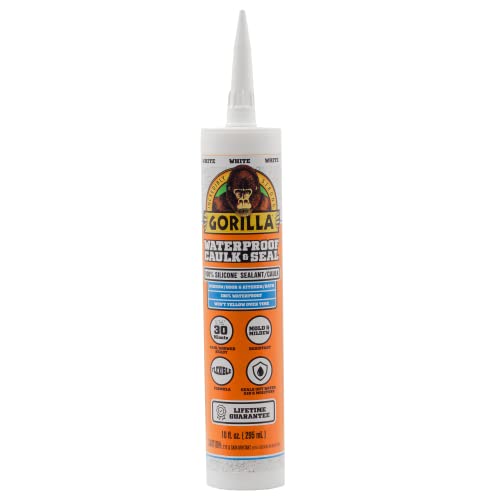
The best caulking to use is a waterproof, silicone sealant. They are formulated to resist mildew, mold, and moisture. You can buy this caulking in a small tube to use by hand, or for large projects, you can purchase round tubes of caulking to be used with a caulking gun. Always purchase caulking that clearly states its use for bathrooms.
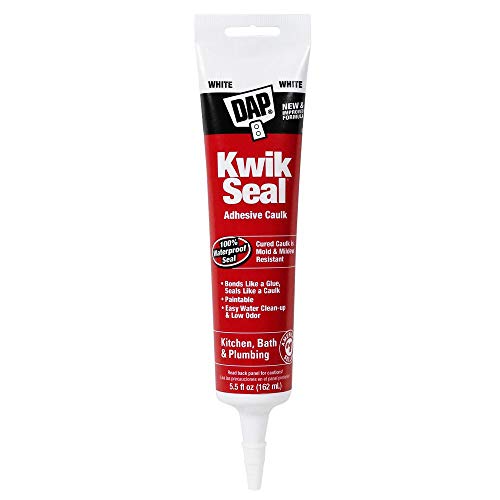
This inexpensive, white silicone caulking has been around for years and is simple to use.
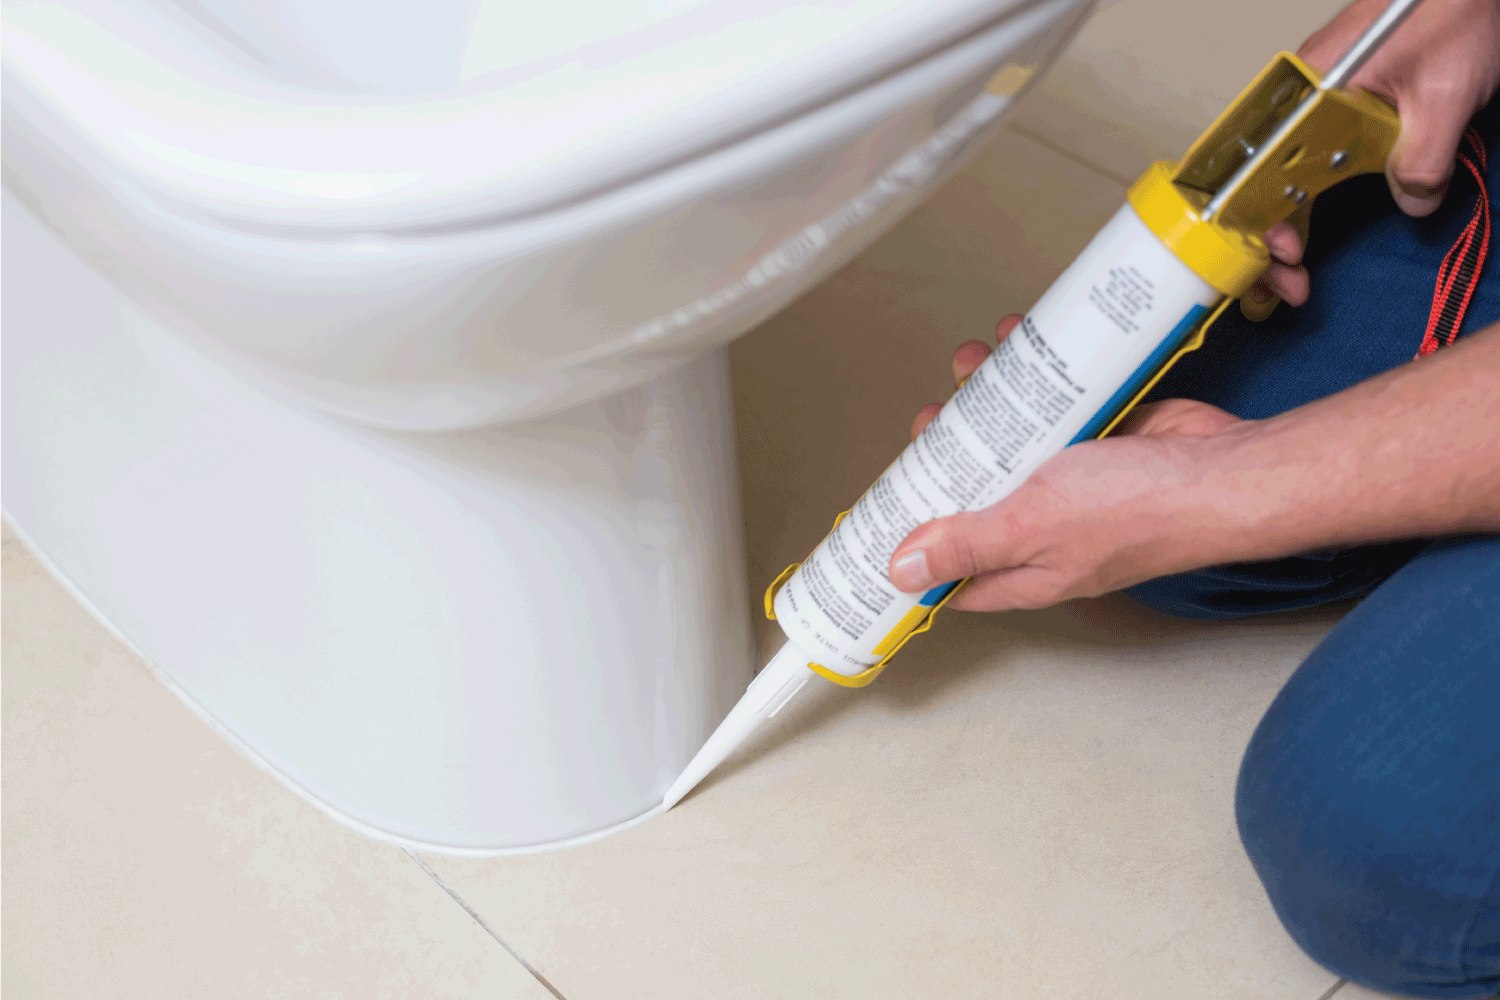
If you have a larger project, you may want to invest in a caulking gun that can use big tubes of caulking. These are simple to use and make large projects easier to complete.
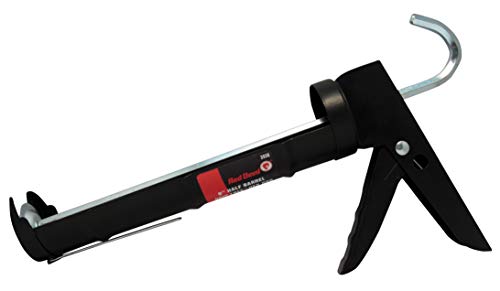
See this caulking gun on Amazon.
Below is an example of a large tube of caulking used with the caulking gun.
So far, the examples of caulking and products shown here are white. It is common to use that color on toilet bases because the toilets themselves are usually white. But you may not have a white toilet, so we’ve answered the following question.
Should I use white or clear caulk?
If your toilet is not white, you may not want a stark, white line at the base. In this case, you should consider using clear caulking. They are made with the same waterproof materials, and they look white when applied, but they dry clear. This makes them an excellent choice against any color of porcelain or flooring.
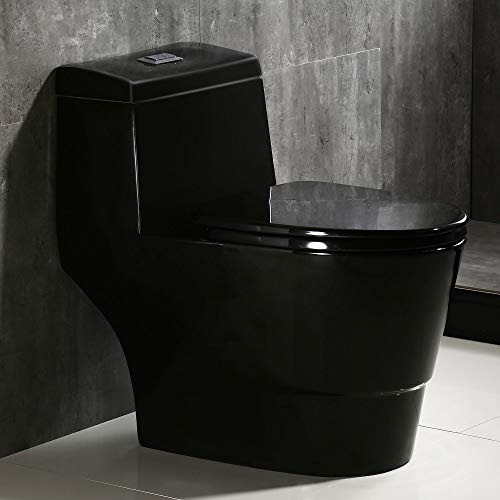
White caulking could create an unappealing contrast. Clear caulking looks best on this black toilet.
Now that you know you should always caulk around the toilet base and what type and color of caulking to use, let’s talk about how to apply the caulking correctly.
How do I fill the gap between my toilet and floor?
Applying caulk is something anyone can do! When you have all of your materials ready:
- Only work on a clean and completely dry surface; apply isopropyl alcohol an hour ahead to be sure.
- Cut the opening of the tube only big enough to match the size of the gap.
- Place the tip of the tube at a 45-degree angle to the gap.
- Squeeze the product out evenly and smoothly, drawing it carefully along the gap.
- If you make some mistakes, don’t worry, you can add or remove caulking reasonably easily while still wet.
- Once the area is filled, draw the silicone smoothing tool along the entire gap in one motion. This will scrape off any excess and fill any small gaps you may have missed.
- Check the line visually with a flashlight. Fill any gaps if needed and re-smooth the whole line in one motion.
You can watch an excellent tutorial that clearly explains how to apply caulking perfectly and smooth it using the little tool above.
Many experienced plumbers will tell you to use a wet fingertip or rag to smooth the caulking. However, this does not create a long-lasting and durable seal. Instead, use a finishing tool as demonstrated in the video above.

This low-cost tool will create a perfect edge on your silicone. See it here on Amazon.
After you’ve applied and smoothed the caulking, you don’t want to damage the seal before it dries. So read on to find out;
How long for caulk to dry around the toilet?
Manufacturer Recommendations
There are several brands and types of caulking, and the drying times can range from under an hour to several days. You should follow the manufacturer's directions on the caulking or sealant that you purchase. However, if you are using silicone caulking that reads, ‘quick-dry, or ‘dry in an hour" on the label, the caulking could take much longer to dry if you filled a large gap. A good rule of thumb is to wait a minimum of 24 hours for silicone caulking to dry completely before allowing the toilet to be used.
Humid Conditions
You may need to wait up to three days for the caulking to dry entirely in higher humidity. Don’t forget that the caulking is primarily there to create a water-tight seal and help keep the toilet secure. If you live in a humid environment, you may want to run a small fan near the toilet base for the first 24 hours to help the caulking dry thoroughly before use.
In Closing
Caulking your toilet base to the floor is going to be on your list when you replace or reseat a toilet. It’s required by code, and it helps prevent leaks and odors from forming. It is easy to use, and it’s a fun and inexpensive project you can do all by yourself! Choose the color based on your project, buy or borrow an inexpensive smoothing tool, and watch the short video above. Soon, you will be well on your way to caulking your toilet as well as any professional!
Read the following post to learn more about caulking projects in the bathroom, Should You Caulk Around A Bathroom Sink Faucet?