It may seem impossible to remove nails from a concrete floor, but this isn't the case. It doesn't matter if it's a masonry nail or a concrete nail. You can remove it from the floor without hiring a contractor to do it for you. We've researched how to do this safely and efficiently to help you with the process.
Here is a method that you can use to remove nails from a concrete floor:
- Look at the nail's position
- Use a pry bar
- Use a masonry chisel
- Use a demolition hammer
It's important to know what type of nail you are dealing with before attempting to remove it from a concrete floor. Typically, concrete nails are used in both industrial and residential building applications. However, in some cases, masonry nails may be used in industrial buildings. Keep reading to learn more about how to get nails out of concrete floors.

How To Remove Nails From Concrete Floor
Nails installed in concrete floors are typically installed after the concrete has already set. However, if the nails were installed while the concrete was still curing, they may be more difficult to remove and require drilling. We'll cover how to remove both types of nails from the concrete floor.
Things you'll need:
- Monkey wrench
- Hammer
- Chisel
- Pry bar

1. Look at the nail's position
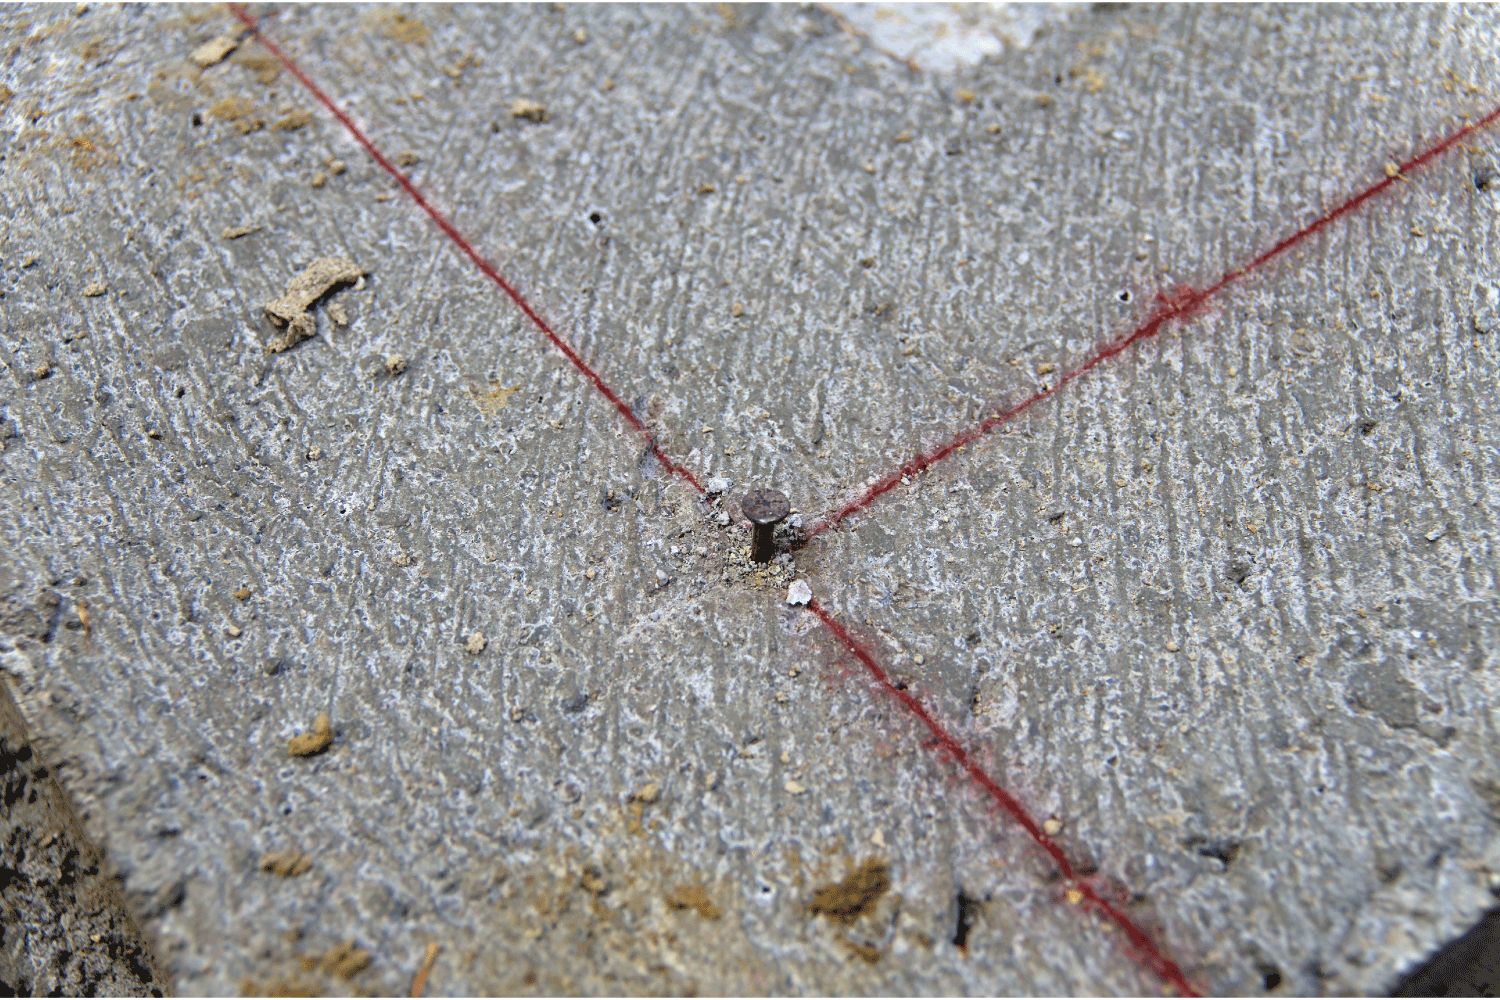
You can typically tell if the nail was hammered into the concrete after it was set by looking at the concrete around the body of the nail. If it doesn't appear adjoined to the nail, and there's a small space, it was likely installed after the mix set.
2. Use a pry bar
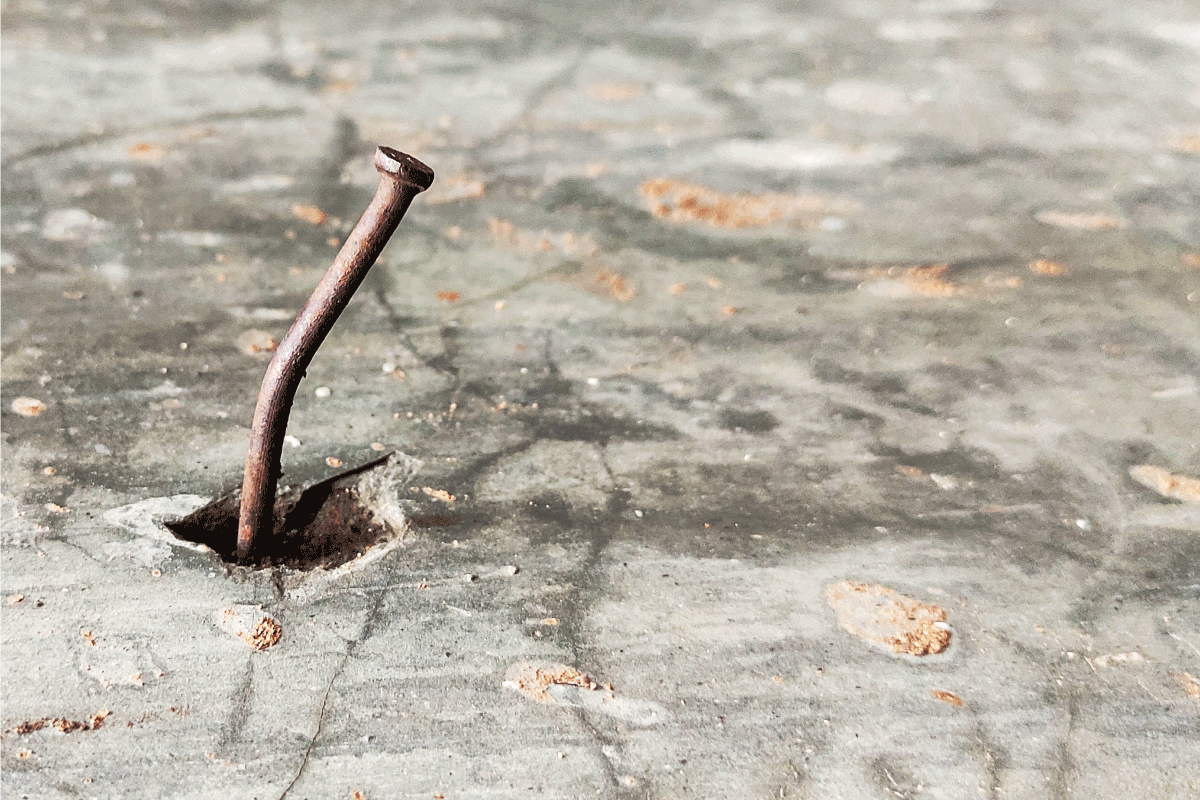
If the nail was hammered into the concrete floor, start by taking your hammer and tapping the nail around the sides to loosen it up.
Next, grab your pry bar and angle it around the head of the nail. Then use the leverage of the arm to bend the nail from side to side. You may need to do this a few times, depending on the thickness and length of the nail.
Be careful when performing the step, as you don't want to break the nail off during the process. If you have nails installed on corners and cannot access them with the pry bar, take a monkey wrench and use it to bend the nail instead.
Click here to see this pry bar on Amazon.
3. Use a masonry chisel
If the nails were installed before the mix set or masonry nails, you will need to use a chisel to remove them. To do so, place the chisel directly against the side of the nail's head and strike it with the hammer. Continue striking the nail on both sides to loosen it up.
If you feel that the nail is getting weak, stop hammering it to avoid breaking it. Next, try to pull out the nail using the claw end of the hammer. If you're still unable to remove it, you may need a power tool.
Click here to see this masonry chisel on Amazon.
4. Use a demolition hammer
At this point, it's usually necessary to use a demolition hammer. You can purchase a demolition hammer online or at stores such as Home Depot or Lowe's.
You can also rent a hammer from these stores as well (or other local hardware stores). To use the hammer, place the chisel against the nail's side in the concrete and then press the trigger. Be sure not to drill directly onto the nail, as it may break.
Instead, you want to drill parallel to the nail so that you break up the concrete around the length of it. After chiseling both sides of the nail, you should be able to break up the concrete mix enough to remove the nail altogether.
Click here to see this demolition hammer on Amazon.
Can you hammer nails into concrete?
Yes. You can hammer nails into concrete. The great thing is that you don't need many expensive or large power tools to do it. Let's look at how to do it.
Things you'll need:
Masonry or concrete nails
- 3lb hammer (at least)
- Safety glasses
- Concrete drill
1. Make sure that you have the tools
Before starting your project, be sure that you have the proper nails for the job (whether you're using concrete or masonry nails).
Other nail types aren't built to withstand the pressure needed to penetrate the concrete. In addition to this, you'll also want to ensure that you have a heavy hammer to drive enough force into the concrete.
This is why hammers that weigh 3-5 lbs are recommended. It also helps to test the hammer ahead of time, as these heavier hammers can be pretty difficult to lift and swing. And lastly, you can use a concrete drill to drill a pilot hole before installing the nail (this is optional).
Click here to see this 3lb hammer on Amazon.
2. Drill a pilot hole
Drill a pilot hole inside the area where the nail will be placed. Note that the spot should be the same diameter as the nail that will be installed.
Click here to see this concrete drill on Amazon.
3. Install the nail
Next, take your masonry or concrete nail and hammer it into the concrete until the head is flush with the surface. If the nail does not drive in deep enough, you will likely need to drill a deeper pilot hole.
How do you remove tack strips from a concrete floor?
You can remove tack strips from a concrete floor using a pry bar and a hammer. First, place the end of the chisel beneath the tack strip so that it is wedged between the bottom of the strip and the floor.
Next, tap the end of your pry bar with the hammer to loosen the strip from the floor. Keep doing this along the edge of the tack strip until you loosen up the entire strip. Once you make it to the age of the strip, it should dislodge from the concrete.
If it doesn't, the chances are that you'll need to go back and drive the edge of the pry bar deeper into the entire width of the tack strip (which is typically no more than a couple of inches wide).
If you find that your hand begins to ache from holding the pry bar, consider tossing on a pair of thick workman's gloves to reduce the strike impact of the hammer.
Click here to see this pair of workman's gloves on Amazon.

Do I have to patch tack strip holes in concrete?
While you don't have to patch up the strip holes left behind from tack strips, it will make your floor look better—especially if you're looking to paint it. Also, if you plan to install carpet over the floor, it is best to repair any holes or dents in the concrete beforehand.
Not only can this be uncomfortable to walk on, but it could be a tripping hazard as well. All you need to do is cover up the tackles with a bit of blended cement patch compound, a stiff wire brush (to remove any surrounding debris), and a trowel.
Click here to see this trowel on Amazon.
What do you use to fill small holes in a concrete floor?
For small holes, you can typically use a concrete blending compound to fill the blending compound essentially works in the same way as a wood filler or drywall spackle does.
The compound comes pre-blended and is ready to be applied to a clean concrete surface. After application, the solution will need to be smoothed over using a trowel or putty knife.
Finally, the mix will need time to set. The time that it'll take to set can range depending on the compound's ingredients. However, most curing times will range from 30 minutes to over 2 hours.

Wrapping Things Up
As you can see, you have a couple of options to consider when removing nails from concrete floors. You always want to exercise caution when removing fasteners from concrete, as it can easily lead to back and shoulder injuries.
The best thing to remember is always to use the right tools to help loosen up the nails. This includes power tools such as electric chisels and drills or hammers and pry bars.
Before you go, be sure to check out these other posts:


