
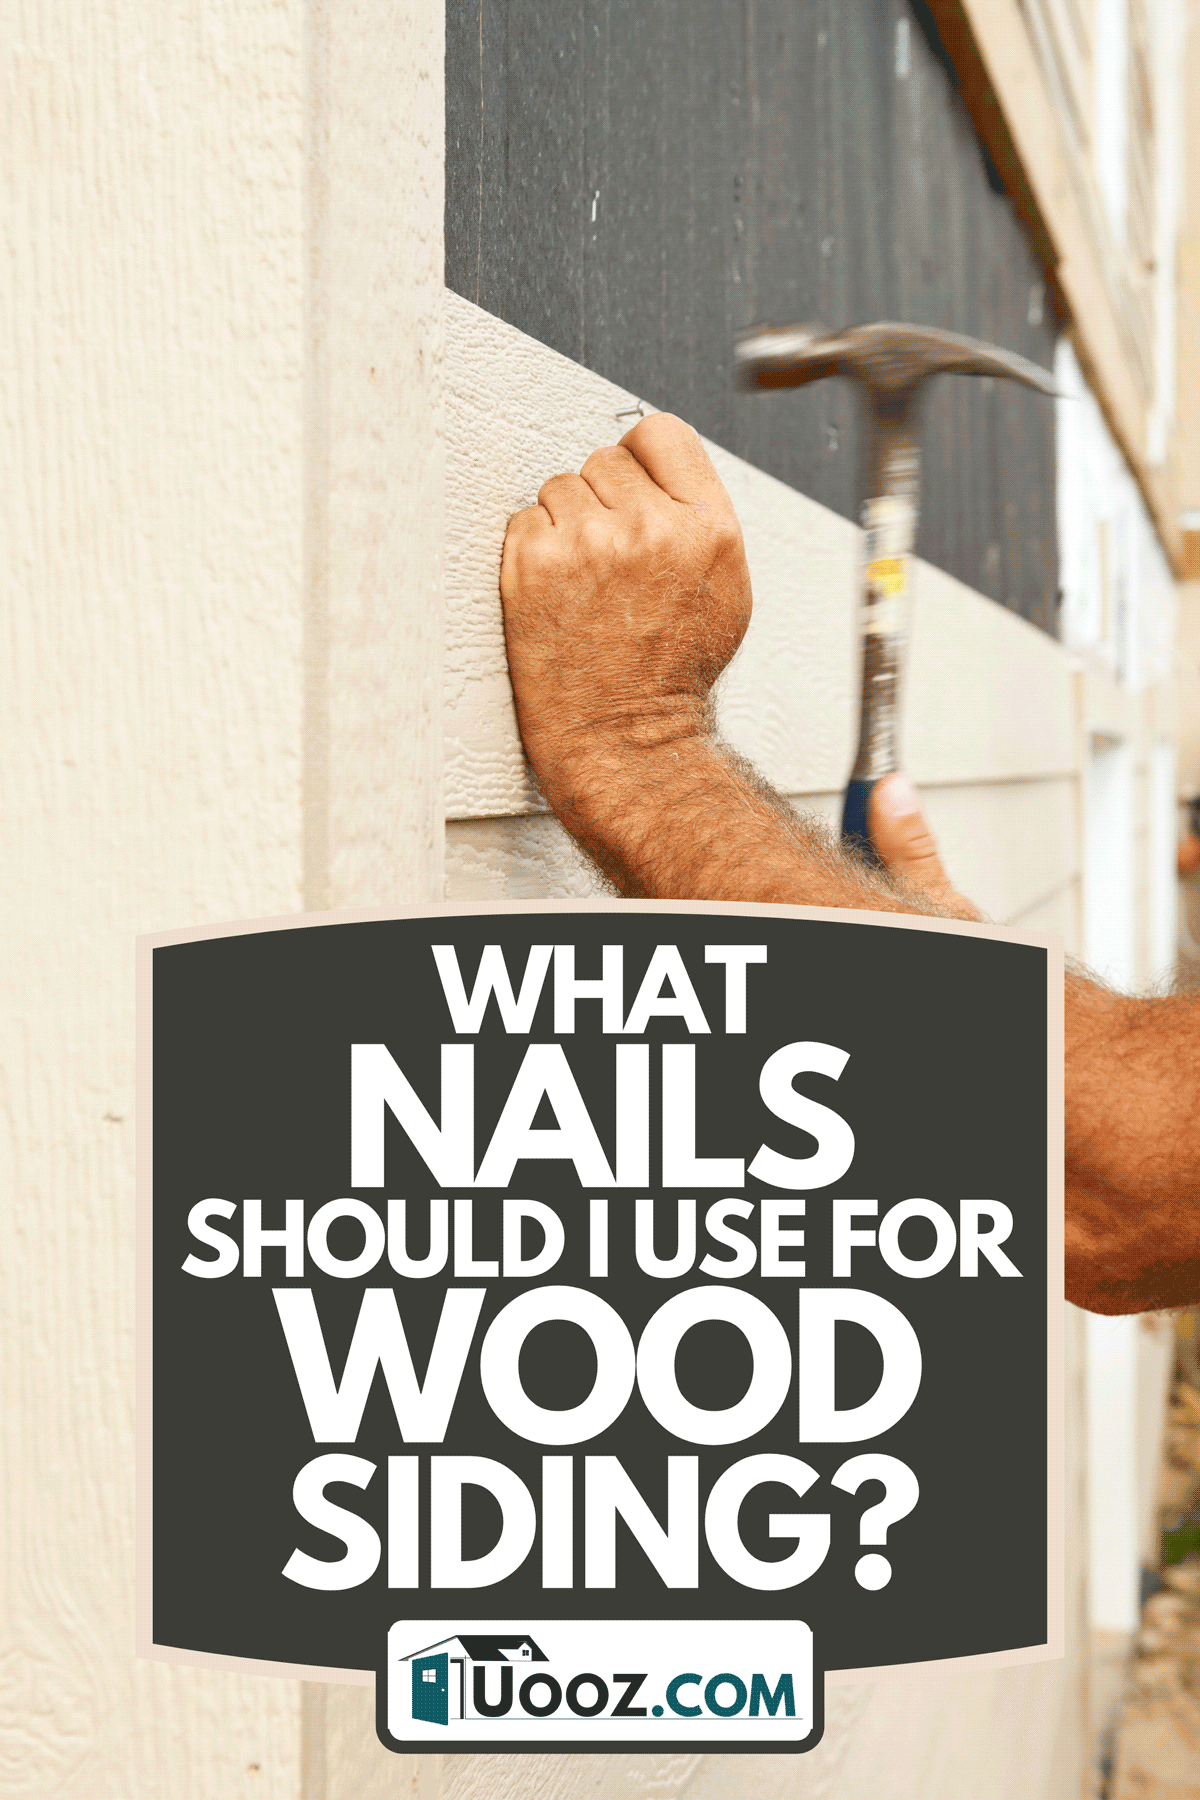
Whether you're installing stylish wood siding on your home or a new shed, it's essential to install it correctly. Doing so will make sure the siding holds up for years to come. A large part of properly installing wooden siding is using the correct nails. But which nails should you use? We researched the best types of nails to use with wood siding and have the answer for you here in this post.
Wood siding is a beautiful alternative to vinyl and other materials. When installing wood siding, the best nails to use are siding nails. Siding nails have ribbed shafts to keep them in place within the wood siding. Galvanized nails are the best variety of siding nails since they are less likely to rust over their lifetime.
That's the basic information about which type of nails are best for wood siding. Please continue reading to find out more about why the siding nail is better than a regular nail. Additionally, we will discuss how to nail wood siding, the importance of galvanized nails, and galvanized nail alternatives.
The Best Nails for Wood Siding
The best nails to use for installing wood siding are called siding nails. Siding nails have a few common characteristics that set them apart from regular nails. Siding nails have a rough texture along their shaft, a thin body overall, and a small head at the top.
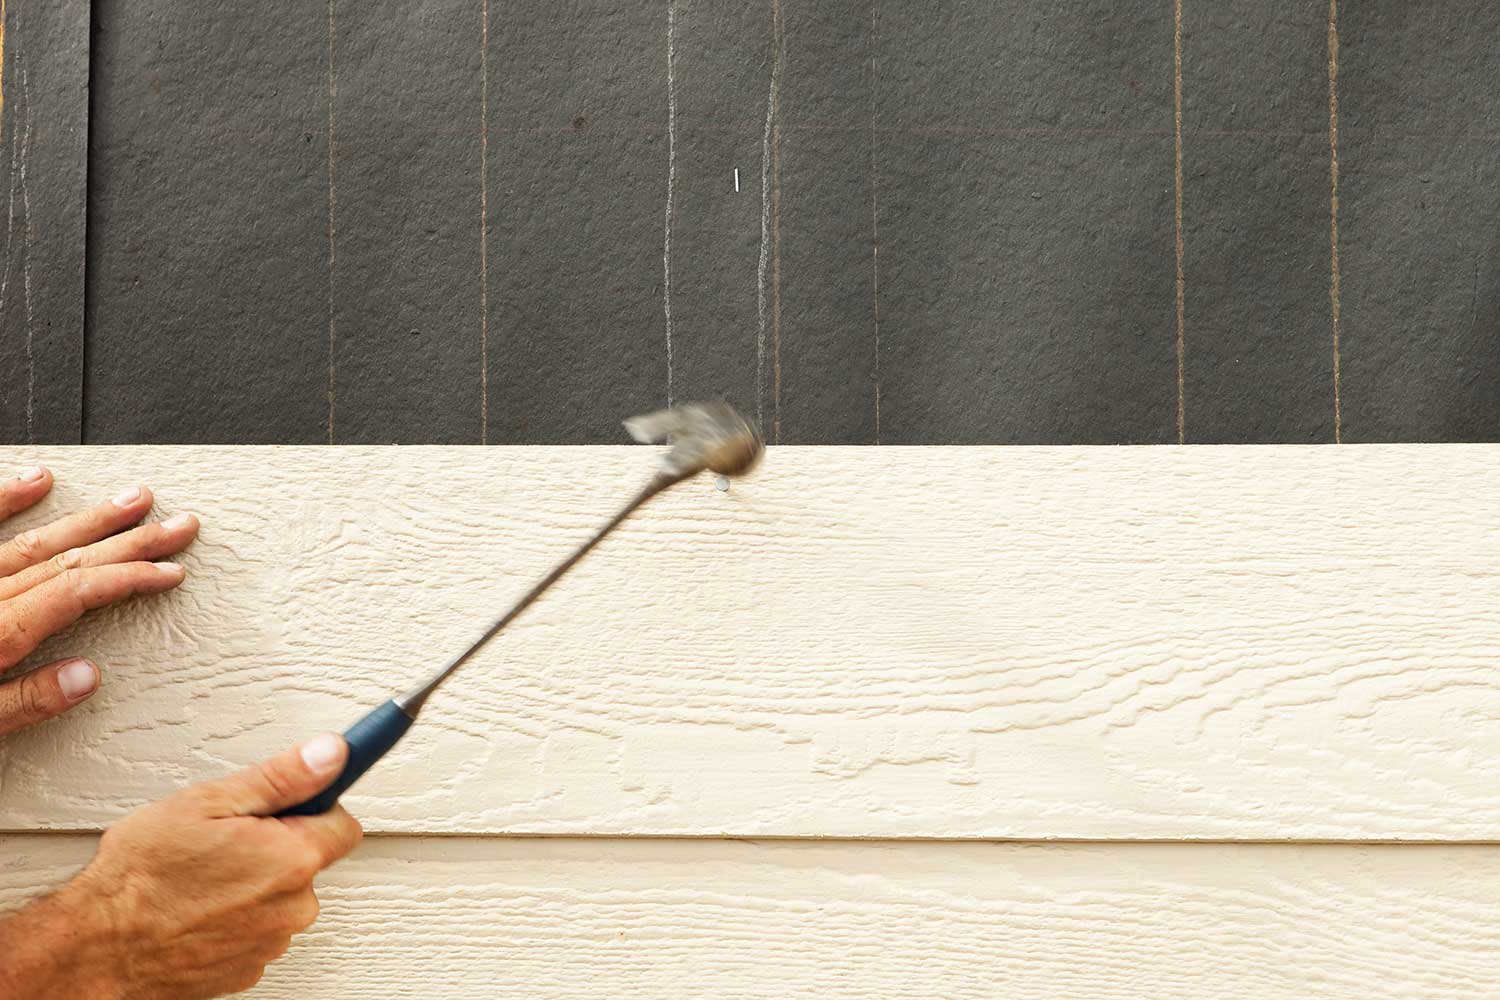
The rough, ribbed texture on the nail's shaft is the essential feature of an effective siding nail. This ribbing locks the nails into the wood, firmly securing it to the frame. Even better, these ribs will keep the nail from coming loose and popping out after a few years of being exposed to the elements.
The other characteristics of a siding nail have to do with its shape. The body of the siding nail is easy to nail in and causes minimal structural damage to the wood. The small heads blend in with the framing, giving it a uniform appearance. Both shape factors are opposed to the traditional, regular nail with a broader body and head. This wider body can split the wood, and the head is very visible, even from a distance.
Frequently, siding nails come in a box of loose nails and are installed using a hammer. The boxes of siding nails are usually measured by weight in pounds. So, the typical options you will see are either a one-pound box or a five-pound box. You can find these boxes at your local hardware store or on an online marketplace. Here is an example from Amazon:

Click here to see the MAZE five-pound box of siding nails at Amazon.
Siding nails also come in a connected coil grouping, intended for use in an automatic nailer. There are even nail guns that are specifically for siding or similar tasks. Contrary to how the loose siding nails are sold by the pound, the coils are sold with a specific count. Here is an example of a set of 3,600 siding nails in a coil from Amazon:

Click here to see the Hitachi wire coil siding nails at Amazon.
How Long Should Nails Be for Siding?
The length of your siding nails largely depends on the nature of your project. But, siding nails typically come in a size that ranges between 1.25-inches to 2.5-inches. You should always use at least a 1.5-inch nail for your siding projects to be safe. This length will handle the usual width of a siding board, which is .75-inches thick.
Why are Galvanized Nails Important?
Galvanization is a process by which a coat of zinc is added to another metal. The addition of a layer of zinc, which is another more resistant type of metal, works to protect the nail from the elements. Galvanized nails have a longer lifespan since they will take much longer to rust than non-galvanized nails. If you want to avoid having rusty nails completely, you should explore stainless-steel nails as an option.
How Long will Non-Galvanized Nails Last in Treated Lumber?
Non-galvanized nails lack a coat of zinc that protects them from exposure that results in rust. Treated lumbers are usually used in outdoor projects like decks or fences. So, if you use non-galvanized nails in treated lumber, it's not a matter of if they will rust; it's just a matter of when. Many factors decide how quickly the nails will be ruined, like moisture and temperature. Depending on your environment, exposed non-galvanized nails can last less than two years, even in treated lumber.
Can you use Galvanized Nails in Untreated Wood?
You can definitely use galvanized nails on untreated wood. Untreated wood is more prone to water and element damage, so having a more resistant nail is really beneficial. Unless the object that the wood has made is in an indoor, relatively climate-controlled environment, galvanized nails will always be better.
Can you use Galvanized Nails on Pressure Treated Wood?
You can use galvanized nails in pressure-treated wood. There are even types of galvanized nails specially approved for use on high-level treated woods like ACQ wood. ACQ or alkaline copper quaternary wood is used for high-exposure woods like marine pilings or electricity poles. To keep up with that level of exposure, you need a galvanized or stainless steel nail.
How Do You Nail Wood Siding?
Installing wood siding is a straightforward process. The most important thing to remember when nailing wood siding is to use the correct type of siding nails. To properly install wood siding, follow these steps:
- Draw lines on the plywood wall or whatever surface you're about to add siding, so you'll know where to nail.
- Make a border around the edges with a small board, like a 1x2, for example, if a natural border, such as a perpendicular wall, doesn't exist.
- Cut boards to the length of the section of the wall that you plan to add siding to. They should fit snuggly between each border.
- Apply caulk to either side of the border at the very bottom.
- Place the board in the same spot, letting both ends rest inside the caulk.
- Hammer two siding nails per stud into each board. Ensure that you are nailing directly into the studs that you marked in step one.
- Repeat steps four through six for the remaining boards, one on top of the other up the wall. Each board should slightly overlap the board under it.
Here is a Youtube tutorial that will clear up any questions you may have and demonstrate each step:
Why Do Nails Pop Out of Siding?
If you have nails that are constantly popping out of your siding, chances are they are not the correct type of nails. Siding nails have features that prevent precisely this problem with their ribbed texture. If you find that your nails won't stay in place, pull on out and examine it. If there are no ribs, this is the reason that they keep popping out. The best thing to do now is to purchase some siding nails and redo the nailing on all of the siding, or at least in the places where the problem is worst.
A Few Final Words
If you are pursuing a siding project around your home, make sure you use the correct type of nails. Doing so will ensure that your siding looks clean and uniform. Plus, siding nails will provide a hold that will stick around for years to come. You won't have to worry about the wrong kind of smooth-bodied finishing or brad nails popping out ever again.
If you found the information in this post helpful, please check out a few of our others: