
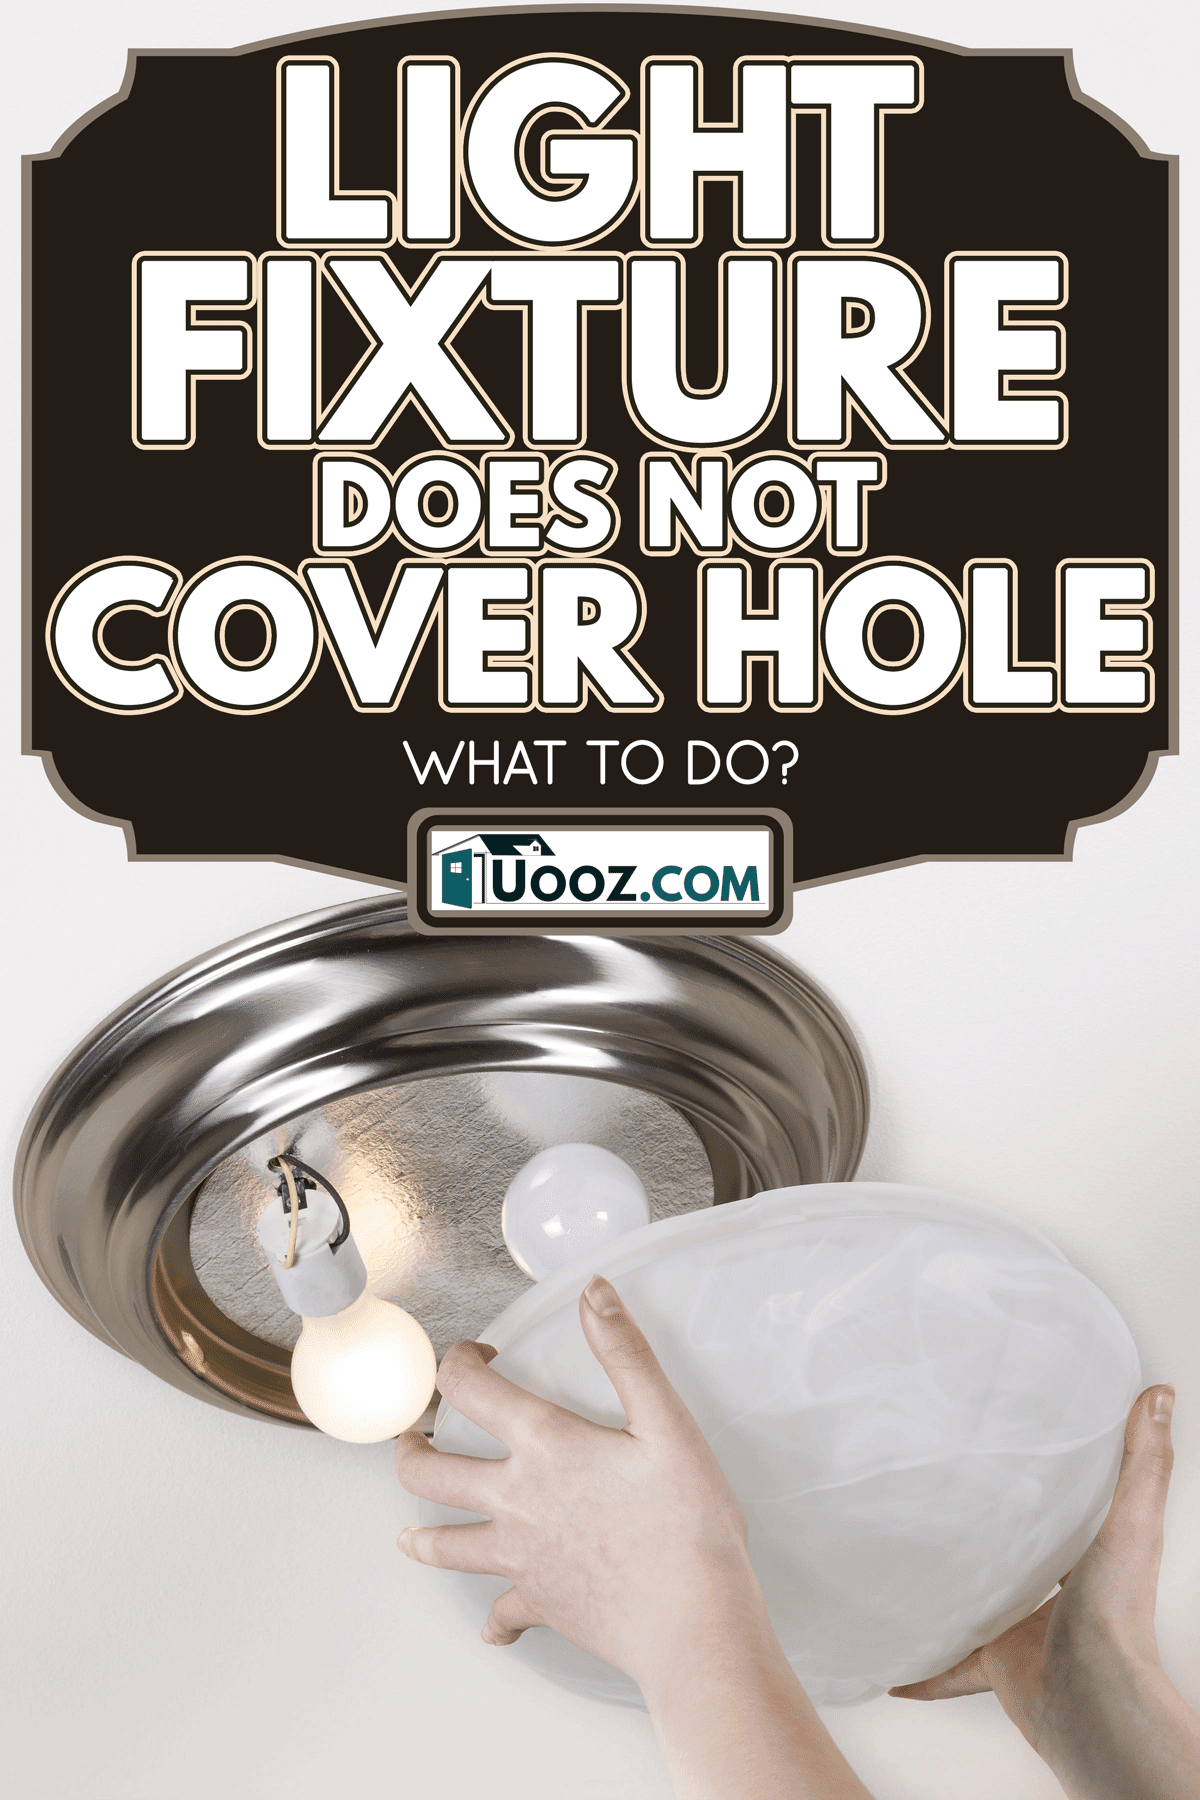
Light fixtures are quite attractive and nice. You might have bought one but discovered it does not fit in the hole intended for the new fixture. Don't worry! We've researched steps to fix this issue.
There might be a mistake as to why the light fixture does not cover the hole. It can be a wrong measurement, for example. Resolve this issue by following these steps:
- Make a plate for the light fixture.
- Attach the plate to the body of the light fixture.
- Connect the wires to the power source.
- Test the light before you lock the plate.
- Secure the plate.
Aside from spreading light across the room, light fixtures add elegance to your home. But if the light fixture does not fit in the hole, it becomes unattractive. In this article, we'll learn how to fix this problem. We'll also provide more things to know about light fixtures. Just keep reading!
Covering the Hole for the Light Fixture
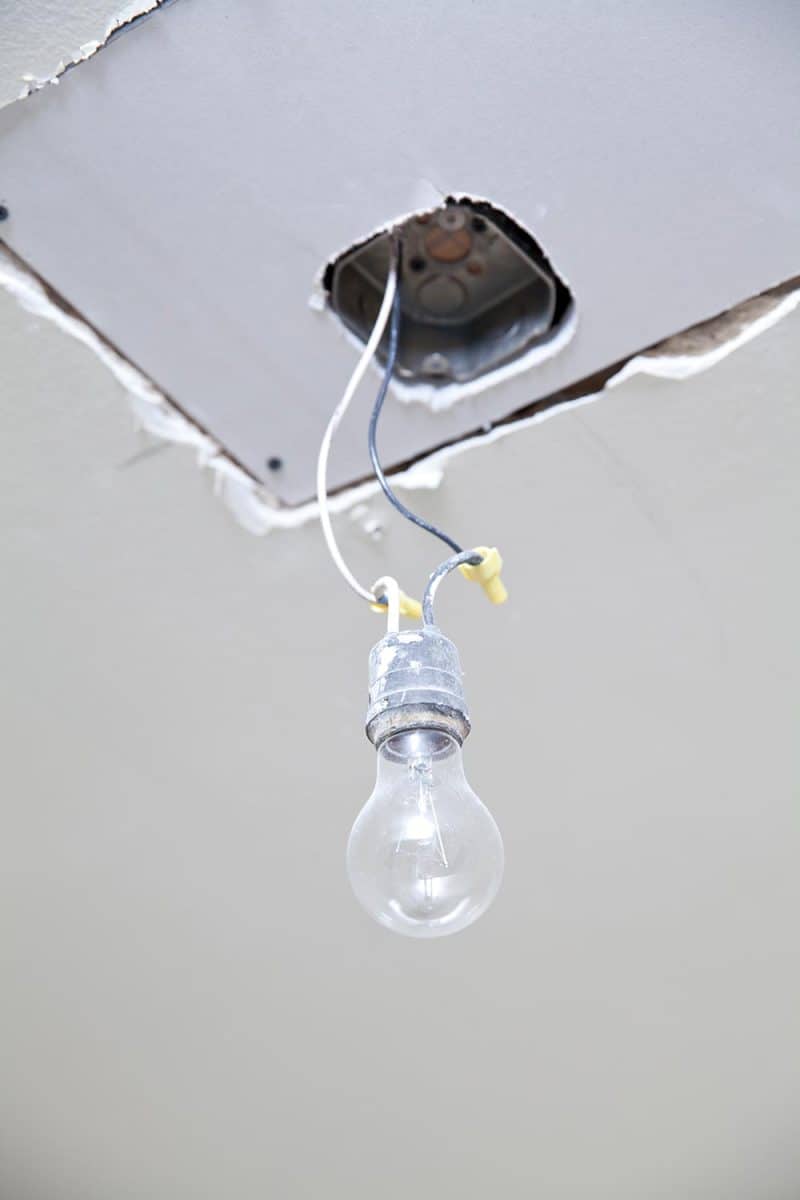
You should be aware that the right fitting of a light fixture plays a role in your safety. Covering it prevents wires from being exposed. See below for the detailed steps on how to resolve a light fixture misfit.
1. Make a Plating
Plating is any material used to support the light fixture so that you'll be able to pin it against the ceiling. Find a plate with a flat surface to cover the hole. It can be a wooden sheet, a metal plate, porcelain, or even recycled plastic products.
Prepare the following tools to make a plate.
A stone cutter or saw to cut out and shape the plate.

See this automatic saw on Amazon.
Use a measuring tape and markers for the accurate size of the plate and a marker for drawing the cutting line.

See this measuring tape on Amazon.
Use a drill to pierce a hole through the plate.
Use a glue gun kit to stick together the light fixture and plate.

See this glue gun kit on Amazon.
The sealant used can be a silicone caulk to secure the gaps along the edges of the plate.
Follow these steps to make the plate:
- Measure the perimeter of the hole in a square shape, then cut its measurement on the plate with at least an inch allowance.
- Measure the surface area of the light fixture, then cut out its size on the plating.
- Set aside the plate.
2. Attach the Plating
You have to attach the plating with hot glue. Make sure that the light has a cover so that the glue will not have direct contact with the light itself.
3. Connect the Wires
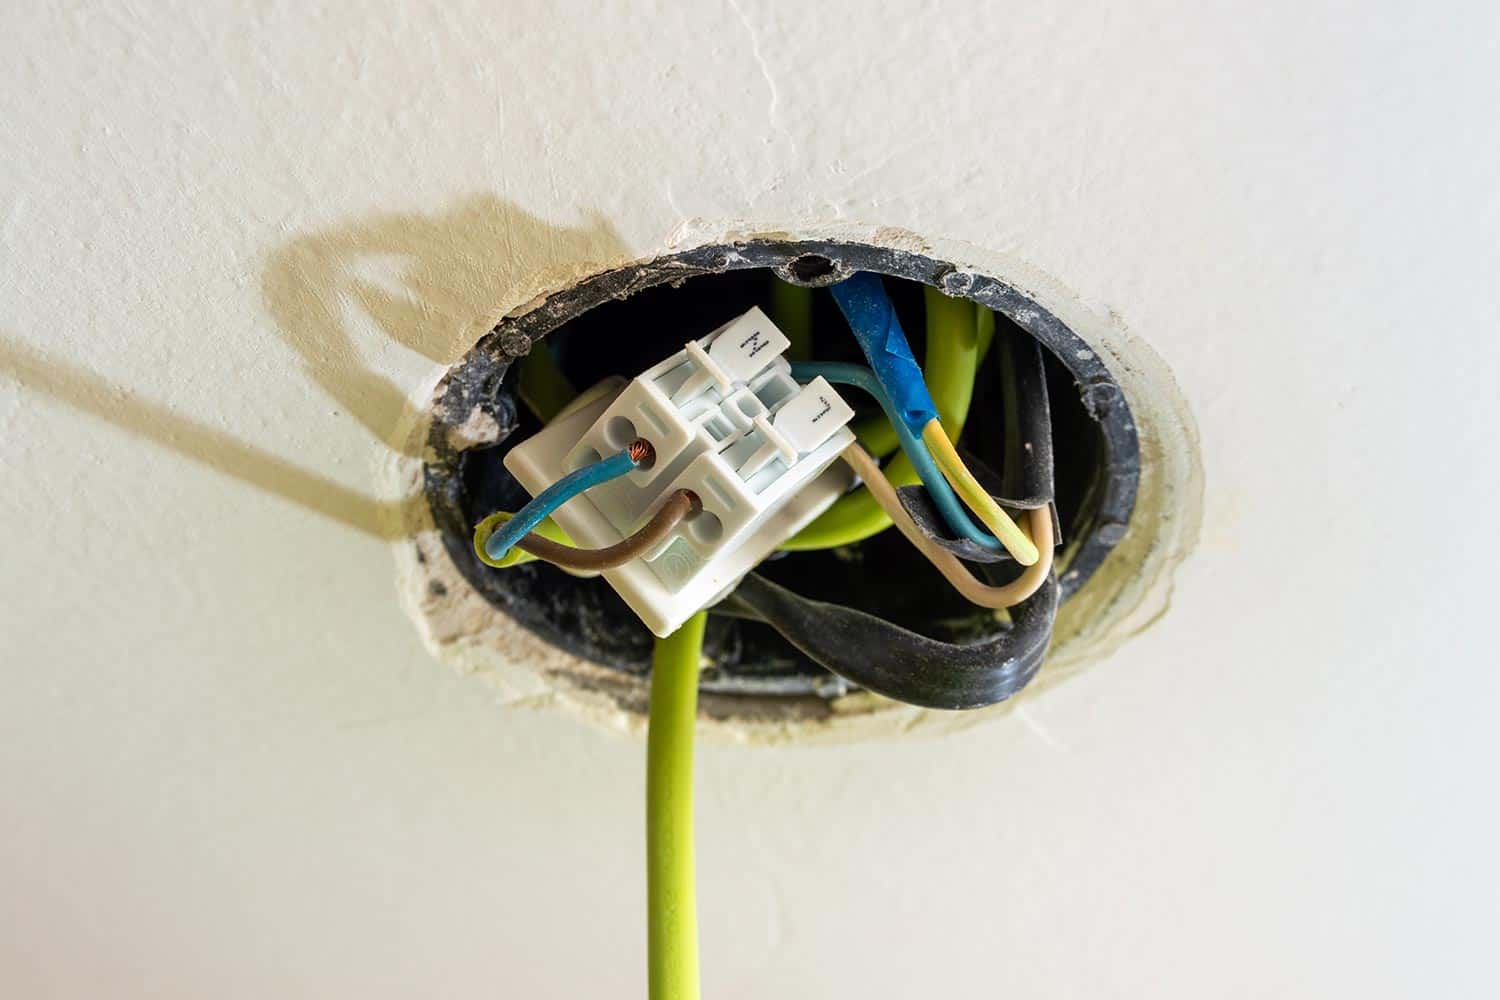
It's important to connect the wires properly. Usually, there's a wire box behind the ceiling. Keep the wires inside the ceiling and connect them to the light fixture. It's best to consult a technician to make sure the wires are safe to use.
4. Test the Light
You need to test the light first before locking the plate. This is to avoid any inconvenience when you use the light fixture.
5. Secure the Plating
If everything seems fine, from wiring to plating, you can now glue the plate against the ceiling. Use a sealant to secure the edges. You could also drill near the corners of the plate, then lock it with screws. This locking alternative is effective as well.
What Size Should a Light Fixture Be?

Sizing depends on the type of light fixture you'll install. It also depends on where you'll install the light fixture. You may consider leaving at least two inches of allowance around the wires for safer fittings.
It's ideal for keeping the hole in the ceiling small rather than to make it big. It's easier to widen a hole like this than to make it narrower.
Types of Light Fixtures
Light fixtures mainly differ in shape, design, and installation steps. But what you should look for is the quality of light it can give. It's quite impractical to have an elegant light fixture with an ineffective light. See below for some types of light fixtures.
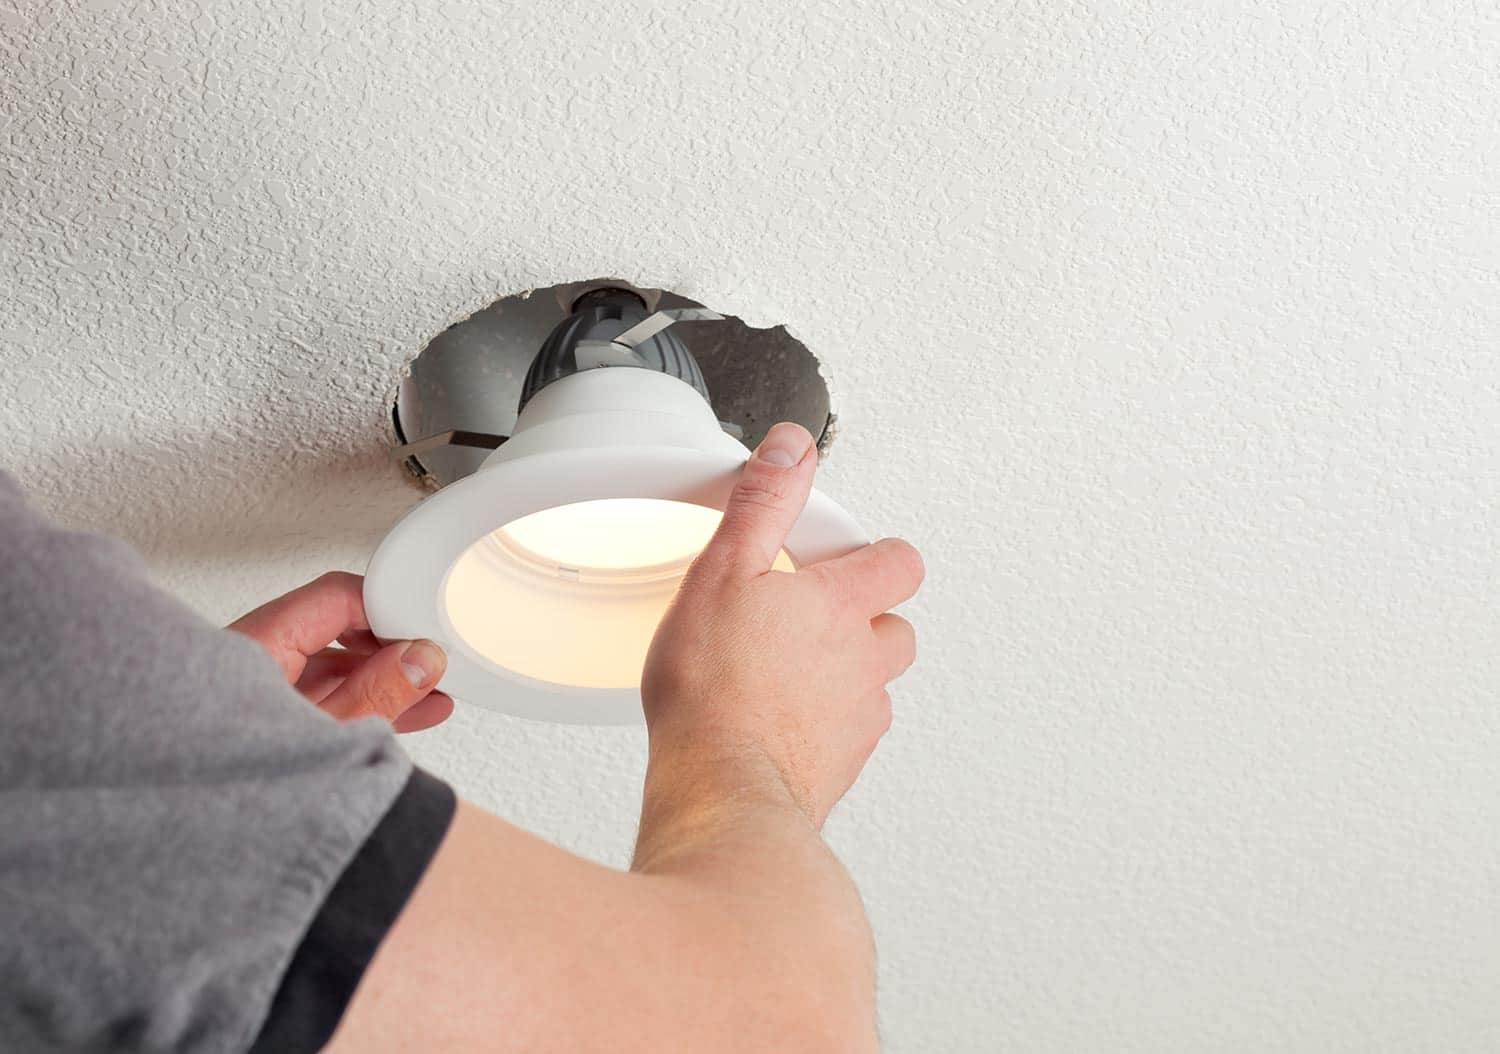
Recessed Light
It's usually a circular light installed on the ceiling. Recessed light is supposed to focus on a specific spot and does not take up a lot of space, unlike hanging lamps. It also has translucent glass that prevents overlighting the area.
See this recessed light on Amazon.
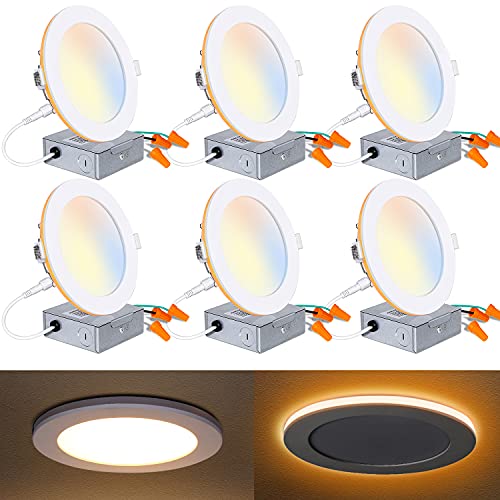
Dimmable Light
It is typically used during the night, especially in bedrooms. Dimmable lights can adjust the brightness to darker or brighter levels using a dimmer switch or remote. This is also ideal in the dining room and kitchen.

See this dimmable light on Amazon.
Light Bulbs
These are probably the most common lights in houses. They're composed of a tungsten filament placed inside a glass tube, which results in a very bright glow across the room.
Light bulbs are the least stylistic of light fixtures. Most of them do not have a body, exposing the socket when installed. Additionally, these are the easiest to replace. You can fit in any light bulb brand that has the same socket.

See this light bulb on Amazon.
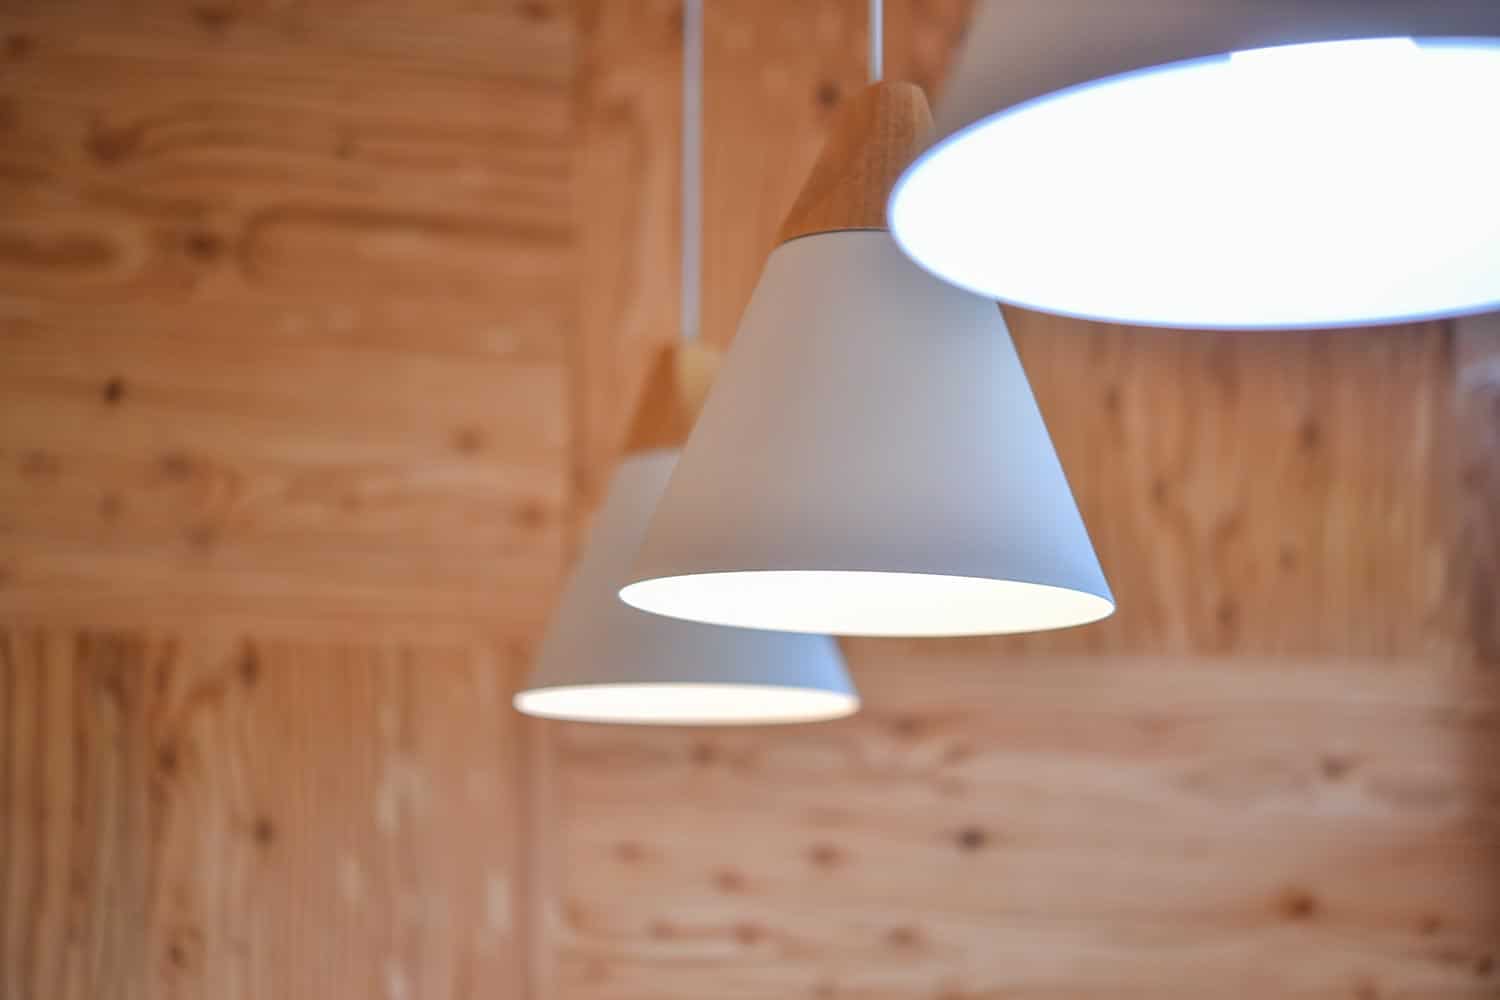
Hanging Lamps
Hanging lamps can display bare light bulbs, but most typically have a decorative shade. Compared to dimmable lights that have a glass covering, hanging lamps only have a detachable shade around the bulb.

See this hanging lamp on Amazon.
Chandelier
This is the most elegant and expensive light fixture. It comes with a unique artistic design, theme, and metals used. Chandeliers are commonly attached to a strong chain, which is then hung from a ceiling.
Mostly, chandeliers have smaller bulbs surrounding their centers to emphasize a bowl-like shape. These chandeliers are intended to have a lower brightness compared to common household lights.

See this chandelier on Amazon.
Track Lights
These track lights are attached to a rod, on which you can rotate their bodies to light a specific spot. They're common in kitchens to light countertops and in living rooms to highlight a particular room feature.
One good use of track lights is for divided lighting. For instance, you're working on a laptop while somebody wants to sleep on a couch. You prefer the lights on while the other one wants the lights off. You can adjust the track lights to your area and leave half of the area darker.

See this track light set on Amazon.
How to Install Light Fixtures
Installing a light fixture varies depending on the type you'll use. There might be different steps for each size and shape.
Before you start, make sure you're aware of the location of the wires in your house. It's important for your safety. Ask your home builder about the spots where you can install the light fixture without damaging the wires.
However, refer to these general steps for installing a light fixture:
- Measure the size of the light fixture and mark its center on the ceiling. Make sure the light aligns properly with the power source.
- Drill a hole in the ceiling, then pull the wires out.
- Connect the wires on the light fixture based on color and size. You may read the installation steps on the product guide, or consult a technician if you're not certain about this step.
- Test it while the light is hanging on a wire. This is to ensure the wiring is correct before screwing the fixture's plating.
- Screw the light fixture and its plating.
After installation, you should observe the light for at least a week. This is to ensure that the installation is correct and to avoid serious problems like short circuits.
How Many Light Fixtures Should You Have?
The number of light fixtures you need depends on how large the room is. Typically, 2-6 light fixtures are enough for a room. Estimate how bright or dark you want the room to be to see how many lights you'll need.
You may have a big light fixture at the center of the ceiling while having smaller lights on the four corners of the room. However, always consult a technician as the case varies per homeowner.
It's not good to install too many light fixtures on a single wire if not necessary. For instance, you want 8-15 light fixtures in a room. It may seem alright but check first how the wires will function if you install them all together. The wire may have an oversupply of electricity, which will result in a power outage or fire.
Conclusion
Throughout this article, we've provided steps for repairing light fixture holes. We've also tackled common types of light fixtures which may differ in installation depending on shape and size.
You've learned the importance of locating the wires on the ceiling to maintain safety. Additionally, we stated why you should consider the number of light fixtures you can use.
Remember to let a professional guide you, especially if safety is involved. Lastly, always read the instructions of use on the light fixture you bought.
Did you learn a lot? You might also like these: