
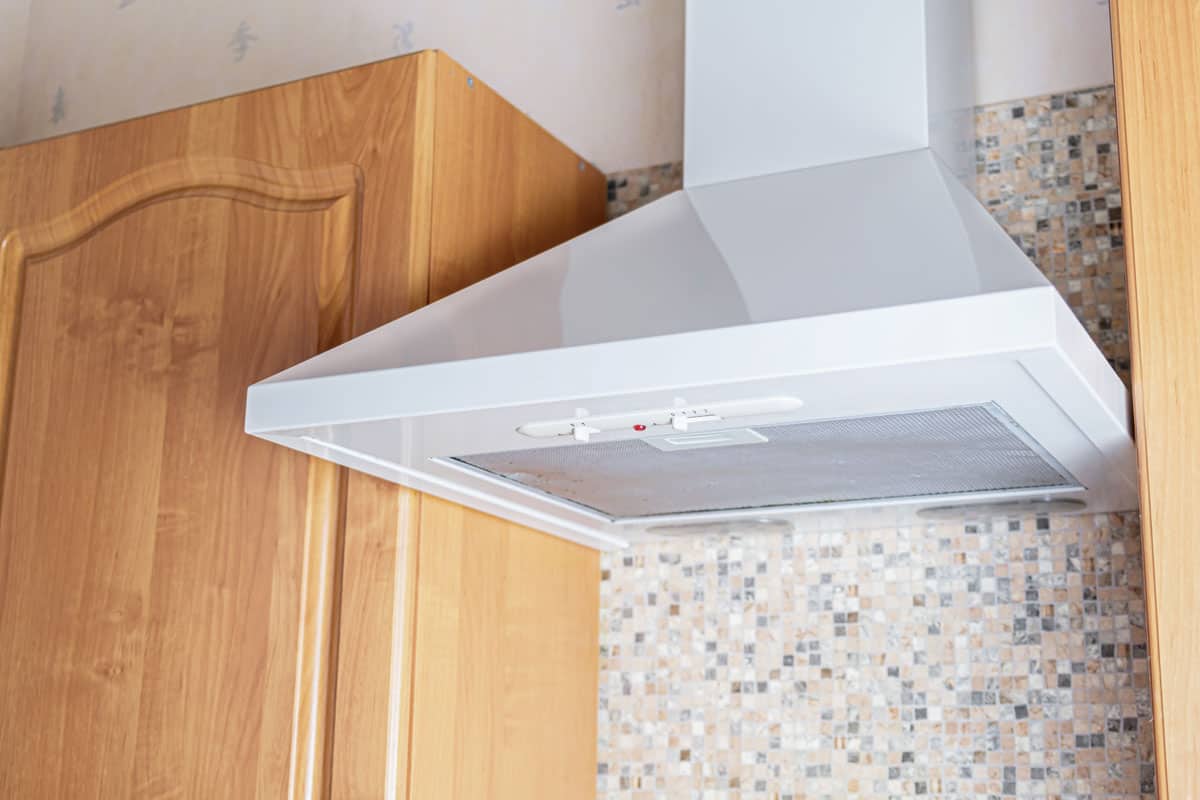
Are you planning to do a kitchen renovation, and do you want to know how to install a range hood vent through an exterior wall? You’ve come to the right place, for we have researched this question and have the answer for you.
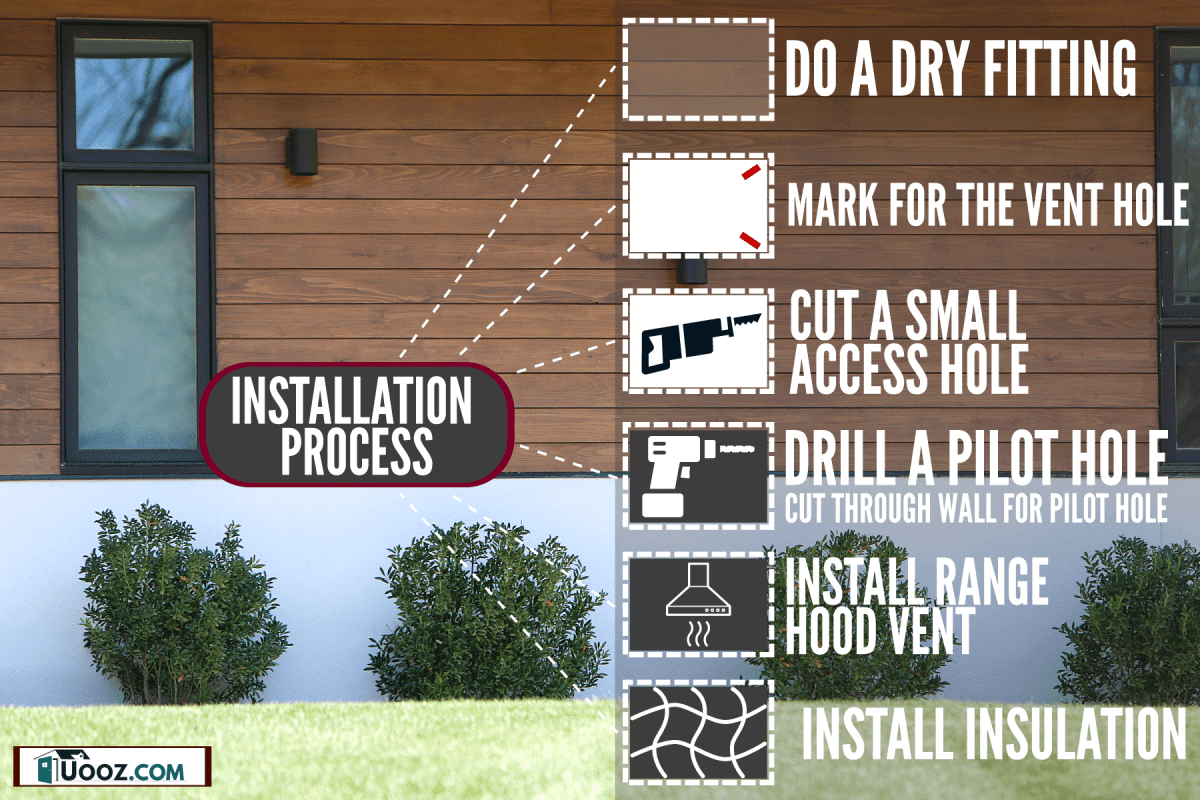
Here are the summarized steps that you need to follow to install a range hood vent through an exterior wall:
- Do a dry fitting of the range hood vent.
- Mark the range hood vent hole that you need to make.
- Cut a small access hole.
- Drill a pilot hole through the hole.
- Cut through the wall from the pilot hole.
- Install the range hood vent.
- Install insulation.
We have the complete steps in the succeeding sections. We also included tips that can help you in installing your range hood. Read on!
How to install a range hood vent through the exterior wall?
Here are the complete steps to install a range hood vent through an external wall.
This guide assumes that you have an electrical socket ready where you will plug your range hood vent once you complete the installation. This guide also assumes that your range or stove is against a wooden wall. Thus, you will be installing the range hood through a wooden wall.
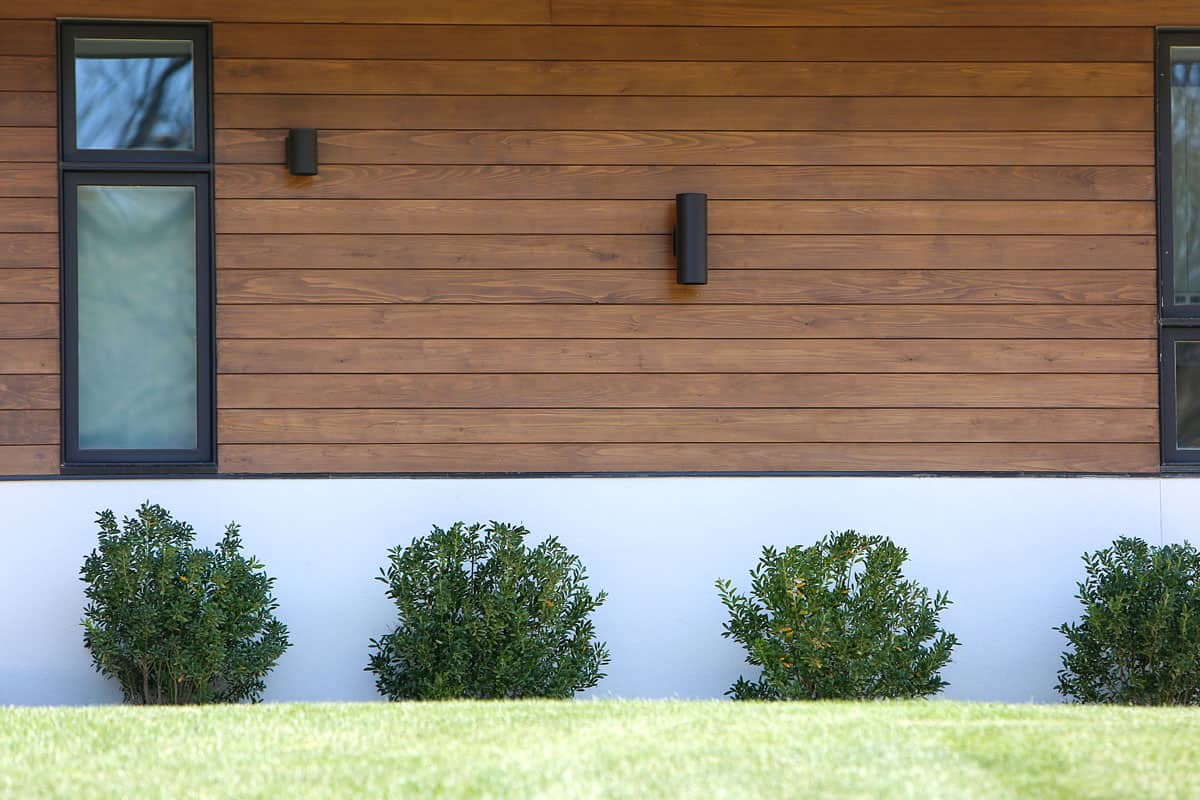
If you have a brick or concrete wall, it is better tovent through the roof instead of through the wall. Unfortunately, installing a range hood vent through the roof is no longer within the scope of this article.
Dry Fitting The Range Hood Vent
- Unpack your range hood vent. Keep in mind that range hoods can be heavy. Seek assistance if you cannot carry it comfortably by yourself.
- Make sure that all the parts that are supposed to be in the box are complete.
- Check that the range hood is working by testing it. You don’t want to install it and find out later that it is not working. Better find out early and get a working range hood before you install it.
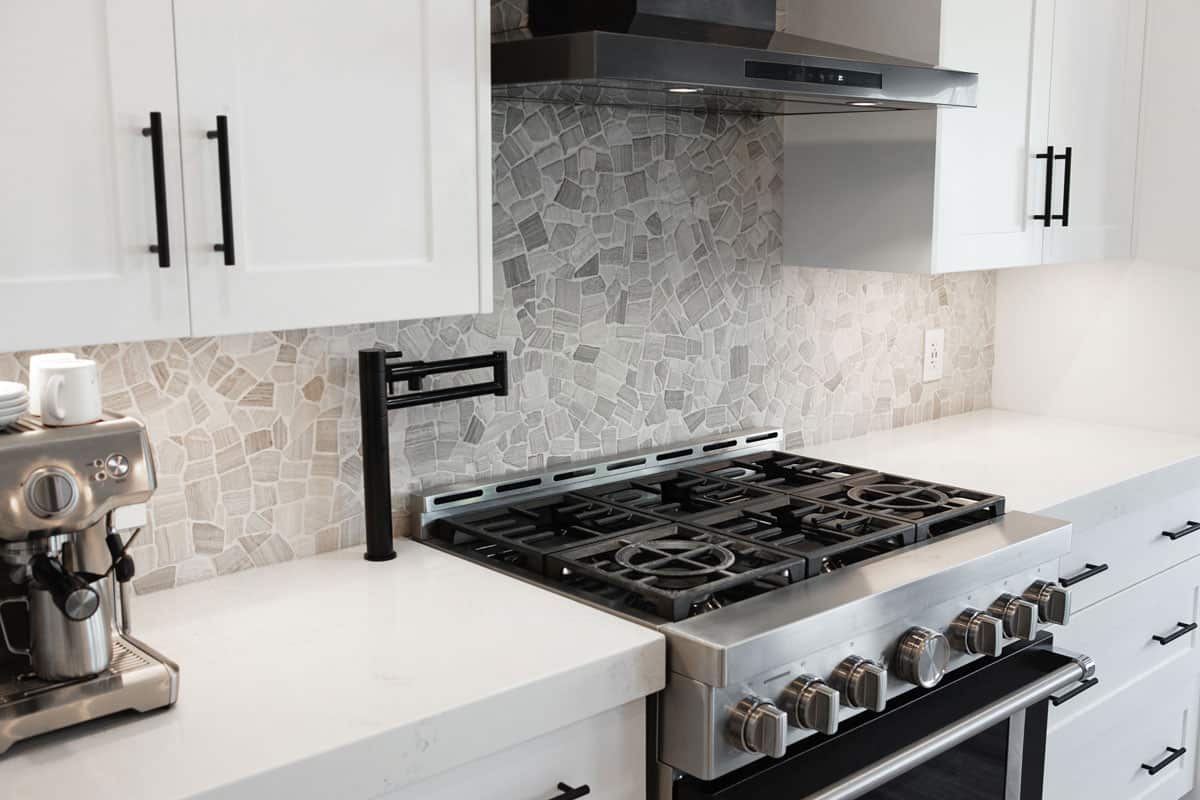
- Position the range hood vent where you want to install it on the wall. Make sure that it is centered above the range or cooktop. Use a level to make sure that it is straight against the wall. The standard position of a range hood is 24 to 36 inches above the range. Installing it higher than 36 inches might make it ineffective in sucking all the smoke coming from the range.
- Mark the locations where you will need to screw the range hood.
- Mark the bottom and the top of the range hood with an artist tape or a pencil. An artist tape is useful if the surface of your kitchen wall is smooth or when you have tiles.
- Mark the location of the vent coming from the range hood with artist tape. This will give you a good idea of how much head space you need to connect the vent of the range hood to an external wall exhaust. This will also help you visualize the center of the range hood vent.
- Set aside the range hood.
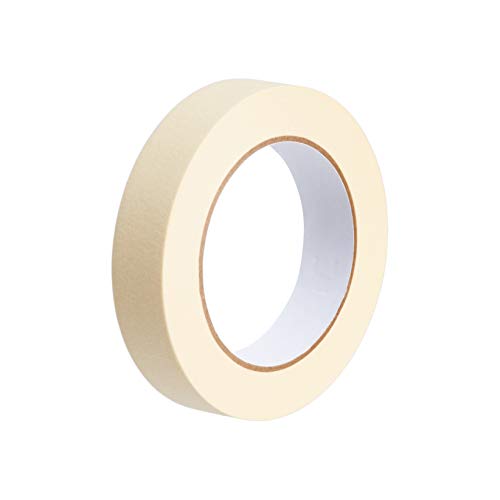
Amazon Basics masking tape is available on Amazon through this link.
Marking The Range Hood Vent Hole
Measure the distance from the top of the range hood vent to the vent hole and make sure that you have enough space for the ductwork. Determine if you have enough space for the hole in the wall.
For example, if the distance between the tip of the range hood vent and the ceiling is only five inches. The diameter of the vent hole that you need to drill is six inches. This means that you don’t have enough space for your vent to have a direct path to the vent hole. You’d have to redirect the piping to get to another area, or you might need to reposition the range hood.
Mark the range hood vent hole that your need to drill using a pencil after considering the position based on the information from the previous step.
Cutting A Small Access Hole On The Wall
Drill or cut a small hole on the wall where you will drill the hole for the vent later. It can be an inch or two in diameter. This hole is for you to inspect the inside of the wall.
Make sure that the hole you’re about to drill is not going to hit any electrical, gas, or water pipes behind the wall. Adjust the position of the wiring if there are wires in the way. Another thing that you need to look out for is a stud. You do not want to drill through a stud. Studs help support the structure of your house. You don’t want to compromise them in any way.
Drill the holes for the mounting brackets of the range hood once you finalize the position of all the range hood components and the vent. Position the mounting brackets that came with the range hood and screw them to the wall. Install the range hood on the mounting brackets.
Drilling A Pilot Hole Through The Wall

- Drill a pilot hole through the wall.
- Locate the pilot hole outside your house.
- Make sure that the surrounding area of the pilot hole is clear because this is where the hole for the vent will be drilled.
Cutting The Hole Using The Pilot Hole As The Center
- Drill the hole for your vent from the outside of the wall.
- Drill a hole of the same size on a PVC trim that is big enough to have the hole in its center.
- Position the PVC trim against the outside hole on the siding of the outer wall. Line up the two holes to get the right position of the PVC trim.
- Mark the perimeter of the PVC trim with a pencil.
- Trim the siding following the pencil marks.
- Insert the PVC trim and fasten it in place with screws.
- Seal the perimeter of the PVC trim with caulk.
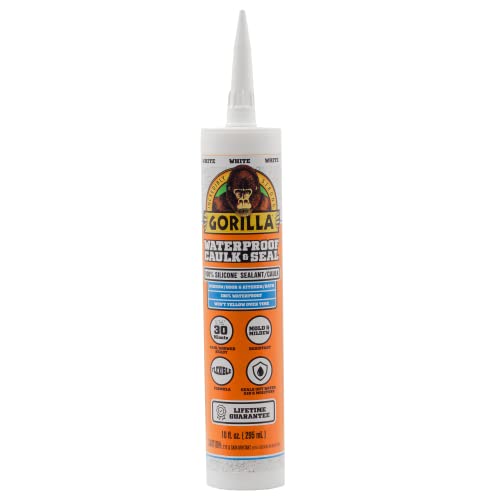
Gorilla waterproof caulk/seal (100% silicone sealant) is available on Amazon through this link.
Installing The Range Hood Vents
- Insert the outside vent into the hole.
- Fasten the vent using screws.
- Caulk the perimeter of the outdoor vent.
- Connect the outdoor vent with the range hood vent. Seal all the connections with aluminum tape.
- Install insulation inside the hole to fill any gaps in the insulation.
- Install insulation around the flex duct and the vents.
- Plug in the range hood.
- Install the duct cover to cover the ducts and vents.

Professional-grade aluminum foil tape from TapePlus Store is available on Amazon through this link.
Can I vent a range hood through the soffit?
Soffit vents help circulate air through your attic by drawing in air. They are often installed under the eaves of your roof. It is not a good idea to vent your range hood into the soffit. It is also not a good idea to install a range hood vent right under a soffit vent.
A range hood vent must have at least a foot and a half of vertical distance from a soffit vent. This is to prevent the moisture from the range hood vent from entering the soffit vent.
Can I use a flex duct to vent the range hood?

Ducting materials can only be galvanized steel, copper, or stainless steel. Using flex duct might be against the local building code in your location. You can use PVC plastic piping instead of metal under special conditions.
How far can you vent a range hood?
There are many ways to install a range hood. They need to adapt to the ways that you install your range or stovetop.
Range hoods that you install on a kitchen island can only vent through the ceiling. Range hoods that you install on a wall can vent through the ceiling or through the wall.
When planning where to install your range or stove, you also need to consider the location of your range hood. A range hood with straight ductwork cannot exceed 30 feet in length. If you’re installing a range hood for a range or stove on a kitchen island, you can have ductwork of up to 30 feet straight up through the roof.
For each elbow that you install in the ductwork, you need to reduce the maximum length by 5 feet.
Thus, if you install a range hood vent for a range or stove against a wall, then the maximum length of the ductwork will be 25 feet with a single elbow. If you need to use two elbows, the maximum length becomes 20 feet only.
In any case, it is the recommendation of experts that you should never use more than two elbows for your ductwork. Each elbow reduces the airflow and makes it harder for the air from your range or stove to get through the ductwork.
Conclusion
Installing a range hood through an exterior wall is easy if you have the right tools and a clear set of instructions.
If you enjoyed reading this article, you might find the articles below equally enjoyable to read: