
DeWalt stud finders make home projects simpler, as they quickly and easily locate studs in walls, floors, and ceilings. But how do you use one? Follow the step-by-step instructions below to use your DeWalt stud finder with ease.
- Take off the battery cover
- Insert two AAA batteries
- Press and hold the power button to turn it on
- Place the DeWalt stud finder against the wall
- Press and hold the power button while sliding the stud finder
- A yellow light will appear when a stud is nearby
- A red light will chime on when it's in the center of the stud
- Mark the center of the stud
- Add screws or nails
Knowing how to use a stud finder will help to make your home projects a success! In this article, we will walk you through each step in detail so you can use your DeWalt stud finder with ease. In addition, we will answer other frequently asked questions about a DeWalt stud finder, so read on!
How Do You Use A DeWalt Stud Finder?
From power tools to stud finders, DeWalt has been a trusted brand for more than 80 years. In the old days, finding a wall stud was a chore. The process usually consisted of knocking and tapping until you were confident you’d located the stud.

The problem was the tapping and knocking often left small holes in the wall, which then had to be patched up. DeWalt’s stud finders have made this process much simpler. Here is how you can use a DeWalt stud finder:

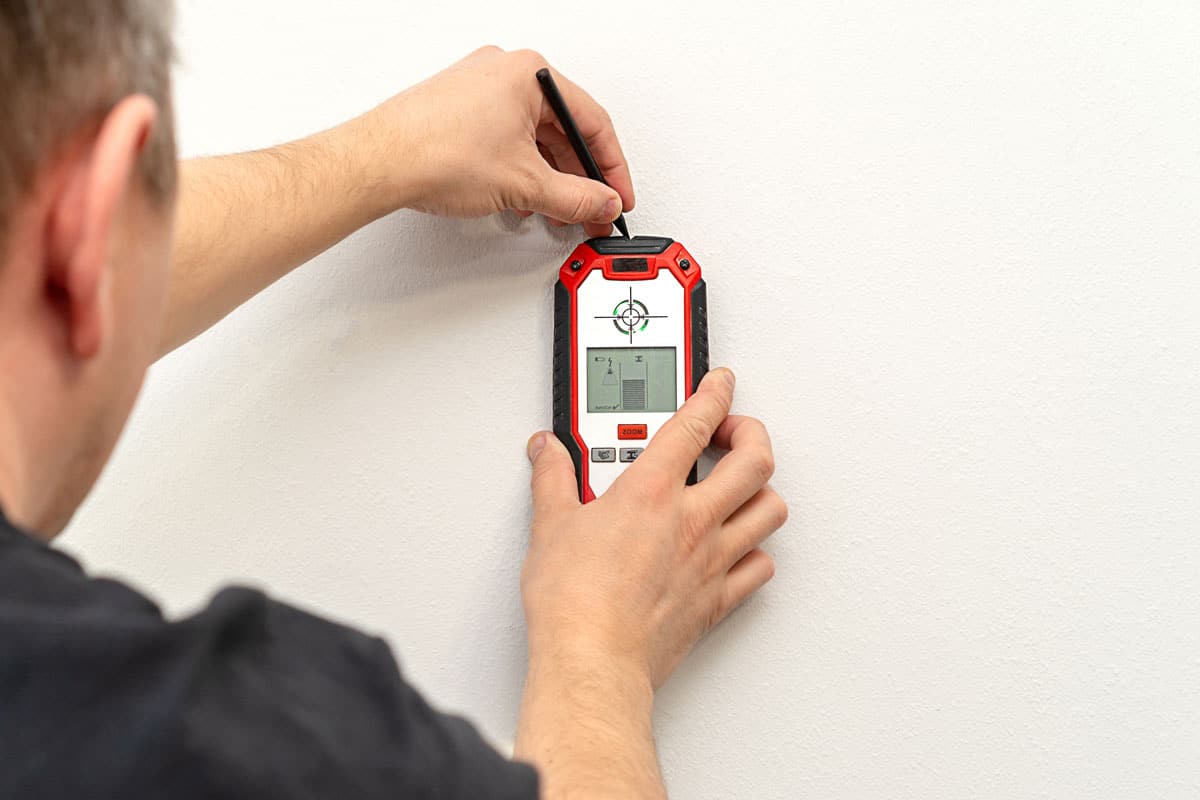
Insert Batteries
When purchasing the DeWalt stud finder, it will come with two AAA batteries. To get started, remove the battery cover on the front of the stud finder, and insert the two AAA batteries. Once they are in place, press and hold down the power button to turn on the DeWalt stud finder.
Scan Wall
The DeWalt stud finder will find both metal and wood studs. This is great for both commercial and residential use.
Press and hold the power button, and the green light will turn on, and the scanner will be ready to use. As you scan the wall, ensure you are pressing the power button and sliding the DeWalt stud finder across the wall.
Mark Studs
A yellow light will appear on the display when you are in the vicinity of a stud. This means that you have located a possible stud but need to keep scanning until the red light appears, which indicates you’ve found it.
The red light will not appear until the stud find is in the center for the stud. Use the small circle in the stud finder to mark the center. This will help when you’re ready to drill or hammer in a nail for hanging drywall or a shelf.
Add Screws Or Nails
Once you’ve located and marked the studs, use a hammer or drill to add nails or screws to support whatever you are hanging. This will ensure your project is secure and won’t come crashing down.
You may need to use a drill bit to pre-drill the holes so the screw will easily slide into the wall. If you don't, it may be hard to push the screws into the stud, which could result in the screw not going in straight.
Do DeWalt Stud Finders Have Warranties?
For the original purchaser, DeWalt stud finders have a three-year limited warranty. This warranty covers any defects in materials and workmanship for the three-year period.
There is also a 90-day money-back guarantee, which provides a refund of the purchase price if you are not satisfied with the product.

Keep in mind, DeWalt won't cover any issues related to normal wear and tear. For example, leaving your stud finder in a hot car for an extended period of time might affect the accuracy of the tool, and this wouldn’t be covered under warranty.
To make a warranty clean, you can either call their service center or on their website. You should always do your own due diligence and read the fine print before making a purchase.
Why Is My Stud Find Not Finder A Stud?
Even the best stud finders can run into issues. If you’re having a hard time locating studs with your DeWalt stud finder, here are some tips to get it working again.
Weak Battery
One of the most common problems is a weak battery. If you’ve had your DeWalt stud finder for some time, it might be time to replace the batteries with fresh ones.
Try this first before taking any other steps. It’s an easy fix that could save you a lot of time and frustration. Keep in mind batteries do expire, so try batteries fresh out of the package.
Press And Hold Button
Often times a stud finder not working is due to operator error. Ensure that you are holding down the power button as you scan across the wall.
If you’re not, it won’t locate any studs. Double-check your technique, and make sure to hold down the power button when you are scanning.
Also, check the instructions manual to make sure the stud finder is in the correct mode.
Thick Walls
Older homes commonly had thicker walls made from materials such as plaster and lath. It’s much harder to locate studs in these walls with a stud finder.
If this is the case, you may need to use the tapping method or try an alternative location scanning device. Keep reading as we discuss other ways to find a wall stud.
Damaged Stud Finder
Last but not least, it's possible your stud finder was damaged. This could also be due to a weak battery, or maybe the device was dropped. It also could be due to storing it in extreme temperatures, such as a hot car or cold garage.
If you’ve checked all the other items and your stud finder is still not working, it might be time to replace it.
How Do You Find A Stud Without A Stud Finder?
![Worker holding a stud finder, How To Use DeWalt Stud Finder [Step-By-Step Guide]](https://uooz.com/wp-content/uploads/2022/11/How-To-Use-DeWalt-Stud-Finder-Step-By-Step-Guide-1200x800.png)
If you are still running into issues finding a stud, there are other methods you can try.
Measure From A Socket
Typically, studs are placed 16 or 24 inches apart. If you find one wall socket, measure 16 inches from it to the left and right to try and find another stud.
While this doesn't always work, it can be a good starting point for finding a stud.
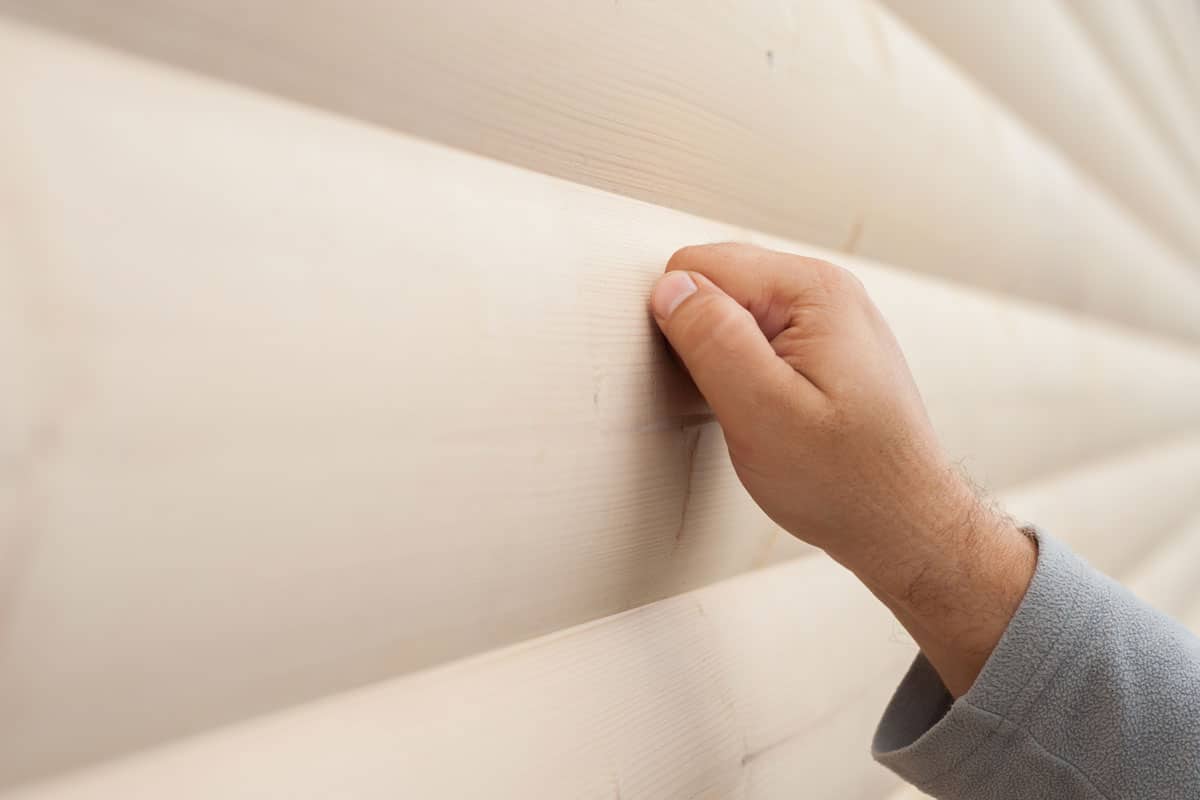
Tap On The Wall
If that doesn’t work, you can also try lightly tapping on the walls with your knuckle. If there is a wall stud behind the drywall, you should hear a different sound from the rest of the wall. This will help you find the stud.
However, it does take a bit of practice to learn to listen accurately for wall studs.
Use A Magnet
Once you measure or locate a suspected stud, use a magnet to see if it sticks. In studs, there are screws and nails, which will attract magnets. If you find that it sticks, you’ve likely found a stud.
Using these methods can help you locate wall studs without a stud finder if your DeWalt scanner isn't working properly. No matter what method you use, take the time to double-check and measure your work.
Stud Finder App
While they aren't always reliable, you can also try using a stud finder app on your smartphone. These apps use an electromagnetic field to detect metal behind walls.
Although it's not as accurate as a physical device, these apps are useful if you don't have any other tools on hand. Just keep in mind that detecting studs with an app varies depending on the app. It's worth a try if you don't have access to a physical stud finder.
How Much Weight Can A Stud Hold?
Once you found the stud, it's time to hang whatever you were trying to hang. But how much weight can a stud hold? Generally speaking, a metal screw put an inch into a stud can hold up to 100 lbs.
Of course, this depends on the material and the screw's length. You also want to ensure that your screw is in the middle of the stud. That way, it is able to spread the weight across the entire stud.
Additionally, if your item is especially large and heavy, you should use a wall anchor for additional support.
Read more: How Much Weight Can Studs Hold?
Final Thoughts
Overall, DeWalt prides itself on providing high-quality tools. If you’re running into trouble with your DeWalt stud scanner, make sure to follow all the troubleshooting steps above. This should help you get back on track and find your wall studs in no time!
Made it to the end? Here are other articles you might find helpful: