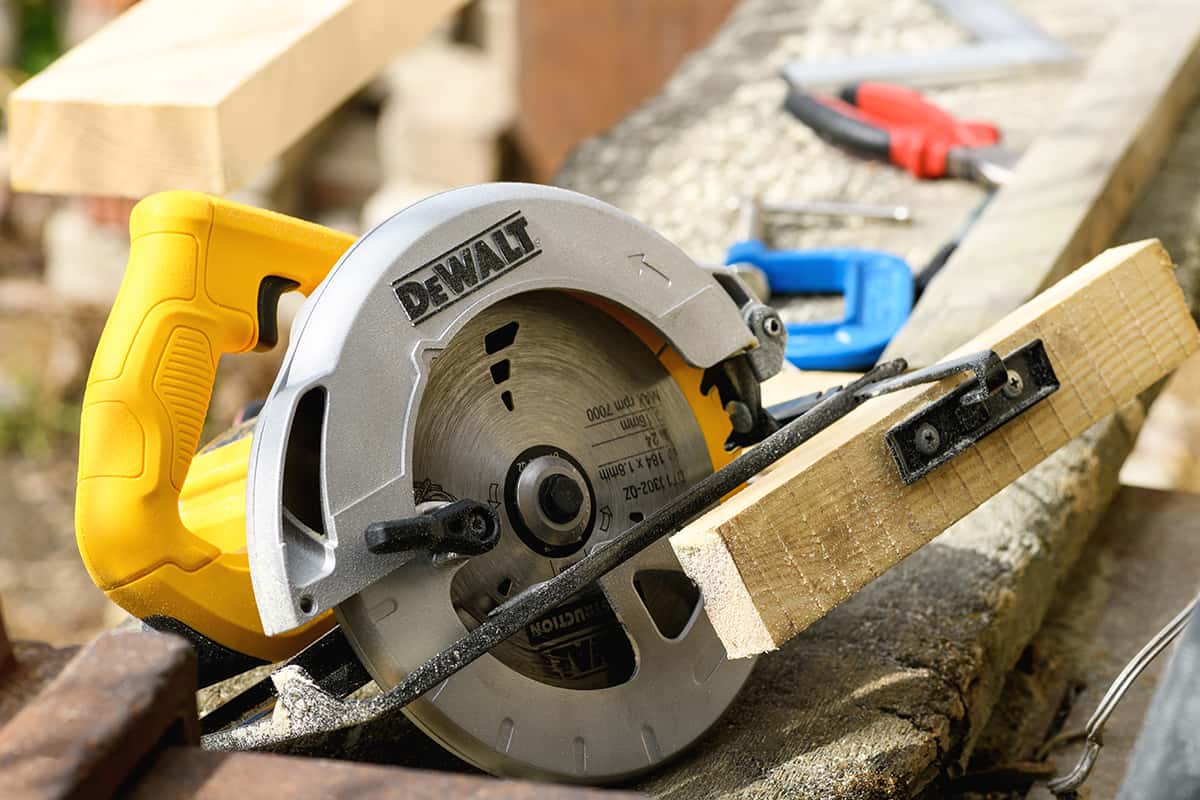
Do you have a new DeWalt circular saw, and do you want to know how to use it for your home DIY projects? You’ve come to the right place, because we have researched this question and have the answer for you.
Here is a summary of the steps on how to use your new DeWalt circular saw.
- Disconnect your DeWalt saw from the electrical socket or remove the battery pack.
- Detach the Allen wrench from its mount and install your preferred blade.
- Adjust the bevel to match your needs.
- Adjust the depth.
- Place your wood on a level surface, measure where you need to cut, and mark it on the wood.
- Connect the circular saw to the correct power socket.
- Hold the circular saw with both hands and position the bevel in front of you.
- Place the tip of the saw over the wood.
- Line up the mark on your circular saw with the notch on the front of the guard. When making a straight cut, you should line up the marking on your wood on the “0 mark” of the notch.
- Press the safety switch, squeeze the trigger, and move the circular saw forward against the wood to cut it.
We'll talk more about how to use a Dewalt circular saw in this post. You'll learn about the different projects you can do with your circular saw in the sections below. Read on!
How To Use A DeWalt Circular Saw

Here are the complete steps for using a DeWalt circular saw.
Installing The Blade
- Make sure that your DeWalt circular saw is unplugged. Disconnect the battery pack if you have a wireless circular saw.
- Pick the blade that you need to use.
- Most DeWalt circular saws include an Allen wrench for replacing the blade. Pull the Allen wrench out of its holder.
- Push the handle of the blade guard so you can access the arbor.
- Hold the blade guard out of the way while you insert the blade from under the shoe. Position the blade so that the arbor will intersect with the center of the blade.
- Follow the arrow on the blade guard. This arrow points to the direction of the blade’s rotation. The front of the blade’s teeth (the sharp edge) should point in the same direction as the arrow.
- Once you have the blade on the arbor, you can gently release the blade guard.
- Insert the washer into the central stud.
-
- The arbor has a shape that allows the washer and the arbor to connect in one way only. Look for the position that will allow the washer to enter the arbor.
- Install the locking bolt.
- Support the blade with your left thumb if you tighten the bolt with your right hand. Otherwise, secure the blade in place with your right thumb and tighten the bolt with your left hand.
-
- In some circular saw models, there is a switch that will lock the blade in place. This allows you to tighten the bolt without having to hold the blade in place with your thumb.
- If your circular saw has this switch, lock the blade in place before you tighten the bolt.
- Alternatively, you can use a wooden board that you can insert downward on the base plate. Push the board upward to wedge against the blade, and keep it in place while you tighten the blade.
- You don’t need to tighten the blade too much.
- Tighten the bolt with the Allen wrench.
Adjusting The Circular Saw
- Adjust the base plate and make sure that it is at the angle that you need. Loosen the knob on the base plate to adjust the angle.
-
- Normally, most of the projects that you will work on will need a zero-degree angle of cut.
- The base plate adjustment can be done by tilting the base plate until you get the angle that you need. There is a marker on the front side of the base plate that shows you the angle of the base plate.
- Place your DeWalt circular saw over the wood that you plan to cut.
- Look for a lever behind the blade cover, close to the motor.
- Switch the lever to unlock the base plate.
- Adjust the base plate until only one tooth is below the bottom of the wood that you’re going to cut.
- Switch the lever to lock the base plate in position.
Making The Cut
Before proceeding with this section, make sure that you’re wearing eye and ear protection. Wear a dust mask too.
![Wearing eye and ear protection and a dust mask, How To Use A Dewalt Circular Saw [Step By Step Guide]](https://uooz.com/wp-content/uploads/2023/01/Wearing-eye-and-ear-protection-and-a-dust-mask.png)
- Place the wood that you will cut on a level surface.
-
- Never make the mistake of supporting the wood at separate ends and cutting it in the middle. This will cause the wood to bend towards the middle as you make your cut. This bending will cause the wood to pinch the blade and will cause the blade to either bind or kick back at you.
- Place a piece of wood on each side of the blade to support the wood that you will cut. When you place these supports, imagine that you’re going to place supports for the two pieces of wood that you will get from the cut. The two pieces of wood should remain stable after the cut.
- Clamp the support.
- Plug the circular saw into a wall socket or reattach the battery pack.
- Position the circular saw on the wood so that the gauge in front of the saw lines up with the mark that you made for the cut.
-
- Make sure that the blade is not touching the wood before proceeding.
- Hold the blade with your right hand. Your left hand should be on the front handle.
-
- There are circular saw models for people with a dominant left hand.
- Always stay on the side of the motor. The blade position should never cross any part of your body.
- Push the safety button.
- Squeeze the trigger and let the blade rotate before moving the circular saw forward.
- Maintain the saw and the gauge along the mark that you made.
- Make the cut.
How To Choose The Right Blade

One of the advantages of circular saws is that you can use different blades that are better at doing specific tasks. As you become more familiar and proficient with your circular saw, you will start to use it with different materials that will need different blades.
And since you have many types of blades to choose from, picking the right blade can become confusing. Here are some guidelines to help you.
Crosscut Blades

A crosscut is when you make a cut across the grain of the wood. A crosscut is best performed with a blade that has a high number of teeth per inch.
A blade with a high number of teeth per inch will make a smoother cut than one with a low number of teeth per inch.
Check out this crosscutting blade on Amazon.
Rip Blades
Blades with a lower number of teeth per inch are ideal for making rip cuts.
A rip cut is cutting through wood parallel to the grain. In most cases, you'll do a rip cut to make a wide piece of wood narrower.
Check out this ripping blade on Amazon.
Blade For Concrete
The best blades for concrete are abrasive blades.
An abrasive blade has an effect similar to a grinding wheel. This grinds hard materials to cut them.
Additionally, diamond-tipped blades are also ideal for concrete.
Check out this blade for masonry on Amazon.
Blade For Metal
A circular saw blade for cutting metal can either be made of carbide steel or with abrasive diamond tips.
Abrasive blades work better with hard metal. Carbide steel circular saw blades, on the other hand, will work with softer metals, but harder metals can damage them.
This blade for cutting stainless steel is available on Amazon.
Watch the video below for more details on types of blades.
Conclusion

In this post, we covered the process of using a Dewalt circular saw and the types of blades you might be using. When working with the saw, remember to properly support the wood that you will cut and be mindful of safety precautions.
If you enjoyed reading this article, you might find the articles below helpful:


