
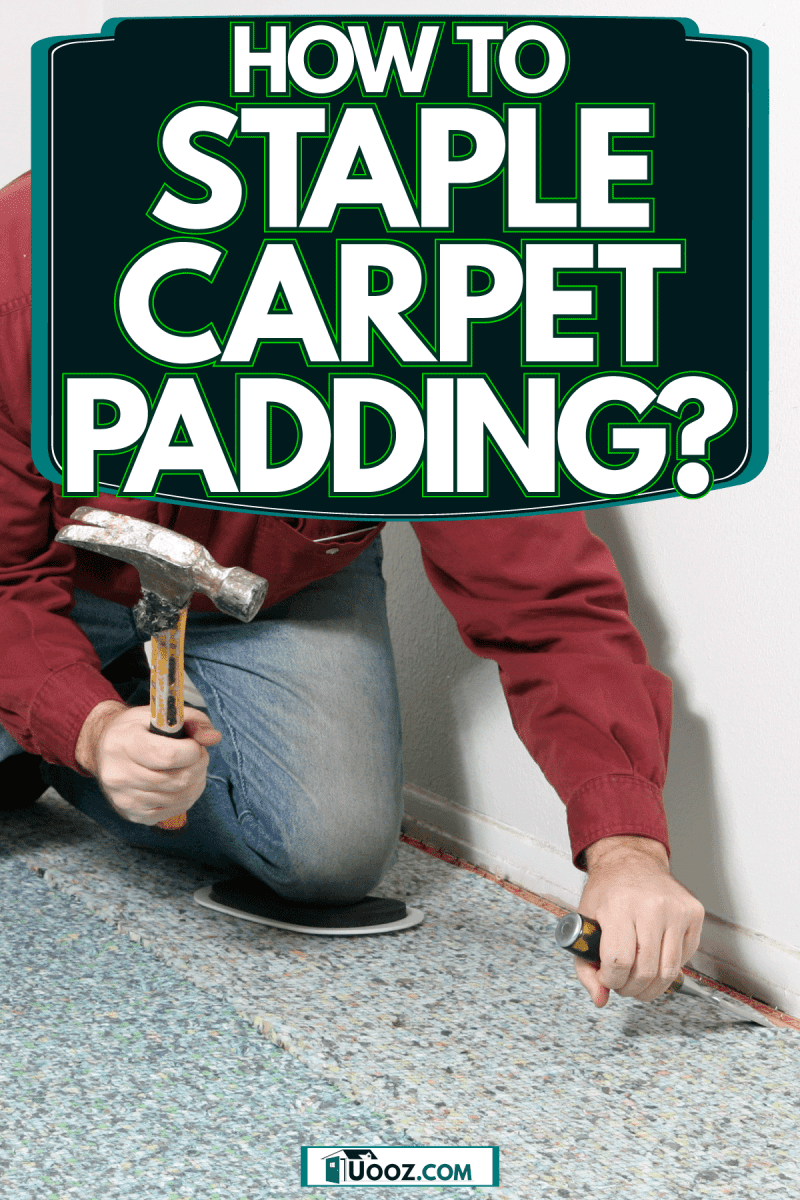
As you install new carpet and carpet padding, you have reached the step of attaching the padding to the subfloor. Therefore, you are wondering how to staple the padding down. This post gathers up-to-date information to provide a clean and thorough answer to your question.
After the subfloor is prepped, the tack strips are installed, and the padding is rough cut and laid properly, you can staple the padding down. For standard carpet pad thickness, use a hammer tacker and 3/8-inch staples. Follow these steps to staple the pad down properly:
- Staple one edge every 6-inches
- Staple another row one foot in, every 8-inches
- Pull pad tight from the opposite end
- Staple a row to hold pad tight
- Staple every 6-inches along the opposite edge
- Staple other edges
- Staple butt joints
- Cut off excess padding
Keep reading the rest of this post for details on each of the above steps. This guide includes all you need to know to staple down your carpet padding successfully.
How To Staple Down Carpet Padding
These directions apply only to carpet padding that you are laying on top of a wood base [so wood subfloor or old wood flooring]. For hard bases, such as tile or concrete, instead, find directions for how to glue down carpet padding.
1. Staple one edge every 6-inches
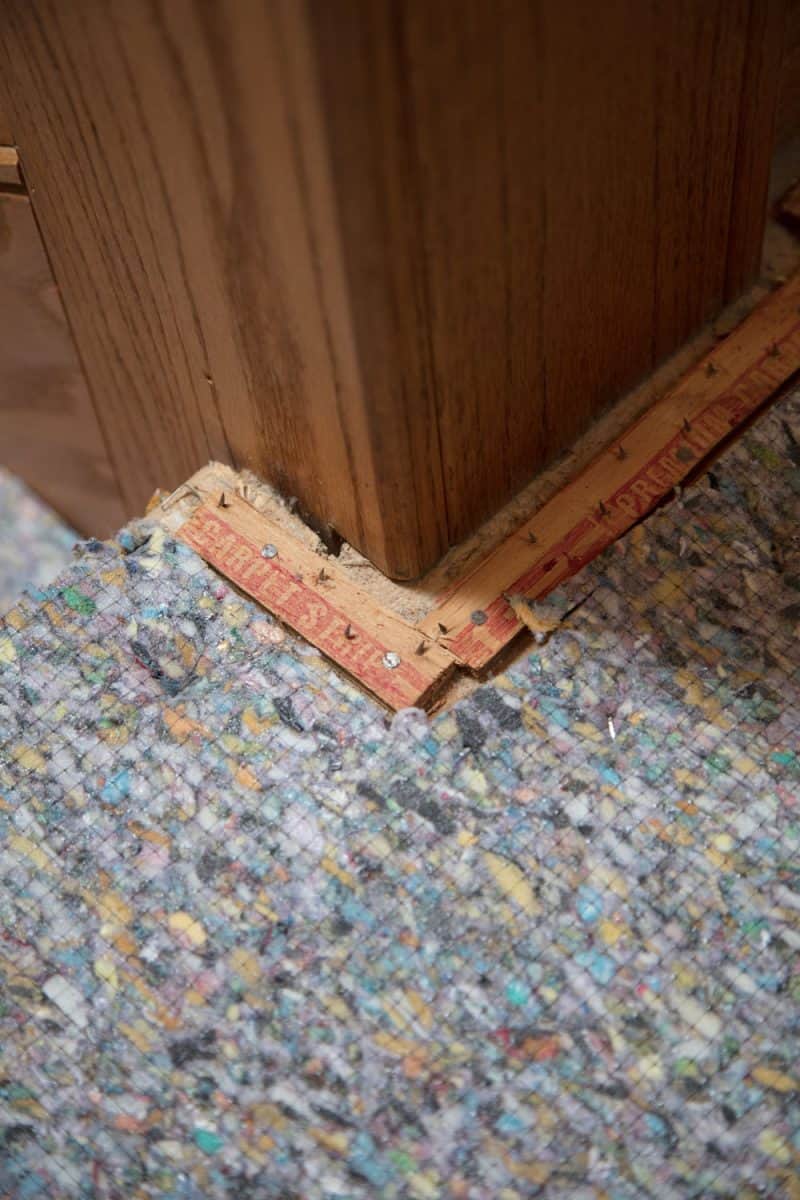
If you have fully prepped the subfloor, rough-cut the pad, and laid the pad down, you should have one edge that is perfectly lined up with the already installed tack strips. You want all edges to sit in about 1/4-inch from the tack strips, thus giving the carpet room to grab the tacks.

Click here for a hammer tacker from Amazon.
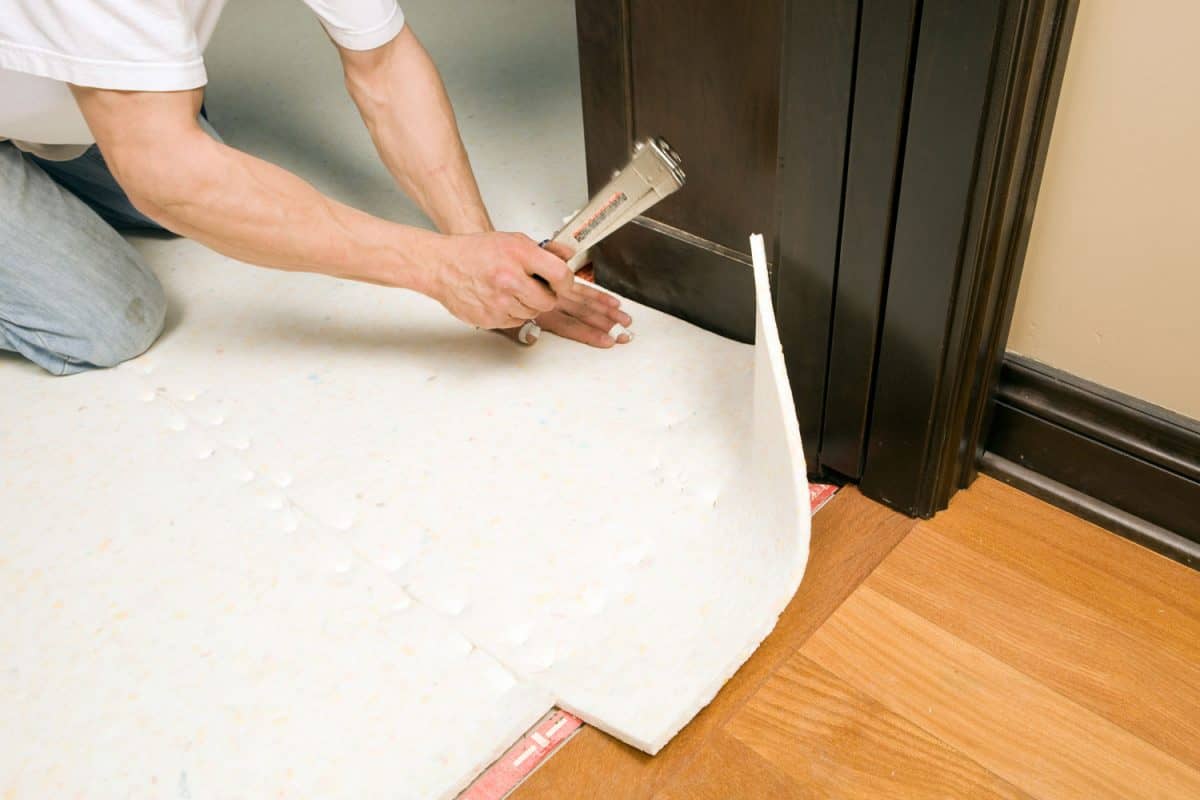
Now, hammer staples along that edge. Drive-in one staple every 6-inches or so. The exact spacing is not critical, but you want to follow roughly this schedule. Using a trigger stapler is possible but requires significantly more work per staple.
The goal is to get the staples approximately 1-inch from the edge of the pad. The goal is to drive the staples close to the edge but not so close that you run the risk of tearing the pad when you eventually stretch it across the room.
2. Staple another row 1-foot in every 8-inches
Now you want to staple another row about 1-foot towards the center of the room along the entire edge you have already stapled. This second row of staples adds strength so you can really stretch the pad during the next step.

Click here for 3/8" staples from Amazon.
You do not need to put staples so frequently for this second row. Instead, only drive a staple every 8-inches or so.
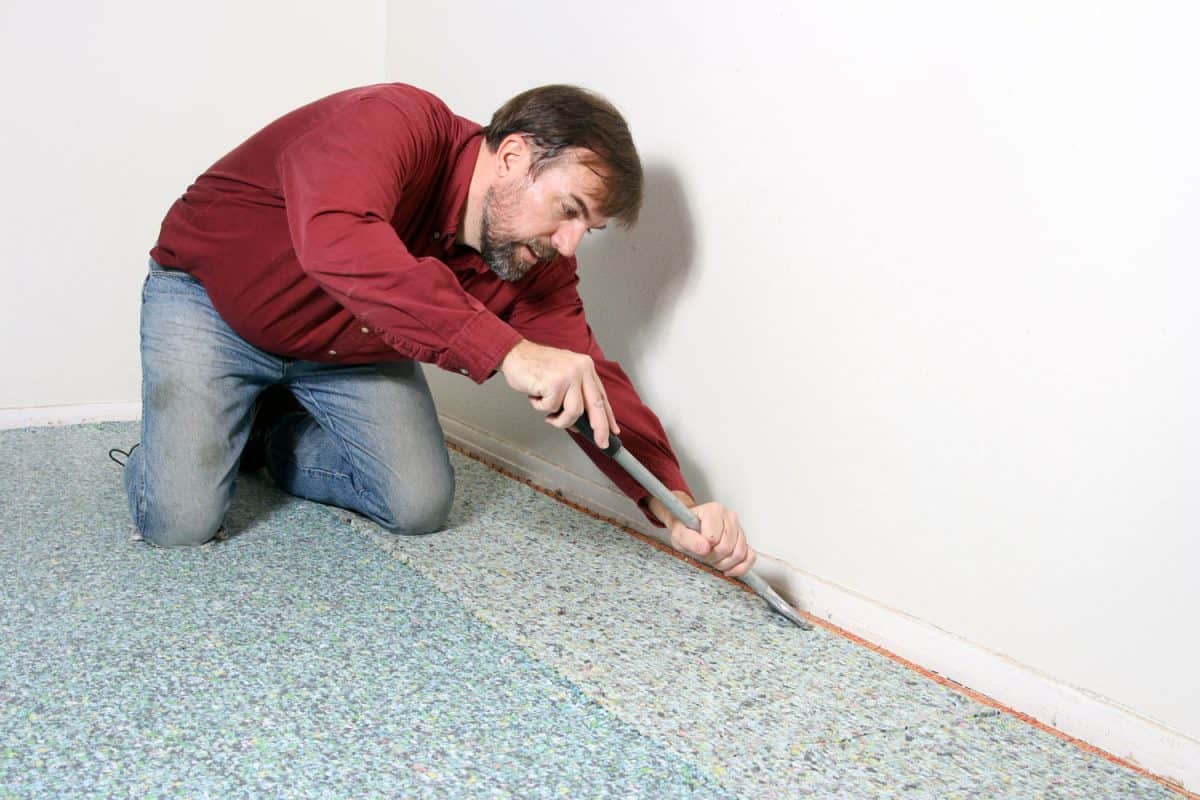
3. Pull pad tight from the opposite edge
Now, go to the opposite side of the room and stand under the pad near that wall. From this stance, you can pull the pad tight across the room. This step is very important because if you fail to stretch your pad, you may have uncomfortable folds and wrinkles once the carpet is installed.
The goal is to stretch the pad out so it is tight and flat but not so stretched that the edged perpendicular to the stapled edge starts to lose shape. To understand what pressure to use when stretching carpet pads, consider watching some YouTube videos like the one linked at the bottom of this section.
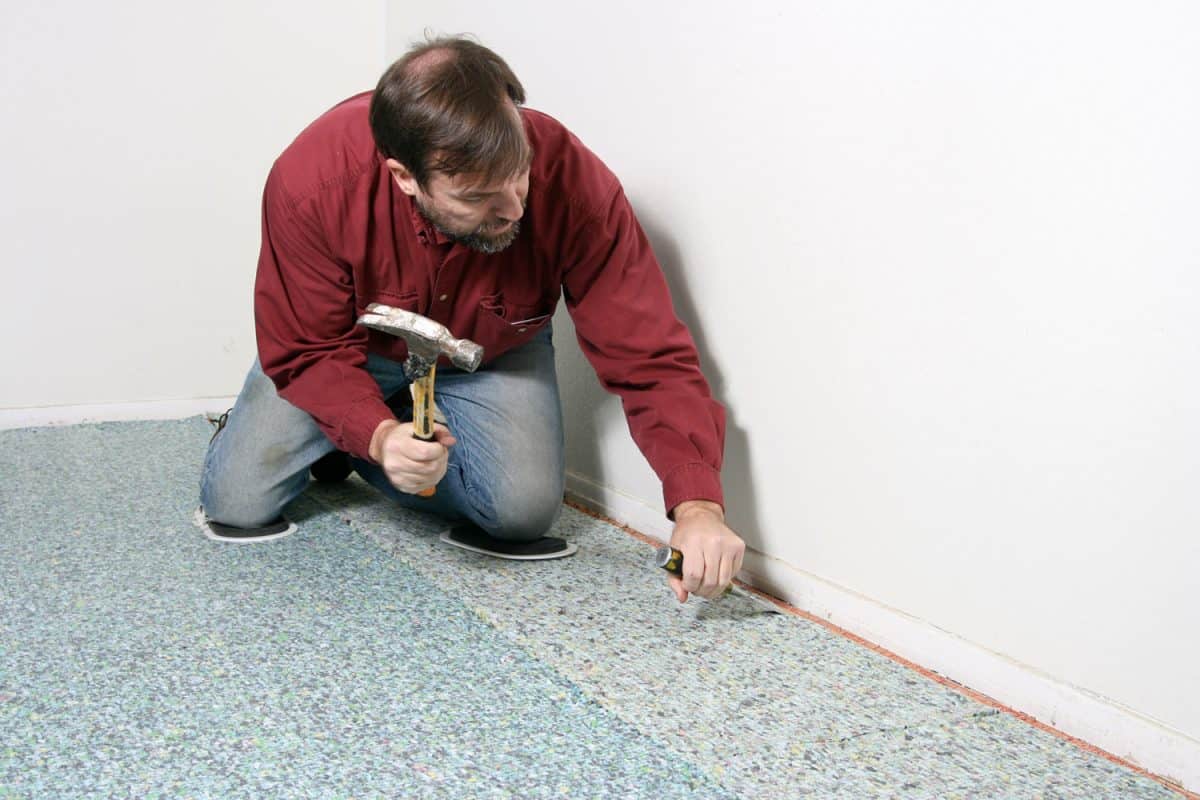
4. Staple a row to hold pad tight
When stretching the pad, staple a row of staples in front of you to hold the stretch in place. Given the space you need to stand under the pad, this row will be between 1-foot and 2-feet from that wall. Like the other reinforcing row we stapled earlier, these only need to be 8-inches or so apart.
5. Staple every 6-inches along the opposite edge
Now that the pad is stretched, you can step off the subfloor onto the pad itself. This allows you to staple every 6-inches along that edge. Since you just stretched the pad, you will expect an extra pad hanging over the tack strip and up the wall. Do not worry; we will cut that off in a later step.
Given that the pad is now solidly stapled on two opposite edges, it is now possible to walk around on the pad without worrying that it will move.
6. Staple other edges
Taking advantage of this, you can now staple all other edges at a schedule of 6-inches. As for the first edge, we stapled, try to get these staples about 1-inch away from the eventual edge of the pad.
Take note, since the pad is currently only roughly shaped, the edges you are stapling may not yet be perfectly cut. Therefore, eyeball where the edge will be given the current location of the tack strips.
As you hammer staples around the other edges, keep in mind how important a smooth, slightly stretched pad is to eventual floor appearance and comfort. Therefore, you will need to slightly stretch the pad here and there before you drive the staples in that area.
7. Staple butt joints
To clarify, butt joints are where two sections of pad meet each other in the middle of a room or doorway. Stapling these joints is the most technical part of the carpet pad stapling process.
To staple, drive a staple every 4-inches or so on each of the butt edges. Swing your hammer tacker at an angle so that the staple and the force of the blow help pull the butt joint together. Do this along the entire butt joint.
Considering the importance of a smooth pad, staple the butt joints concurrently with the other, as yet unstapled, outside edges. This means that sometimes, you will staple the edges first, but you will staple the butt joint together other times. Just choose the order which eventually produces a smooth and even pad.
Take note, be sure that both of the carpet pad pieces are stapled and stretched on at least two edges before you staple down butt joints.
Can you tape butt joints?

Click here for seaming tape from Amazon.
It is possible to tape butt joints. However, the process is more complicated than just running a strip of packing tape along the joint. Instead, you need special seaming tape and a heat gun to activate the adhesive fully.
8. Cut around irregularities and cut off excess
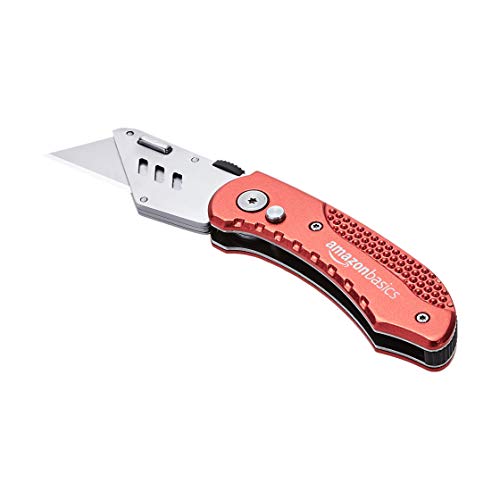
Click here for a utility knife from Amazon.
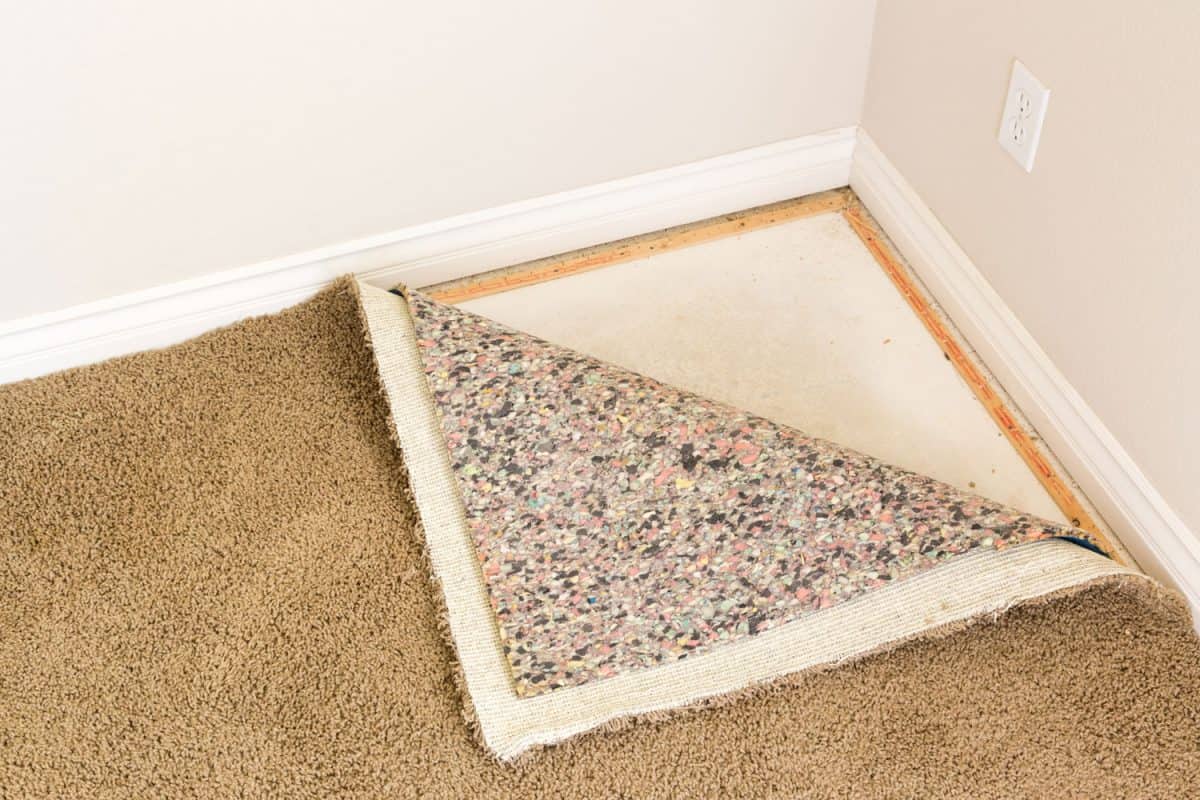
Now that the pad is fully fixed to the subfloor, you can be sure that any additional cuts you make are in the correct spot. Therefore, now go around and cut all excess padding off. As mentioned above, the goal is to have the padding run to about 1/4-inch from the tack strips.
Here is a great video that covers most of the steps outlined in the above section:
What staples do you use for carpet padding?
As long as the subfloor is wood, use standard wood staples. The length of these staples depends on the thickness of the carpet pad you are using. However, the general length is 3/8 of an inch. For very thin carpet pads, you might want to use 1/4-inch staples.

Click here for another 3/8" staple option from Amazon.
When stapling into hardwood, which sometimes happens if you are installing carpet over wood floors, the staples may not fully drive at first. To account for this, you may have to drive the staples with a hammer after they are partially set with the stapler.
How to prepare subfloor for carpet pad?
Even and continuous subfloor is critical for a successfully laid carpet pad and carpet. Therefore, be sure to fill in any areas of uneven flooring. Sometimes, this involves adding pieces of subfloor and framing. It is imperative to fill any gaps between subfloor pieces greater than 1/8-inch.
Can you staple the carpet down?
Yes, it is possible to staple carpet down. Generally, you will want to use 1/2-inch staples or larger ones. Be sparse with your staples and only put in enough to ensure that the carpet stays down and in place. If the subfloor is hard, be sure to fully sink each staple with a hammer.
How often do you staple a carpet pad?
As discussed above, the schedule for stapling a carpet pad varies based on where you are sinking the staples. Around the edges, convention says one staple every 6-inches. For reinforcing rows, you usually only need a staple every 8-inches.
Finally, for stapling butt joints together, you will need far more frequent staples at one every 4-inches or so on each side of the butt joint.
Can you hammer carpet staples?
You can hammer staples that are designed for being hammered. These types of staples are usually much stiffer than normal staple gun or hammer tacker staples. Because of this, the staples are more likely to be uncomfortable underfoot.
Additional Reading
To learn more about carpet and carpet pad installation, read these great articles from Uooz:
- What Kind Of Stapler And Staples To Use For Carpet?
- How To Lay Carpet Without A Knee Kicker
- How To Carpet Open Riser Stairs? [8 Steps]
In Closing
In this post, we covered how to staple down carpet padding. This includes a detailed step-by-step instructional section. To conclude, we answered several questions related to the topic of this post and provided an additional reading list. Good luck!