
When you have a damaged wood floor, a little bit of time and skill can save you the expense of replacing the whole floor. Wood filler, a putty-type substance, can be used to fix the damage and make your floor look good as new once again. If you choose to repair your floor using wood filler, you may be wondering how to stain it to match the surrounding color. We saved you some time by researching this question and bringing the answer to you.
You can stain wood filler to match your floor by following these steps:
- Gather or purchase the correct materials.
- Follow product directions to repair damages with wood filler.
- Sand the area containing wood filler.
- Test the stain color.
- Apply stain.
- Make necessary adjustments.
If you have experience repairing wooden floors, these steps will be a piece of cake for you. If you're new at this process, though, we're here to support you. Keep reading for an explanation of each step. By the time you're finished, you'll be ready to repair your floor with confidence.

Steps To Stain Your Wood Filler
1. Choosing Your Materials
There are a number of materials that you need to purchase or gather before you begin your project. Having to stop in the middle of your work to get something you need is frustrating and can ruin your final project.
Wood Filler
Wood filler comes two ways. Filler that is already colored is designed to be applied as-is; it cannot be modified. Stainable wood filler can be colored with stain to match the surrounding floor more accurately.
For this project, you will need stainable wood filler. It is important that the filler you choose explicitly states that the filler is stainable. Bob Villa recommends Elmer's Carpenter's Color Change Wood Filler if you are a beginner. This brand is easy to work with and clean up. The filler also changes colors --white or natural when it is dry to eliminate guesswork.
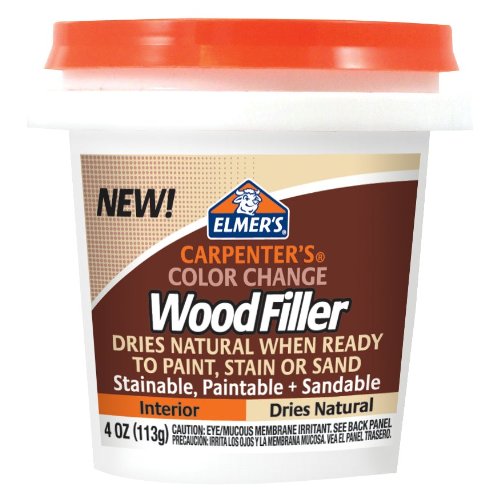
Click here to see the wood filler on Amazon.
Wood Stain
Before you leave your home to go shopping, take a picture of the floor you are repairing. If you have a sample of the floor, that is even better. This way, you will know what color stain you need while you are at the store. Keep in mind that it is easier to darken stain than it is to lighten it, so if you can't find an exact shade, it is better to choose a lighter one.
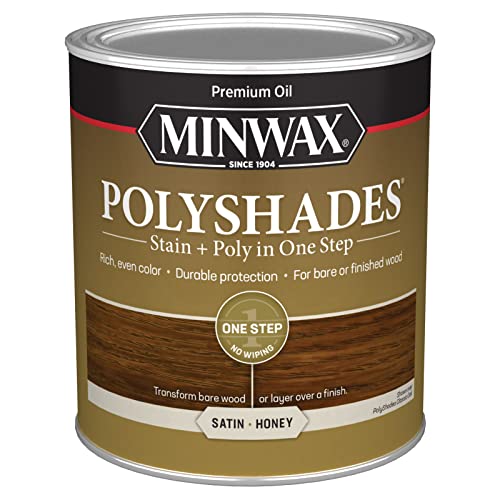
Click here to see this wood stain on Amazon.
Can You Use Gel Stain Over Wood Filler?
Not only can you use gel stain over wood filler, but it is also recommended that you do so. Because gel stain is thick, it will do a better job covering the wood filler than other stains.
Other Tools And Supplies
Last but not least, make sure you have all the tools and supplies you need to complete this project. This includes a putty knife, paintbrush, and sandpaper. You also want something to protect your space while you are working.
2. Apply The Wood Filler
Apply the wood filler to the damaged area or areas according to the manufacturer's directions. Pay special attention to any directions that tell you how to prepare the filler for staining. For example, you may be advised to let the filler set for a certain amount of time before staining it.
3. Sand The Area
Sanding the area where the wood filler was applied ensures that the area is flush with the surrounding floor. The sanding process also creates some texture in the wood filler so that the stain will adhere properly. Be careful not to isolate the sanding on the area surrounding the wood filler so that you don't damage the surrounding floor. After sanding the area, use a dry cloth or small vacuum to clean up the excess debris.

Click here to see this 220 grit sandpaper on Amazon.
4. Test The Stain Color
If you could find a floor sample to take with you to the store, you could use that sample to test the stain that you've purchased. If you couldn't find a floor sample, you can test on a small area of the wood filler you applied. Go through the entire staining process, including the drying time between coats, to ensure that you have the correct stain color.
If your stain is too light, you can darken it coat by coat until you reach the desired shade. A stain that is too dark can be thinned out with water. Be careful doing this too much, though, because you don't want to ruin the stain's consistency.
Of course, you may find out that the stain you chose is the wrong shade entirely. If this is the case, you will have to go back to the store and try again. While you can darken or lighten a stain for shades that are off by just a touch, you can't transform a shade that simply isn't a match.
Once you are sure that you have a close shade and you know what to do to correct it for the final look, you are ready to continue your project.
5. Apply Stain
Begin applying your stain, starting with a thin layer. Take your time with this step, ensuring that you are applying even coverage to the area. Once you've applied one thin layer to the entire wood filler area, leave the area to dry. You can consult the directions on the stain's container for the drying time.
6. Make Adjustments
Once your first layer of stain is dry, you can check your work and make any needed adjustments. You can add another layer of stain if the shade needs to darken, or you can add the wood grain details at this time if you are planning to do so.
Remember that even when you are making adjustments, you still need to allow the entire drying time. Skipping ahead to a new coat without allowing one to dry completely can result in a shade that is too dark.
Can You Color Wood Filler?
Yes! You can color wood filler so that it matches your floor or furniture. However, it is important that you choose the correct products for the wood filler you are using. In addition, some types of wood filler require extra steps in the coloring process. For example, soft wood should be treated with a wood conditioner prior to coloring it.
How Do You Cover Up Wood Filler After Staining?
The first step to covering up wood filler after staining comes in before even beginning the filling and staining process. When you purchase your stain, you should purchase the shade that most closely matches the surrounding wood. Wood stain builds color as more coats are applied, so it is much more difficult to lighten stain to match the surrounding wood than it is to darken it.
If your filler is lighter than the surrounding wood when you are done staining it, you can apply another thin coat and let it dry. Letting it dry between coats will allow you to see the true shade of the stain. Repeat the process, adding a thin coat of stain and letting it dry, until you reach your desired shade.
How To Make Wood Filler Look Like Wood Grain?
To imitate wood grain on your wood filler, you will have to channel your inner artist. Start by staining the wood fill like usual, matching it to the background color of the surrounding wood. After you reach the desired shade, you can add the grain details.
Choose a stain or wood paint that matches the color of the surrounding wood's grain. You can then paint or airbrush grain details onto the filler so that it blends in with the surrounding wood.
Summary
Now that you know the basic process for repairing and staining your wooden floor, you can lengthen the life of your original flooring. If your floor becomes damaged in the future or you have other areas that need to be repaired, you can use the same stain that you used, as long as the area you are repairing is the same color.
This process can also be applied to any wooden furniture that needs to be repaired. Follow the steps you used to repair your floor, ensuring that you have the right shade of stain for the furniture you are repairing.
For more information about wood filler and stain, take a look at the following articles: