Do you want to remove the new construction windows but are not sure how to do so? Worry no more! We've researched the steps just for you.
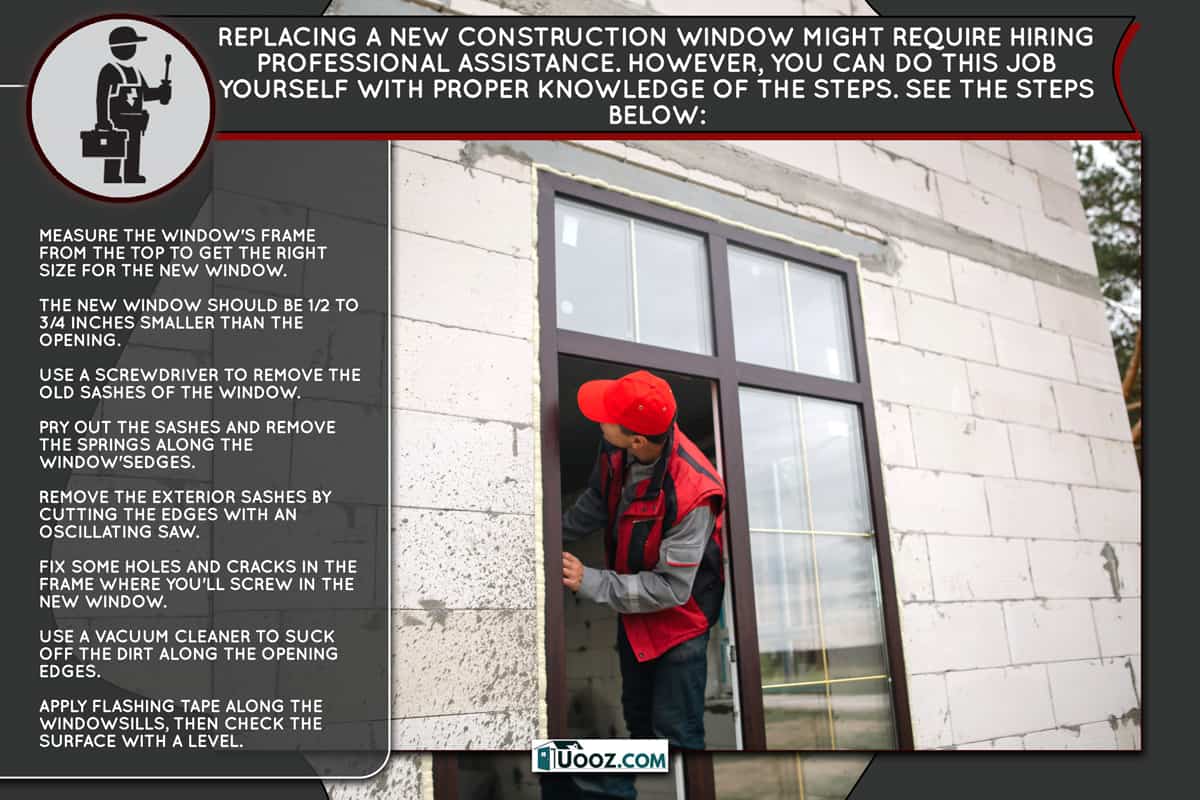
Replacing a new construction window might require hiring professional assistance. However, you can do this job yourself with proper knowledge of the steps. See the steps below:
- Measure the window's frame from the top to get the right size for the new window. The new window should be 1/2 to 3/4 inches smaller than the opening.
- Use a screwdriver to remove the old sashes of the window.
- Pry out the sashes and remove the springs along the window's edges.
- Remove the exterior sashes by cutting the edges with an oscillating saw.
- Fix some holes and cracks in the frame where you'll screw in the new window.
- Use a vacuum cleaner to suck off the dirt along the opening edges.
- Apply flashing tape along the windowsills, then check the surface with a level.
- Fit in the new window, and apply a caulk sealant along the edges.
- Screw the shims on the frame. Add shims between the rails if needed to ensure that the sashes will fit into the frame.
- Apply spray foam insulation to the window's edges.
- Measure the window's height from the sill, then cut the sill adapter.
- Drill a weep hole at the bottom of the sill adapter, then lock it on the window.
- Install the exterior trim by hammering it around the window frame.
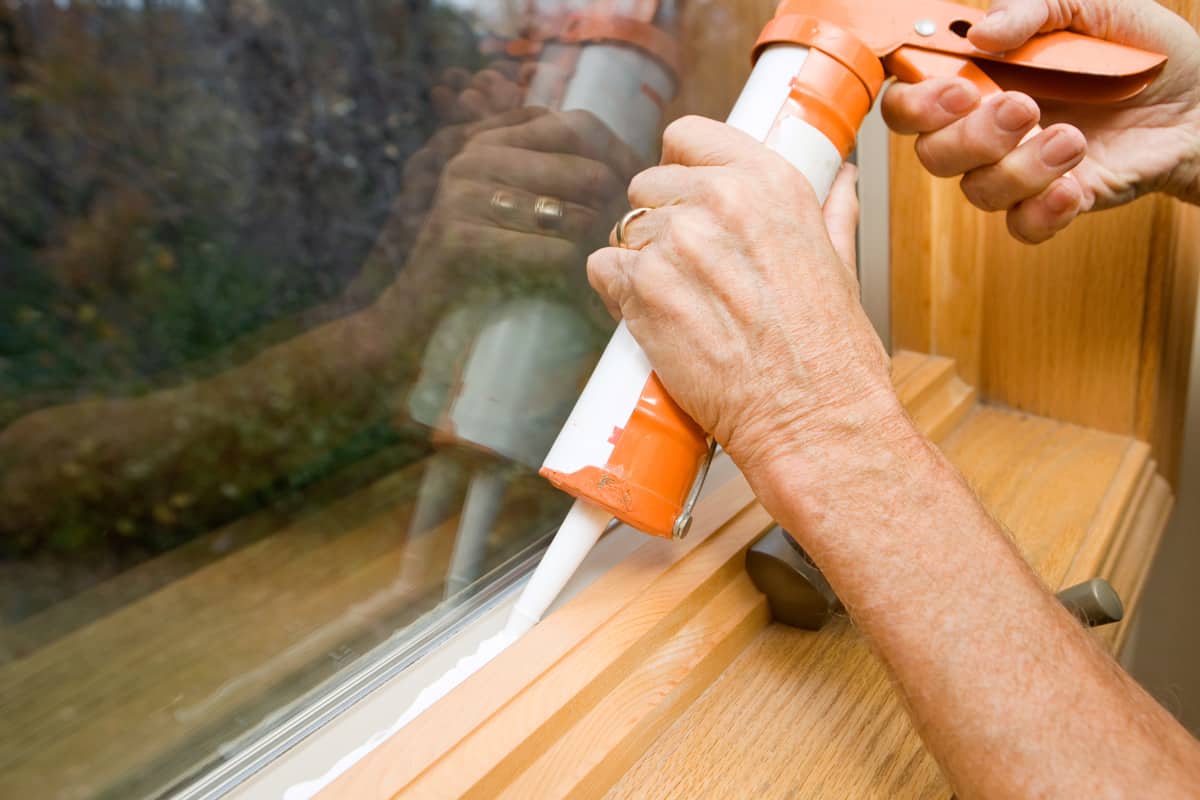
- Seal the edges with a caulk sealant. Don't seal the weep hole.
- Finish by applying caulk to the interior trim.
This time, we'll talk about new construction windows, providing detailed removal steps and why you'd want to remove them. We're thrilled to share more with you. Come and join us in reading!

How To Replace New Construction Windows

A new construction window is usually a plain frame that has no design. It's because the construction workers need to finish the wall first and ensure that it will not collapse. That's why they make an outline for the window to leave sufficient space for installation.
You can replace such a window with any style you prefer. The installation steps will differ depending on the window type you'll use. But the main intent is to fit the replacement window within the frame. So, measure the frame and find a suitable window in a home renovation store.
It's important to seal the gaps along the window edges after installation. This is to protect your home from weather and dirt, as well as keep the window stable in place.
You can watch a video here on how to replace a window:
Window Types: Installation Instructions

Of course, you should know the different window types you can install for your home. See below for your options.
Awning Window
An awning window swings outward from the bottom. It has a hinge at the frame's top edge, allowing you to push the window open and give space for air. An awning window is also good for increasing the amount of light and enhancing the ventilation in a basement, for instance.
You can refer to the product's guide for installation. However, see the steps below:
- Check the window if its edges are level. Measure the frame to identify the right window size.
- Cover any holes or cracks in the frame. You can use putty or a window sealant.
- Test the window by fitting it into the frame. Ensure that you can open and close it without obstructions.
- Assemble the window parts, such as handles, depending on what's included in the package.
- Apply a sealant along the frame at the top, bottom, and side edges.
- Now, slowly install the window. You should push it with gentle force to adhere to the sealant.
- Open the window, then measure 1-2 inches away from the four corners to mark holes for drilling.
- Close the window, then place the shims behind each hole to ensure that the window will be perfectly level on the frame.
- Open the window again and start screwing the frame.
- You can now use the window as intended.
Sliding Window

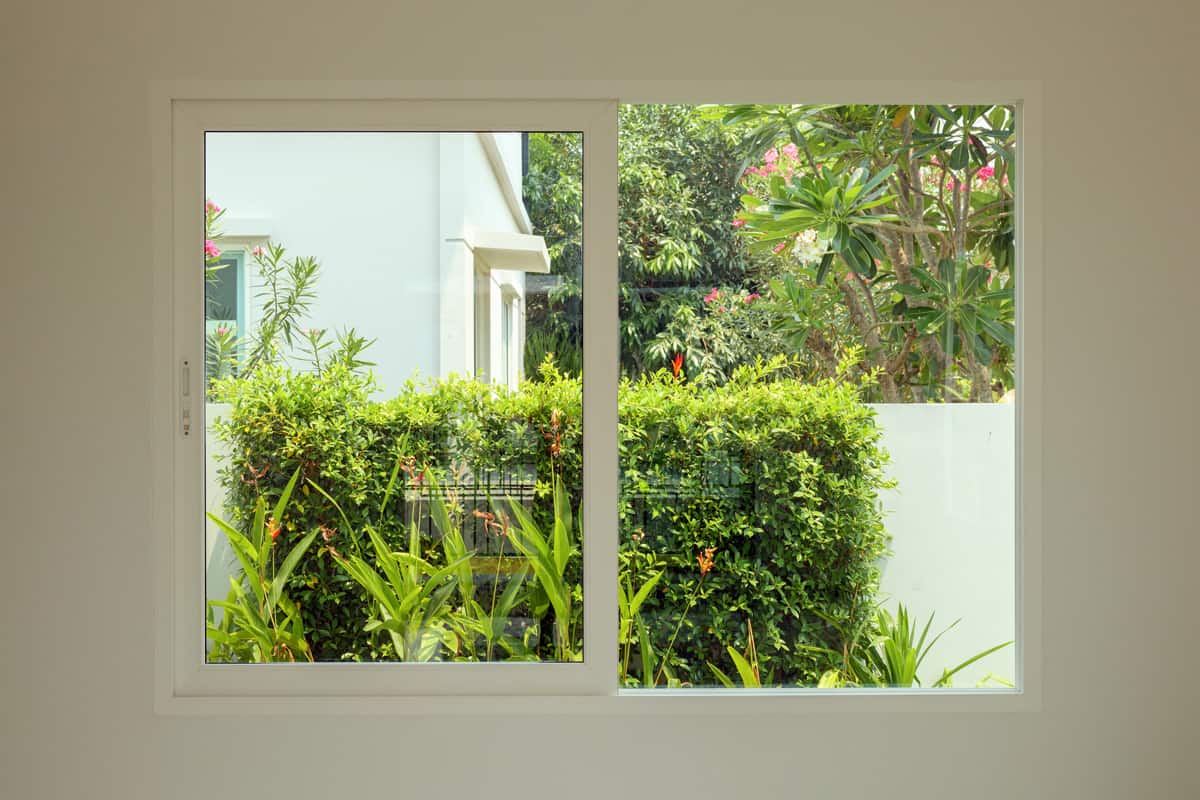
A sliding window can open and close horizontally, overlapping the two panels to allow space either on the left or right side. There's also a three-panel sliding window depending on the manufacturer.
It can save space since it doesn't protrude when you open it, unlike the awning window. However, water could pool on the windowsill. That's why you should choose a sliding window with a small drainage hole.
Refer to the steps below in installing a sliding window:
- Measure the height and width of the window opening to get the correct window size.
- Roll the aluminum sack to cover the window, then trace the edges with your fingers.
- Cut the sack with a utility knife starting from top to bottom.
- Staple the sack against the wall.
- Mount the window into the frame, then level it by inserting and screwing some wedges.
- Screw the remaining holes.
- Slide open the window to test it.
- Finally, install the jamb flashing along the window's edges.
You can watch a demonstration here:
Fixed Window
A fixed window has no opening and is intended to be closed at all times. It's usually made of glass to allow light to pass through it.
Follow the steps below to install a fixed window:
- Lay the window parts on the floor, then assemble them according to the product guide.
- Apply a silicon caulk on the stainless bar.
- Adhere the stainless bar between the window panels.
- Attach the exterior cover on top of the stainless bar, then thump it with a rubber mallet.
- Flip the window, then install the goal post into the stainless bar.
- Install the entire window into the opening.
- Screw the window into the frame, then remove the interior cover and set it aside.
- Align the anchor plate into the goal post, then screw the plate by the holes. Do this to the top and bottom goal posts.
- Screw in the stainless bar to enhance stability.
- Put back the interior cover between the panels, then thump it.
Watch a demonstration here:
Glass Block Window
It's a series of square translucent glass blocks installed into the wall to completely restrict airflow yet allow light to pass through it. Glass block windows are common in basements and bathrooms.
Since it's translucent, you cannot identify what's on the other side, but you can see the color or shadow of an object. Such a type of window can increase the privacy of an area. However, installing the glass blocks may require a professional to avoid breaking the glass and causing injuries.
Can You Insulate a Window?

Yes, you can insulate a window to enhance the room temperature. This will help keep the area warm during the winter by trapping heat and preventing air drafts from entering the house. Insulation can also block moisture from triggering mold growth in walls.
See below for some insulation you can try.
Insulating Film
It's made of a thin layer of plastic that reduces the heat transfer when sunlight passes through the window. You can simply attach it to a glass window to absorb heat and preserve the temperature to keep your house warm at night. However, insulating film can blur the window and restrict you from seeing things on the other side.
See this insulating film on Amazon.
Weatherstrip
It's a material you can install on the gaps between the window and frame. Weatherstrip varies from solid like a rubber strip to liquid-like a silicon caulk. However, silicon caulk quickly dries out and turns into a solid element. As a result, using a weatherstrip will secure your window from movement, heat, and moisture.
See this weatherstrip on Amazon.
Thermal Curtain
A thermal curtain is a type of fabric that has an insulating layer. You can simply hang a curtain on a rod and place it on top of a window. Aside from preserving heat, thermal curtains can add appeal to your home. It acts as a blind to minimize the light and improve the room's privacy.
See this thermal curtain on Amazon.
Conclusion

It's really a comprehensive article, isn't it? We learned how to replace a new construction window and provided some options for window types to use. We then discussed other related matters that are useful for your home renovation.
We can learn more together! Come and visit us here:


