
The foundation of a home and the ground beneath it is bound to shift over time. This phenomenon can cause cracks in the walls and floors of your home. Unfortunately, there is little that you can do to stop these changes. The good thing is that you can repair these cracks either yourself or by hiring a contractor. We researched the best ways to do it, and in this post, we will go over them.
Here are the steps to repair foundation cracks:
- Dry the area
- Clean the crack
- Create the injection ports
- Mix the epoxy solution
- Install the injection tube
- Apply liquid sealer to the crack
- Inject the epoxy
- Seal in the injection ports
- Remove the ports
Naturally, all homes age over time. The types of foundation cracks in your home will depend on how your home was built and the ground on which it was constructed. Some cracks may be smaller, while others will be larger and require a more complex repair job. Continue reading to learn how more about the different types of cracks and how to go about fixing them.
Contents
- 1 Steps to Repair Foundation Cracks
- 2 Fixing Other Types of Cracks
- 3 Can cracked foundations be repaired?
- 4 When should I be worried about foundation cracks?
- 5 What are the signs of a bad foundation?
- 6 How much does it cost to fix a crack in the foundation of a house?
- 7 Can you sell a house with a cracked foundation?
- 8 Wrapping Things Up
Steps to Repair Foundation Cracks
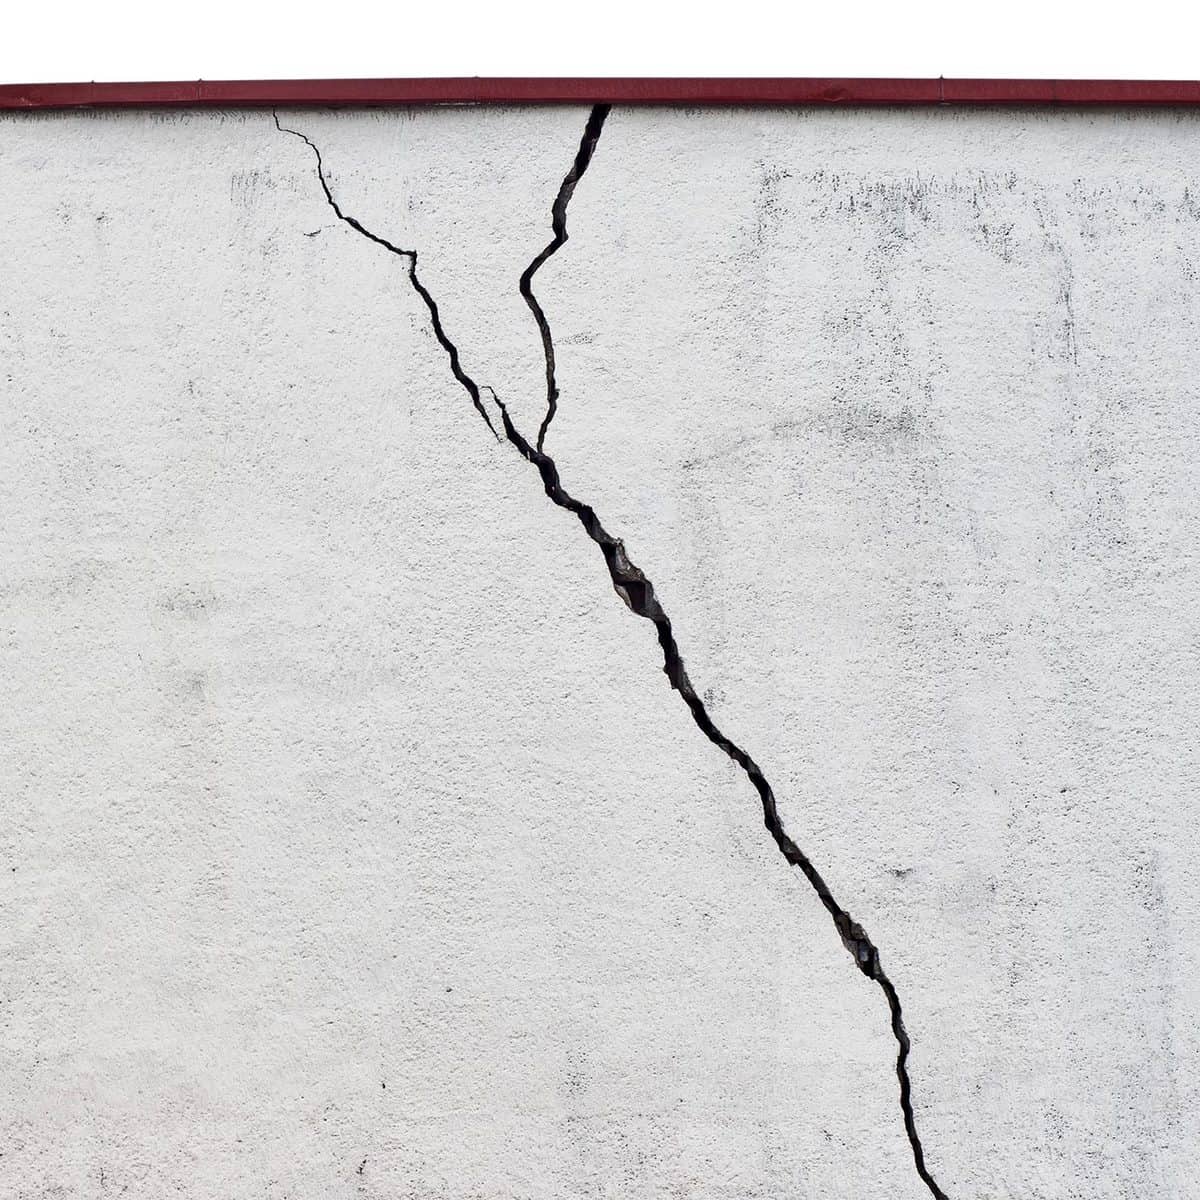
If you have large cracks in your walls --for example, if the cracks are over seven feet long-- an epoxy injection can help to prevent them from spreading further and from leaking water. Oftentimes these kits will come with a two-part solution that is to be injected into the wall.
Foundation cracks can also be repaired using a patching compound or concrete caulk. These methods provide a more thorough repair job and can help to prevent additional cracks. Let's look at how to do it.
Things you'll need:
- Epoxy sealer or liquid concrete repair kit
- Wire brush
- Hammer
- 3-inch finishing nails
- Putty knife
- Cleaning cloth
1. Dry the area
Before applying the epoxy, be sure that the wall around the crack is completely dry. If it feels damp to the touch, take a blow dryer and dry it out for about 5-7 minutes.
2. Clean the crack
Next, clean the area using the wire brush. You can also use a cleaning cloth as well. Be sure to remove any debris and dust from the wall, as it can prevent the epoxy from reaching inside of the crack. You can use a shop vacuum to remove debris easily.
3. Create the injection ports
Next, take a hammer and drive 3-inch finishing nails into the entire crack. Be sure to place the nails at least a foot apart. The nails are used to create the injection holes so that the epoxy can fill up the cracks.
4. Mix the epoxy solution
Next, combine the ingredients of your epoxy kit. Most kits will come with two-part ingredients that will need to be mixed using a putty knife or a stirrer.
Be sure to follow the directions and mix the ingredients according to the amounts given. Blend them together with the putty knife until all of the lumps are gone.

Find this putty knife on Amazon.
5. Install the injection tube
After your epoxy has been mixed, set up your injection port. Slide the port on top of one of the finishing nails, and press it firmly into the wall. Do this for all of the ports until you have reached the end of the crack.
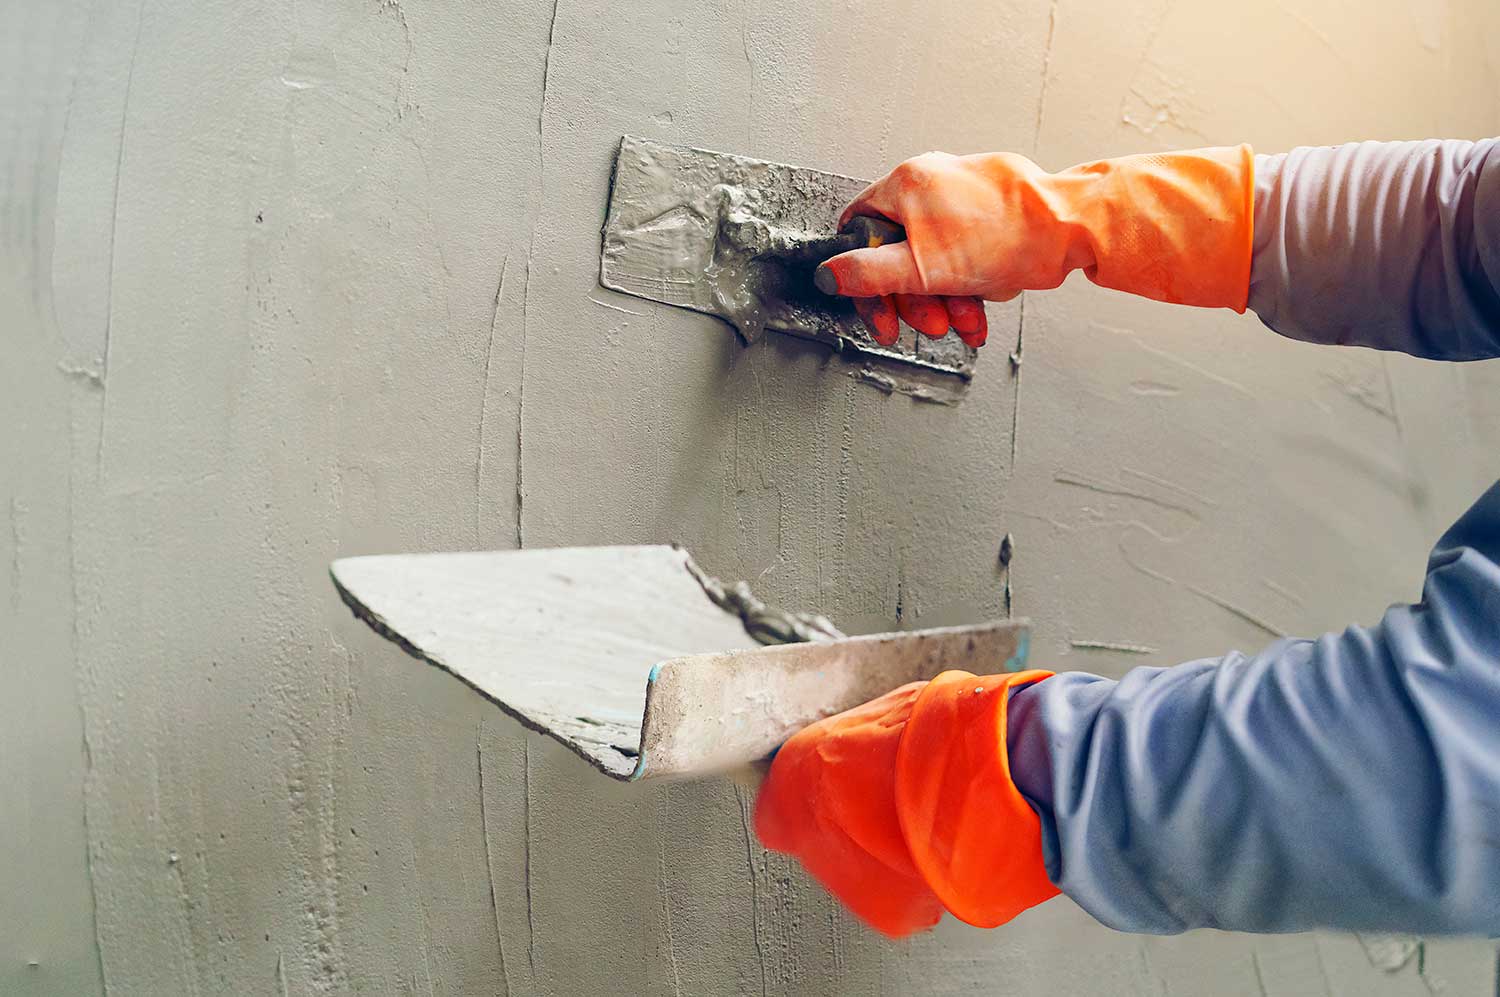
6. Apply liquid sealer to the crack
Next, take your liquid sealer and apply it at the crack using a 1 1/2-inch thick putty knife. The layer of sealer should be about 1/8-inch thick.
Be sure to spread out an inch or two above and below the crack line. Also, smooth out the edges with your putty knife.
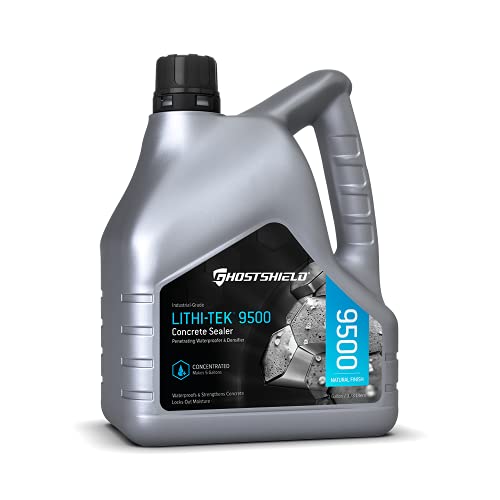
Find this concrete sealer on Amazon.
7. Inject the epoxy
Next, use the plunger rod that comes with the epoxy kit to inject the epoxy into the injection port. When squeezing the trigger, be sure to squeeze it slowly to ensure that you don't cause the crack to overfill. Doing so can waste the solution and make for a messy cleanup.
8. Seal in the injection ports
After applying the epoxy to all of the ports, seal up the crack using the concrete sealer. You may find that epoxy oozes from the cracks; simply scrape it away using a putty knife. Be sure to plug up the entire crack and check coverage once complete.
8. Remove the ports
Next, after letting the solution cure for the recommended time (typically 3-5 days), cut off the injection ports using a portable saw or a box cutter.

Find this portable saw on Amazon.
Fixing Other Types of Cracks
If you have smaller cracks such as hairline cracks or foundation cracks that aren't necessarily deep or long, you can use a less-invasive method to repair them. Let's take a look at how.
Fixing hairline cracks
Hairline cracks are typically categorized as those that are less 1/16-inch thick or less. You can usually use a vinyl concrete compound to patch these up.
Before doing so, you'll need to clean the area around the crack using a wire brush to remove debris and then apply a primer to create a solid bond. The patching compound works the same as putty for drywall.
It will usually require mixing with water or a concrete polymer. The compound can be applied using a paintbrush, trowel, or putty knife. When applying the mixture, be sure to press it firmly into the crack. On average, the patching compound will take anywhere from 2-5 days to cure. Afterward, it can be sanded down and painted.
Fixing larger hairline cracks
For larger cracks, use either a latex caulk, polyurethane, or silicon repair solution to seal the area. Most of the time, these solutions can be applied using a caulk gun as it helps to force the solution directly into the crack to prevent further spreading. These solutions are particularly effective for small cracks, as they expand once they are injected, preventing contraction and expansion of the foundation during times of drastic weather changes.
Similar to any other repair foundation repair method, the area surrounding the crack needs to be cleaned and completely free of dust and debris. After applying the foundation, it will need time to cure, which can take anywhere from 2-5 days.
And if the cracks are wider than 1/2-inch deep, you can also use backer rods to help provide more stability. These foam rods help support the patch, preventing the repair solution from sinking inside of the crack as it dries and ages.
Need a visual? Check out this video to see how it's done:
Can cracked foundations be repaired?
Yes. In most cases, you can repair cracked foundations affordably and fairly quickly. However, there are scenarios where the foundation may not be repairable, specifically those where there may be structural damage.
This requires an inspection from a licensed contractor. Some building codes will require a complete rebuild if the damage is too extensive.
When should I be worried about foundation cracks?
Most foundation cracks are caused by normal movement and stress beneath the home's surface, which is normal. However, if you notice a large number of cracks up developing in a short period of time or if a crack is especially long and deep, you may want to have a contractor come to take a look at your home.
So to say, the number of cracks, their size, and their location will play the biggest part in determining if your home has serious signs of structural issues. For example, if you notice the same types of cracks in multiple rooms in your home, it could be a sign of a bigger issue with the foundation.
What are the signs of a bad foundation?
A few signs that your home's foundation is bad include the following:
- The foundation appears to be sinking or settling beneath the home.
- You notice a large number of cracks appearing in your walls or floors within a short period of time.
- You have gaps appearing around your home's window frames are exterior doors.
- Your home's floors begin to sag or become uneven.
- The doors within your home begin to get stuck or won't close completely.
How much does it cost to fix a crack in the foundation of a house?
The cost to fix a crack in a home's foundation will depend on the size of the crack and its location. However, the repair can cost anywhere between $250 to over $10,000.
The reason is the price range is so large is due to the fact that there are several things to consider. Some cracks may require a simple patching job, while others will require a more thorough repair --as is the case with larger or deeper cracks.
Can you sell a house with a cracked foundation?
Yes. You can sell a home that has a cracked foundation. However, real estate laws will typically ask that you disclose this information to the seller. Not doing so can void your home sale and result in a lawsuit.
Wrapping Things Up
We hope that this post has helped illustrate how to repair foundation cracks. Before embarking on a mission to repair these cracks, it's best to ensure that you know what type of crack you're dealing with and whether or not it's a sign of a bigger and more serious issue.