
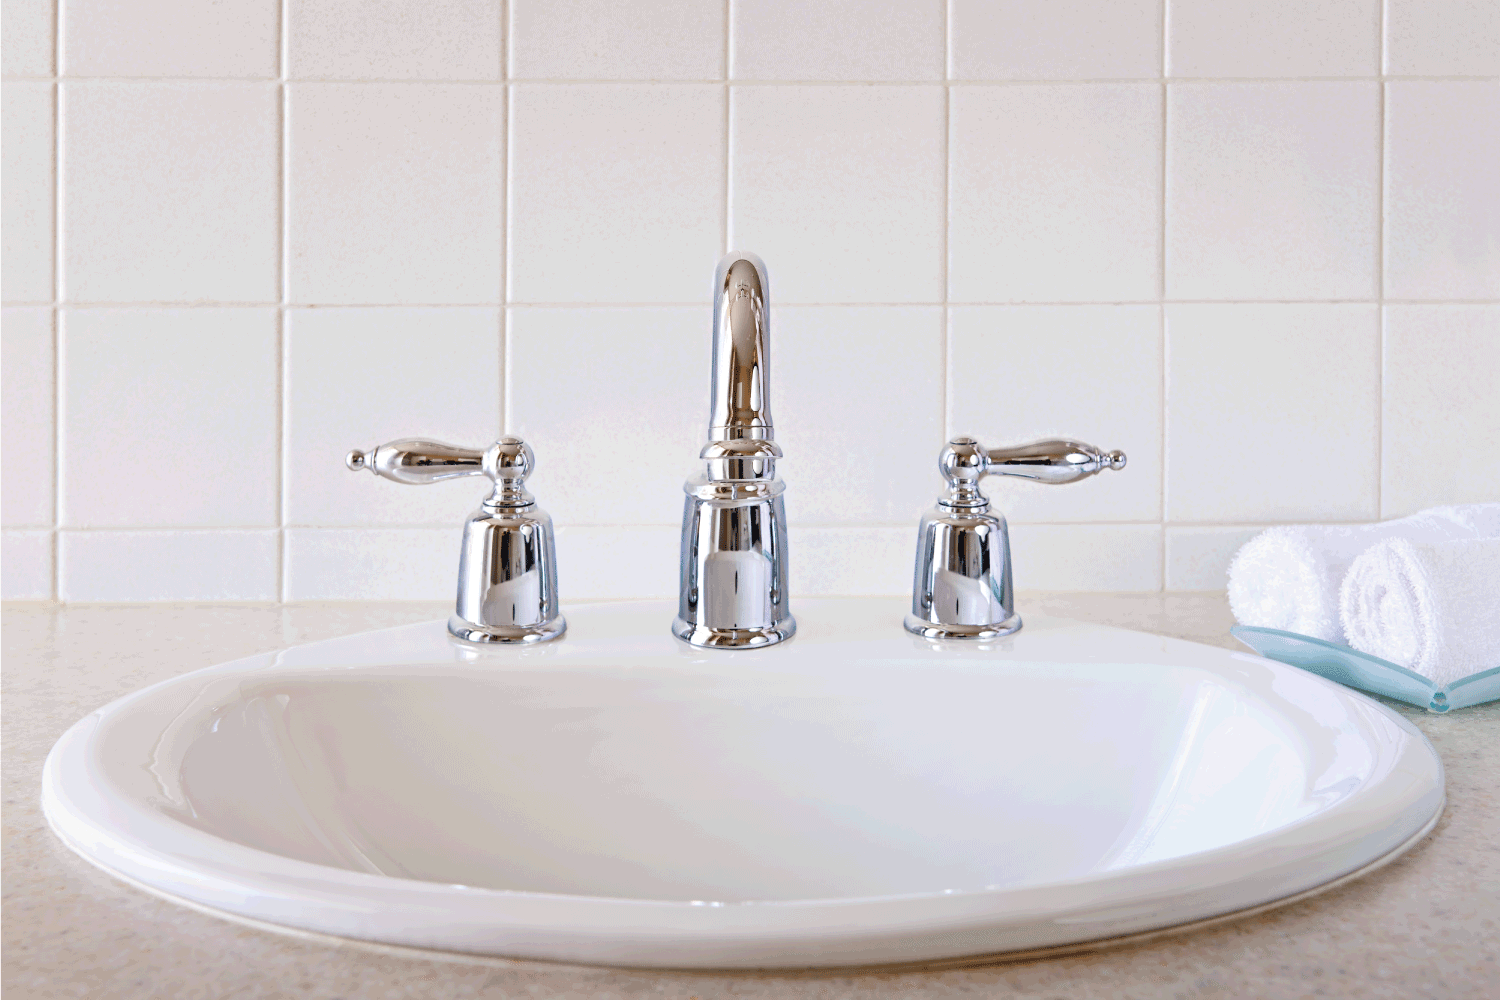
Sometimes a bathroom model means removing the old sink and replacing it with a new one. And if you are doing the job yourself, you'll need to know the best way to remove the sink safely. We've researched just how to do that. In this post, we will go over it.
Here are the steps to remove a bathroom sink:
- Shut off the faucet valves
- Relieve the water pressure
- Take out the drain
- Remove the tailpiece
- Take out the clips
- Cut the sink's seal
- Lift and remove the sink
If you plan to remove the bathroom sink yourself, it's best to have an extra pair of hands on deck to help lift the sink out of its position. This will prevent you from dropping the sink and cracking, especially if you plan to repurpose the sink or donate it to a charity. Continue reading to learn more about the steps to get it done.

Steps to Remove a Bathroom Sink
This tutorial will cover how to remove drop-in bathroom sinks as these are the most common types of sinks in American homes. Later in the post, we will discuss how to remove vessel sinks as well. Let's take a look at some of the tools and materials required for this project.
Things you'll need:
- 2-gallon bucket
- Adjustable wrench
- Screwdriver
- Pray bar
- Utility knife
- Pliers
- Basin wrench
1. Shut off the faucet valves
Before attempting to remove the sink, you'll first need to disconnect the faucet so that no water leaks while you're working on the project. You can do this by turning off the shut-off valves below the sink. Your sink may have one shut-off valve for both hot and cold settings or one for each. Turn off the valve by turning it to the left or counterclockwise.
2. Relieve the water pressure
Next, take your adjustable wrench and open up the sink by turning the pipe ring to the left. This will release some of the water pressure in the faucet. Next, place your wrench on the supply tubes to loosen them and then remove them from the valves. The supply tubes are the plastic tubes connected to the water shut-off valves.
3. Take out the drain
Next, place your two-gallon bucket beneath the sink right below the plumbing pipes. Then, take your pliers and loosen the small slip nut attached to the P-trap. The P-trap is the u-shaped plumbing pipe beneath the sink, which holds a few ounces of water and prevents sewer gases from coming into the sink. You'll need to turn the nut in a counterclockwise direction to loosen it. Once the P-trap is removed, you'll need to remove the trap arm as well.
Be sure that your bucket is still in position when you perform this step, as you don't want the water to spill over the bottom of the sink when you remove the trap. If your sink has a drain line hose running from it, you'll need to unscrew this as well. Use your wrench to unscrew the nut and then loosen the hose out of its position. In some cases, you may need to also use a pair of pliers to remove the drain hose as well--you can usually grip them around the top of the hose near the nut.
4. Remove the tailpiece
Next, take your wrench and place it around the nut connecting the sink tailpiece to the rest of the plumbing. Unscramble the tailpiece from the sink so that there is only the sink portion left and no plumbing pipes. The tailpiece is usually only 3 to 5 inches long.
5. Take out the clips
Most drop-in sinks will come with clips attached to the side of the sink that help to hold it in place. There are usually anywhere from two to four clips around the edge of the sink. You can typically twist the clips using your finger, especially if they are fairly new. If not, you can take your needlenose pliers and place them around the clips to turn them counter-clockwise.
Keep in mind that you want to only loosen the clips, you don't want to remove them completely, or the sink may fall.
6. Cut the sink's seal
You may often find that your drop-in sink will also have a seal around the bottom of it that meets the top of the vanity. This seal is almost always made of caulk and should be removed before attempting to lift the sink--or you may find yourself with a back strain. Take your utility knife and run it along the bottom of the sink to break the caulk seal.
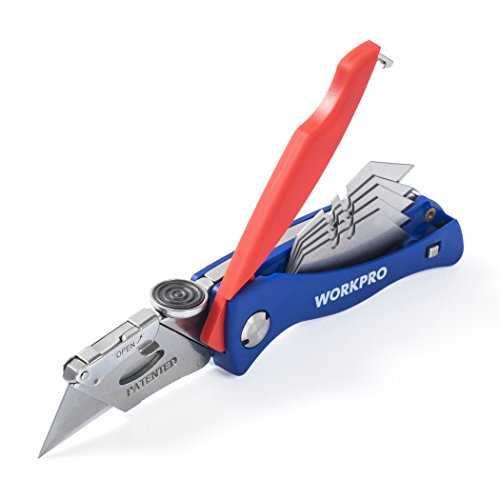
Find this utility knife on Amazon.
7. Lift and remove the sink
Now you can finally remove the sink. Have your assistant stand on the opposite side of the sink, and a while you lift the sink, have the assistant hold the bottom of the other side for a balance--this will prevent you from holding too much weight at once--this is crucial when it comes to removing heavier or larger sinks. Once the sink is completely lifted from the vanity, set it aside on the floor.
Can you remove just the pedestal without removing the sink?
Yes, this is possible. However, it depends on how the sink is attached to the pedestal. If the sink is attached to the wall, you may need to remove some plumbing and the sink before you can remove the pedestal itself. Before you can do this, you'll need to inspect the sink closely to see exactly how it's attached. Once you figure it out, you can uninstall the pedestal portion of the stink by simply reversing the procedure used to install it.
This involves no more than unscrewing a few bolts that may be holding the pedestal to the floor and then using a wrench to slide it out until it's removed from the bottom of the sink. It can also be helpful to have a utility knife handy, as you may need to cut away caulking around the bottom of the sink.
What is the average weight of a bathroom sink?
The average American sink will weigh anywhere from 6 to 8 lbs. Keep in mind that this is just the average. There are sinks that can weigh up to 40 lbs or more.

How do you dispose of an old sink?
The best method to dispose of your sink depends on the policies and laws that are in place in your town or locale. You can contact your local government or visit their website to find these details. If you can't find information there, you can also visit the website of the public works department for your city.
Unfortunately, you may find that local townships will not offer a pickup service for sinks. And in most cases, you will have to drop it off at the nearest recycling facility yourself. However, remember that you can usually also donate old sinks to local organizations such as Habitat for Humanity, The Salvation Army, and Goodwill. This will help you avoid the recycling fee that may come with taking your sink to the local recycling facility. It can also give you a small tax write-off as well.
Wrapping Things Up
Overall, you'll find is that removing a bathroom sink is a fairly straightforward process; however, it should be planned out in detail. The biggest thing to remember is that the sink should be lifted carefully from the vanity to avoid personal injury. This means ensuring that the seal underneath the sink has been broken and that you have an assistant to help balance the weight on the other end.
Before you go, be sure to check out some of our other posts: