
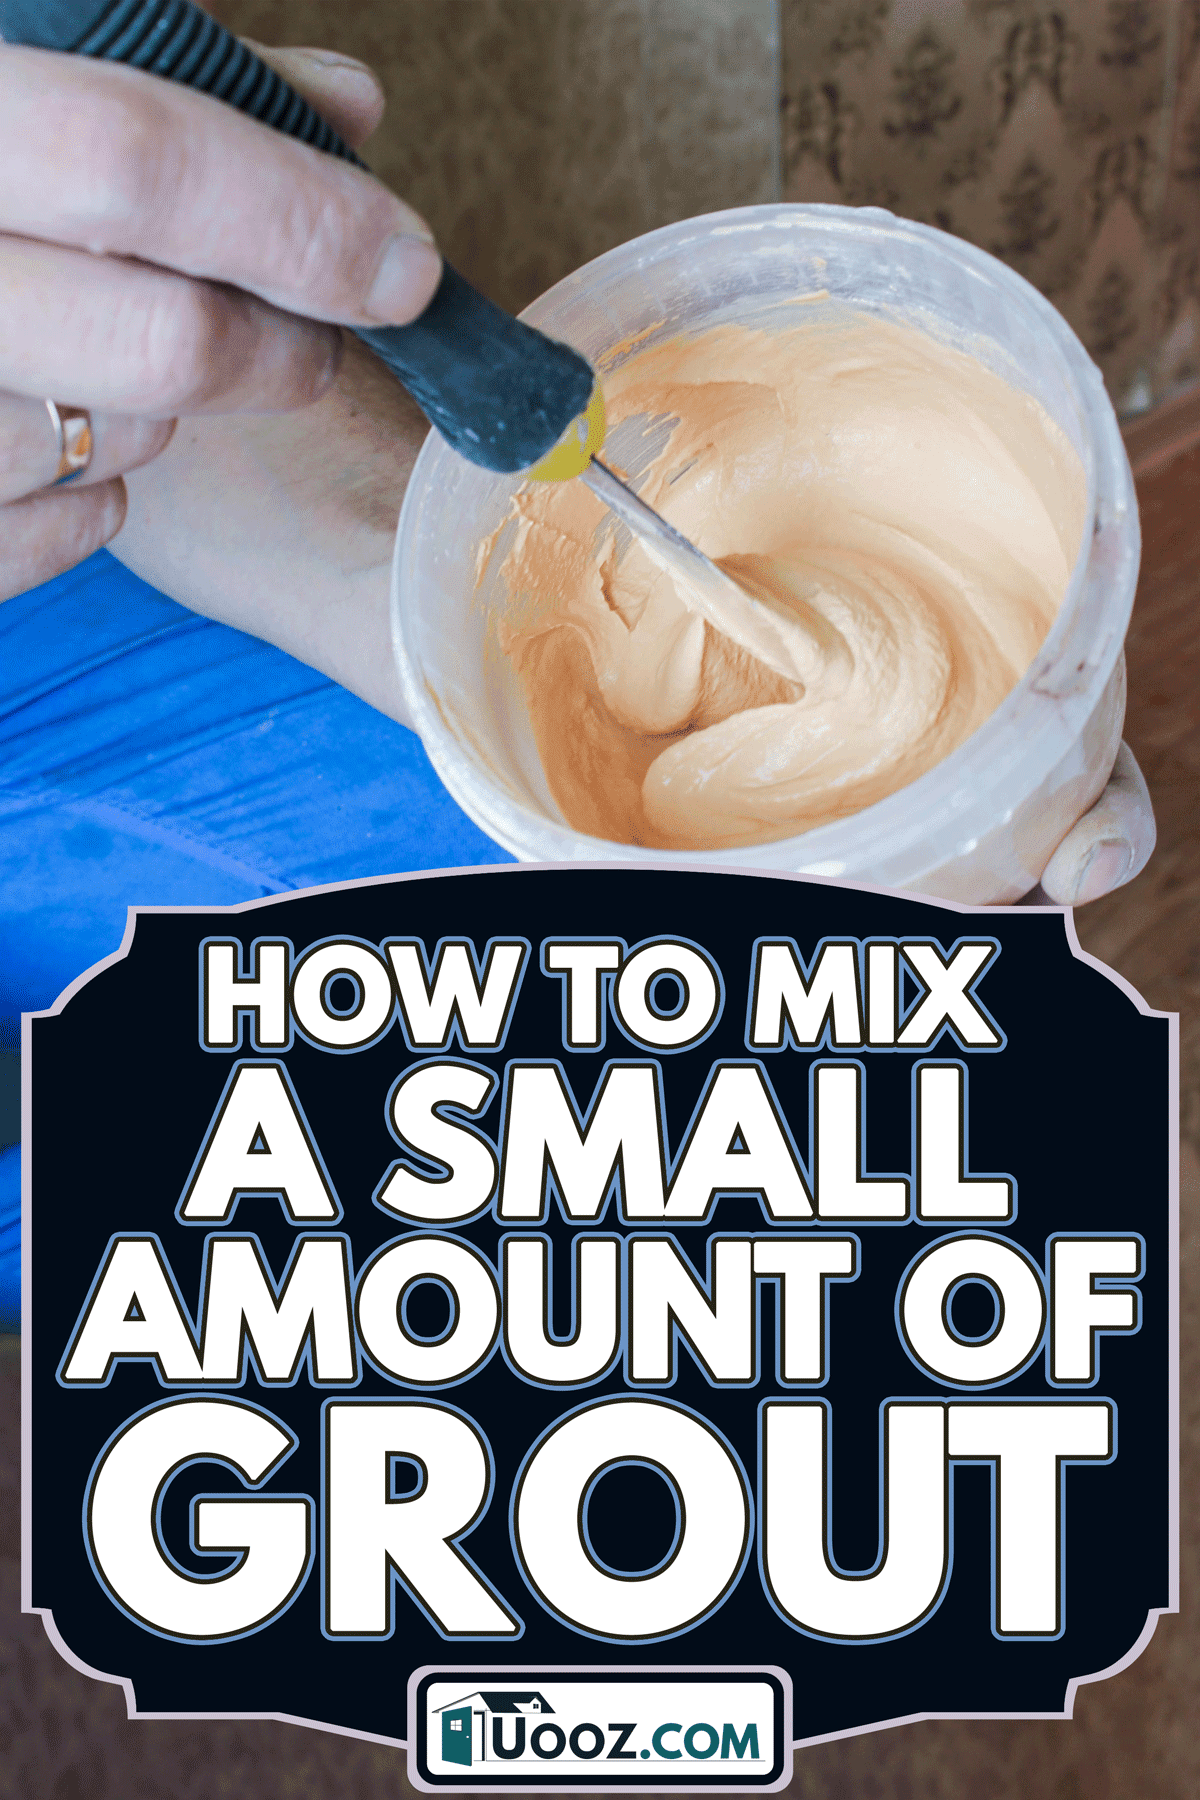
Are you thinking of doing DIY regrouting and patching to save labor costs? If it's your first time handling grout, you don't need to be anxious. We did some research for you and found out that it's very easy to mix grout. It's definitely something you can do!
You can usually find grout mixing instructions on the product package, but in case you need more details, here's how you can mix small batches of powder grout:
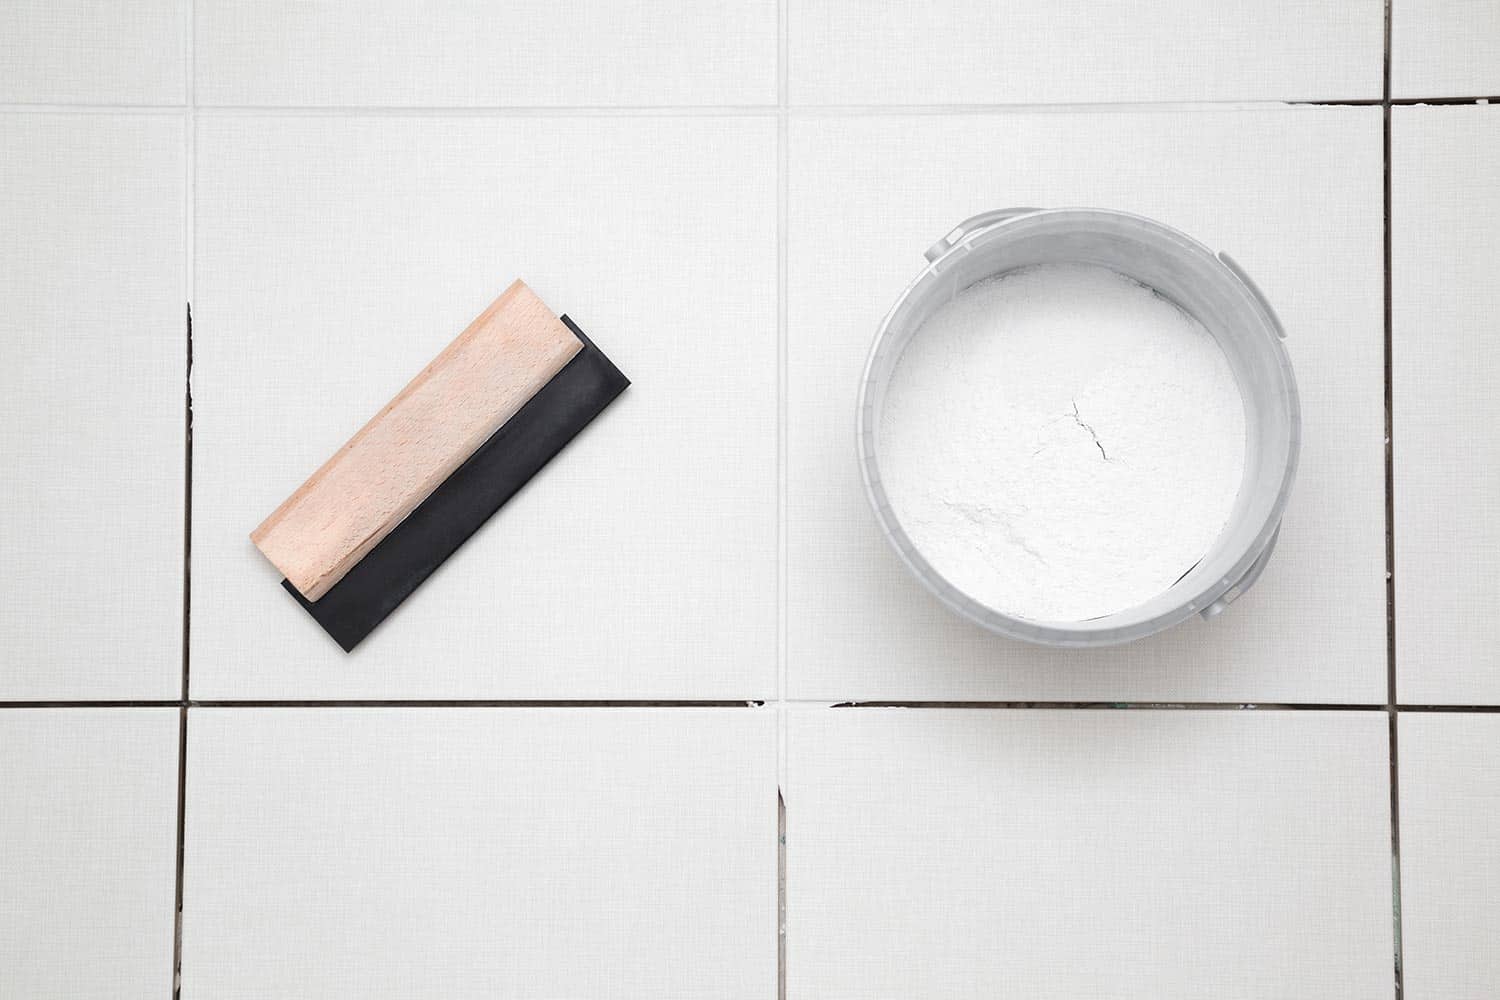
- Prepare your materials: grout powder, water, mixing container, stirrer, gloves.
- Pour a small amount of grout into the mixing container.
- Add water gradually and mix until you get a consistency similar to toothpaste.
- Mix well then set it aside for 10 minutes.
- Mix again until the consistency is sticky but still spreadable.
Now that you know how to mix grout, you must be wondering if there's a way to calculate how much grout you need for a specific area. There are also different kinds of grout, so be sure you're using the right one for your project. Read on as we cover everything you need to know about mixing grouts.
How Do You Mix Small Batches Of Grout?
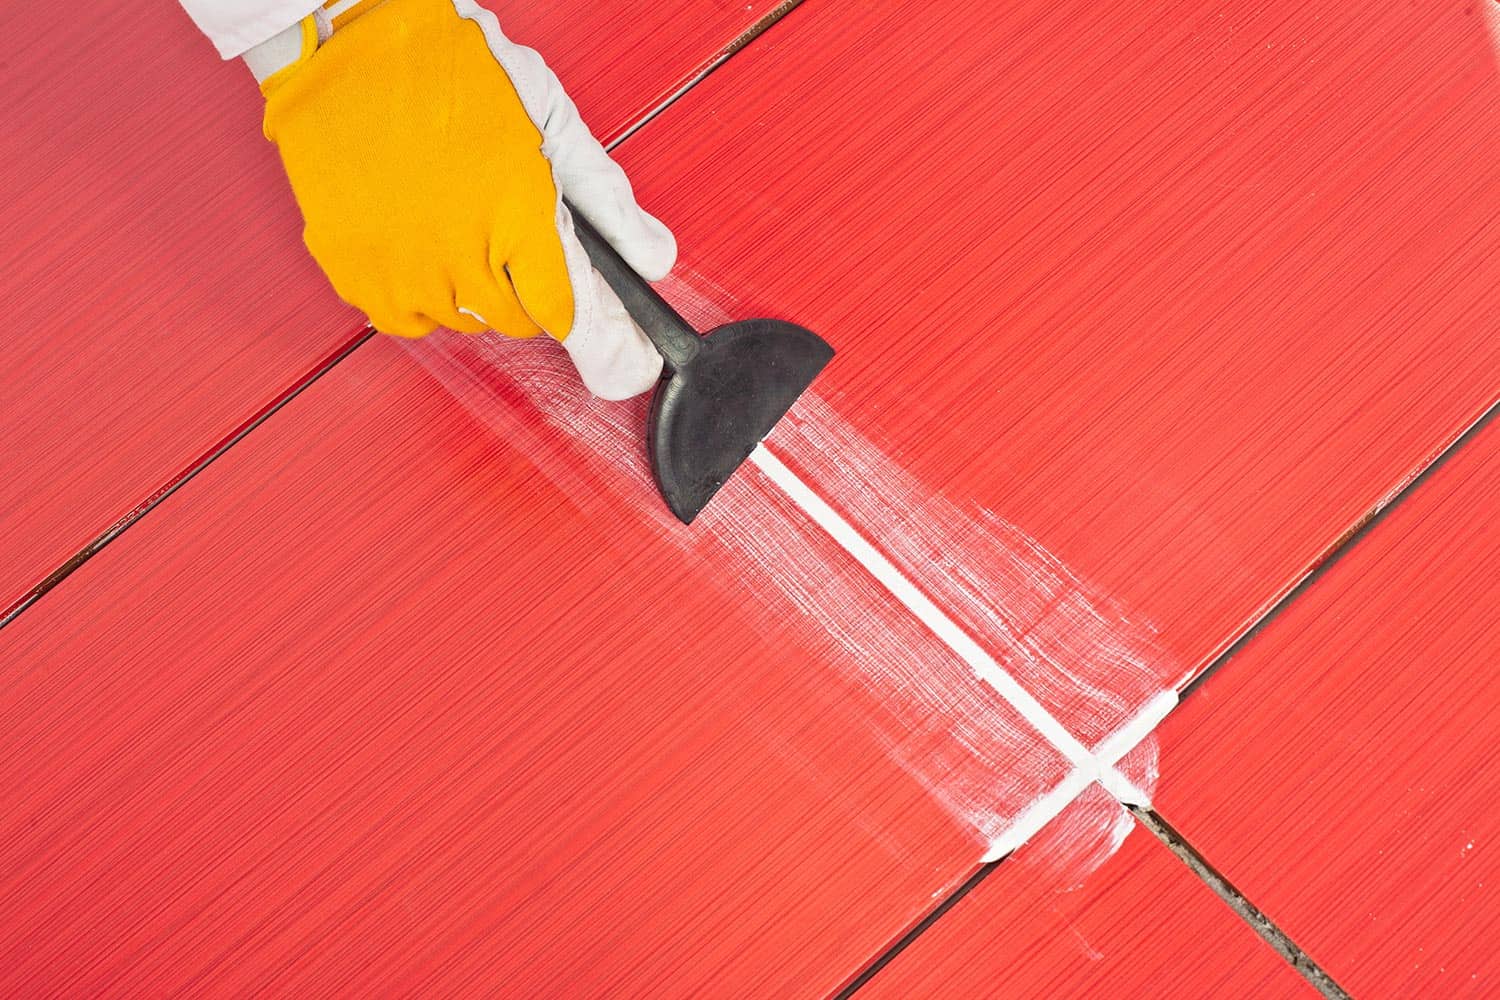
The primary use of grout is to fill in the gaps between tiles. It is a cement-based mixture that keeps the tiles from moving, prevents moisture from entering the gaps, and keeps the edges of the tiles safe from damage.
When you buy grout in the market, it will come in different forms, including pre-mixed and powdered. For this article, we will be focusing on the powdered form, as you will be mixing it yourself.
When mixing grout, it is recommended to follow the manufacturer's instructions written on the product package. In case the package instructions were lost or damaged, you can follow these standard steps to mix small amounts of grout:
1. Prepare your materials
You only need a few basic things to start mixing grout:
- grout powder (the different types of grout will be further discussed below)
- mixing container
- stirrer (preferably something with a flat end)
- gloves
- clean water
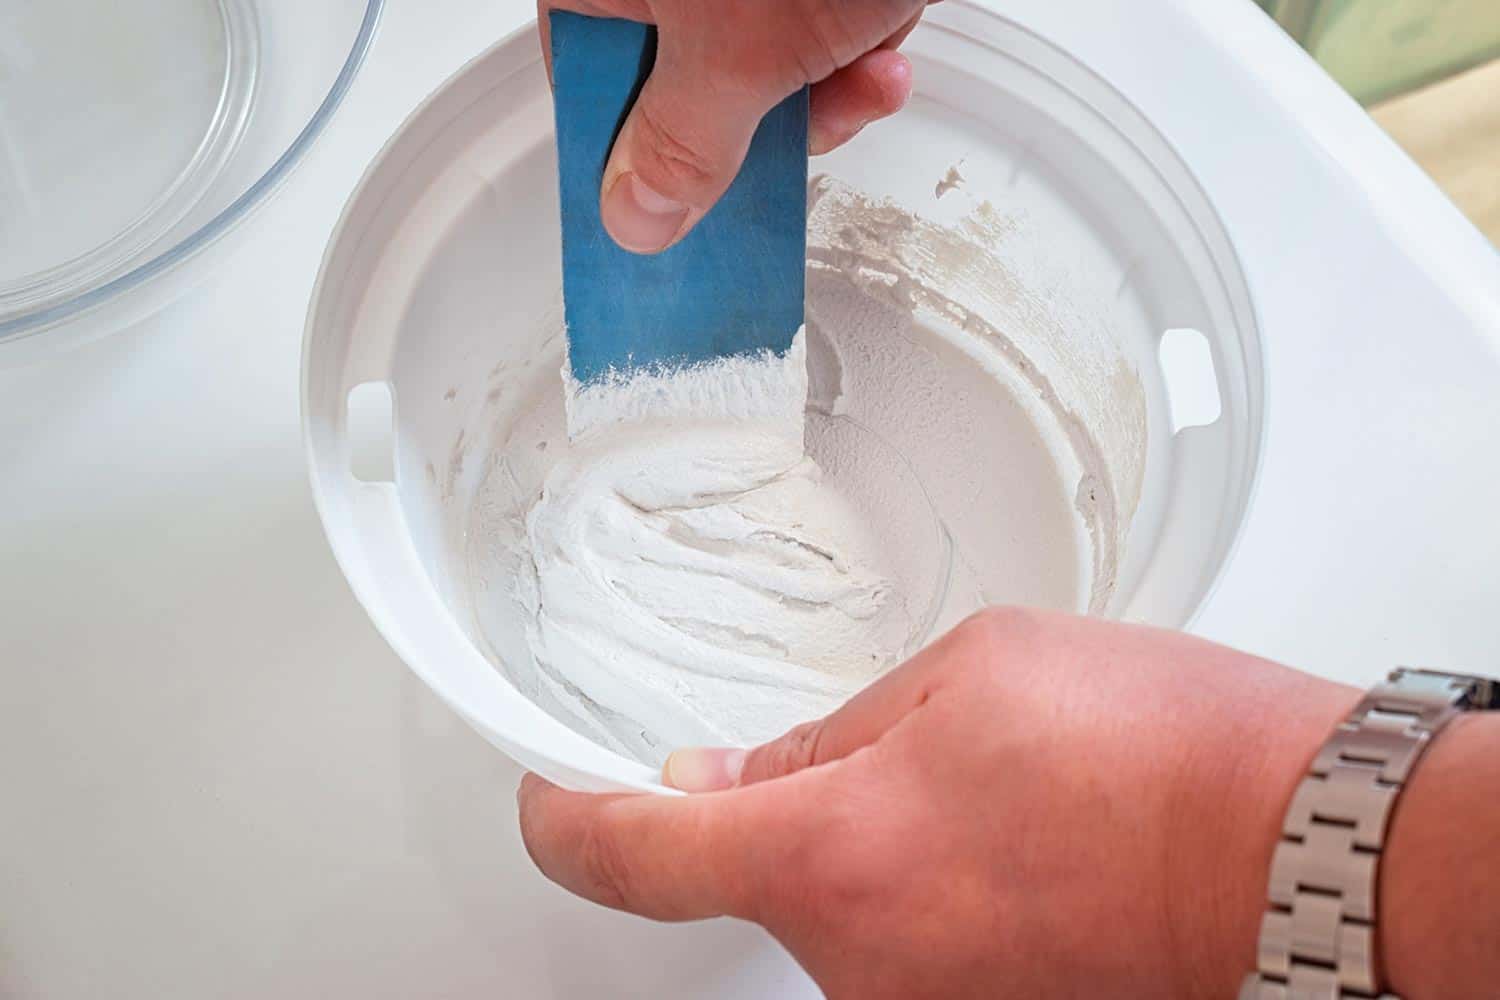
2. Pour grout powder into the mixing container
Put on your gloves and pour grout powder into the mixing container. The amount of powder depends on the area you need to cover. Most experts will simply make a visual estimate of the amount of grout to mix, especially when doing simple projects like regrouting or patching a small area.
If you need a bit more guidance for grouting a larger area, you can go to the manufacturer's website of the grout you bought and see if they have a grout calculator. Upon checking, brands such as Mapei, Bostik, and Epoxy have grout calculators.
3. Add water gradually
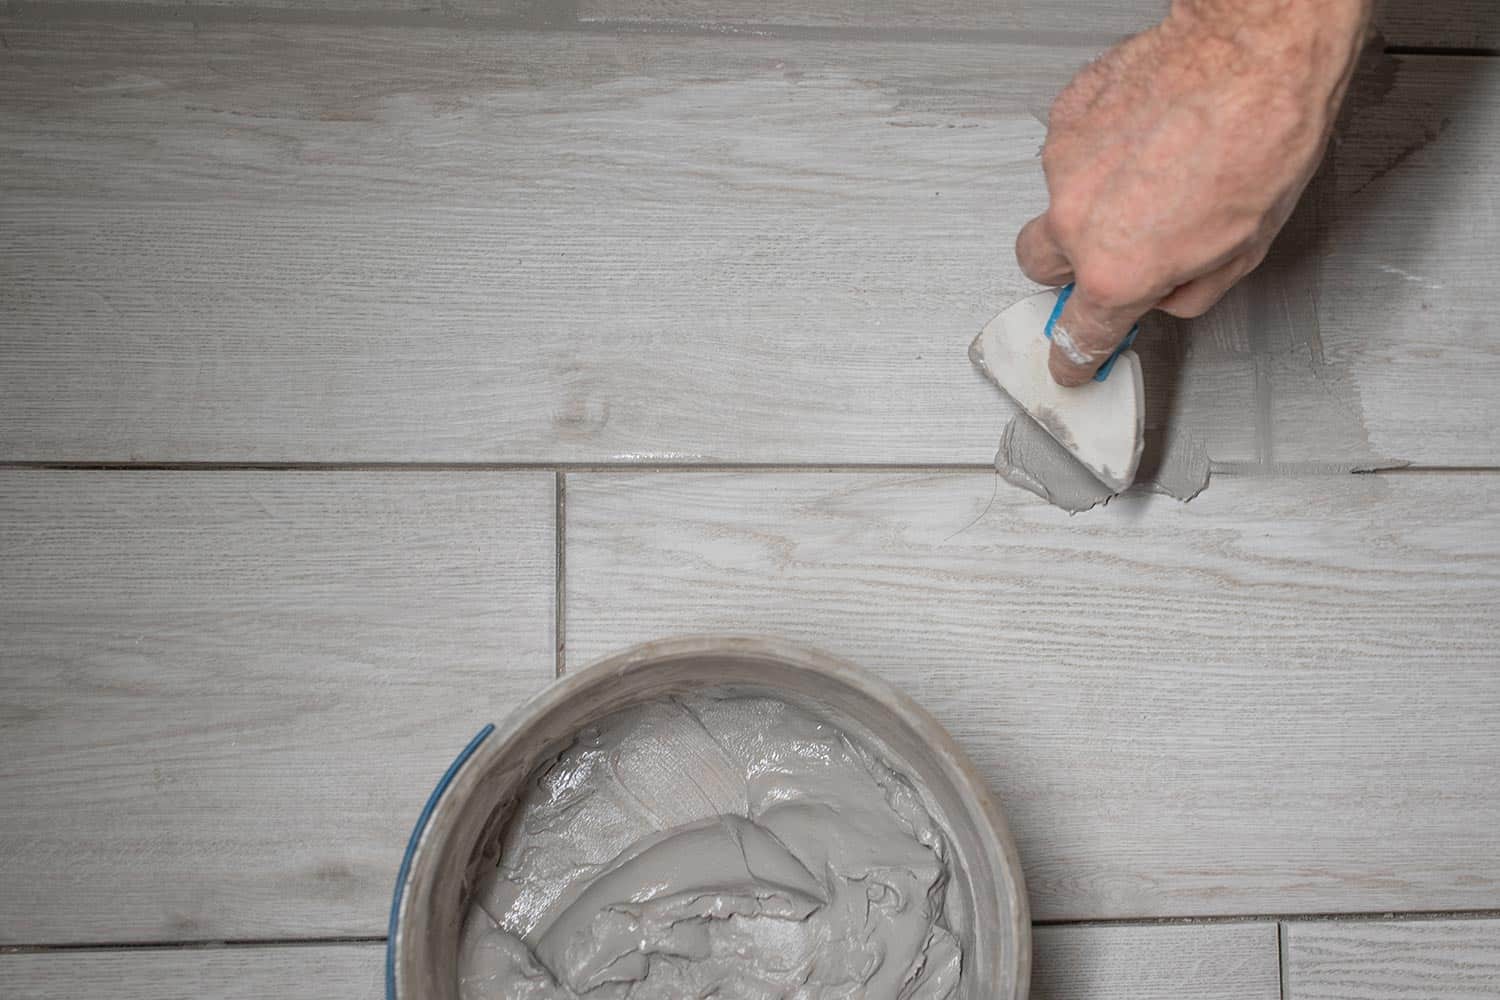
Pour water gradually, and mix until well blended, without lumps and air bubbles. The mixture should be smooth but thick enough to stay in place when you lift the stirrer up. Preferably, your stirrer should have a flat side such as a spatula to help scrape off the mixture that will stick on the sides of the container.
You don't need to be too nervous about mixing because if it becomes too watery, you can simply add more grout powder. You can adjust the water and grout alternately until you achieve the desired consistency. Experts recommend that you aim for thickness similar to toothpaste or peanut butter.
4. Set aside for 10 minutes
When you achieved the ideal consistency, set the mixture aside and give it a slake time of about 5 to 10 minutes. In construction terms, slake means allowing the mixture to rest and chemically bond to enhance its performance.
5. Mix well until ready for use
After 10 minutes, mix the grout again, making sure there are no lumps and air bubbles. The grout should be ready to use. Apply immediately to the project area.
Below is a simple video on how to mix grout:
Types Of Grout
If you're new to grouting, the first dilemma you will probably face is the wide selection of products available to purchase. To help you pick the most suitable grout for your project, here are the different types and their intended uses:
Sanded Grout
Sanded grout contains finely-ground silica sand enhanced with polymer or latex. It is for grout joints that are 1/8 to 1/2 inch wide. It can be used in indoor and outdoor installations and is often used in floors, walls, ceilings, countertops, pools, and fountains.

Check out this Polyblend Sanded Grout on Amazon.
Unsanded Grout
Unsanded or non-sanded grout is a mixture of Portland cement and other powdered pigments. It is thick and smooth, making it easier to fit into smaller spaces. It is for grout joints that are 1/8 inches or less. The consistency is also stickier, making it ideal as wall grout. It is the choice for grouting sensitive materials such as thin tiles and mirrors.

Click here to see the Mapei Unsanded Grout on Amazon.
Furan or Quarry Grout
Quarry grout is similar to sanded grout except it uses a much coarser type of sand. This is often used for tiling stones and wet areas such as swimming pools and patios.
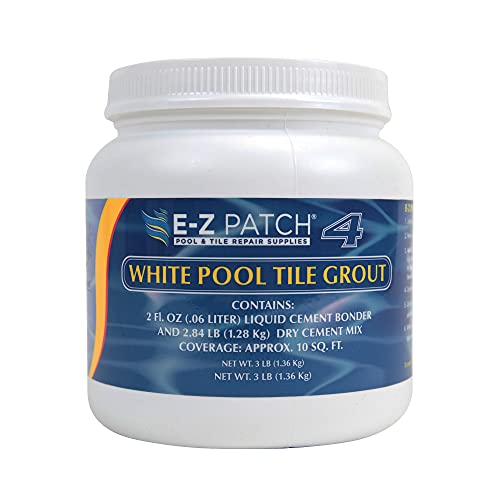
Check out the E-Z Patch Tile Grout on Amazon.
Epoxy Grout
Epoxy resin is made of epoxy resin and a filler powder or a hardener. It is known for high resistance to chemicals, making it resistant to stains and corrosion. It can be used in many applications, including wood, porcelain stoneware, glass mosaic, pebbles, bricks, metals, and clinkers.
You can read more about epoxy grout here: Is Epoxy Grout Waterproof? Here’s what you need to know

Click here to see this Stalike EVO Epoxy Grout on Amazon.
What Is The Ratio Of Grout To Water?
You can mix water gradually or you can follow the 1:1 standard ratio and adjust the consistency as you stir. Adding water to the grout powder activates it and starts the hardening process. The consistency and thickness of the mixture are very important because too much water will weaken the bonding strength and too much will make it brittle.
What Happens If Grout Is Too Thin?
Suppose you were mixing your last batch of grout powder and you added a bit too much water, making it too thin. You are probably wondering whether it will harden if you let it sit out.
If your grout is too thin, it will harden, but not in the proper consistency that is ideal for grouting. If you continue to use it in this state, it will easily crack and disintegrate when exposed to water and moisture.
The only way to fix this is to add more grout powder, but if you don't have any left, you may need to redo the whole process and mix a new batch of grout.
Another option is to mix it with another type of grout powder. For instance, sanded and unsanded can be mixed together, just follow the package instructions on how to do it. You can also mix different brands.
What Additive Do You Add To Grout?
Some use additives on grout instead of water to make it stronger or waterproof. If you feel you need a stronger bond, you can use additives on sanded and unsanded grout mixes, except epoxy because it already has waterproof properties.
There are many kinds of additives depending on what you need. There are additives for strength, flexibility, water resistance, color tints, and freeze-thaw resistance. Additives can normally be mixed with the dry powder or in pre-mixed products.
Below is an example of a grout additive.

Check out this Glitter Grout Additive on Amazon.
Can You Mix Sanded And Unsanded Grout?
You definitely can! In fact, you can create a much stronger bonding agent when you do this. Sanded grout's finish tends to be gritty while unsanded grout shrinks upon hardening. When you mix them together, you get a perfect mix of a sturdy and smooth finish. However, the application will depend on the material you are grouting.
Wrapping Up
When doing DIY grouting for patchwork or refilling cracks, it is recommended to mix only small batches. According to experts, it is better to mix grouts in small amounts frequently, than to mix it all at once and have a lot of leftovers that will only go to waste because grout hardens fast.
Thank you for reading through and we hope your DIY grouting and patchwork project goes well. We hope this article was helpful in teaching you how to mix small amounts of grout. If you want to learn more about grout application, here are some great reads:
5 Best Tile Grouts For The Outdoors