As a homeowner, you may want to install a deadbolt lock but are unsure how to make the hole deeper or bigger. Luckily, we have done some research for you, and here is what we found.
The following are the step-by-step procedures for making a deadbolt hole bigger and deeper:
- Get the needed materials ready.
- Put the plywood in place.
- Make a hole.
- Reshuffle clamps.
- Drill using a bigger hole saw.
For this process, you should know to use a hole saw, or you stand a chance of ruining your door. Keep reading to get detailed information on how to make a deadbolt hole deeper or bigger.
Making Deadbolt Hole Deeper Or Bigger
To make a deadbolt hole deeper, the first thing that comes to mind is to grab a door lock installation kit, which includes a drill, and a couple of hole saws, and make the hole bigger. But before you do that, you must understand how to use a hole saw.
The hole saw is a great tool if you intend to cut a reasonably large hole. If you look closely, you will notice a small drill bit at the center of the hole saw. The smaller drill bit is there for a purpose—to drill holes while the saw is working its way through the cut material.
If you have a hole in the door that you want to make deeper or bigger, the hole saw will only move around it. The hole saw will also scratch the door's surface in the process.
You will eventually end up with an oddly shaped hole, which will neither be round nor straight. You may be wondering what to do to ensure you have a smooth cut while making a deadbolt deeper or bigger.
Along with a drill and a couple of hole saws, you will need some scrap pieces of plywood and a couple of clamps. Here is a step-by-step guide on how to have a smooth cut while making a deadbolt deeper or bigger
Step 1: Get The Needed Materials Ready
You will need large and small pieces of scrap plywood for this step. The smaller pieces of scrap plywood are to prevent the clamp from ruining the door.
Step 2: Put The Plywood In Place
Grab a large piece of scrap plywood and place it at the front door. Put a smaller piece of plywood on the opposite side of the door.
Now, tighten your clamp. Ensure it isn't overly tight. Afterward, take hold of a second clamp and another small piece of scrap plywood placed on the opposite side of the door.
Let's call the latter clamp the "top clamp" and the former the "bottom clamp." Tighten the top and bottom clamps to ensure the smaller pieces of scrap plywood are pressed firmly onto the door.
Step 3: Make A Hole
For this step, you will need a hole saw the same size as the previous deadbolt hole. Start drilling from the opposite side of the door (the part with the two small pieces of scrap plywood). This step requires you to pay close attention.
Make sure you stop drilling as soon as the pile driver pokes a hole through a piece of scrap plywood on the opposite side of the door. Next, remove the top clamp, leaving only the bottom clamp in place.
Step 3: Reshuffle Clamps
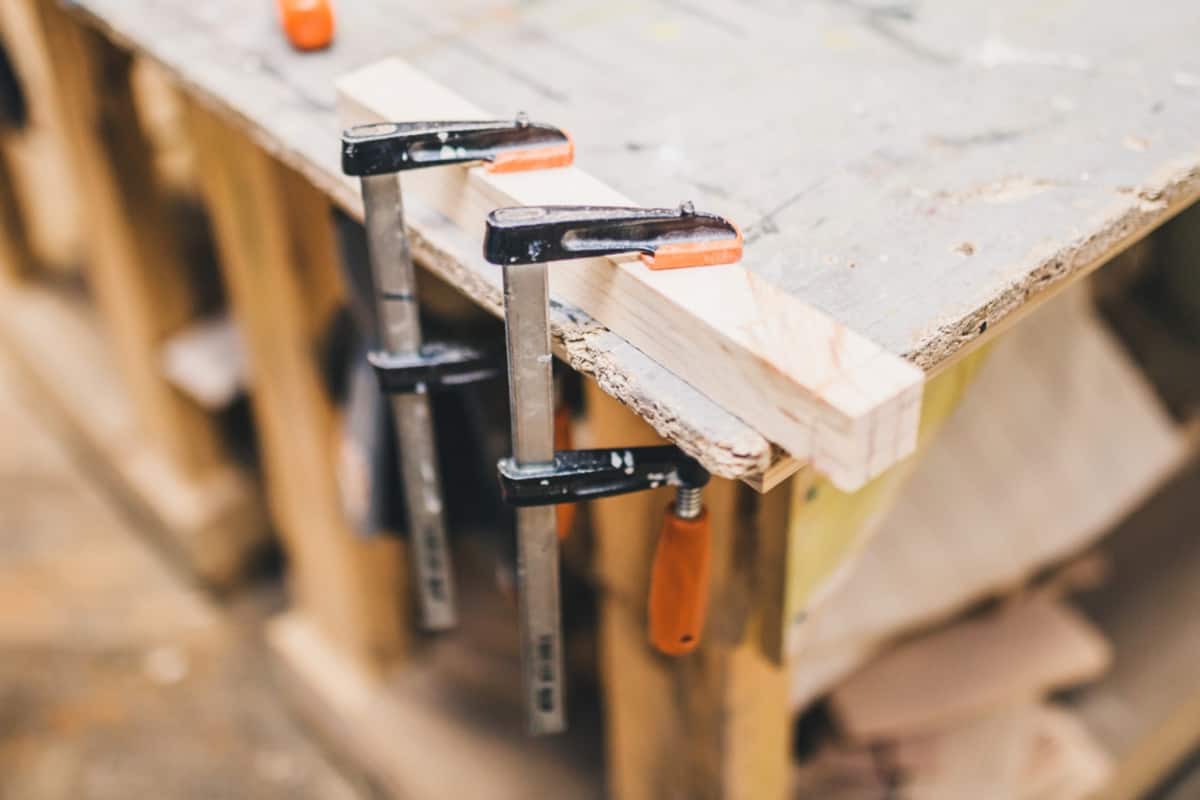
This step might seem a bit tricky, but the idea is clear. Ensure you take your time on this step. Remove the top clamp, leaving only the bottom clamp in place.
Afterward, place another piece of large scrap plywood at the back of the door (where you drilled the first hole) and reinstall the clamp you just removed.
You must position the new piece of scrap plywood across the hole on the back side of the door. Remove the bottom clamp and let that small piece of scrap plywood fall off. Reinstall the bottom clamp temporarily so it can hold the plywood on the front side of the door.
Then loosen the top clamp so you can reposition the scrap plywood on the back side of the door to cover the hole. It will give you room to clamp both pieces of scrap plywood in place, with one clamp above and the other below the hole in the door.
Step 4: Drill Using A Bigger Hole Saw
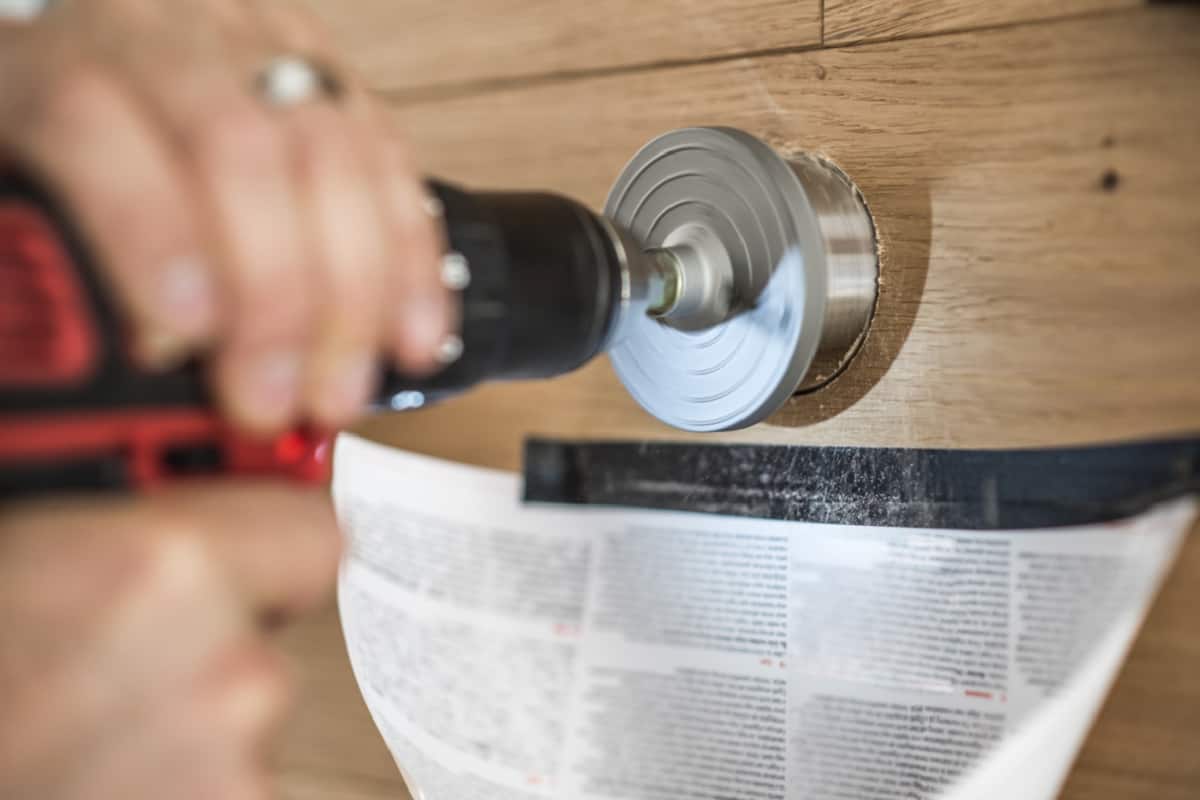
Move to the front side of the door and align the drill with the hole. As soon as the drill pokes a hole through a piece of scrap plywood on the opposite side of the door, stop drilling.
Finally, move to the opposite side of the hole, align the drill with the hole you just poked, and complete drilling in the opposite direction.
Click here to see this hole saw kit on Amazon
Can You Install A Deadbolt Yourself?
Yes, you can easily install a deadbolt by yourself for different kinds of doors, except for steel doors. Provided you have the right tools, installing a deadbolt is considered a beginner-level project.
What Are The Parts Of A Deadbolt Called?
The parts of a deadbolt include the lock body and thumb-latch or thumbturn keyhole. Knowing a deadbolt's essential components or parts is vital before installing one.
First is the lock body, often referred to as the deadbolt. It encompasses the other locking components, ensuring the door is shut.
The second is the thumb-latch. This component is located inside the house and used to lock and unlock the deadbolt. It can also be called a thumbturn. The third is the keyhole, from where the key operates the deadbolt.
What Is The Standard Size Hole For A Deadbolt?
A typical deadbolt hole has a standard measurement of 2 ⅛ inches in diameter. There are, however, various sizes of deadbolt holes, each of which depends on the different types of door locks. The deadbolt hole is where the doorknob is installed.
Are There Different Size Deadbolt Locks?
Yes, deadbolts come in various sizes from different brands, and these brands manufacture sizes ranging from 2 to 5 inches.
They come in different lengths and thicknesses, so it is essential to have the correct size and fit for your door. Deadbolt sizes are selected based on the hole size. When selecting a deadbolt, you should always measure your hole. You can do this by using a simple calculation.
How Much Space Should Be Between Door Knob And Deadbolt?
The recommended distance between the doorknob and the deadbolt is usually around 5 ½ to 6 inches above the handle. Sometimes, it can be more than 6 inches or less than 5 ½ inches. However, it is not advisable to take it above 6 inches.
How Thick Does A Door Need To Be For A Deadbolt?
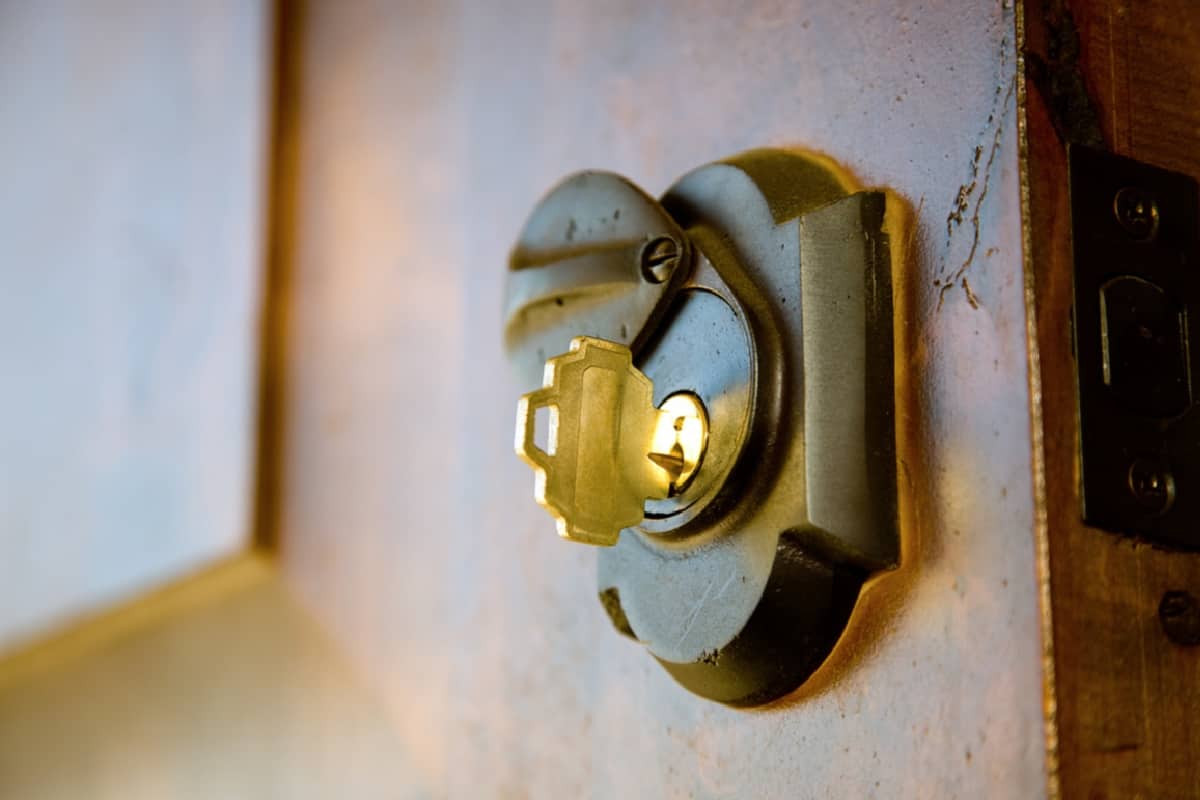
Although the thickness and size of your door will determine the size of the deadbolt to install, there is no specific thickness required for a door before you can install a deadbolt.
Do Deadbolts Go On Top Or Bottom?
Having purchased your deadbolt, you might be wondering where to position it on your door. In many cases, deadbolts are located above the door handles. Unless stated otherwise in the instruction manual, the standard deadbolt height measurement from the ground is about 48 inches or more.
How Much Does It Cost To Have A Deadbolt Installed?
It can cost you $25 to $400 to buy a deadbolt lock and have it installed by a professional. The price will also depend on the type of lock you intend to purchase.
If you decide to fix your deadbolt by yourself, you can purchase it for anywhere from $25 to $300, and you may need to spend a few more dollars to get the necessary tools to get the job done. Installation of the deadbolt lock ranges between $75 to $400 when you hire a professional.
To Wrap Up
One way to tighten the security in your home is by installing a deadbolt on your doors, particularly the ones leading outside your house. It is necessary to have the right size of deadbolt installed.
If you want to make the deadbolt hole deeper or bigger during the installation, follow the guidelines stated in this article.
If you enjoyed reading this post, here are similar articles you may like:
How High Should A Deadbolt Be On A Door?

