
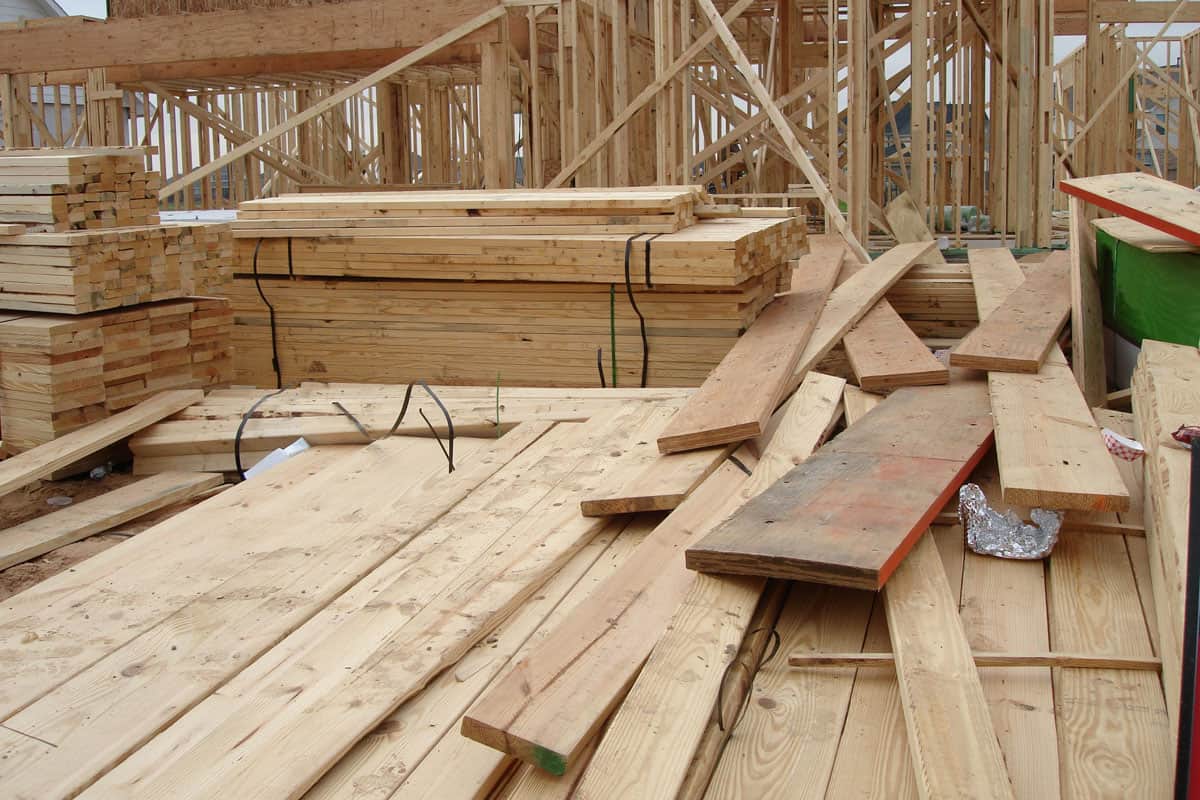
As anyone who has ever worked with lumber knows, wood warps. This can be especially problematic if you are relying on that lumber as a post, such as the common 4x4. Thus, you are wondering how to keep 4x4 posts from warping. In this post, we'll thoroughly answer your question with tips scoured from the internet and from professional carpenters.
Unfortunately, there is no perfect way to keep any wood, including 4x4s, from warping. However, if you follow the techniques listed below, you will end up with much straighter lumber that makes for a better-looking and functioning finished product.
- Be picky with your boards
- Dry 4x4s purposefully
- Dry evenly
- Dry slowly
- Dry in a straight position
- Make the 4x4s with smaller lumber
- Paint 4x4 ends
Keep reading the rest of this post for details on each of the above methods for keeping a 4x4 post from warping. This guide acts as a primer that will help you keep all of your lumber straighter. To conclude, we'll provide a useful additional reading list.
How To Keep 4X4 Posts From Warping
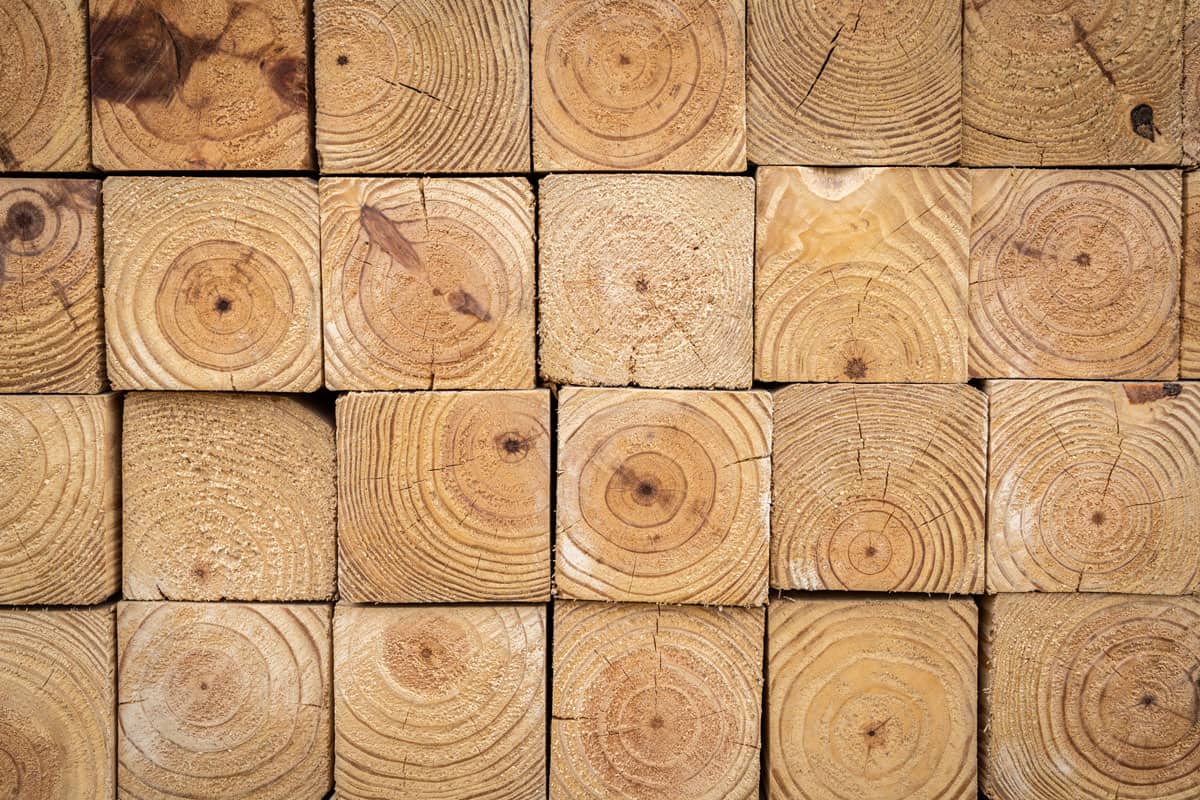
Generally, 4x4 posts are cut straight before they have fully dried out. Then, the remaining moisture evaporates out of the board over time. As this moisture evaporates, the board essentially settles into the original grain direction. Since the grain is tree-shaped and not straight, this leads to warping.
Further, temperature differences also cause board warping. This is because hot wood expands and cold wood contracts. Therefore, if a board is in full sun, the top will get larger than the shaded bottom. This often leads to permanent warping.
As described here, heat, moisture content changes, and board grain are the main factors that lead to warping. Therefore, most of the techniques described below involve controlling for these issues.
Be Picky With Your Boards
First and foremost, be picky with the wood that you purchase. If you have ever visited a lumberyard, you have probably seen professionals sifting through stacks of lumber to pick out boards. In most cases, they are going to this extra effort to try to find unwarped material.
Generally, it is worth it to spend the extra time and effort in the lumberyard to get boards that are as straight as possible. This will save you effort during the building process and will produce a better-finished product.
Also, try to find lumber that is dryer. Dryer lumber is generally both dryer to the touch and significantly lighter due to the loss of water weight. This is because drier lumber is less likely to warp further once you bring it home or to the job site.
However, no matter how careful you are in picking out lumber, your wood will still probably warp and dry out further over time. Therefore, try some of the following steps to avoid this concern.
Dry 4x4s Purposefully
To dry 4x4s without significant warping, it is important to dry them purposefully.
That is to say, if you just bring the boards home and plop them down in any old place and use them whenever, you will have much more warping than if you manage the drying process. In general, you want to dry the boards evenly, slowly, and in a straight position.
Dry Them Evenly
First of all, it is important to dry boards evenly. Imagine a large bundle of lumber. Those boards that are on the outside are partially exposed to the air and partially exposed to other boards. The air side of these 4x4s will lose moisture much faster than the bundle side.
Therefore, if you stack your 4x4s so that all sides get air exposure, they will be able to dry much more evenly. To do this, you can either criss-cross stack the material and leave space between the boards, or use stickers/dunnage between each board layer and space out the boards in the layer.
Either way, it is important to add some old boards (known as stickers or dunnage) under the stack of boards so that they do not rest on wet or moist ground.
This brings us to the second concern with evenly drying boards. That is, you do not want the boards to get rewetted after they begin drying. Thus, cover boards with a tarp during rain and be sure sprinklers or other water sources are not allowed to douse the wood.
Dry Them Slowly
The next concern is drying time. Boards that are allowed to dry slowly warp less because quick moisture changes usually affect the outside of the board faster than the inside.
This unevenness leads to warping. Boards that are dried slowly, on the other hand, lose moisture through their body more evenly and warp less strongly.
It is difficult to control the drying speed of boards because the local weather and humidity have the greatest influence on drying time. However, there are a few steps you can take.
First, try to stack the lumber in an area that has constant shade. Keeping the sun off the boards helps them dry much more evenly.
Second, if you can only stack the boards in the sun, consider loosely covering them with a tarp that allows moisture to escape but still keeps the sun off. You may have to flip the tarp from time to time to allow condensation to fully escape.
Dry Them In A Straight Position
Finally, dry your 4x4s in a straight position. This may seem obvious but often requires special attention.
For instance, imagine placing a stack of 12-foot 4x4s on two pieces of dunnage 10 feet apart. The long stretch of distance between the pieces of dunnage allows the 4x4s to sag. If they are sagging while they dry, the board will keep that sag in their final dried form.
Therefore, add extra pieces of dunnage and stack your lumber on a flat surface. If you notice a board sagging too far, flip it around so gravity will work the sag back out.
Make The 4x4s With Smaller Lumber
The final way to keep 4x4s from warping is to make them out of smaller pieces of lumber. To do this, use two 2x4s and a piece of 1/2-inch plywood ripped to 3.5 inches. Follow these steps.
Choose Your 2x4s
As mentioned above, be careful when choosing your 2x4s. Try to find material that is as straight and dry as possible. If you can't find super straight wood, don't worry because these steps help to produce a straight 4x4 even with warped 2x4s.
Cut Plywood
First, use a skill saw or a table saw to rip enough 1/2-inch plywood to be sandwiched between your 2x4s. Cut your pieces of plywood to length so that they will match the final length of the 2x4s.
Plan How To Sister Cup And Warps

Click here for clamps from Amazon.
Now, inspect your 2x4s and make a plan for how you want them to meet up around the piece of plywood. Here, the goal is to get different warps and cups to cancel each other out.
If you have a warp to the left on one board and a warp to the right on another, you can use these two warps to create a final straighter product. This process is much easier if you use hand clamps.
Use Liquid Nails
Now, draw a bead of Liquid Nail caulk onto one of the 2x4s on the side you plan on putting the plywood. Then stick the piece of cut plywood onto the glue and press it firmly. Almost always, you will need to use several pieces of plywood per 2x4. Also, add Liquid Nails between the several pieces of plywood.

Click here for Liquid Nails from Amazon.
Once the layer of plywood is down, add more Liquid Nails to the plywood and affix the second 2x4 in place. To draw the board straight, it is sometimes very useful to use clamps to pull out cups and bows (the two types of warping).
Screw Boards Together

Click here for 3-inch wood screws from Amazon.
Now, use 3-inch or 3 1/4-inch screws to hold the entire assembly together. Generally, if you add two screws every 16 inches from both sides of the made 4x4 you will have a very solid final product. Offset the screw schedule on each side so the final product has two screws every 8 inches.
Check out this YouTube video for a helpful guide on how to make these 4x4s:
Paint 4x4 Ends
Finally, it is sometimes helpful to paint the 4x4 ends whether you are using bought or made 4x4s. This is because the exposed grains on the end of the boards allow the wood on the ends to dry faster.
If you paint the ends, it keeps the moisture from escaping that direction. Instead, the ends and the center of the board will only lose moisture out of the sides of the board in a more even fashion.
In Closing
In this post, we covered how to keep 4x4 posts from warping. Most of these steps involve controlling the drying process, but we also covered some alternative advice. Good luck!
To learn more about building materials, read these other articles: