Concrete flooring is popular in basements and the garage, but it is also a common subfloor supporting many other flooring kinds. As such, you might be wondering how to install a vapor barrier to protect the top layer of flooring from moisture. Water is capable of causing severe forms of damage. So, we have thoroughly researched how to install a vapor barrier on top of a concrete floor.
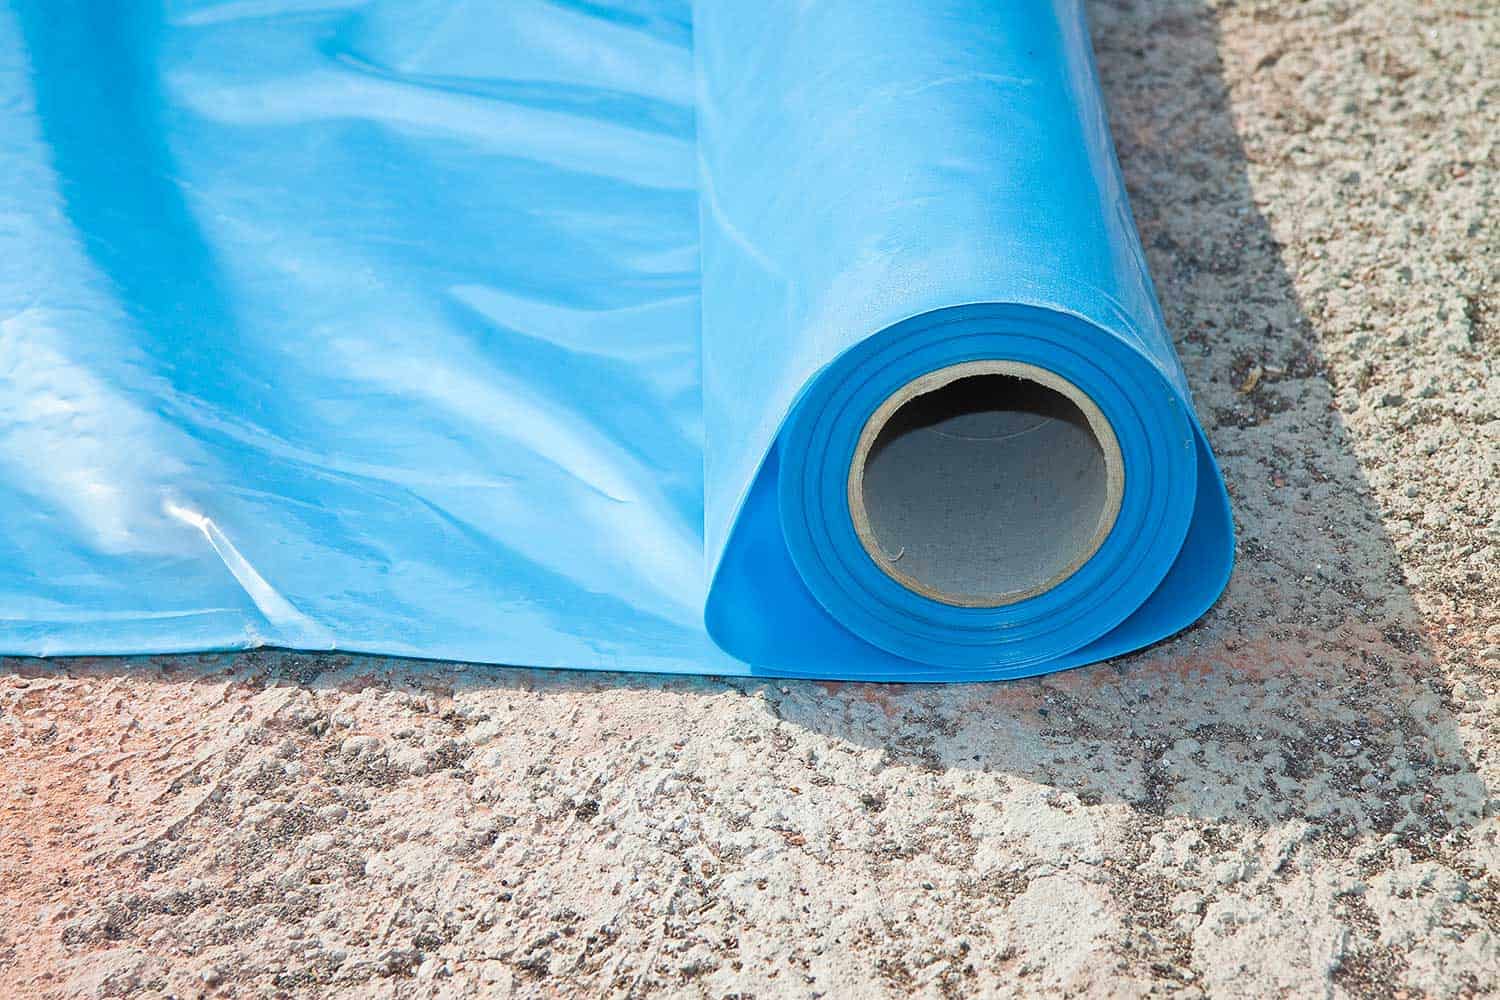
While there are different kinds of vapor barriers, they are usually a long roll of material that can be unrolled and stuck to a concrete floor. There are some basic steps to follow to lay down an effective and lasting vapor barrier:
- Select vapor barrier
- Clean floor and perimeter walls
- Apply butyl tape to walls
- Unroll and trim vapor barrier sheets
- Apply vapor barrier seam tape
- Fasten vapor barrier to wall
Installing a vapor barrier yourself can be somewhat challenging and require more than traditional home improvement tools. So, keep reading to learn how to properly add a vapor barrier on concrete, which one is right for your flooring, and how to tell if you need one to begin with.

Do you need a vapor barrier on a concrete floor?
A vapor barrier is often discussed interchangeably with moisture barriers. But a vapor barrier protects the walls, while a moisture barrier protects the floors.
Click here to find this vapor barrier on Amazon.
Either way, the goal is to prevent water damage. When moisture is allowed to transfer up into the surface flooring, it will cause serious problems. Water damage can warp or weaken most floors, especially the commonly used wood flooring.
Even worse, the collected water can become a breeding ground for mold and mildew. Experts such as New York State’s Department of Health have warned that molds are a type of fungi that can grow on any surface that has enough moisture.
Unfortunately, mold is capable of causing serious health issues. Therefore, installing a vapor barrier on your concrete floor is absolutely necessary for your health and your floors' longevity.
Sometimes, the flooring installed on top of the concrete will already have an underlay that comes with a built-in vapor barrier. While this intends to save time and money, we'd still advise adding your own vapor barrier in addition to the underlay.
Can moisture come up through concrete?
Although concrete is a very stable foundation, it is also porous. As such, water vapor can easily penetrate through a concrete floor. When the humidity in the concrete is different from its surroundings, the water vapor will move to balance out the area of concentration.
Its permeability or perms measures the scale of how much vapor can pass through your concrete. You can read the post "How To Keep A Concrete Floor From Sweating" for more information on concrete moisture.
How do I know if my concrete floor has moisture?
There are two popular methods of testing the concrete for moisture. Firstly, you can choose a commercially sold moisture test kit that can calculate the precise moisture level that your concrete is emitting. This may help you decide on how thick your vapor barrier should be. But it can also be complicated and time-consuming to employ these tests.
Click here to see this moisture test kit on Amazon.
Alternatively, you can simply check for the existence of any moisture using the plastic sheet method. However, you will not be able to specifically determine just how much moisture is diffusing through your concrete floor.
With this homemade method, you only need to tape a plastic sheet to your concrete floor for at least one day. It is sometimes advised that the sheet should measure around 18 feet by 18 feet.
Unlike concrete, the plastic sheet is not a porous material. With nowhere for the escaping humidity to go, it will pool into condensation that you can easily notice. After waiting a day, you can remove the plastic sheet and check for condensation. If moisture has accumulated here, then you need to install a vapor barrier.
Can you put a vapor barrier on concrete?

Yes, it is possible to install a vapor barrier over concrete, even though you will not use traditional fastening methods. Concrete is tough and will not accept staples. For example, on concrete walls, a vapor barrier can sometimes be glued to the surface.
A vapor barrier is usually run up the walls a bit for concrete floors and then secured using special Christmas tree fasteners. Also, a special type of tape seals all of the seams between the sheets of vapor barrier.
How to Install a Vapor Barrier on a Concrete Floor
1. Select the Vapor Barrier
There are multiple types of vapor barriers, each ideal for different kinds of surface flooring. For example, a basic vapor barrier will not provide extra padding. Making it ideal for flooring that already has an underlay, so your floor is not uneven.
Other vapor barriers have additional features, such as a sound barrier or self-adhesive ends. You can read the post "Can You Float A Hardwood Floor Over Concrete?" if you are also deciding on what floor you want over the concrete.
2. Clean Floor and Perimeter Walls
It is important to remove filth and debris from the concrete floor before you install a vapor barrier. Otherwise, there might be loose material that can puncture the vapor barrier. This can undermine the entire layer.
Click here to find this concrete cleaner on Amazon.
You may need a nylon brush and a commercially sold cleaner. For example, some cleaners remove existing mold and mildew. It may also be necessary to clean the perimeter walls. The tape will not adhere well to a dirty surface, including concrete.
3. Apply Butyl Tape to Walls
Click here to find this butyl tape on Amazon.
Butyl tape is a solvent-based adhesive made of rubber, which makes it both strong and flexible. Line double-sided butyl tape along the perimeter walls, using wet hands to keep it from sticking to you too.
Keep one side covered until the tape is on the wall. The tape is usually lined approximately four inches up the wall, but check your own building codes. You'll need room for inspections later on. Butyl tape will also keep the ends of the vapor barrier sheets in place while you unroll additional sheets.
4. Unroll and Trim Vapor Barrier Sheets

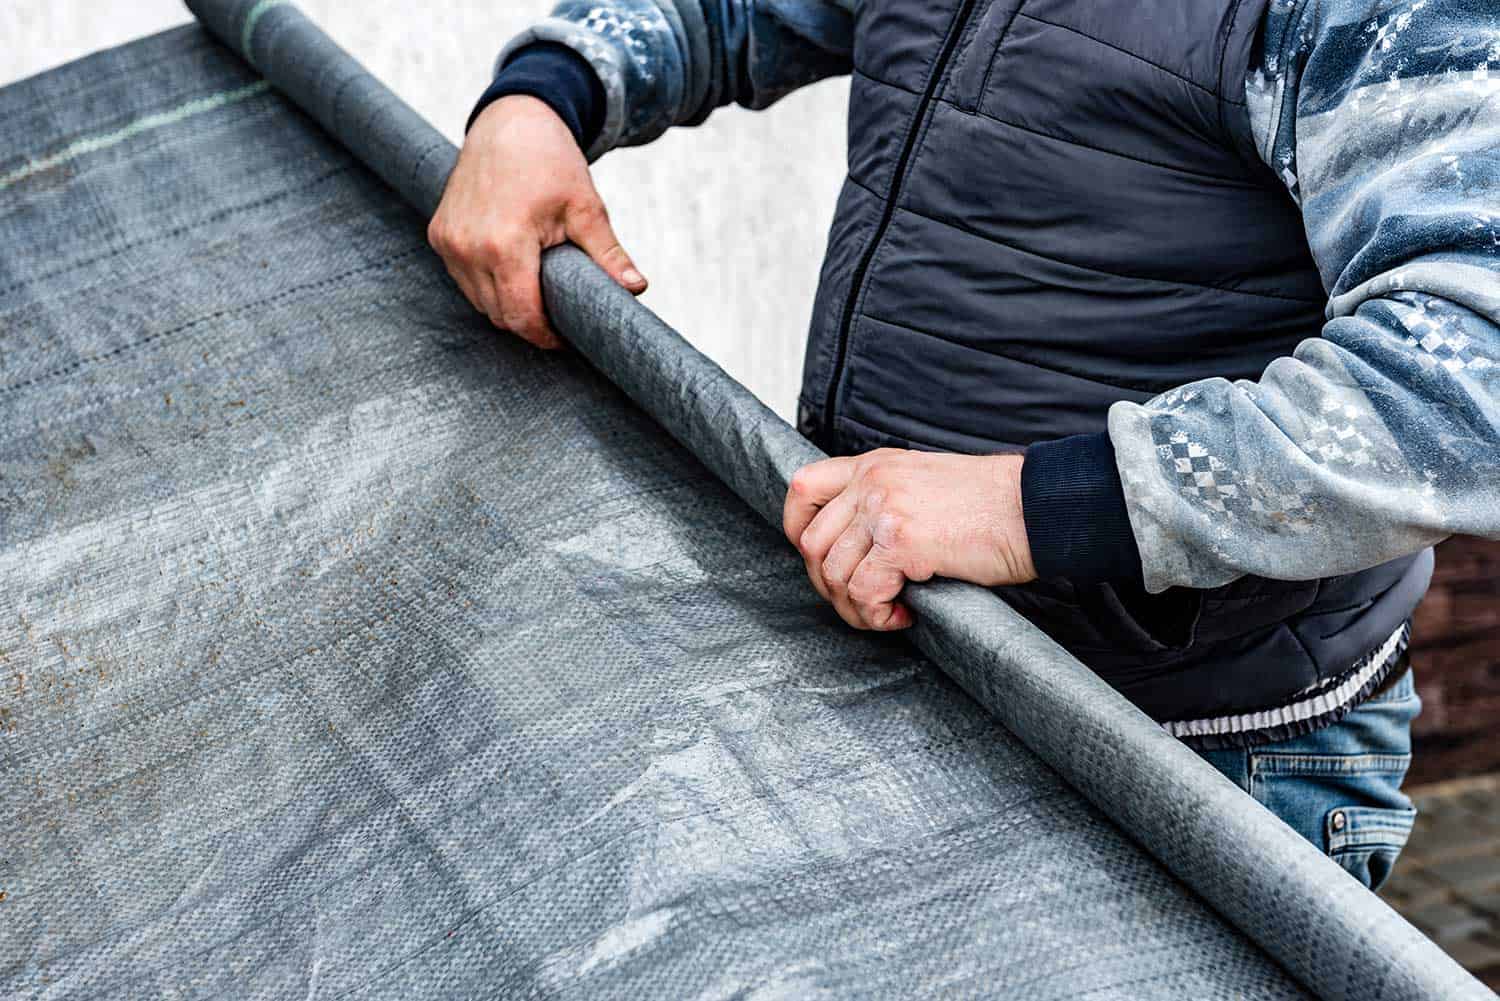
Unroll the vapor barrier sheets one at a time, and make sure to overlap them by six inches. Some of these sheets have self-adhesive ends, which can make it clearer where to overlap them. Trim the other end of the vapor barrier using a reliable utility knife.
Click here to find this carpet cutter on Amazon.
Some prefer to use a carpet cutter, which has a handle and angled blade for cutting edges. Remember that the vapor barrier needs to run up the walls around four inches to six inches.
Also, it may be necessary to cut around any protrusions from the floor. Electrical wires, pipes, and other obstacles need to be allowed above the barrier. Cut slits in the barrier, or cut out extra pieces of barrier to wrap around the base of pipes. You will need to seal around these openings with tape.
5. Apply Vapor Barrier Seam Tape
Click here to see this vapor barrier seam tape on Amazon.
As you apply each roll of the vapor barrier, you will need to seal the seams between them if they are not self-adhesive. Instead of ordinary tape, you will specifically need vapor barrier seam tape that can withstand the same conditions as the barrier itself.
It needs to be waterproof and highly resistant to extreme temperatures. This specialized tape is made of epoxy resin or polyethylene. A popular brand that has become generic for the process is Tuck Tape.
6. Fasten Vapor Barrier to Wall
Click here to find these Christmas tree fasteners on Amazon.
Now that the vapor barriers are laid out and sealed at the seams, you will need to fasten them along the walls using Christmas tree fasteners, sometimes also known as Christmas tree stakes.
First, you will need to drill holes along the butyl tape, where the vapor barriers are already stuck. That may require a hammer drill, which is a unique power drill that includes a hammering mechanism. This function can make it easier to chip away at concrete.
Click here to see this masonry drill bit set on Amazon.
You may also use a quarter-inch masonry drill bit with a traditional power drill. These bits can chew through concrete.
Either way, the holes should usually be placed about three feet apart. Next, simply tap the fasteners through the vapor barrier and butyl tape to secure everything into the wall. You can use a rubber mallet for safety.
Summary
Installing a vapor barrier can be difficult on your own, but it is possible if you have the proper tools and steps to follow. Because concrete is a porous material, it is always ideal to have a vapor barrier to prevent moisture buildup from destroying a new floor or affecting your health. Now it is clear how to identify which vapor barrier is best for your home, the correct steps to install it, and why it’s so important.


