
Roll roofing has recently become a trend in the roofing industry. Not only is it affordable, but it is also easy to install. If you're still unsure about the process of installing one, we have done proper research from building experts, and here's what they have to say.
After getting the necessary materials required for roll roofing, the first thing you need to do is to clean your roof and sweep off dirt and leaves. After that, carry out the following steps:
- Add roofing cement by the edges.
- Lay the rolling materials and cut them into the perfect size to fit in properly with the width and length of the roof.
- Apply roofing cement or adhesives by the roof's edge to let it stick properly.
- Overlap each side of the roll for a smooth surface
Roll roofing is durable and can last as long as five to ten years if installed properly. Keep reading to learn detailed information about properly installing one in your home.
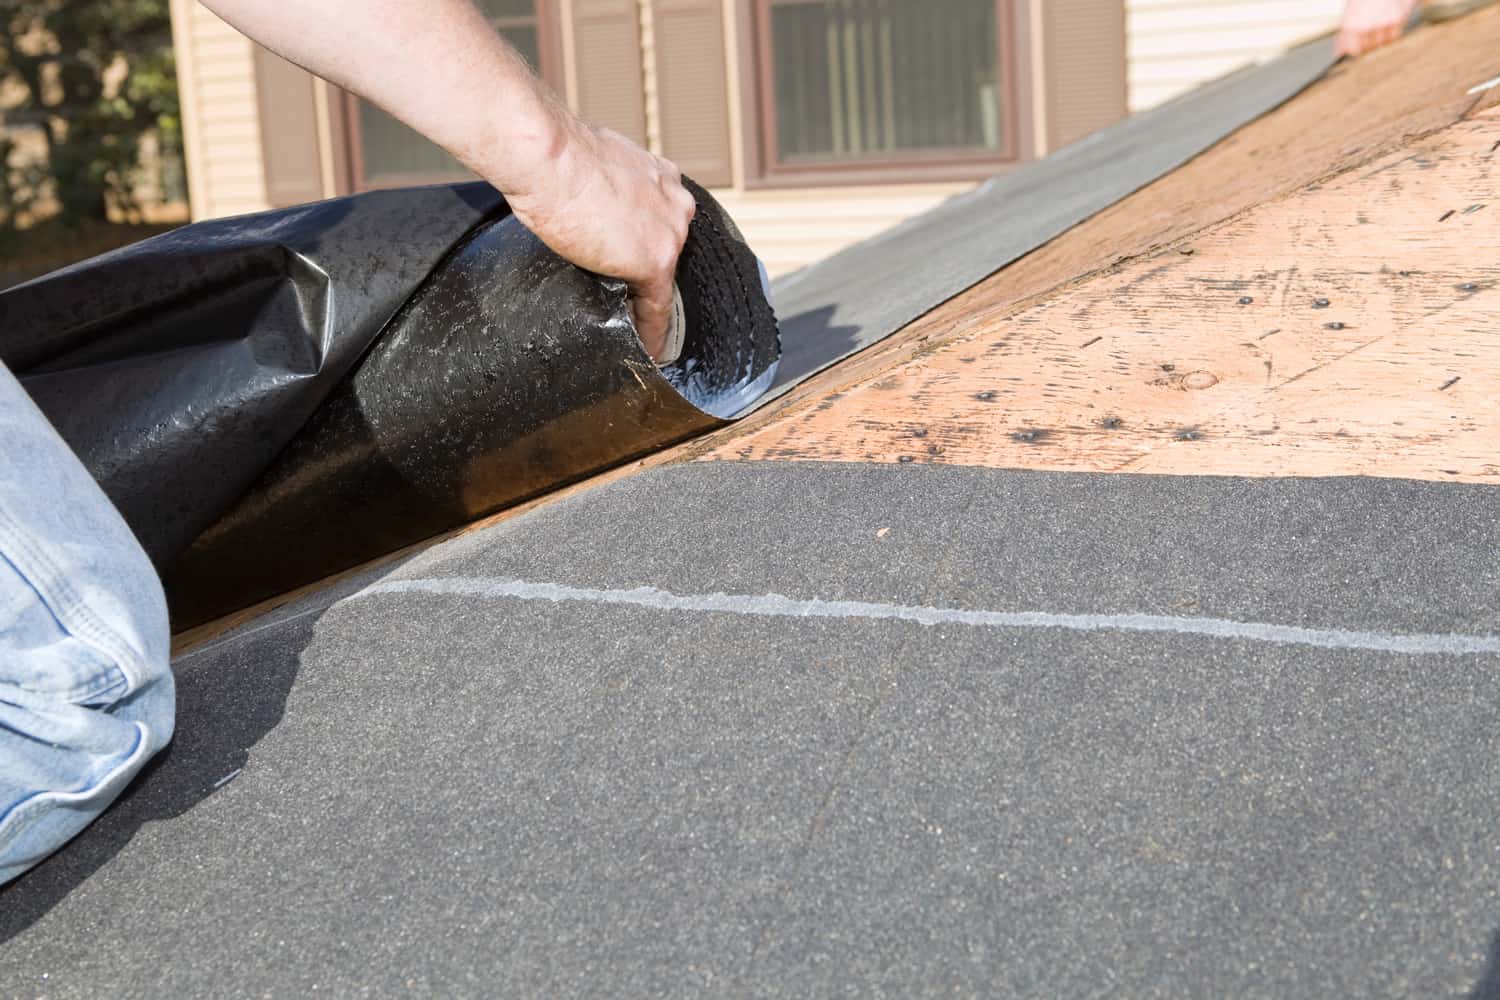
![Roofer installing rolls of bituminous waterproofing membrane for the waterproofing of a terrace - How to Install Roll Roofing [With And Without Nails]](https://uooz.com/wp-content/uploads/2022/04/ROOFER1.png)
What is Roll Roofing, and How Does it Work?
Roll roofings are lightweight roofing materials that come in rolls. They are used in covering rooftops of buildings. You can cut them to fit some corners and smaller edges around your rooftop like carpets.
Some roll roofings come in peel and stick form. You only have to peel off the outer sheet and stick it properly to your rooftop. They are waterproof materials because they can absorb and prevent water from leaking into your house from the roof.
If you have a sloped rooftop or want to change the rooftop on your garage or workshop, you should consider using roll roofing. It is inexpensive and can be installed without in-depth roofing expertise.
How To Install Roll Roofing With Nails [Step-by-step Method]
Here is a step-by-step method to install roll roofing with nails.
Step 1: Clean The Roof
Before you start adding your roofing roles, make sure you clean the surface of your rooftop with either a broom or a leaf blower. Just make sure to remove all dirt and debris so the surface would be smooth and plain.
Be cautious of any damaged wood, so you don't have accidents or falls. Also, wear work gloves and a work boot with a firm grip underneath. Do not wear sneakers or casual shoes as they might be slippery.
Step 2: Lay Out Your Rolling Materials
Lay out the rolling sheets flat on the surface and use an object to hold the edges, so they remain flattened.
Step 3: Cut Out The Excess Parts of the Sheets
After laying your sheets, use chalk to draw out the parts where it stretches above the required area. Cut it out with a knife.
Step 4: Apply Roofing Cement
You need to apply roofing cement at the edges of the roof. Roofing cement is a proper adhesive material that helps a roll roofing sheet stick together.
Use a trowel to scoop some cement from the container and spread it around the edges with a brush. You can always get cement in any store that sells building materials.
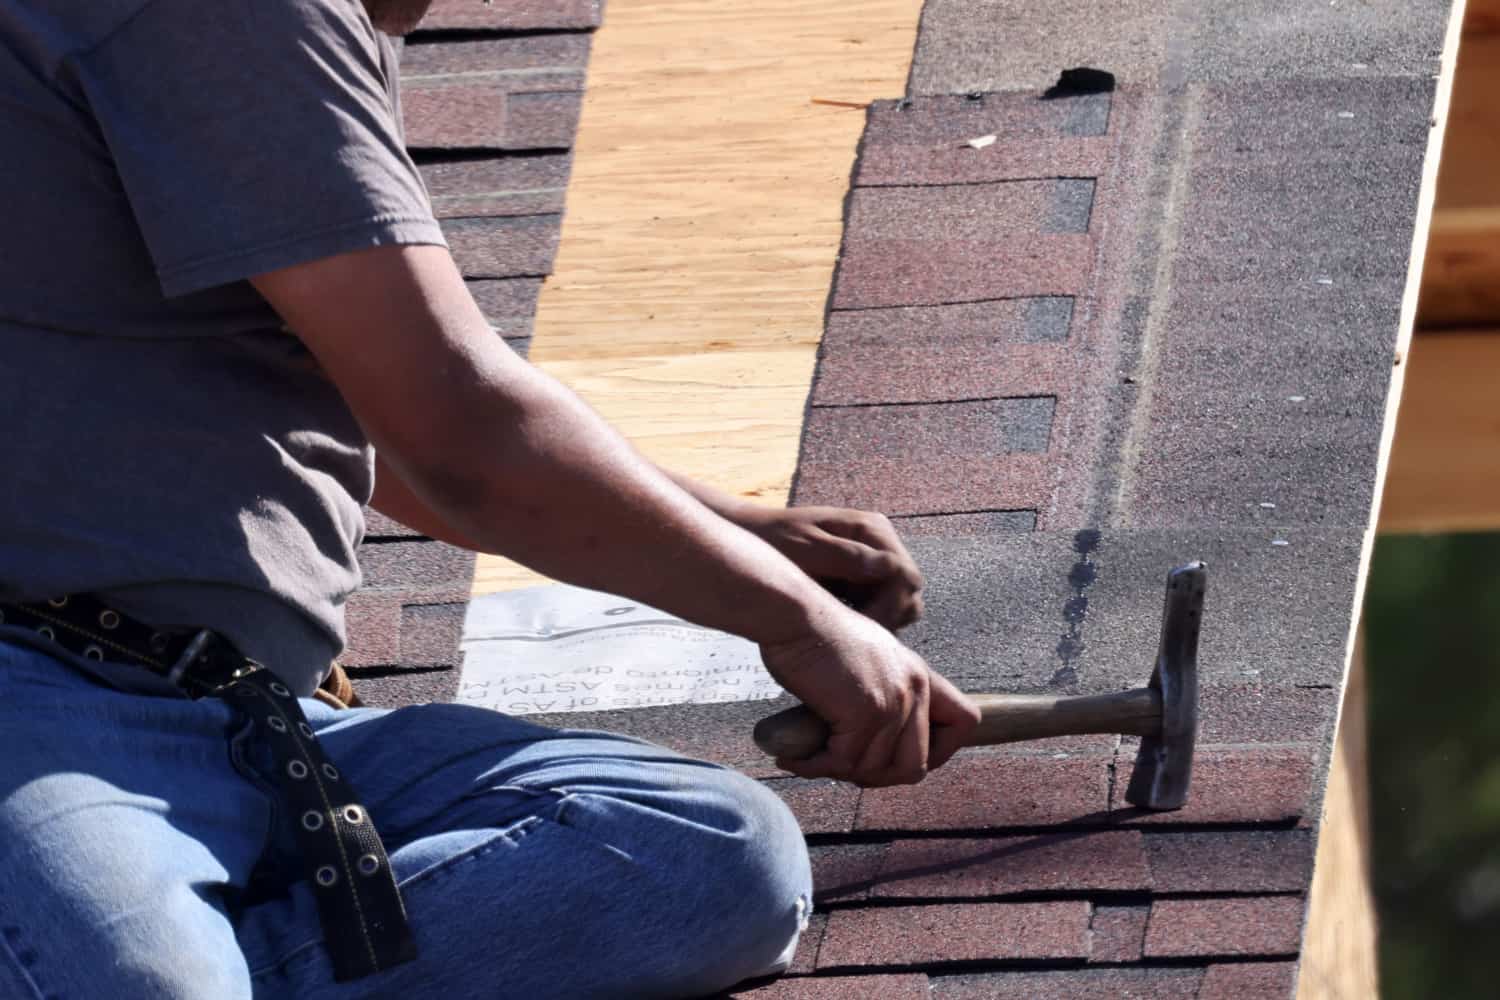
Step 5: Attach The first Sheet To Fit Properly
Roll out the first sheet and have the base of the sheet stick to the areas you put cement around the rooftop. To lap the sheets properly, use your hammer and drive the nails around the vertical edges of the sheets.
When using the nails, they should be a few inches apart. You can drive each nail two feet apart. If you're using a self-adhesive roll rooftop sheet, it will be easier because it is already sticky.
Step 6: Attach The Second Sheet
After spreading the first sheet, lay out the second sheet and let it overlap. Put cement roofing at the horizontal edge as you did for the first sheet so it can also stick properly. Make sure the second sheet overlaps the first sheet by a few inches.
Drive in the nails by the corners overlapping the first sheet. It should be a few inches away from your feet. As you nail, rub your foot backward every time you hit a nail so the sheet can be properly stretched and have a firmer grip.
Step 7: Cover The Vents
Vents are the top part of your attic ventilation system located on your roof. If you want to cover it with a rolling roof, spread some cement around it, draw a large circle on your roofing sheet and cut out the shape. The circle should be wide enough to cover the vent.
Step 8: Cover The Valley
Also, apply roofing cement to the margins of the area around the base of the attic. Nails or screws can be used to secure it in the manner required for the job.
Step 9: Add Cement To the Nails
After laying out the sheets on your roof, add some cement to the places you nailed. This helps the nail stay more secured to the rolled roof.
Step 10: Trim The Sheets
Use your razor knife to trim out any edges or rough corners around the rolled sheets. Also, check if the edges are not properly lapped by lifting them with your finger. If they move when you try living it, add more cement around.
How To Install Roll Roofing Without Nails [Step-by-step Method]
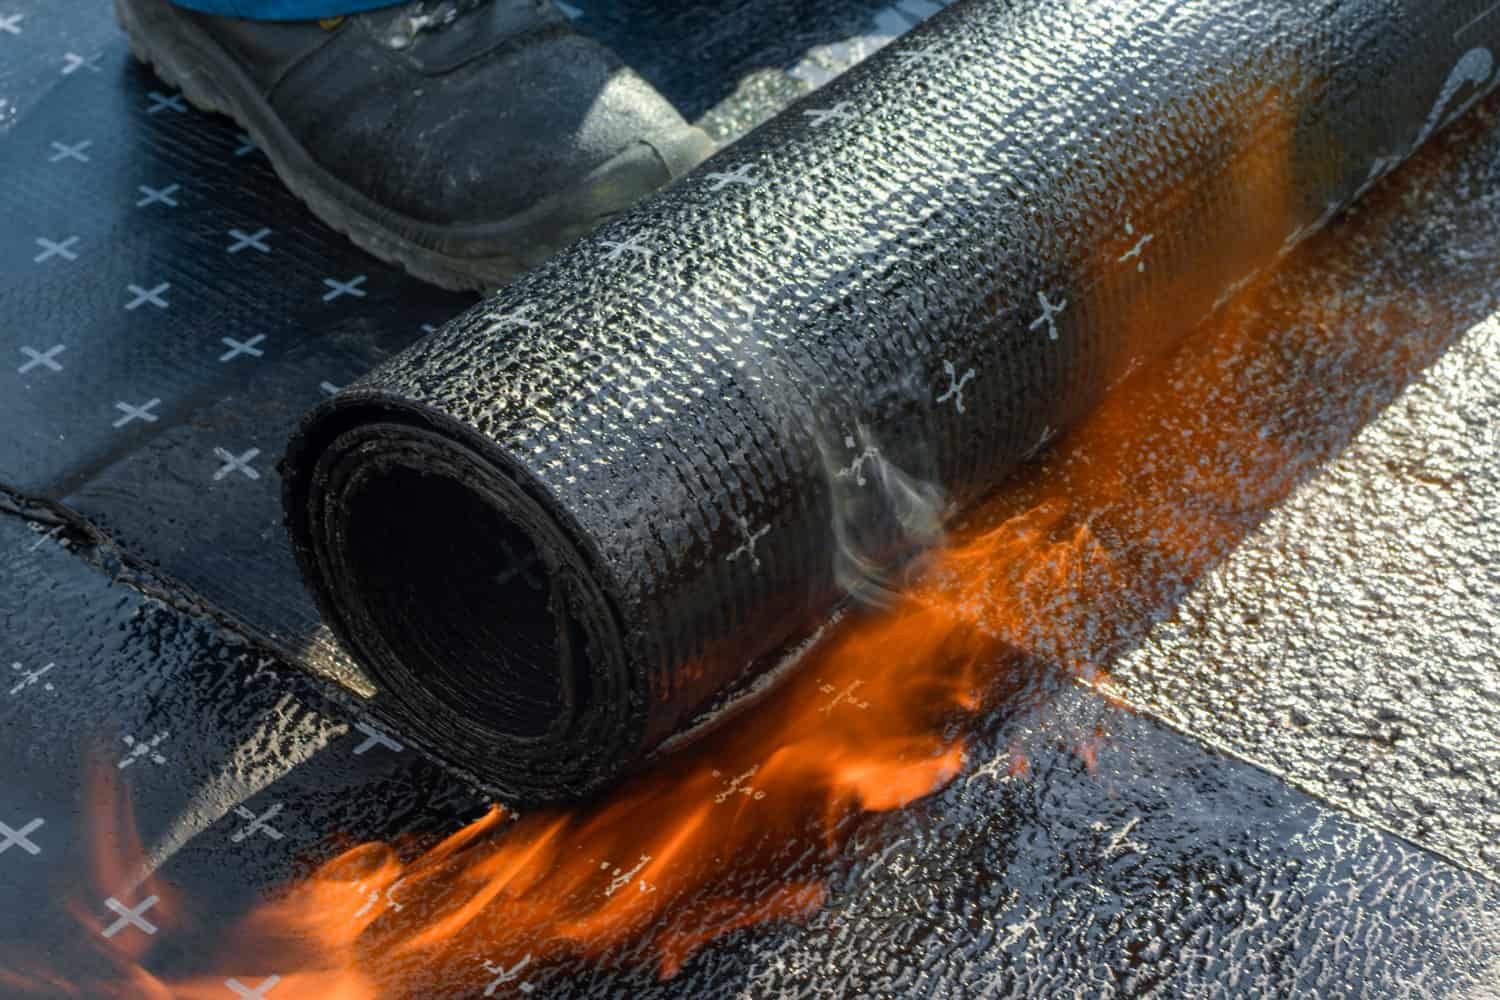
An effective way to install roll roofing is by using a propane torch. This torch lets you spark a flame that produces a temperature good enough to heat and melt your rolling roof sheets. Here are the steps you should follow.
Step 1: Clean The Surface
Before installing your roofing, make sure it is on a clean, smooth surface. Also, make sure you wear gloves and boots for safety measures.
Step 2: Read The Instructions Properly
Closely read the instructions guiding the torch and how to use it properly for safety measures. Proceed when you have verified that the equipment is connected correctly and the hoses are working perfectly fine. Check all fittings for leaks by using soapy water to detect any gas leaks.
Step 3: Roll Out The Sheets
Unroll the sheets five inches away from each other. To avoid any rough bumps or wrinkles around the roll, have one person stand on the end of the roll while you properly place one sheet beside another to help it align and lay flat. Reroll the sheets to their usual form
Step 4: Heat The Sheets
Ignite the torch and use the torch flame uniformly across the underside of the exposed rolled sheets. The flames will heat the sheets to a specific temperature.
If you notice a heavy smoke, the heat applied is too much for the membrane. While heating the rolled side, place the torch below the rolled part of the sheet to properly lap to the roof.
Step 5: Roll The Heated Sheets
As the sheet is being heated, slowly unroll the sheet with your foot so it can lap properly on the roof. When you're done with the first sheet, unroll the second sheet and repeat this process for it and the next.
Step 6: Use Trowel on The Edges
Use a trowel to check if there is any place lifted or rough between the edges of all the sheets. Make sure no area is dry. If you notice any dry area, heat the trowel with the torch, and place it under the area to give it another high temperature. Lap it properly with your hands or foot.
How Do You Seal Roll Roofing?
The best way to seal a rolling roof is by using cement. Make sure the sheets are properly cut to fit perfectly on the rooftop. Cement has adhesive properties that keep the nails glued to the sheets for a very long time. It lasts longer than using a propane torch.
Do You Need Felt Paper Under Roll Roofing?
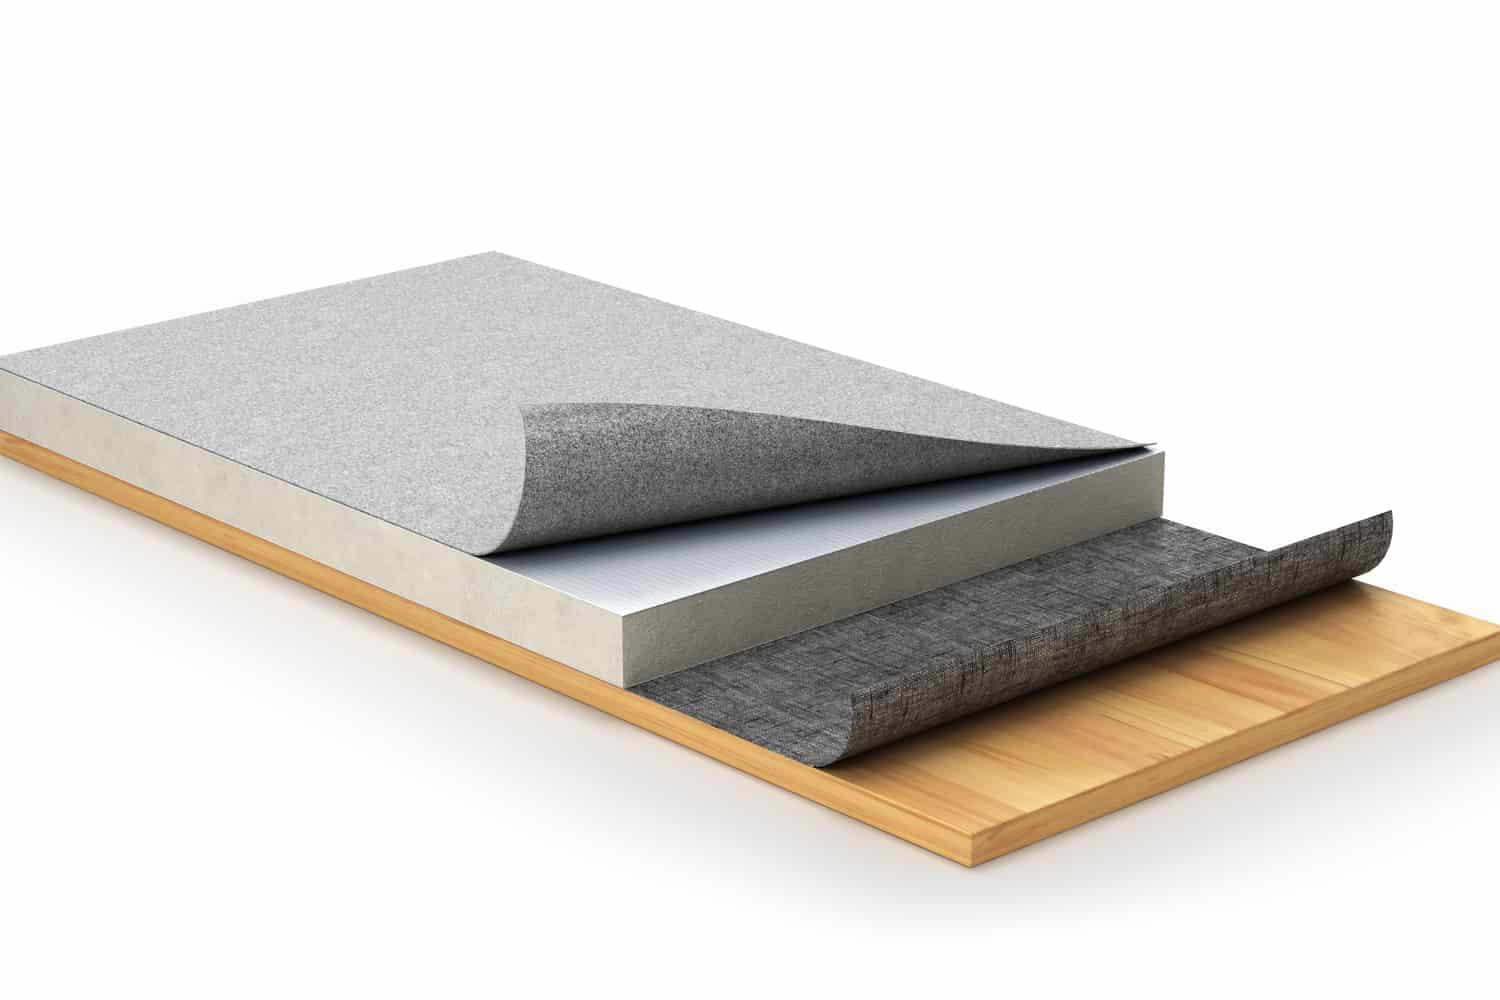
Felt paper is a lightweight material made from natural wood and fiberglass materials. It is usually placed on rooftops to prevent water from leaking into the building. It is coated with asphalt to retain water on the surface and still maintain humidity below the surface.
Roll roofing does not necessarily need any underlayment. But felt papers are inexpensive and can provide double protection against the weather condition.
Do You Need Dripped Edge On Rolled Roofing?
Drip edges are sheet metals or plastics installed on the rooftops that protect and divert water from penetrating under the roof. Instead, if water gets into your roof, they move into the gutters.
Some people think drip edges are not necessarily needed for a rooftop. But other building organizational bodies and manufacturers insist that drip edges are necessary, notwithstanding the type of roof you have.
Conclusion
Rolling your roof is very cost-effective if you don't have the funds for an expensive roofing service. There are different rolling materials you can use. Whichever method you think is convenient for you, ensure that your rolled roofing is durable and long-lasting.
For more on roofing, here are similar articles you would enjoy: