
Are you planning to install a range hood in a kitchen with a vaulted ceiling and are wondering how you can achieve that? Wonder no more, for we have researched this question, and we have the answer for you.
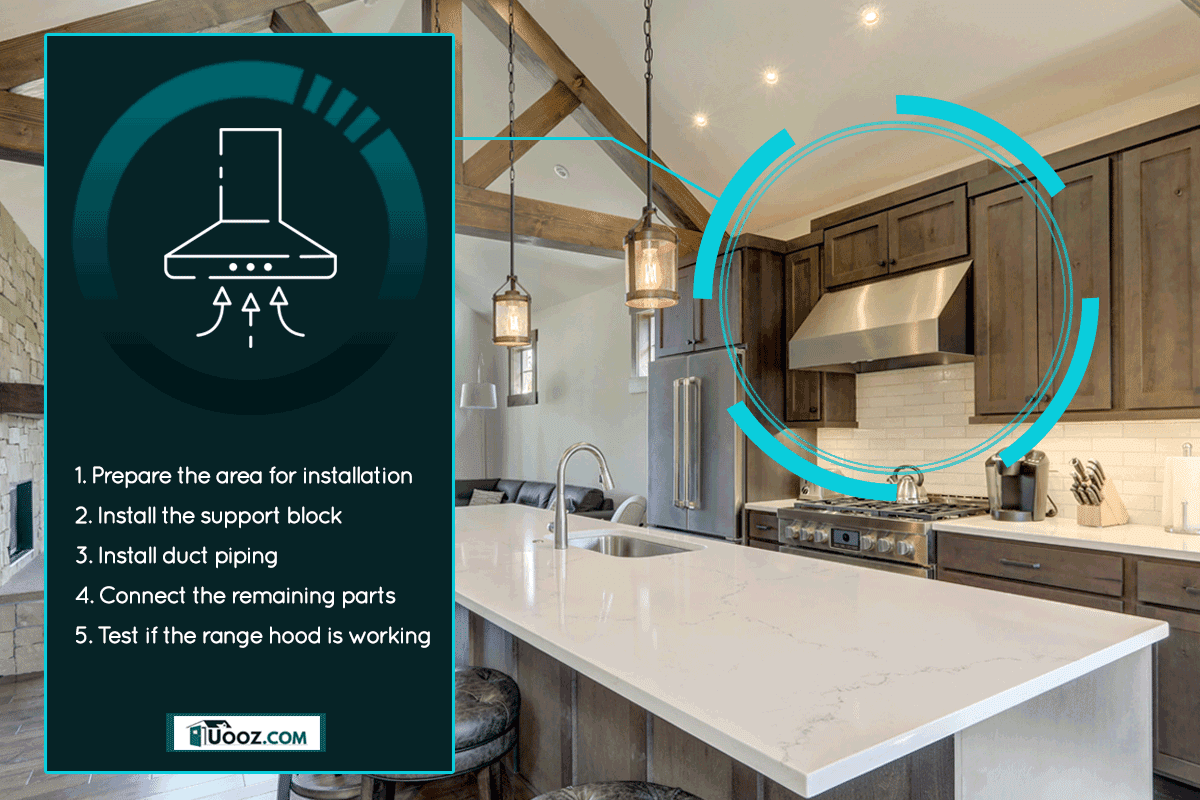
Here are the summarized steps for installing a range hood on your vaulted ceiling:
- Prepare the area for the range hood installation
- Install the support block
- Install duct piping
- Connect the remaining parts of the range hood
- Test if the range hood is working
If you still have some questions about the process, don't worry. The succeeding sections have the complete installation in easy-to-follow steps. Without further ado, let's get into it.
How To Install A Range Hood On A Vaulted Ceiling
Vaulted ceilings provide an aesthetic appeal to your house and give it a feeling of roominess. Unfortunately, for all the visual benefits that you get from a vaulted ceiling, it can make installation challenging for appliances that need to go through the ceiling.
The slant on the ceiling will not be a problem if you’re installing a range hood over a cooktop that is along an exterior wall. You simply install the ductwork through the exterior wall and vent the range hood from there.
However, the installation becomes problematic if you need to install the range hood over a range that is on a kitchen island. In this case, your only option is to install ductwork through the slanted ceiling and then through the roof.
The detailed steps below should give you all the details that you need to install a range hood on your own. You will need to adapt some of the steps to your situation, as not all ceilings and kitchens are made the same.
We will make sure to cover different situations so that you will have different situational references.
Preparing For The Installation
- Unbox your range hood and make sure that you have everything that should go with the package. You need to do this first thing when you get your range hood home. Notify the store immediately if any part is missing.
- Check the range hood to see if it is working. Get a replacement immediately if it is not working.
- Check your local building authority if you need to get a permit to install your range hood. Obtain a permit if you need one.
- Make sure that you have access to the attic space directly above the ceiling where you plan to install the hood. If you don’t have access to the attic space above the kitchen, you will need to install it through the ceiling.
- Check the attic space and make sure that the ductwork will not hit any pipe, wires, joists, or other ducts. You need a clear pathway from the ceiling to the roof. If you do not have a clear path, you will have to redirect the things that are in the way. The pipe coming from the range hood can only have a maximum of two elbows. Moreover, you can only have a maximum of 30 feet of ducts. This measurement starts from the top of the range hood to the vent outside of your roof. Make sure that 30 feet is enough to get to the top of the roof. The angle of the roof can make the distance farther, and 30 feet might not be enough. In this case, you will need to move your range. Moreover, you lose 5 feet of that distance for each elbow that your duct has.
Making Measurements
- Place your range hood on top of rigid cardboard and mark the area that it covers.
- Cut out the cardboard to get the bottom surface of your range hood.
- Use the cutout cardboard to determine the best position of your range hood over your cooktop.
- Use painter’s tape to secure the range hood cutout in place.
- Create another cutout to represent the size and measurements of the chimney from the top of the range hood. The accuracy of this cutout will determine the accuracy of the hole in the ceiling for your chimney.
- Measure the distance of the chimney from the edges of the range hood.
- Position the chimney cutout on top of the range hood cutout. Use the measurements from the edges of the range hood to determine the exact location of the chimney.
- Use painter’s tape to secure the chimney cutout.
- Get a ladder that is high enough so that you can reach the top of the ceiling.
- Use a plumb line to project the position of the chimney. The bottom of the plumb line should line up with the corners of the chimney cut out. Mark the location of the plumb line on the ceiling where it lines up with the corners of the chimney cut out. Use painter’s tape to mark these positions.
- Repeat the same step until you get the position of all the corners of the chimney cut out.
- Measure the height of the ceiling mounting bracket.
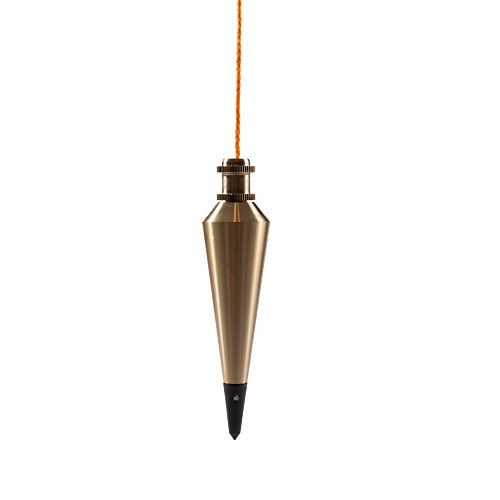
Click here to see this 8-ounce brass plumb bob on Amazon.
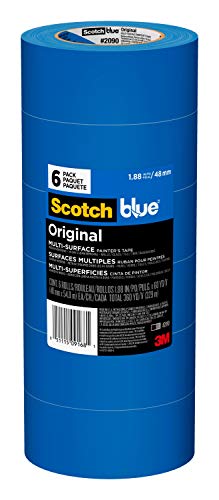
Click here to see this painter’s tape on Amazon.
Cutting A Hole In The Ceiling
- Use the marks on the ceiling to draw a projection of the area that you need to cut to make way for the chimney.
- Use your drill to drill a hole in the ceiling. This will serve as the entry point for the jigsaw that you can use to cut out the hole.
- Cut out the hole that the chimney will use.
- Check that you have a power line coming from the ceiling close to the hole. You need the power line to install a power socket. Your range hood will need a power supply to work. If there is no available power line, hire an electrician to install a power socket for you.
Installing Weight Support
- Get into the attic to install supports around the hole that you cut. Use a pair of 2x4 or 2x6 planks to create support for the ceiling mounting bracket. Use the measurement that you took earlier to have planks of the right size installed on top of the joists.
- Screw the planks in place.
- Add a plank along the length of the joists that will help reinforce them. Screw the reinforcement planks into the two closest joists around the hole. The two reinforcement planks and the two support planks should form a frame that will support the weight of the hood. Extend the frame to create a support for the ceiling mounting bracket. Always use a level to make sure that the planks that you install are perpendicular to the ground.
Installing The Chimney
- Insert the ceiling mounting bracket through the hole from the attic space.
- Lower it just enough so that you can screw it into place.
- Install the four support brackets on the ceiling mounting brackets. The bottom of these brackets should be 24 to 36 inches plus the height of your range hood from the top of the cooktop. That is the ideal distance from the cooktop to the bottom of your range hood. Adjust this distance depending on the type of cooktop that you have.
- Screw everything securely in place.
- Install the first layer of the chimney cover.
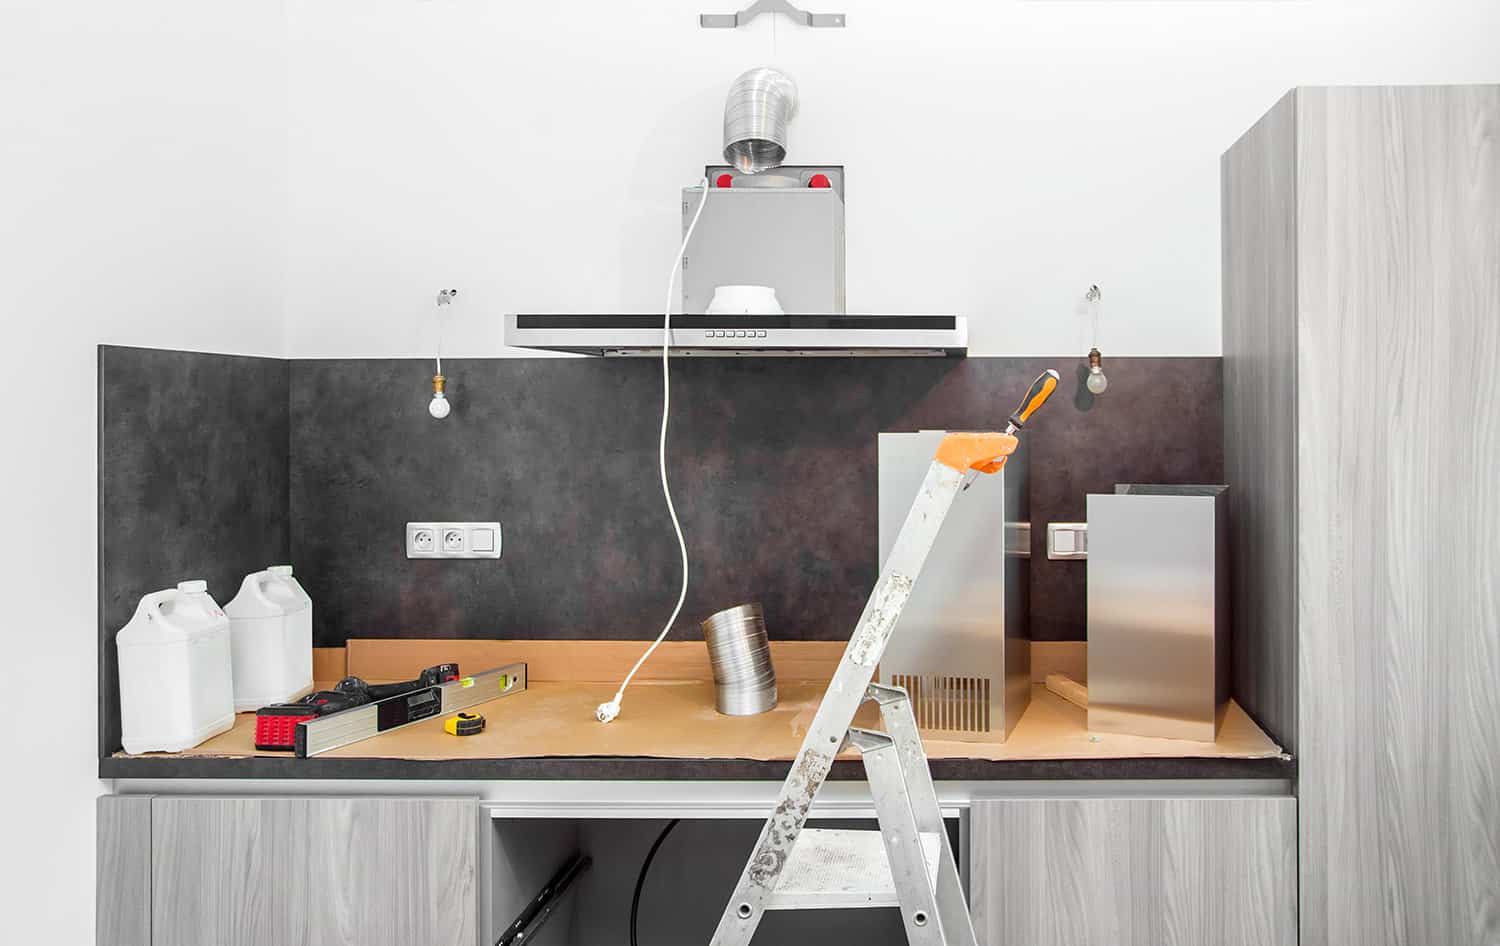
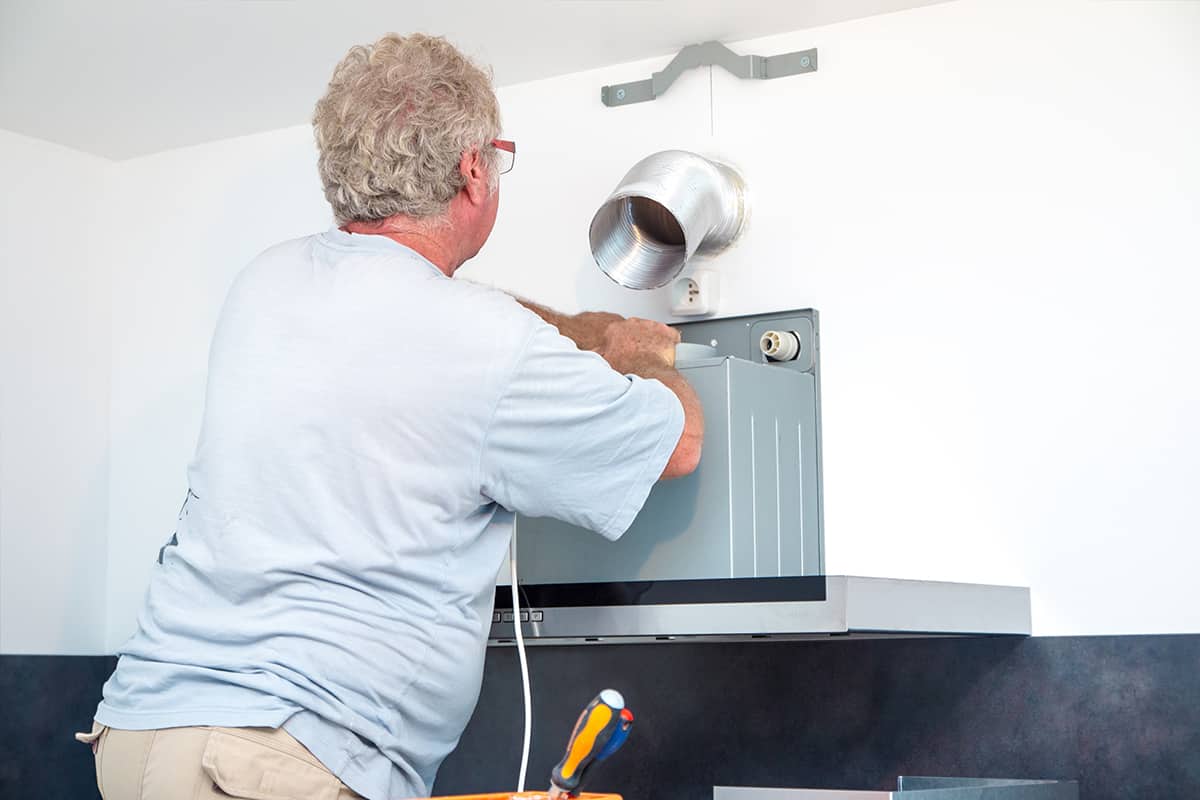
- Install the duct. Keep in mind that some states require ducts to be non-plastic. And some range hoods come with plastic adjustable ducts. You will need to install ducts that will comply with the building code in your area.
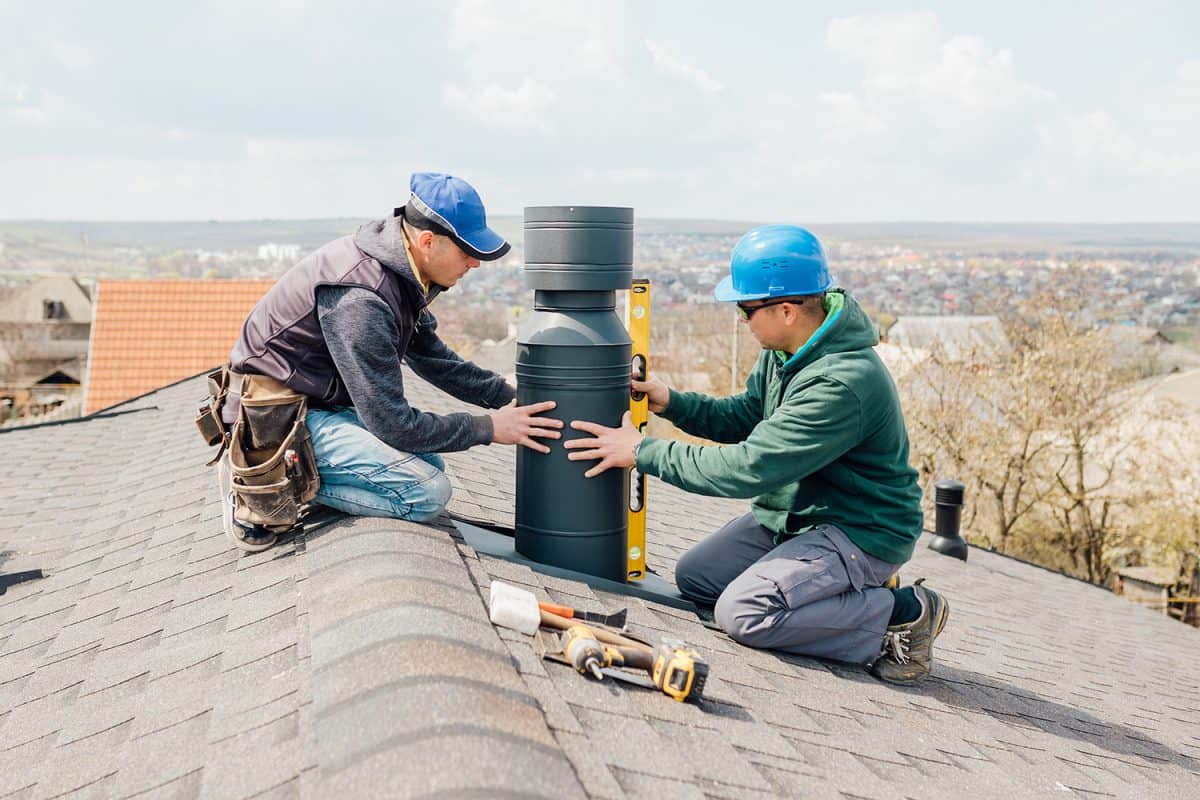
Punching A Hole In The Roof
Hire roof specialists to cut a hole in your roof for the chimney. They will install flashing and seals to make sure that the hole in your roof is weatherproof. Have them connect the duct coming from your ceiling to the vent on the roof.
Completing The Installation
- Insert the second chimney cover and suspend it using painter’s tape.
- Have someone help you raise the range hood. It is quite heavy, so do not attempt to install it alone.
- Screw the range hood in place.
- Get back to your attic and reach for the power cable. Plug it into the power socket.
- Lower the second chimney cover into position. Adjust it until it is plush with the range hood.
- Test that the range hood is working.
- Complete the installation by cleaning and polishing the metal surface of the range hood and the chimney covers.
Final Notes

Some vaulted ceilings do not have an attic. The ceiling is installed on the rafter instead.
If your vaulted ceiling does not have a big enough attic space for you to get into, you will need to determine the location of the joists or rafters using a stud locator. Install the weight support on the joist or rafter, and adjust the chimney and ducts to match the location of the support.
When the roof specialist cuts a hole on the roof, have him cut the hole all the way through the roof deck and the inside surface of the ceiling. Install the ductwork on this hole from the vent outside to the ceiling mounting bracket.
If you need to install your range hood in a kitchen with a dome vault, have a professional do it for you. Dome vaults have small distances between support rafters, and it is easy to hit one.
In Closing
Installing a range hood on a vaulted ceiling can be challenging but nonetheless possible with the right tools and instructions.
If you enjoyed reading this article, you might find the articles below equally helpful: