LED lights add flair to any space, and strip lights are easy to install with a fantastic combination of color options. Placing them overhead on your ceiling will create some brilliant lighting, but how do you install them? We’ve compiled some easy steps to help you install LED strip lights on your ceiling.
- Decide what kind of lights you want in the room, based on lighting needs and style preference.
- Plan the route, locate a power source, and measure the length of strip you’ll need.
- Check your ceiling type to see if simple adhesive will work or if you need an alternate installation method.
- Install the LED strips along the desired route.
- Use the extra length to connect strip lights via a power source.
Most LED strip lights have built-in adhesive on their backs, so sticking them on the ceiling is simple once you've planned the location and power source. However, there are alternative installation methods too. Please keep reading as we delve into how to select and install your LEDs. We've suggested some helpful tools to make this DIY project even easier.
Five steps to install LED strips
You’ll find out how to choose LEDs and the additional tools or materials you might need for installation in these steps. The options can be overwhelming, but here’s the easiest way to start sorting through LEDs and then install the right lighting solution for you.
1. Decide what kind of lights you want
There are plenty of LED strips to choose from, but some strips work better in different situations. Consider how you primarily use the room and how bright do you want the LEDs to be? Colored atmospheric lighting can be amazing for a bedroom or a relaxing area of the house. But if you were installing them above a workbench, you’d probably prefer clear, bright lights to make accurate measurements.
You might use the living room for both work and play, so dimmable RGB lights can achieve the best of both worlds for the same space. Some LED strips, like the Govee Smart LEDs, can even connect to your wifi and interact with smart devices like Alexa or Google Home.
Click here to check out the Govee Smart LEDs on Amazon.
Can you connect LED strip lights to mains?
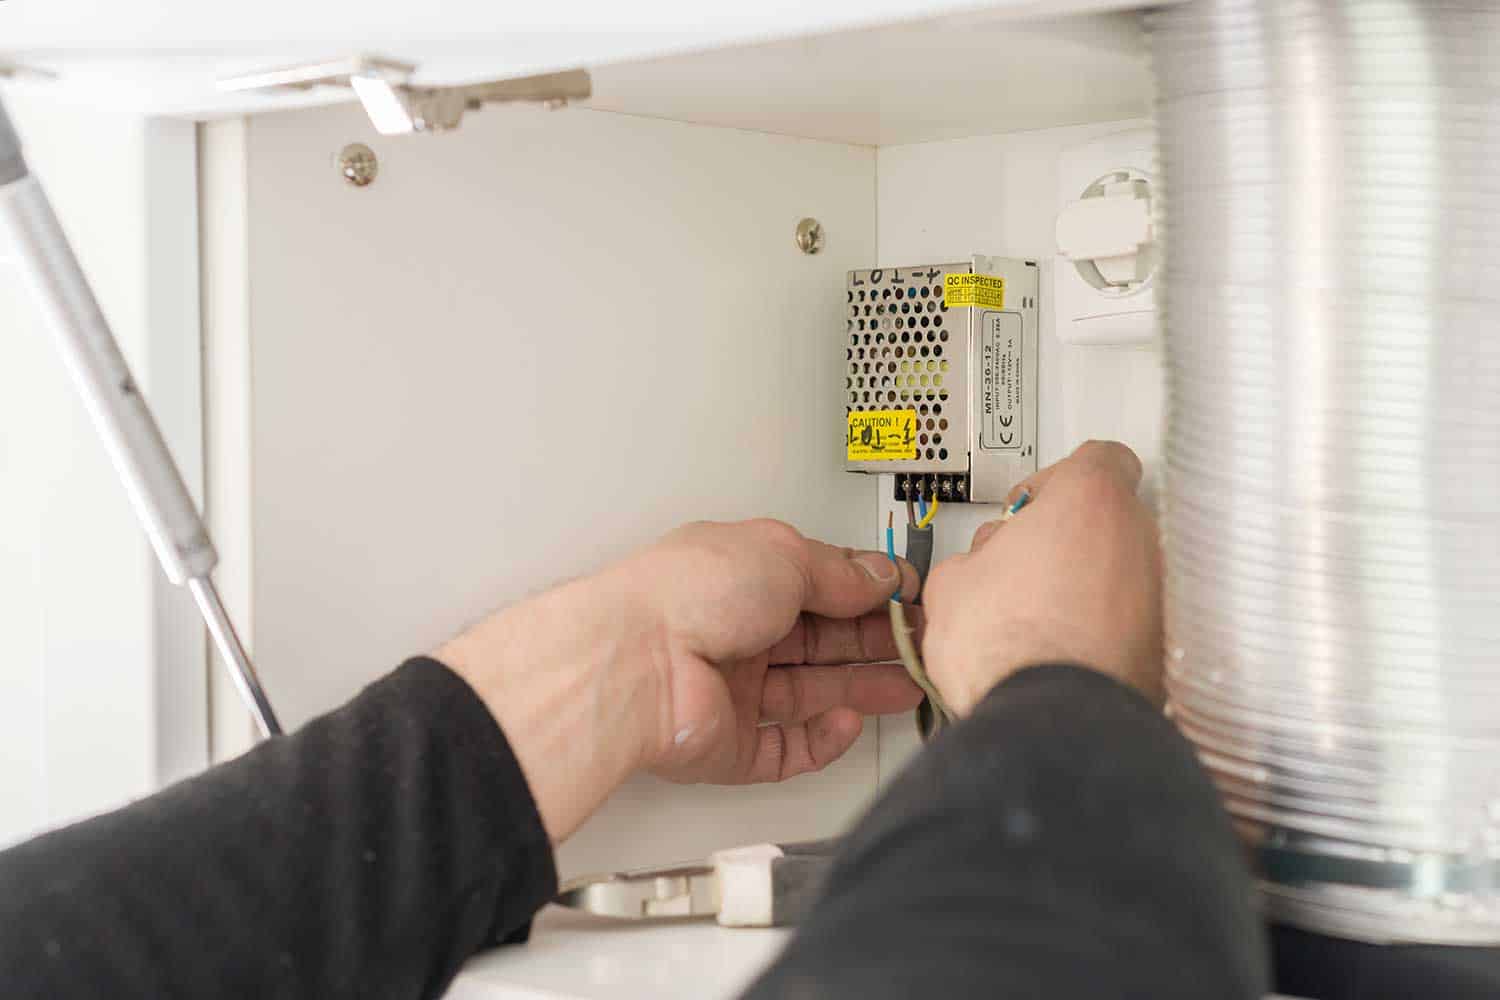
Yes, it is possible to connect LED lights to the main power switches in a room. This is a solution that’s better for bigger lighting projects like larger rooms or office spaces. Since this requires some high-voltage wiring work, we only recommend this step if you are comfortable working with your house's wiring. If you haven’t handled the wiring in your home before, you should call your local electrician and ask for assistance.
2. Plan the route, locate a power source, and measure for length of strip
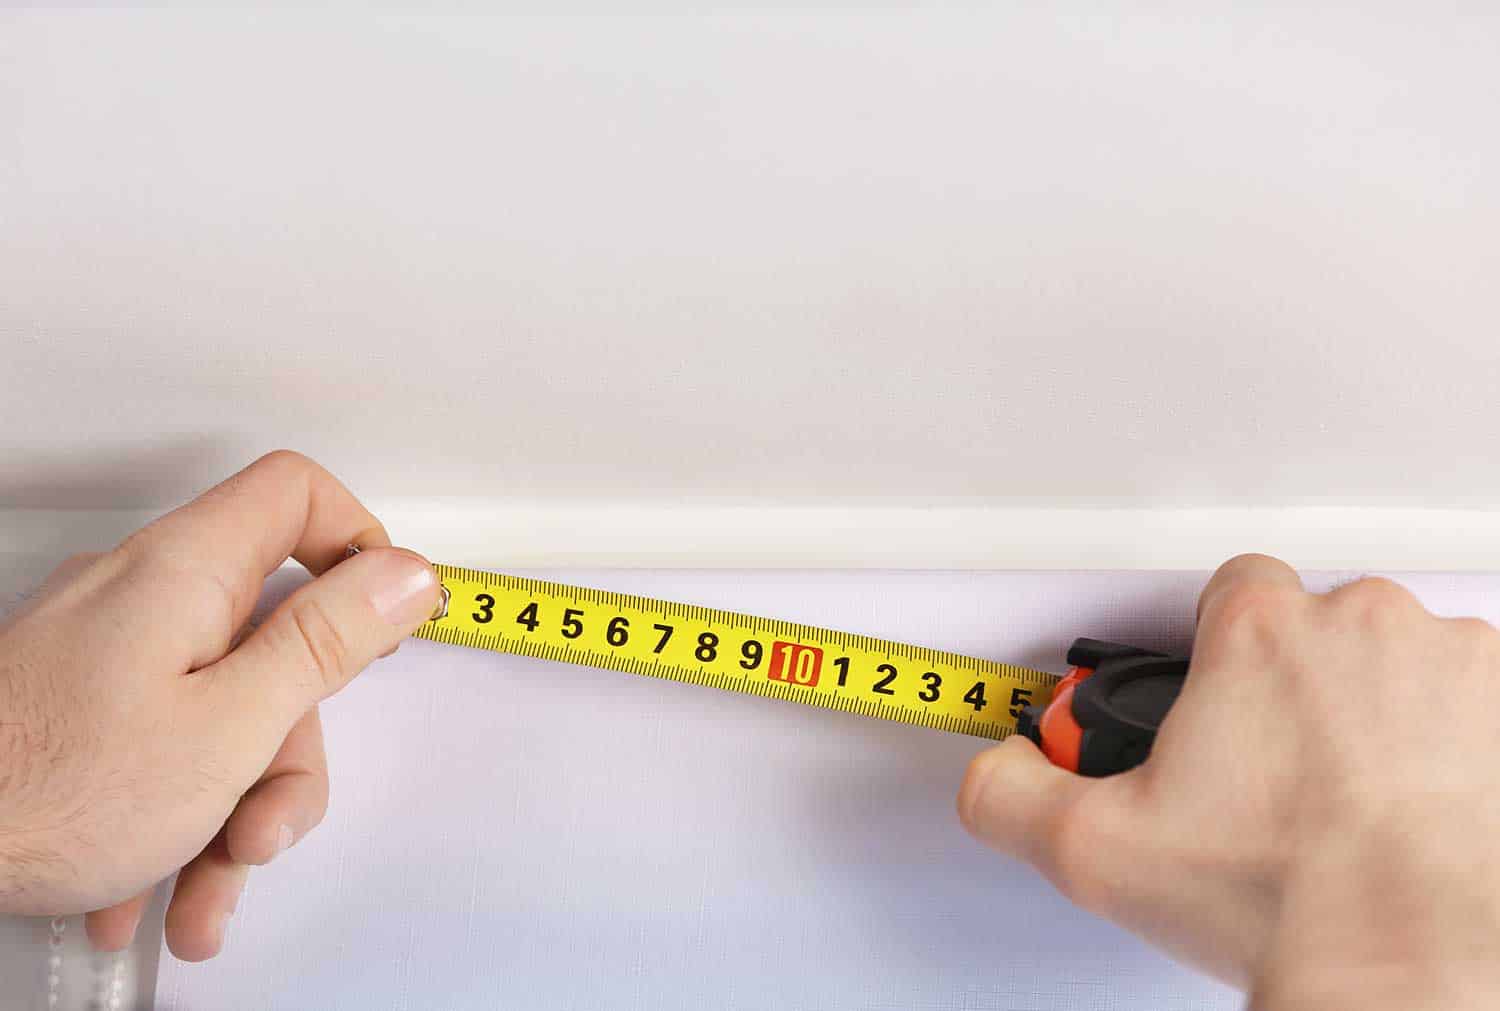
Plan the route of your LED strips, including where it plugs into an outlet or where it connects to the main power supply. Choosing one or the other will drastically change the final steps of installing your LED strips. Take a tape measure and find out the length of lights you’ll need to cover the whole area. Don’t to add the distance to your power source into your calculations. It’s always better to buy a bit of extra length to account for odd spots or tight corners.
3. Check your ceiling type
A flat smooth ceiling makes installing LEDs easy by using the built-in adhesive on the strips' back, but not all ceilings will work. A rough ceiling texture like a popcorn ceiling will require you to use a different method of attaching the LEDs. Excessive moisture or higher temperatures will also wear away at the adhesive. You can check for other unsightly or uneven ceiling spots like nail pops, and if you find any, read How To Fix Nail Pops In Ceiling before you tackle the repair.
Here are some alternative solutions for installing LED strips:
Extra-strong double-sided tape
This solution might be better for extra coverage on smooth ceilings or in high-temperature areas. It’s super durable and sticks on the path where you want the LEDs to go. Lay the LEDs on it to double-bond the adhesive with the built-in adhesive on the strip.
Click here to view HitLifhts heavy-duty tape on Amazon.
LED Strip Mounting Clips
These clips use a screw to attach to the ceiling and hold the strip in place even if the adhesive doesn’t stick well. The recommended spacing is around 1-foot per clip, but they’re relatively cheap, so you can always double up on them for extra assurance.
See Griver's 100 pack of brackets here on Amazon.
LED Mounting Channel
This solution also uses screws to attach to the ceiling while providing a more professional look. The LEDs adhere easily to the back of the mounting channel, and some include UV covers that hide the actual strip while letting the light through. Just make sure that they will fit the width of your LEDs.
Click here to see Hunhun's 10 pack channel system on Amazon.
4. Install the LEDs on the ceiling
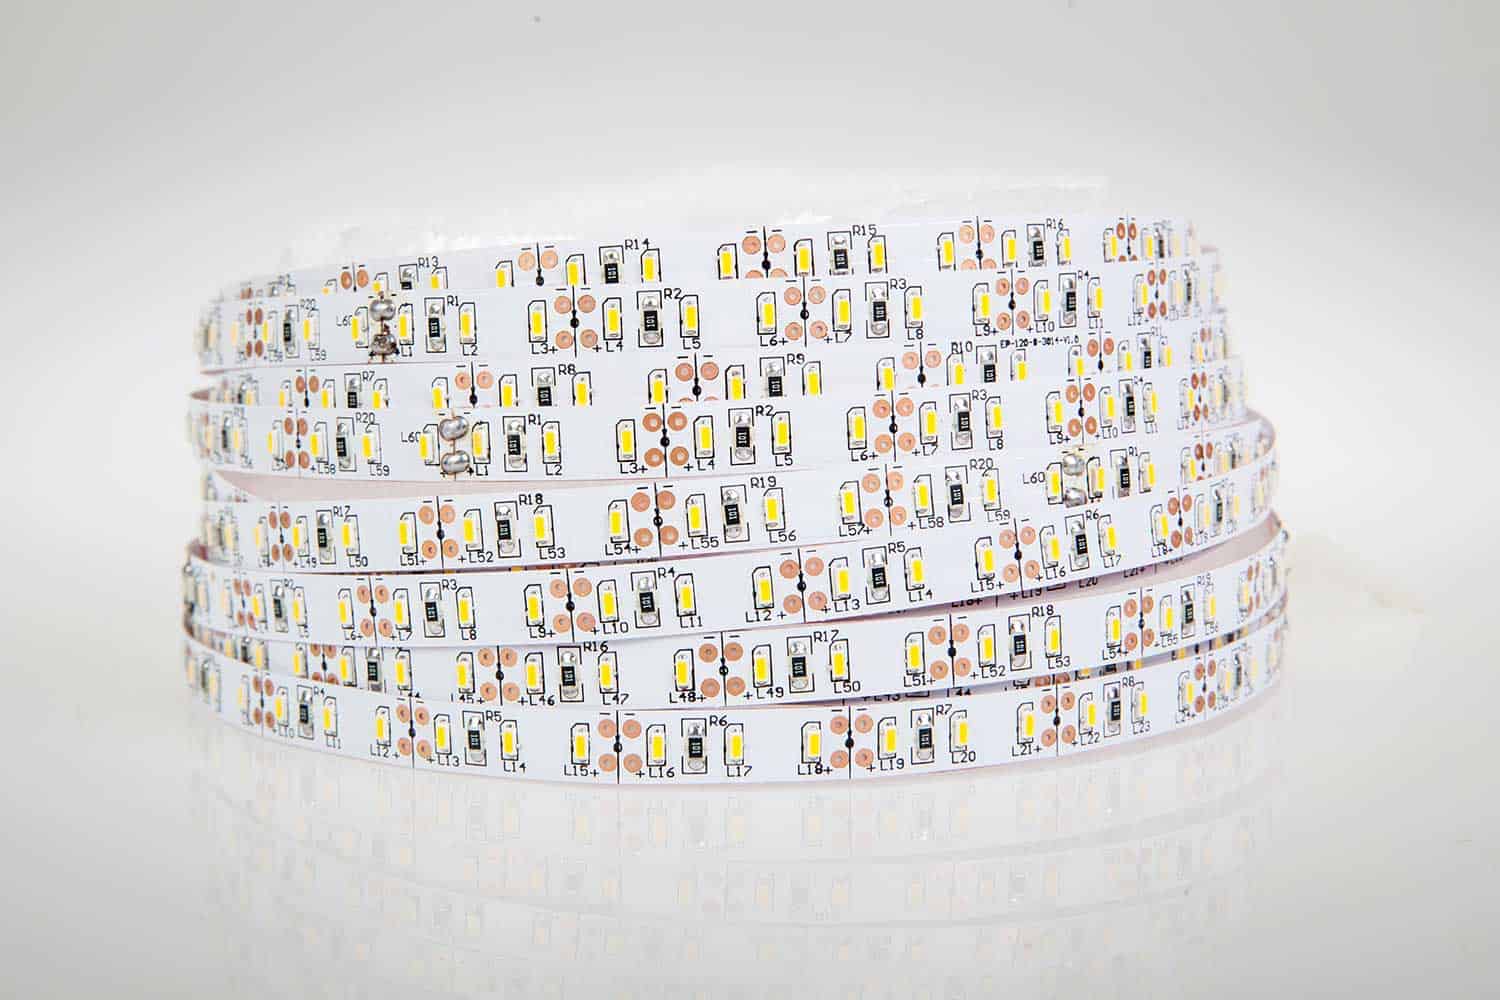
Use the adhesive strip on your LEDs' back or one of the alternative methods above to install them. The strip mounting clips or mounting channels will come with their own installation instructions. You can always cut the strips using a common pair of scissors; there will be a black line in the middle of copper solder pads where you can safely cut it.
Connecting separate pieces is easy because you can use strip connectors that effortlessly clip them together. Ensure that the connectors match the type of LEDs you’re using to the width, max wattage, RGB versus single color, and the type of pins (the copper pads).
Click here to see 4-pin RGB connectors on Amazon.
5. Connect the LED strips to power
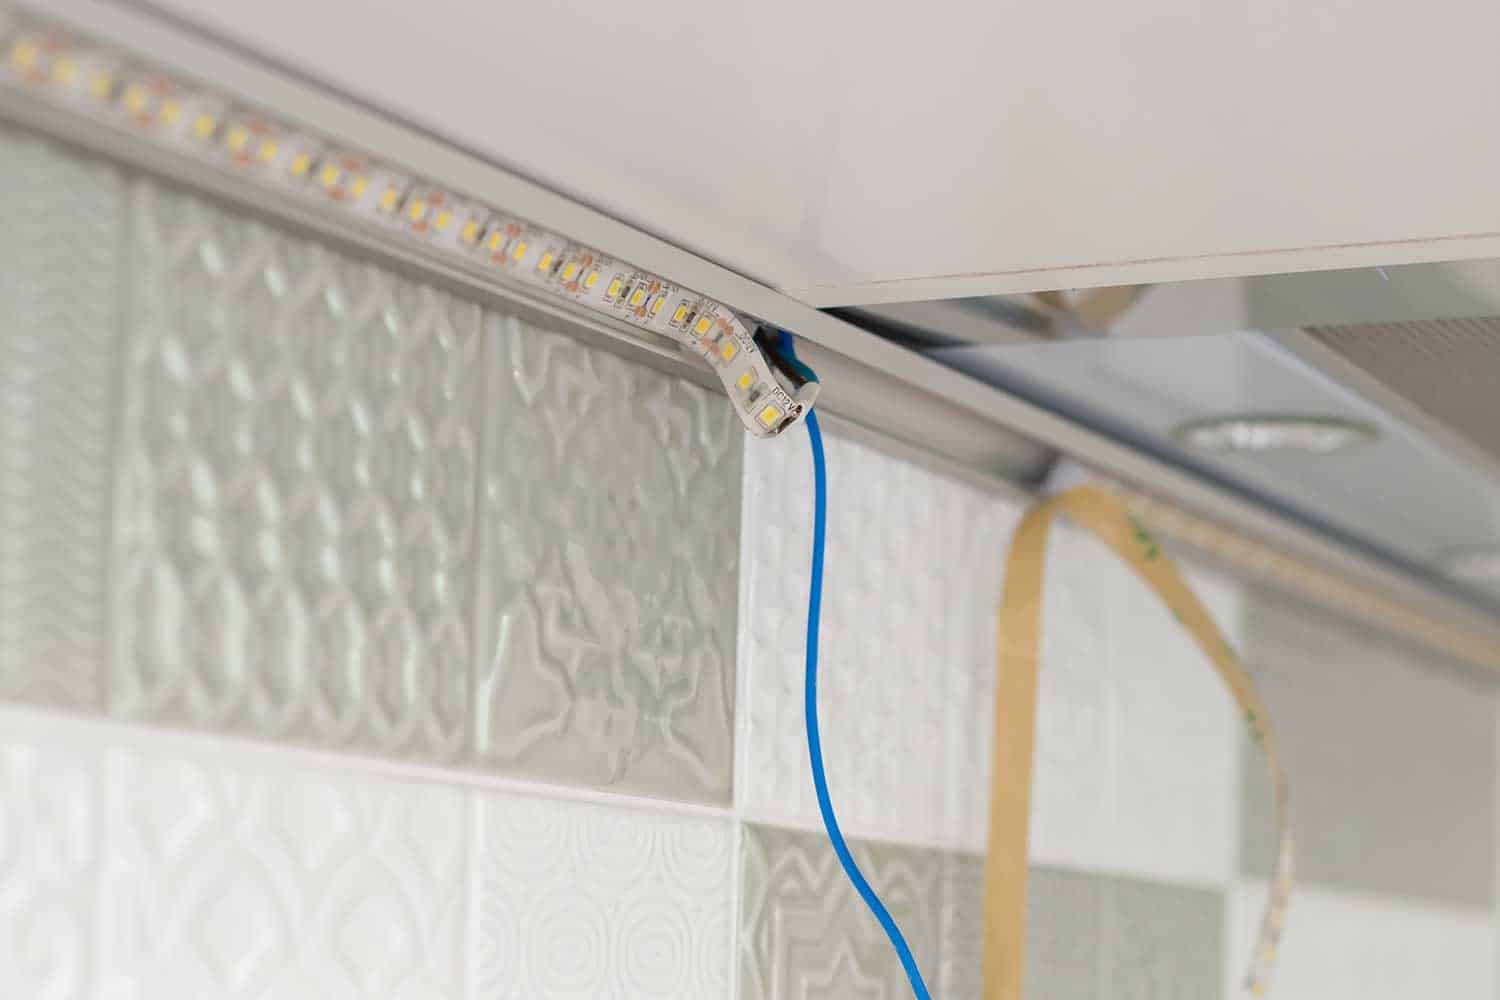
Now you can use the extra length of LEDs or an extension to connect it to your outlet and turn them on. If you chose to connect the LEDs to your main power, you still have some steps. Once again, we strongly recommend that you ask your local electrician for help if you haven’t handled the wiring in your home before. Each home is different, so general advice or steps from an online source might not match what you have in your house.
Other Questions and Tips For installing LEDs
Here are some other common questions or concerns you might run into while installing your LED strips to your ceiling.
Do I need a transformer for LED strip lights?
If you are connecting your LEDs to mains, then you will need a transformer. You might see some transformers referred to as LED drivers and LED power supplies as well, but they all do the same thing. Transformers dial down the pure voltage to the level your LEDs use so it won’t fry them.
Click here to see DC 12V LED transformer on Amazon.
Transformers come in many varieties to accommodate different total wattage, RGB versus single-colored lights, and different voltage levels. First and foremost, you’ll want to make sure the transformer you buy uses the same voltage as your LED strips. Most LED strips and transformers will come in 12V and 24V variants. You’ll then want to check and see if the transformer supports RGB strips or not and go from there. You can also connect multiple strands of LEDs to a single transformer so long as it meets the proper wattage for all of them.
How many LED strip lights can you connect together?
In theory, you can connect as many LED strip lights as you want as long as you have the proper amount of electricity to power them. When you buy LED strips, they will tell you how much wattage they need for the entire length.
Sometimes it will give you the watts per length instead. For example, if a strip needs 5W for every 3-feet, a 9-foot strip would need a minimum of 15W. You can calculate the total number of watts by adding up the amount per strip. You’ll want to add an extra 20% to the final total for your power source, so you don’t risk overloading it.
Do LED lights use a lot of electricity?
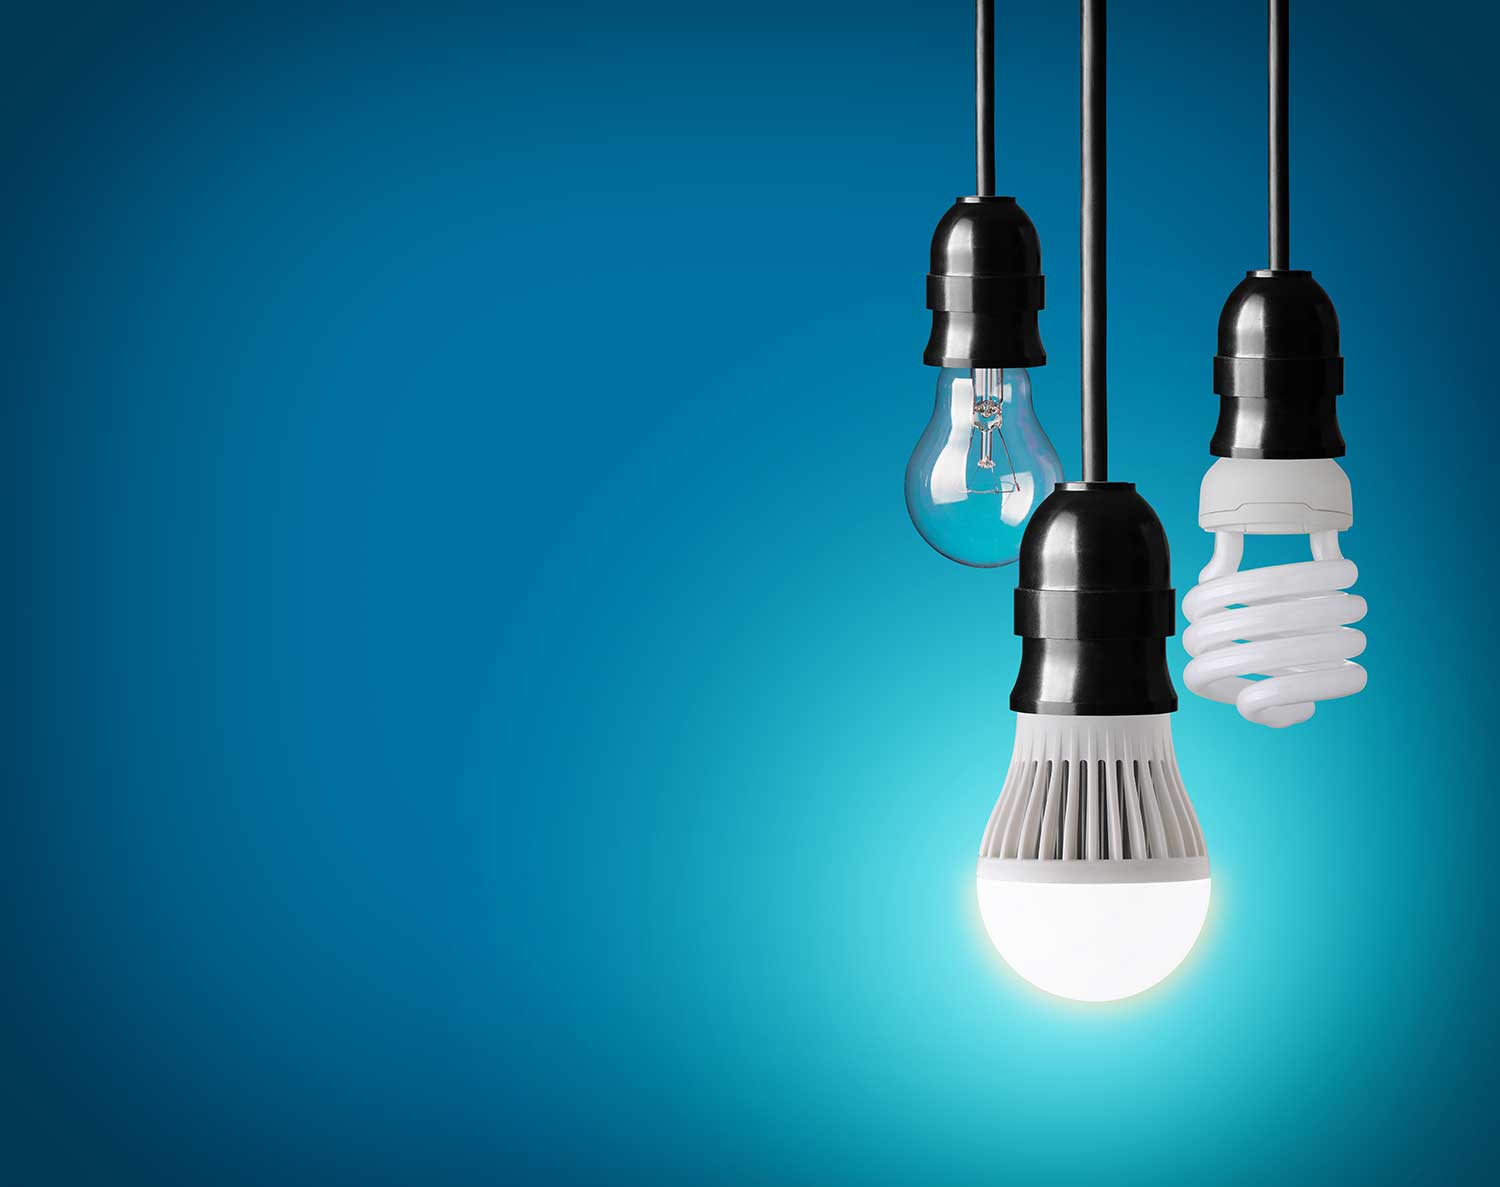
The great news is that LED light strips use very little electricity compared to other lighting solutions. LED lights can use up to 85% less energy than incandescent bulbs, which will save you a lot of money. They also tend to last a lot longer, with some brands claiming a whopping 50,000-hour life span from LED strips compared to 2,000-hours from incandescent bulbs.
Final Thoughts
Now that you know how to install LED light strips depending on the room's space and purpose, you can move on to other projects. You might want to touch up any crown molding now that your amazing ceiling LEDs light it up. Check out Best Paint for Crown Molding.


