
Tile and carpet often require an underlay for better comfort, temperature control, and sound reduction. So, you may be wondering how to install a cork underlayment for your new flooring. Cork is the most eco-friendly underlay, and it reduces sound more than many alternatives. So, we’ve carefully researched how to install a brand new cork underlayment.
There are several steps you should follow to install cork underlayment underneath a tile or carpet floor. The required materials and tools are usually simple, but some are unique and will require a fair amount of time or expertise to apply:
- Clean and repair the area
- Install vapor barrier
- Install the cork underlay
It can take a long time to install tile or carpet flooring, so it’s important to get the underlay right. Keep reading to learn how to install a cork underlay, the specialty eco cork foam underlay, and if these layers need glue or moisture barriers.
1. Clean and Repair the Area
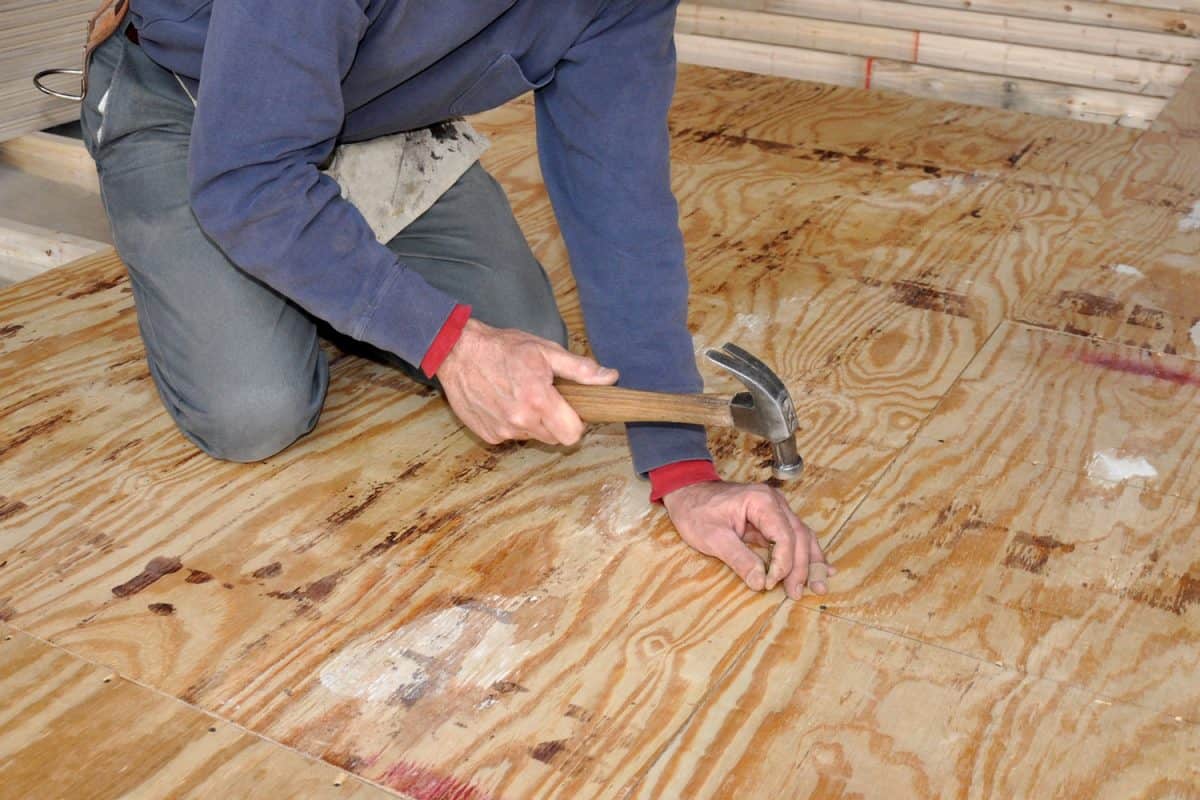
In order for a cork underlay to work properly, it needs to be installed on a clean, level, and smooth subfloor. Your “subfloor” is the foundation underneath the floor that you actually see and use.
The subfloor is typically made of plywood. However, it is common to add tile or carpeting in basements because they always have a concrete subfloor. Concrete is strong enough for basement construction, but it needs to be cleaned and treated differently.
Preparing a Wood Subfloor
First, you’ll naturally have to sweep the floor to remove any noticeable grime and residue. Then, you will likely need to use a specialized wood floor cleaner like Murphy Oil Soap. This has a softer touch to ensure that the wood remains safe after application.

Click here to find this Murphy Oil Soap wood cleaner on Amazon.
You can use a floor buffer machine to quickly level out an entire wooden subfloor. Doing so by hand with buffing pads or wool cloth would take too long.

Click here to see this floor buffer on Amazon.
A floor buffer is a heavy handheld tool that uses abrasive rotary brushes to smooth out the area around small scratches. As such, this machine won’t fix larger damage in a plywood subfloor. You can read our post Does A Floor Buffer Remove Scratches? to learn more specifics about this tool.
So, you’ll still need to repair any cracks, splinters, or holes in the wood. Depending on what kind of wooden floor you have, you should determine the ideal wood filler. This can be applied to serious damage and then stained or sanded if necessary.
Preparing a Concrete Subfloor
Like a plywood subfloor, you will also have to sweep off any large debris before cleaning a concrete subfloor. Use a scraper or concrete grinder tool to break away any serious obstacles in the concrete.
Then, mop the area and apply a concrete floor cleaner. Although a power washer is handy outdoors, it will often be too powerful for indoor use. Instead, simply use a commercially sold concrete floor cleaner.
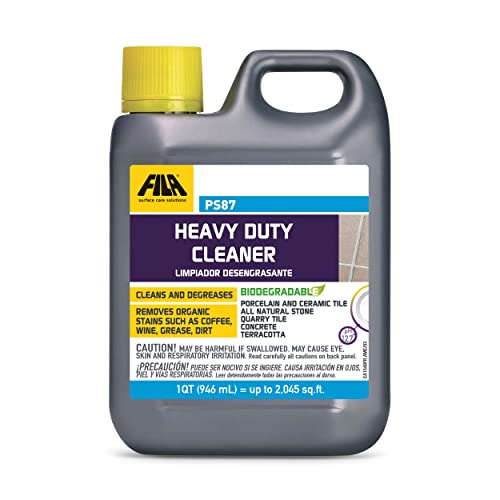
Click here to find this indoor concrete floor cleaner on Amazon.
These heavy duty formulas can effectively penetrate the concrete, but they’re still safe for indoor application. They are strong enough to remove grease and mold. Begin at the far corner of the room, and then work your way towards the entrance.
Alternatively, you can try mixing together a water and vinegar solution, and spray it across your concrete. After you allow the mix to sit for about half an hour, you can mop the area clean again.
If your concrete subfloor is sloped and badly uneven, you may have to install a self-leveling concrete mix. This process may be more challenging and expensive.
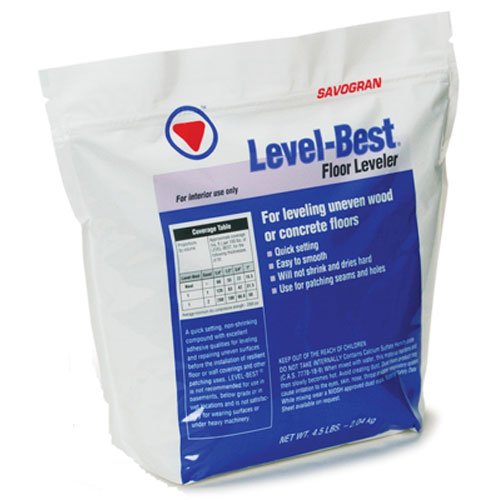
Click here to see this floor leveler on Amazon.
After cleaning the area thoroughly, you’ll need to apply concrete leveling primer with a broom. Sometimes, the leveler is not pre-mixed. If so, mix the concrete leveler with water in a bucket using a mixing drill. Pour the results into place, and level everything out with a squeegee or trowel as necessary.
2. Does Cork Underlayment need a moisture barrier?
A “vapor barrier” helps control moisture, making it crucial for wooden subfloors. And a concrete subfloor is very porous, so moisture would easily rise from beneath it. As such, any floor underlay, including cork, should have a moisture barrier. Unfortunately, most floor underlays do not have this layer built in.

Click here to see this moisture barrier on Amazon.
Most vapor barriers include their own self-adhesive seams. After cleaning the floor, you can simply unroll the material and overlap the seams.
If the sheets are not self adhesive, you will need vapor barrier seam tape, such as “Tuck Tape." This will have the same properties as the vapor barrier itself so that the layer is not compromised.
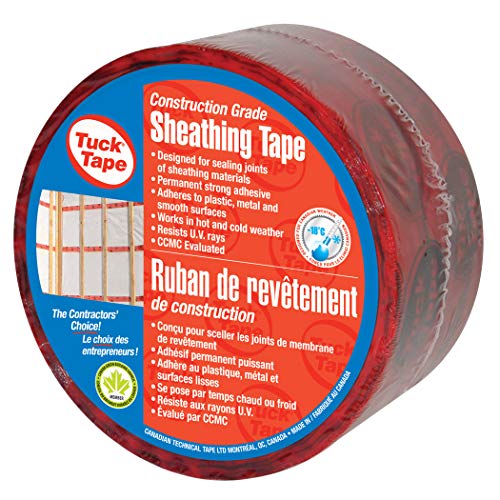
Click here to find this Tuck Tape on Amazon.
You can also read our post How To Install A Vapor Barrier On A Concrete Floor for the complete details if you're working in a basement with a concrete subfloor.
How to install Eco Cork Foam underlayment
Eco Cork Foam, also known as “ECF," is a specialized North American design. The official ECF site confirms that it improves on conventional cork underlays by combining a traditional cork underlay with foam.
This results in the best of both, increasing sound reduction and comfort. The design also resists tears so that you can easily cut the underlay sheets to size.
They also offer a cork underlay with built-in moisture protection as well. This can save all of the time, money, and effort spent installing several rolls of vapor barrier sheets.
Unroll your first sheet of eco cork foam in the far corner of the room. The vapor barrier should sit opposite from the wall, facing upwards. This allows you to butt together the seams of subsequent rolls as you lay out the rest of the underlay.
You can’t use the tape on the seams for a wood subfloor because there will be no breathing room. Instead, you can let it float freely, and the underlay will still function correctly. However, the seam tape will be fine for concrete subfloors.

Click here to see this special ECF underlay on Amazon.
3. Do You have to Glue Cork Underlayment?
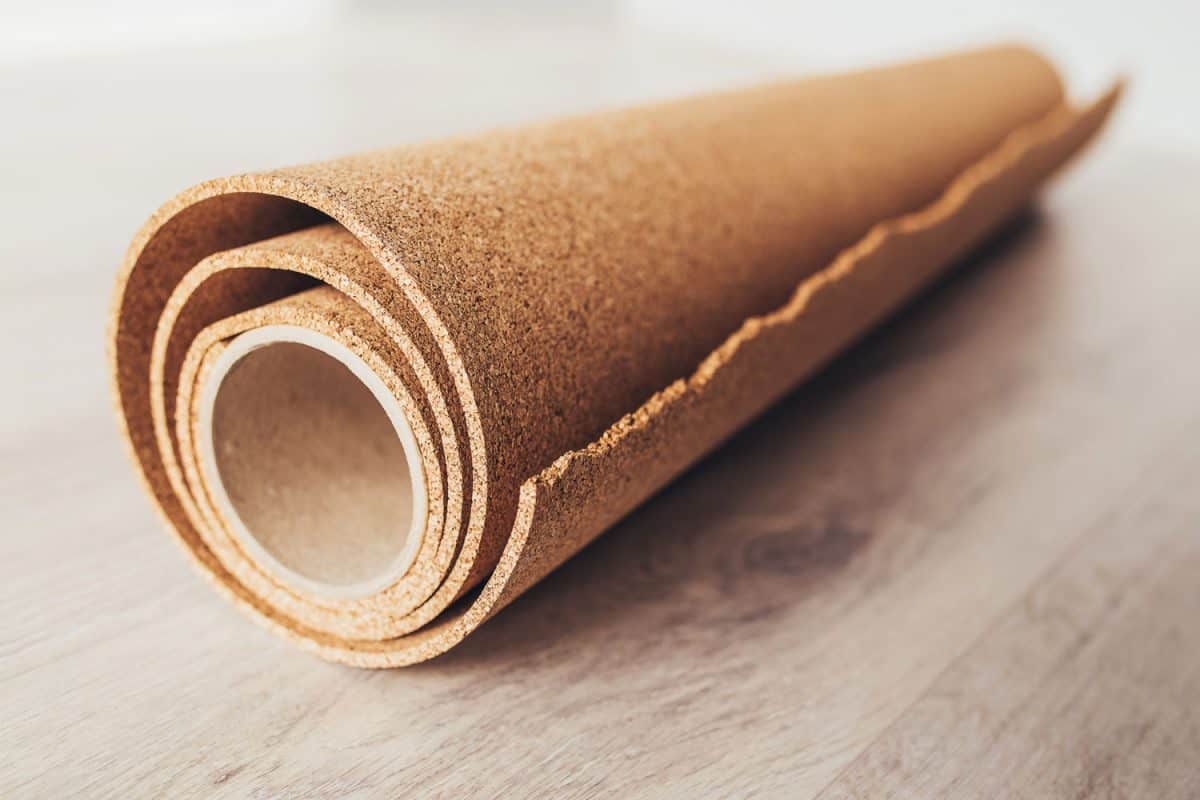
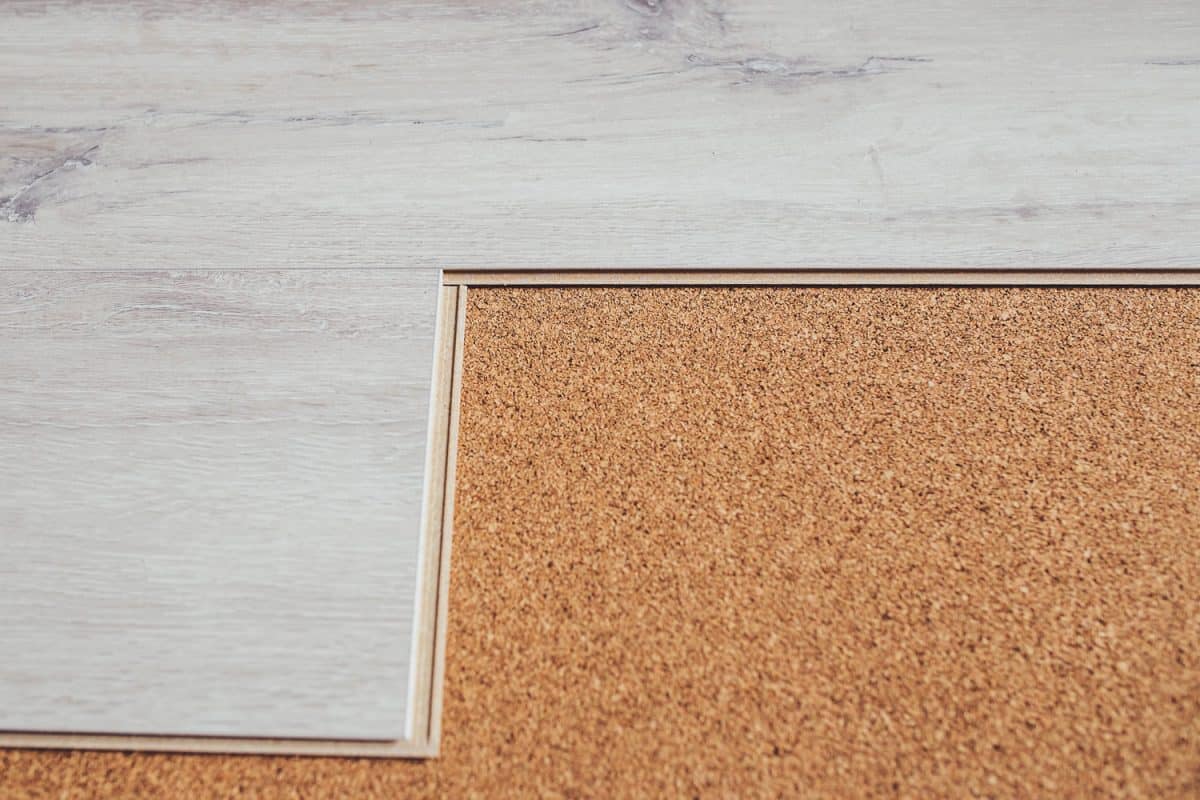
Cork underlay is typically sold in sheets that can simply be unrolled. Others are sold as rectangular pieces of tile. These modular pieces must be assembled like bricks, staggering the edges so that they don’t line up. You should also make sure that the cork underlay does not run the same direction as the floor above it.
The cork underlay installation needs to match the flooring installation. Tile and carpet are not floated. Instead, they are respectively glued or stapled down. As such, your underlay should also be fastened down rather than being left to float.
It is highly important to note that “Eco Cork Foam” underlayment and traditional, pure cork underlays must be installed in opposite ways.
Glue is not advised for the specialized “Eco Cork Foam” underlayment. Instead, it should be floated, nailed, or stapled down. That’s because it includes foam and is not pure cork.
Meanwhile, it’s considered best for a conventional, pure cork underlay to avoid penetration from nails or staples. Experts warn that this could make the underlay lose at least 50% of its insulation. Worse, the layer will rub against the metal and crumble altogether over time.
How to Glue Down Cork Underlayment
A cork underlay can usually be loosely floated on the subfloor to save time and effort. But most tile floors are glued down. And whenever the floor above is going to be glued down, the cork underlay should be glued down too.
You can use a construction adhesive for the underlay as long as it is water based. Cork can be vulnerable to other substances. Also, cork has a stronger bond with water-based adhesives because of its porous nature.

Click here to find this water-based construction adhesive on Amazon.
To avoid damaging the cork underlayment, it is usually best to use a trowel. So, you’ll have to spread the adhesive across the subfloor by hand, again starting at the far corner of the area.
This will take a lot of time and effort, but the cork won’t lose its form afterwards. That way, you won’t need to repeat the entire process.
Next, you may be able to let the adhesive sit for a little while before placing down the underlay. This will prevent the cork from getting too wet.
Keep in mind that gluing down the cork underlay will be difficult to remove or replace afterwards. You should feel certain that you’ll be gluing down the floor above it before you fully commit.
In Closing

Tile and carpet are common flooring choices because of their unique features, but they still need the protection of an underlay.
It should now be clear how to treat an ECF or traditional cork underlayment depending on the floor above it. So, you can successfully reduce sound without damaging your floors or underlay while adding the appropriate moisture protection too.