
Perhaps you are in the process of extensively remodeling your home, or maybe you are just doing standard home improvement fixes. Whatever the reason, you are wondering how to fill the gap between the wood floor and the wall. Well, in this post, we combine industry professional knowledge and up-to-date standards to thoroughly answer your question.
There are several standard methods for filling a new gap that appears between your floor and the existing wall baseboard. These techniques include the following:
- Liquid caulk
- Caulk strips
- 1/4 round trim
Keep reading the rest of this post for details on how to fill a gap between the floor and your wall using each of the above bullet points. This guide will include all you need to know to perform this fix at home. To conclude, we answer several questions related to the topic of this post.
Filling a gap between your wood floor and walls
In the following subsections, we provide step-by-step directions on how to fill a gap between your floor and your wall.
Take note: these directions do not apply to the standard-as-made gaps that occur between floors and walls before the baseboard is installed. Instead, these directions are to fill gaps that appear after a home ages, specifically between the floor and the baseboard trim.
Liquid Caulk
Using liquid caulk to fill these types of gaps is the most popular method. This is because the caulk stretches as the gap changes size, and the project involves tools most people already have around their house.
1. Choose your caulk
Generally, it is recommended to use latex caulk for this particular job. There is no need for the higher quality and waterproofing of silicone caulk.

Click here for white latex caulk from Amazon.
Further, you can buy a latex caulk that matches the color of your walls or floor. This avoids the need to paint to match and allows this fix to blend right into the background.
If you have a caulk gun or need to fill a large area, it is usually advisable to buy a caulk that fits in a caulk gun. These caulk tubes are cheaper per ounce and have a lot more material. If needed, buy the caulk gun as well - they are handy tools to have around the house.
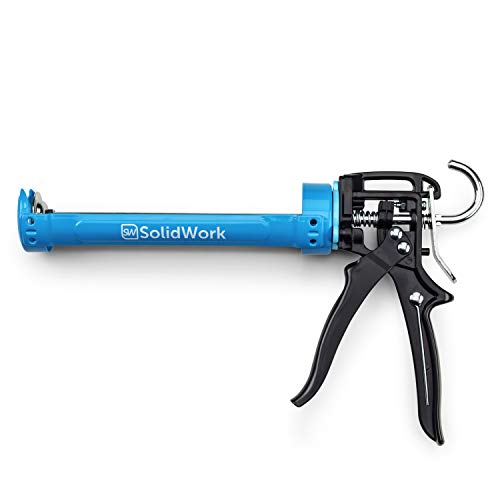
Click here for a standard caulk gun from Amazon.
On the other hand, if you only need to fill a small area, you can get caulk in small tubes that require no additional tools to use.
2. Clean the gap
Before proceeding to the next steps, take the time to clean the gap of all dirt, debris, and old caulk. The cleaner the area is, the better the new caulk will stick and the longer the fix will last.
Use rubbing alcohol, scrappers, and sponges to perform the cleaning. Make sure to let the area completely dry before moving on to the next step.
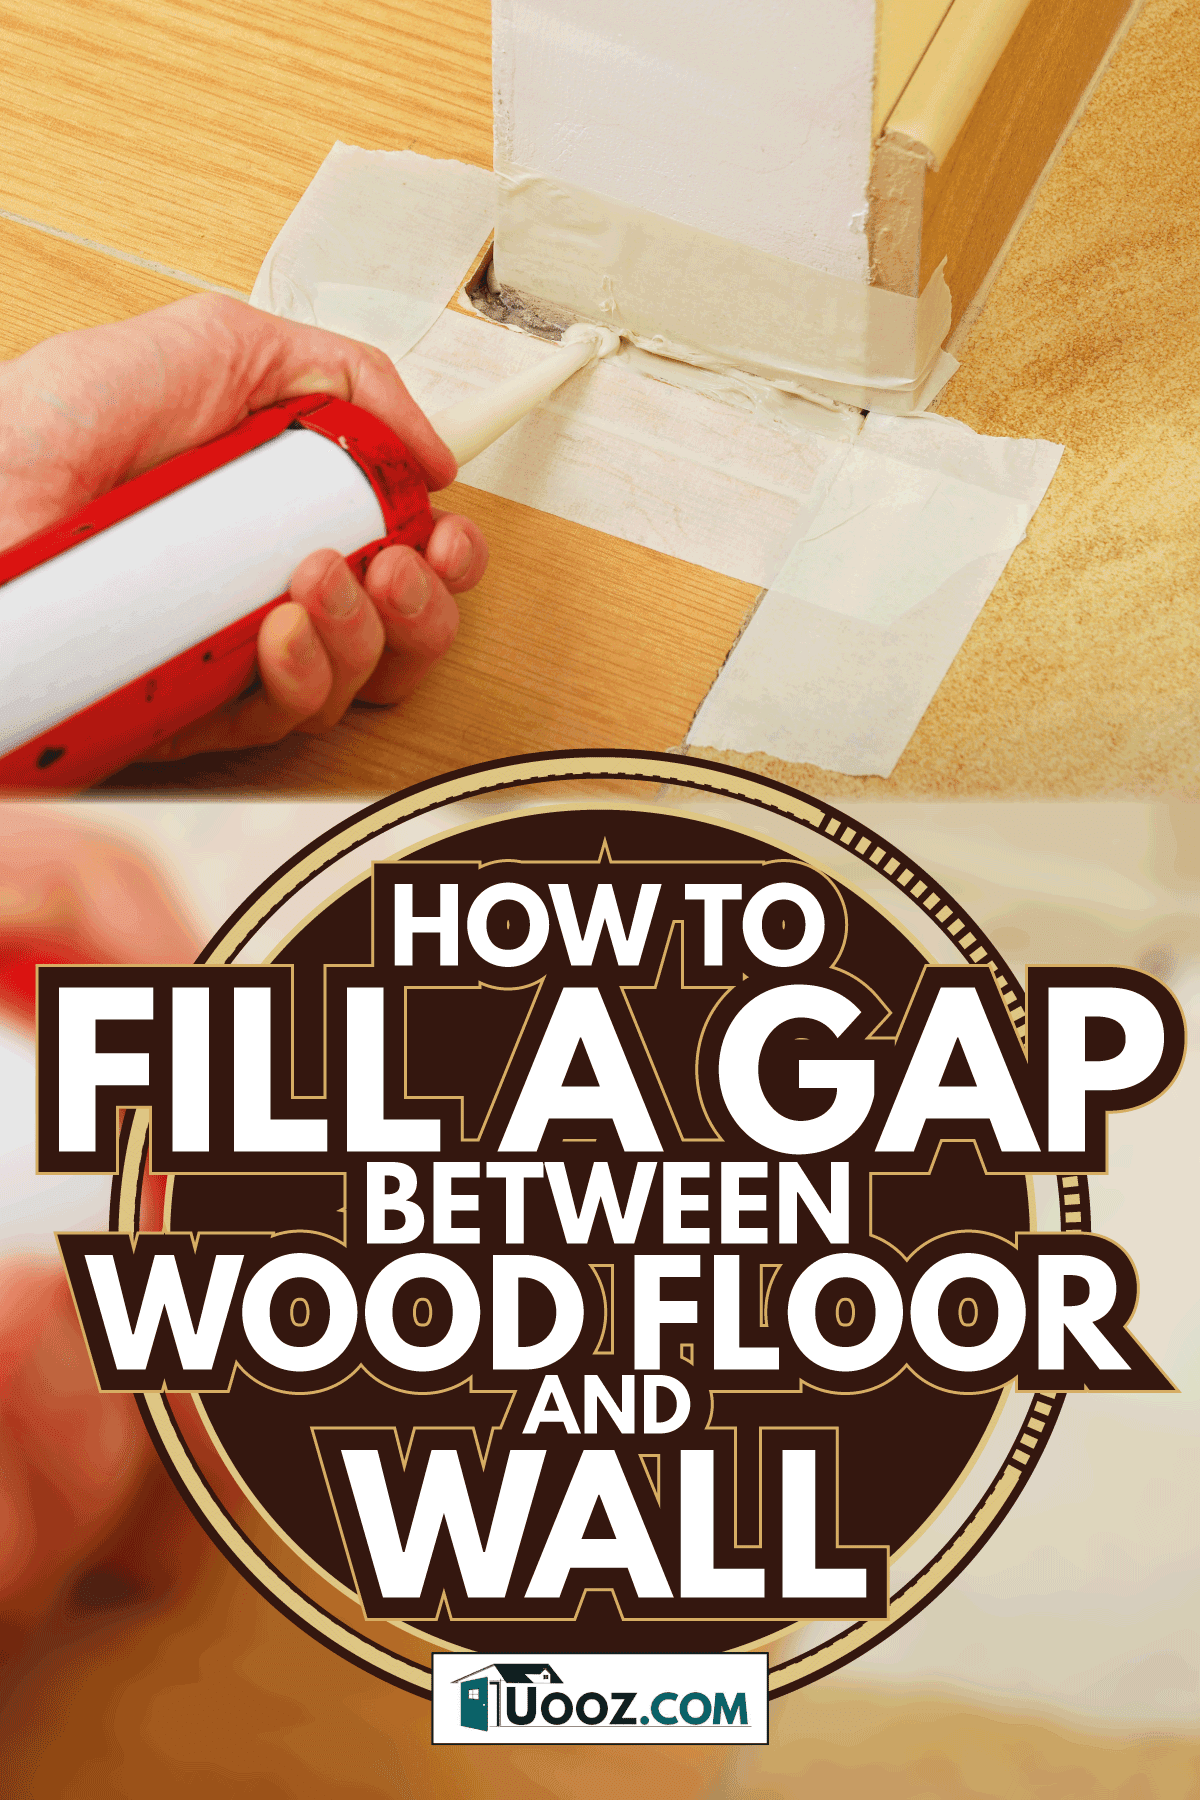
3. Tape off the area
Before you begin applying the caulk, tape off both the floor and baseboard with painter's masking tape. This step ensures that the caulk only gets on the gap. Some even prefer adding tape and painter's plastic or drop clothes for extra protection.

Click here for several roles of painters tape from Amazon.
Those more experienced at applying caulking might be confident skipping the tape and surface protection step. While this is possible, it takes a steady hand and preplanning. If errant caulk does make a mess, whip it off immediately with a wet rag.
4. Load the caulk gun and prepare the caulk tube
If you are using a caulk gun, it is time to load it and prepare the tip of the caulk tube. It is generally self-explanatory on how to load the gun, but we have embedded a directional video below.
Then, cut the tip off of the caulk tube at a 45-degree angle. Start by cutting off just a little until you get a feel for how fast the caulk will come out. If you originally did not cut enough, you can easily cut more off as needed.
If you are using a tube of caulk that does not require a caulk gun, just follow the directions printed on the side of the tube or on the packaging.
Watch this YouTube video if you are unfamiliar with the process of using a caulk gun:
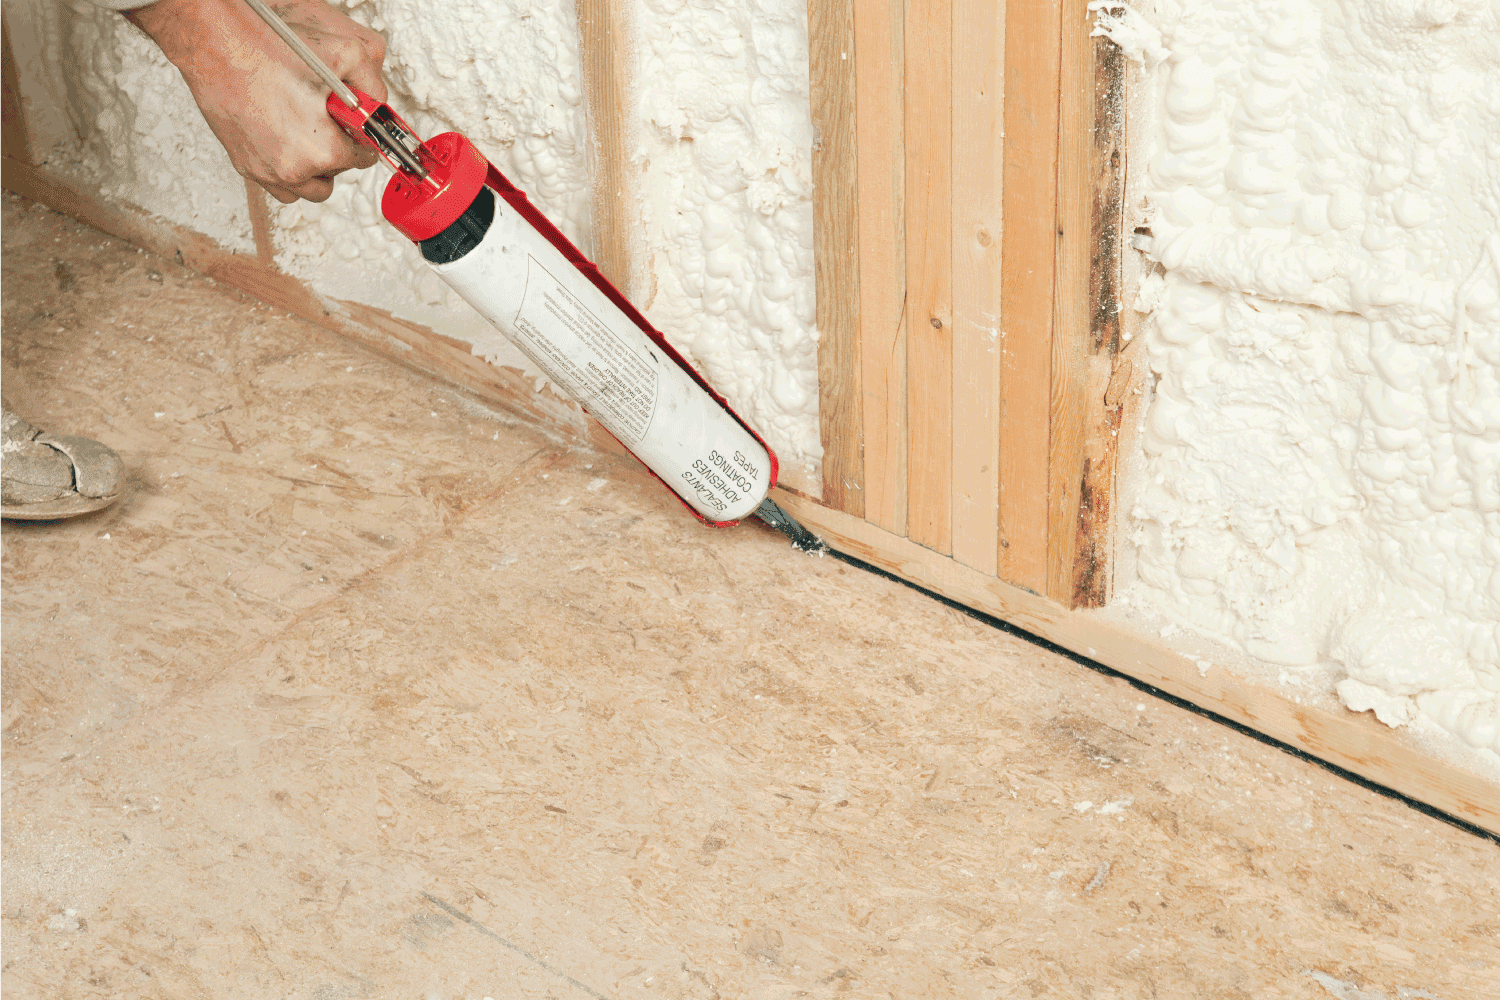
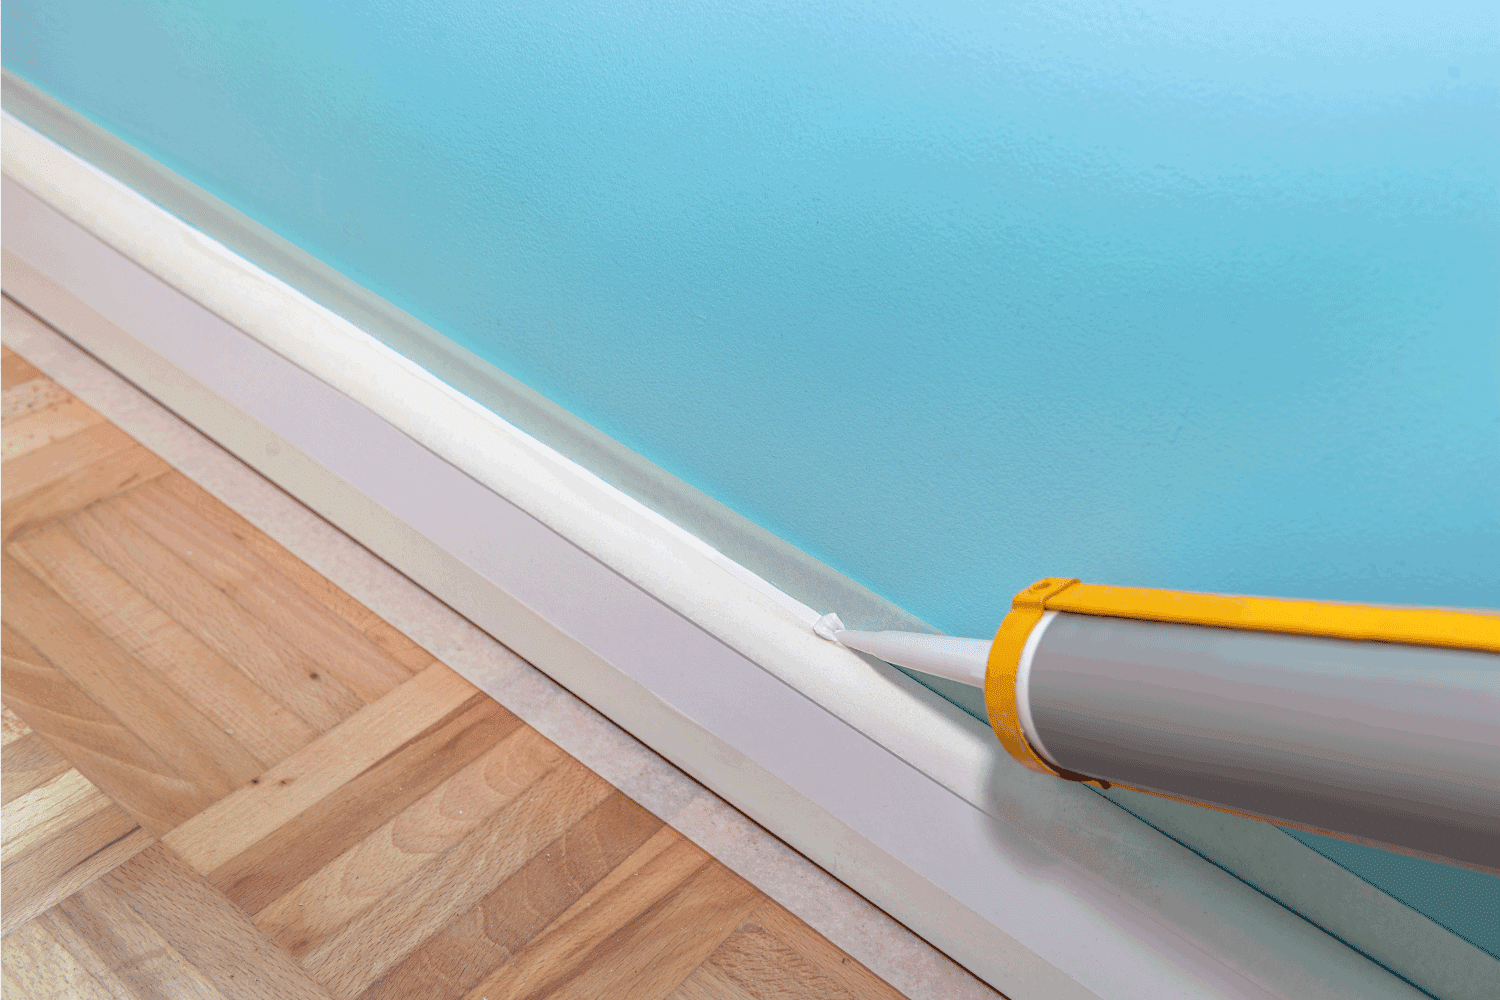
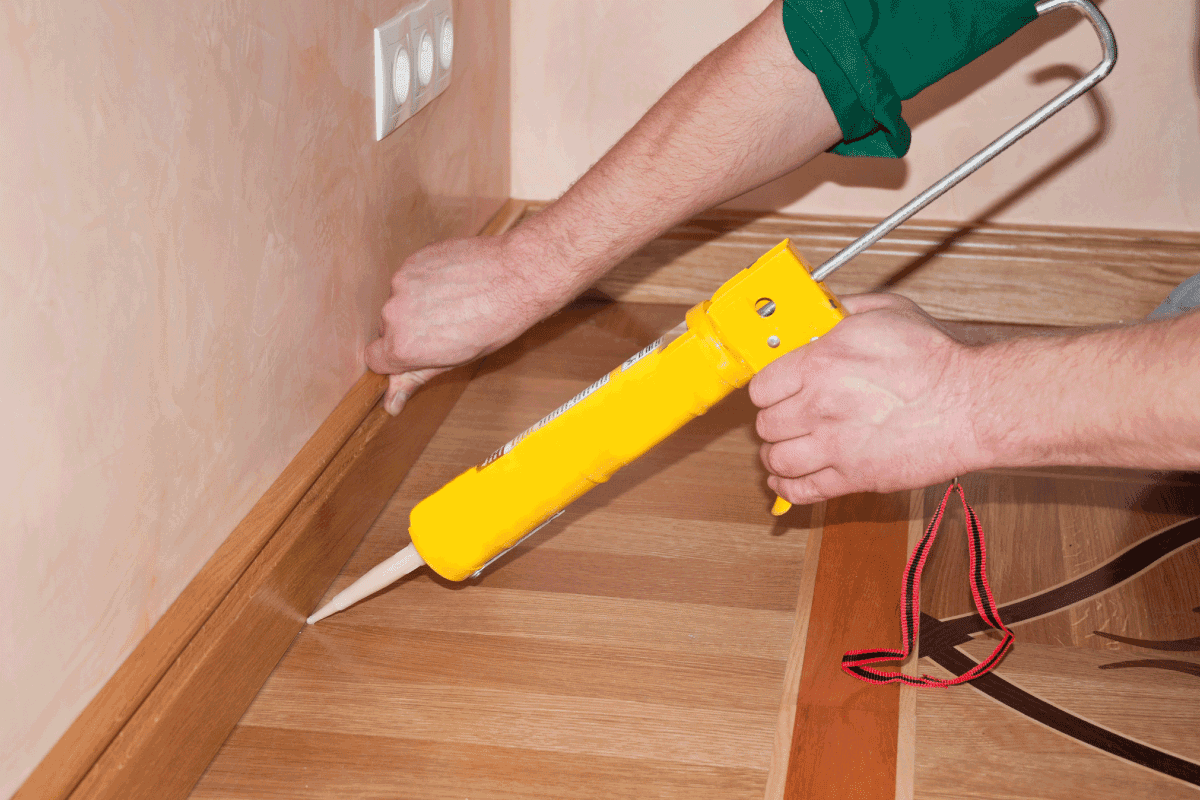
4. Apply the caulk to the gap
Now, slowly squeeze the trigger of the caulk gun or the body of the caulk tube. The high viscosity of caulk means that it will start to come out of the tip seemingly long after enough pressure has been applied to start the process. This means that it is easy to over squeeze and end up with a mess of caulk.
Once the caulk starts to come out, evenly draw the caulk tube's tip along the crack. The technique for this takes a little getting used to. But generally speaking, you should go slower for larger gaps and faster in places with smaller gaps.
Once you are done running the bead of caulk, make sure to let the pressure off the caulk gun. If you skip this step, caulk will continue to spray out once you set the gun down. Further, it is always wise to set the gun's tip over a piece of paper or other easily disposable material.
5. Smooth bead of caulk
To smooth the bead of caulk down, you can either use a specialized tool or just your finger. The jury is out on which technique is the easiest.
The goal is to make a concave line of caulk free of blemishes and irregularities. Ensuring that your tape job from step three is well done makes this finishing step much easier.
How big a gap can you fill with caulk?
Generally, and when used alone, caulk only works to fill gaps of 1/4" or smaller. This is because if the gap is larger, the material will lose consistency before it completely dries. Fortunately if you use backer rod, you can use caulk to fill gaps as large as 1/2".
Using Backer Rod
Backer rod is a long foam cylinder that you can squeeze into gaps. Simply, squeeze the backer rod into gaps larger than 1/4" between your floor and wall. This then gives the caulk something to stick to. There is no need to squeeze the rod into gaps smaller than 1/4".

Click here for 1/2" backer rod from Amazon.
Generally, you can use backer rod to get caulk to fill gaps as large as 1/2" but not larger. Backer rod comes in different thicknesses to fill different sized gaps.
InstaTrim Caulk Strips
If the whole caulking process seems like too much to handle, another option is to use premade caulk strips. This product comes in a wide range of colors, so it can be bought to match either your wood floors or your baseboard.

Click here for white InstaTrim from Amazon.
This premade material will cover gaps up to about 1/4" as well. To apply, simply follow the directions on the box and carefully stick the sticky side onto the seam you would like to fill.
Unless the color match is quite close, it is probably worth putting this material onto the entire room for consistencies sake. Fortunately, and like normal caulk, this material is flexible so will not have issues as your home expands and contractors or if the gap begins to get slightly larger.
1/4 Round Trim
One-quarter round trim is a thin strip of wood used to trim where the floor meets the baseboard. As the name implies, the material is 1/4 of a circle. This means that a flat surface hits both the floor and the wall connected by a consistent round curve.

Click here for 1/4 round molding from Amazon.
Unlike larger stiffer baseboards, 1/4 round can be held down to match the curves of the floor. Therefore, as long as the gap between your floor and wall is never larger than the height of your 1/4 round, you can use this product to cover the gap.
When nailing off quarter round, only nail it to the floor. If you nail it to the floor and wall, the material will split as the house expands, contracts, and settles. If you nail just to the wall, the gap will reappear the moment the house settles even a little more.
Use a pin-nailer or micro-pinner to attach this material. Using larger nails is very likely to cause you headaches as you split it out. Alternatively, and if you have the time to let it dry, you can use glue or caulk to affix the 1/4 round.
If you choose this method of filling the gap between the floor and the wall, you will be best served to put the material throughout your home. Otherwise, the inconsistent trim will look out of place, which changes the problem instead of fixing it.
Why is there a gap between my wall and floor?
The gap between your wall and floor is the result of your house shifting and settling over time. While a small gap is normal, larger gaps and gaps that continuously grow may be signs of more serious structural issues.
Should baseboards be flush with the floor?
Generally, baseboards are originally installed to be flush with the floor. However, sometimes small imperfections in floor joist height and flooring thickness will produce small gaps under the baseboard. Unless these gaps are large and unsightly, they are not of serious concern.
How much space should be between the floor and wall?
Finish carpenters and painters attempt to produce a finished product that has no gap between the floor and the wall. However, gaps smaller than 1/8" will generally not draw the eye and will not impact the overall home feel or value.
In Closing
In this post, we answered the question of how to fill the gap between your floor and your wall. We include three techniques for achieving this result. To conclude, we answer a few questions related to the topic of this post. Good luck!
To learn more about working with baseboard trim, read these great Uooz articles: