
Are you doing a home renovation, and you want to know how to end a shoe molding at the door frame the right way? You’ve come to the right place, for we have researched this question and have the answer for you.
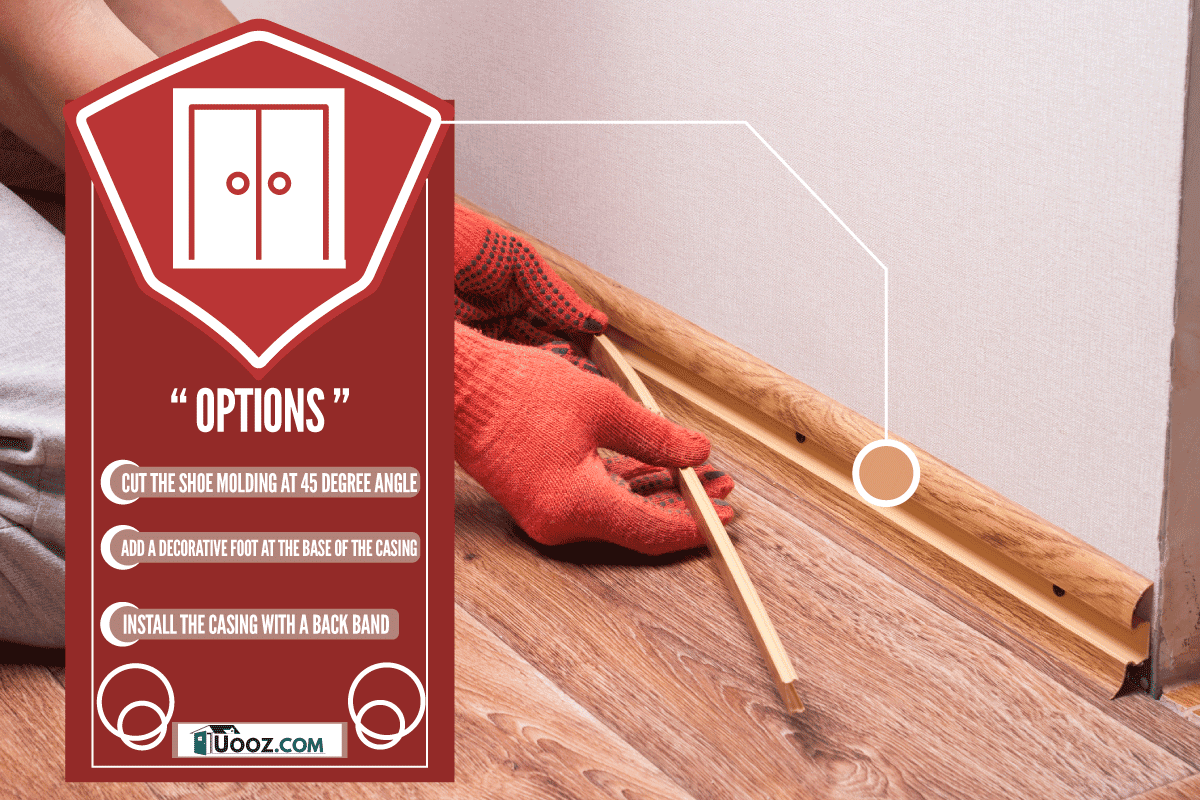
You have a few options for doing this:
- Cut the shoe molding at a 45-degree angle
- Add a decorative foot at the base of the casing
- Install the casing with a back band
You will learn more about these three methods in the succeeding sections. We will talk about each one and give you the steps on how to do it for your project.
Read on!
What is shoe molding?
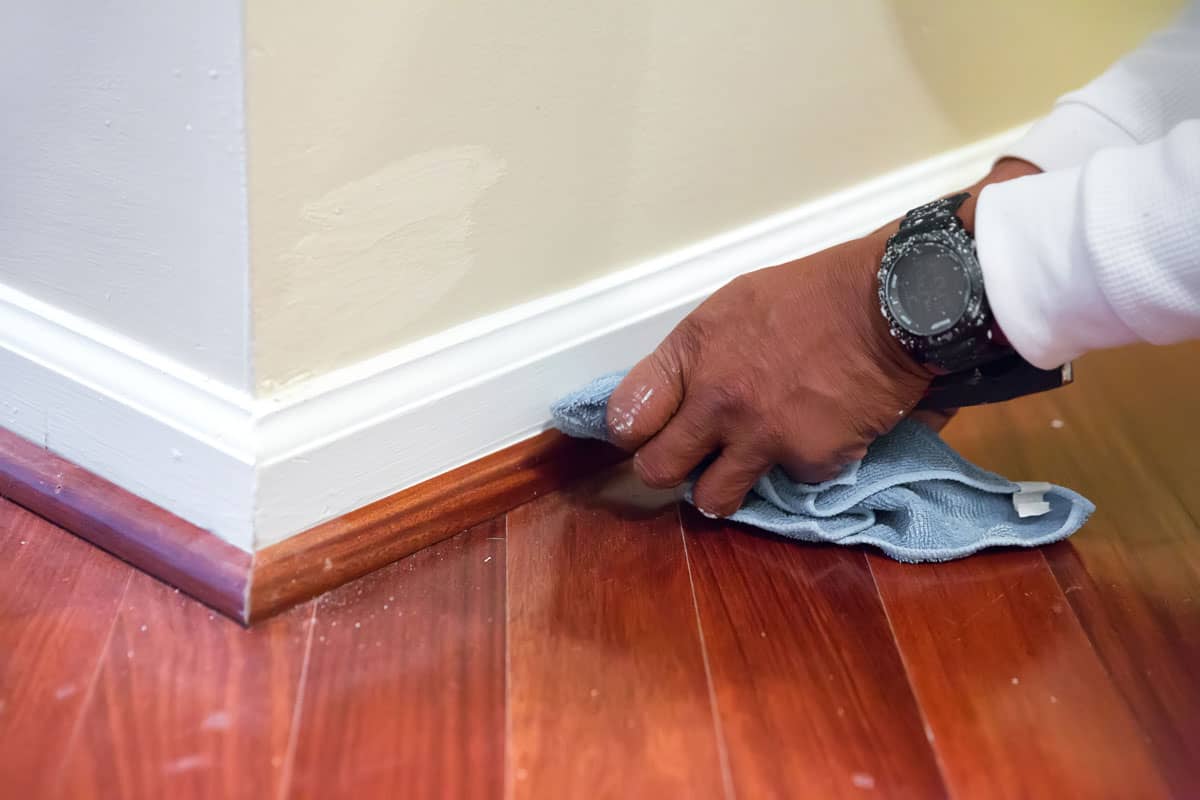
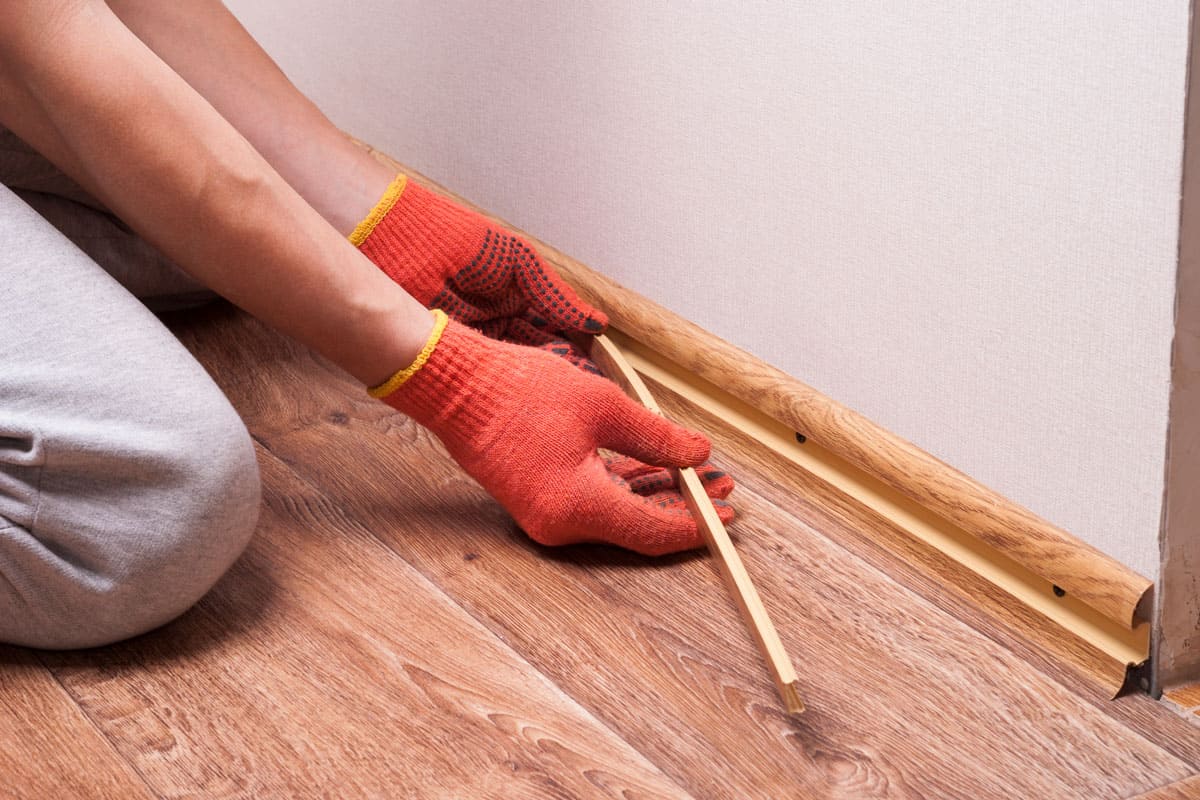
A shoe molding is a molding that you install at the bottom of the baseboard to create a smooth transition between the floor and the wall. It also functions as a cover for the space between the baseboard and the floor.
A shoe molding makes the baseboard seem complete and more finished. The shoe molding often serves to hide errors where the baseboard and the floor meet.
Some people think that shoe molding makes a room look smaller. Thus, some houses do not have shoe molding.
However, shoe molding is great for remodeling projects to hide the imperfections in the wood that come from years of wear and tear. You will rarely get perfect resistance to damage in old houses. It’s a good thing that shoe molding can hide imperfections.
Although most shoe molding looks like a quarter circle, some have decorative patterns that give the baseboard additional style.
Ending The Shoe Molding With A 45-Degree Angle
The first method to end the shoe molding is to cut a 45-degree angle at the end of the shoe molding. The tip of the angle will end at the door casing and make it flush with its surface.
Alternatively, you can cut the end of the shoe molding at an angle that is smaller than 45 degrees. This will create a smoother transition from the shoe molding to the door casing.
Another way to do this is to cut 45 degrees towards the inside of the shoe molding. Thus, instead of sliding down as it transitions to the surface of the casing, you will have an angle that creates an overhang over the surface of the casing.
The next step is to glue the small shoe molding that you cut off to the tip of the shoe molding. Glue it in such a way that the end of the shoe molding will have a rounded edge that drops towards the door casing.
Adding A Decorative Foot At The Base Of The Door Casing
These are the simple steps that you can follow to end a shoe molding using a decorative foot. These steps and the steps in the next section assume that you have completed installing the casing for the doors.
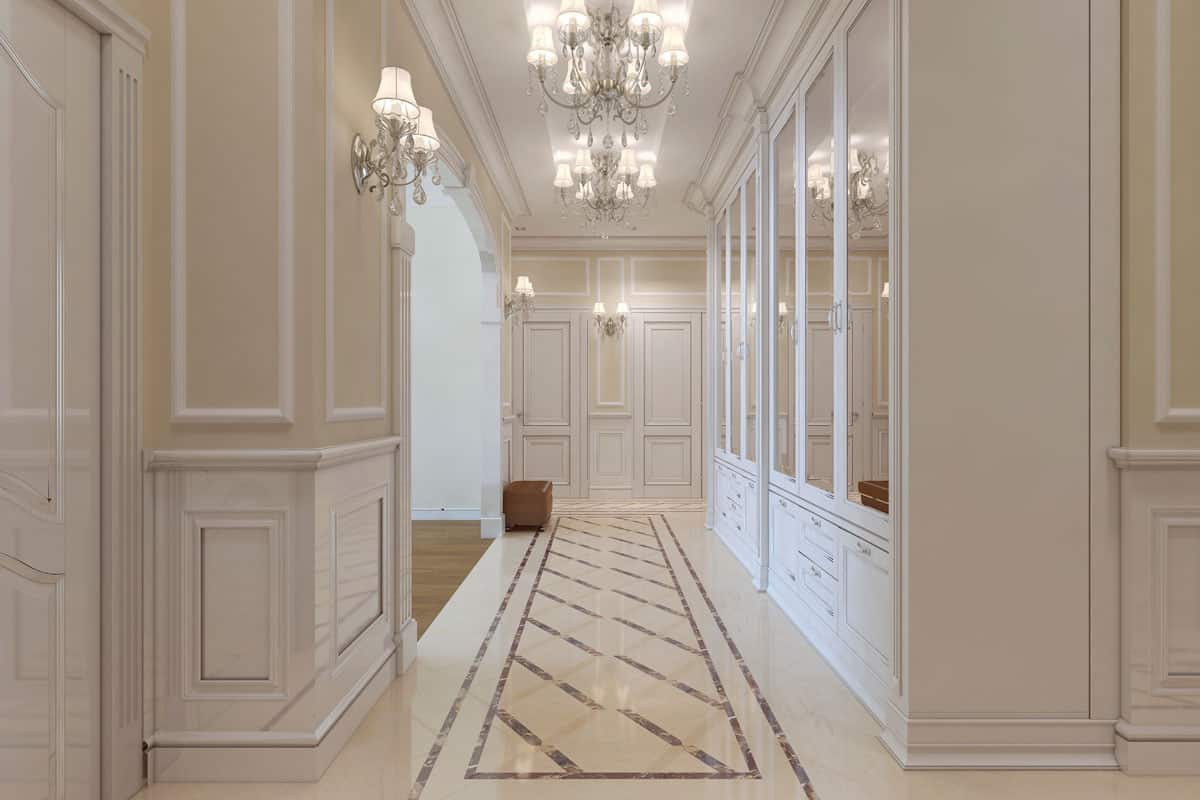
A casing is a decorative molding that creates a frame for a door or a window. It serves as both a decorative part and a functional part as well.
A casing covers the gap between the drywall and the door frame by surrounding it.
- Install the baseboard molding. Make sure it is flush with the casing around the doors of your house. Use a pair of nails for every four inches of height to fasten the baseboard to each stud.
- Apply the floor finishing that you want to use. Let it cure or dry.
- Apply wood glue on the surfaces of the base cap molding that will come into contact with the baseboard molding.
- Fasten the baseboard cap using nails.
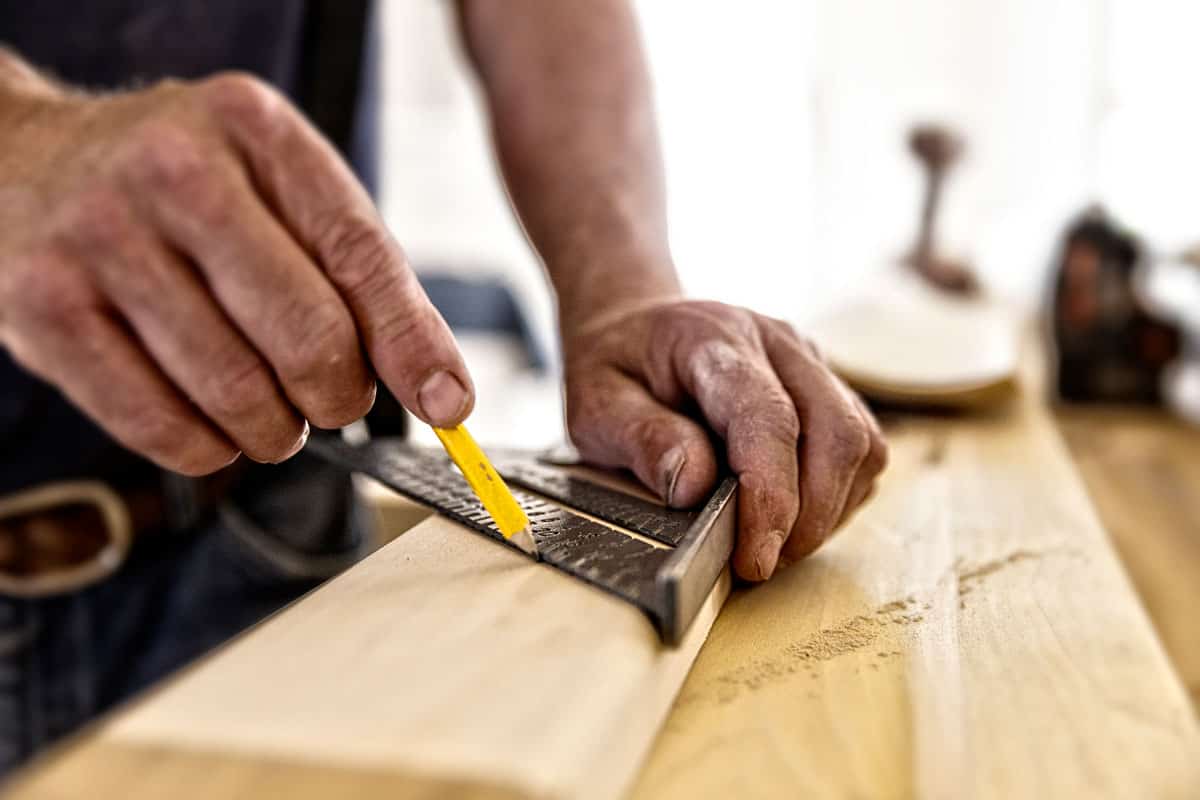
- Measure the width of the door casing.
- Measure the width of the shoe molding.
- Trim the width of your decorative foot to match the width of the door casing. Alternatively, you can give it a round edge after you trim it to match the width of the door casing. The round edge will provide a smooth transition from the surface of the door casing to the surface of the decorative foot.
- Trim the thickness of the decorative foot to match the width of the shoe molding.
- The height of the decorative foot can be four to six inches from the floor. However, you can make it higher if you want.
- Apply wood glue on the surfaces of the shoe molding that will touch the wall.
- Fasten the shoe molding with nails. Nails are often the fastener of choice to install shoe moldings. They should be flush with the thickness of the decorative foot.
- Apply caulk or wood filler to the gaps between the shoe molding and the baseboard. Apply caulk and wood filler to the spaces between the baseboard and the baseboard cap.
- Let the caulk or wood filler dry.
- Check the wood filler and look for shrinkage. Reapply caulk or wood filler on these areas. Wait until they are completely dry, then check for shrinkage once more. Reapply caulk or wood filler as necessary.
- Sand any excess wood filler. Keep in mind to wear protective gear when sanding.
- Paint the shoe molding to match the color of the baseboard.

Elmer’s E868 Carpenter’s Wood Filler is available on Amazon through this link.
How to install a back band to a door casing?
A back band is a handy way to add another layer of decorative design to your doors and windows. You can install it over your existing door casing. Choose from many different styles that will match the design of your door casing.
When working on your back band, choose one side and then work from there until you get to the other side. Do not jump from one side, then to the other side of the door casing, and then to the top. That will make it harder to make the diagonals flush with each other.
- Get one of the back bands and lay it on the casing in a standing position. Check that the bottom is level with the floor. If the level is not level with the floor, especially in older houses, trim the bottom so that it becomes level with the floor.
- Mark the back band where it lines up with the corner of the casing.
- Cut the edge diagonally at 45 degrees from this mark.
- Apply some wood glue on the surfaces of the back band that will touch the wall and the door casing.
- Install the back band by nailing it to the door casing.
- Take another back band and trim one end with a 45-degree angle cut.
- Line up the top back band with the casing. Line up the 45-degree angle cut with the end of the first back band. Mark the corner of the door casing on the top back band.
- Cut off one end with a 45-degree cut.
- Repeat Steps 4 and 5. Apply glue on the surfaces of the back band that will touch.
- Cut the last back band following the same steps as the first and second back band.
- Follow Steps 1 to 4 from the section “Adding A Decorative Foot At The Base Of The Door Casing” to install the baseboard and the baseboard cap.
- Apply some wood glue on the inside surfaces of the shoe molding, then fasten it to the baseboard molding using nails.
-
- You can optionally use shoe molding to transition the inside of the back band and the door casing. You can do this by installing shoe molding along the corner between the back band and the door casing that is facing the door.
- Follow Steps 12 to 16 from the section “Adding A Decorative Foot At The Base Of The Door Casing” to fill any gaps. Apply caulk or wood filler on any gaps between the back band and the door casing.
- Paint the back band to match the color of the door casing.

Elmer's Products, Inc E7000 Carpenters Wood Glue is available on Amazon through this link.
What size nails should I use for shoe molding?
Use 2-inch brad nails to fasten your shoe molding if you’re going to use a nail gun. Brad nails are the best choice for trim work.
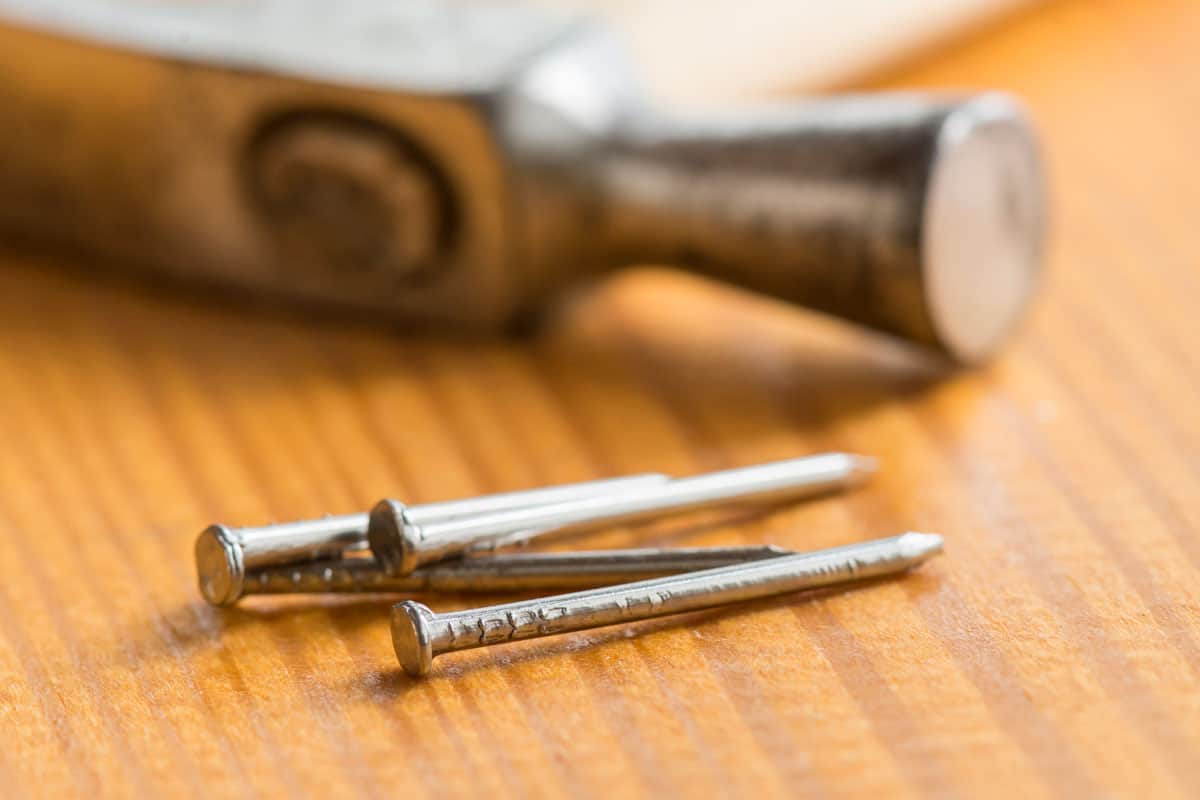
If you’re going to use a hammer, use smaller nails.
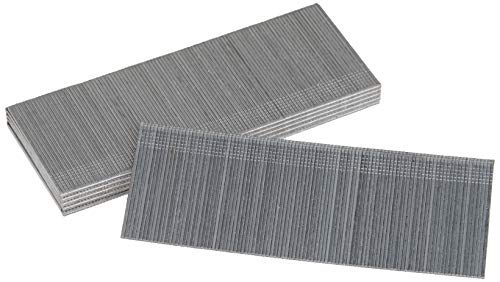
BOSTITCH 18 Gauge Brad Nails, 2-Inch is available on Amazon through this link.
Can you use Liquid Nails on molding?
Yes, you can use Liquid Nails for the installation of interior molding.
Liquid Nails LN-547 Fuze*It Multi-Surface Repair Adhesive is available on Amazon through this link.
Conclusion
There are three ways to end shoe molding on a door frame. Choose the method that will allow you to install the best matching trims for your project.
If you enjoyed reading this article, you might find the articles below equally enjoyable to read: