
The use of ground rods is important to a secure electrical system. Want to know how to drive it into the ground? We have you covered! We have done substantial research on this subject and can provide you with helpful information.
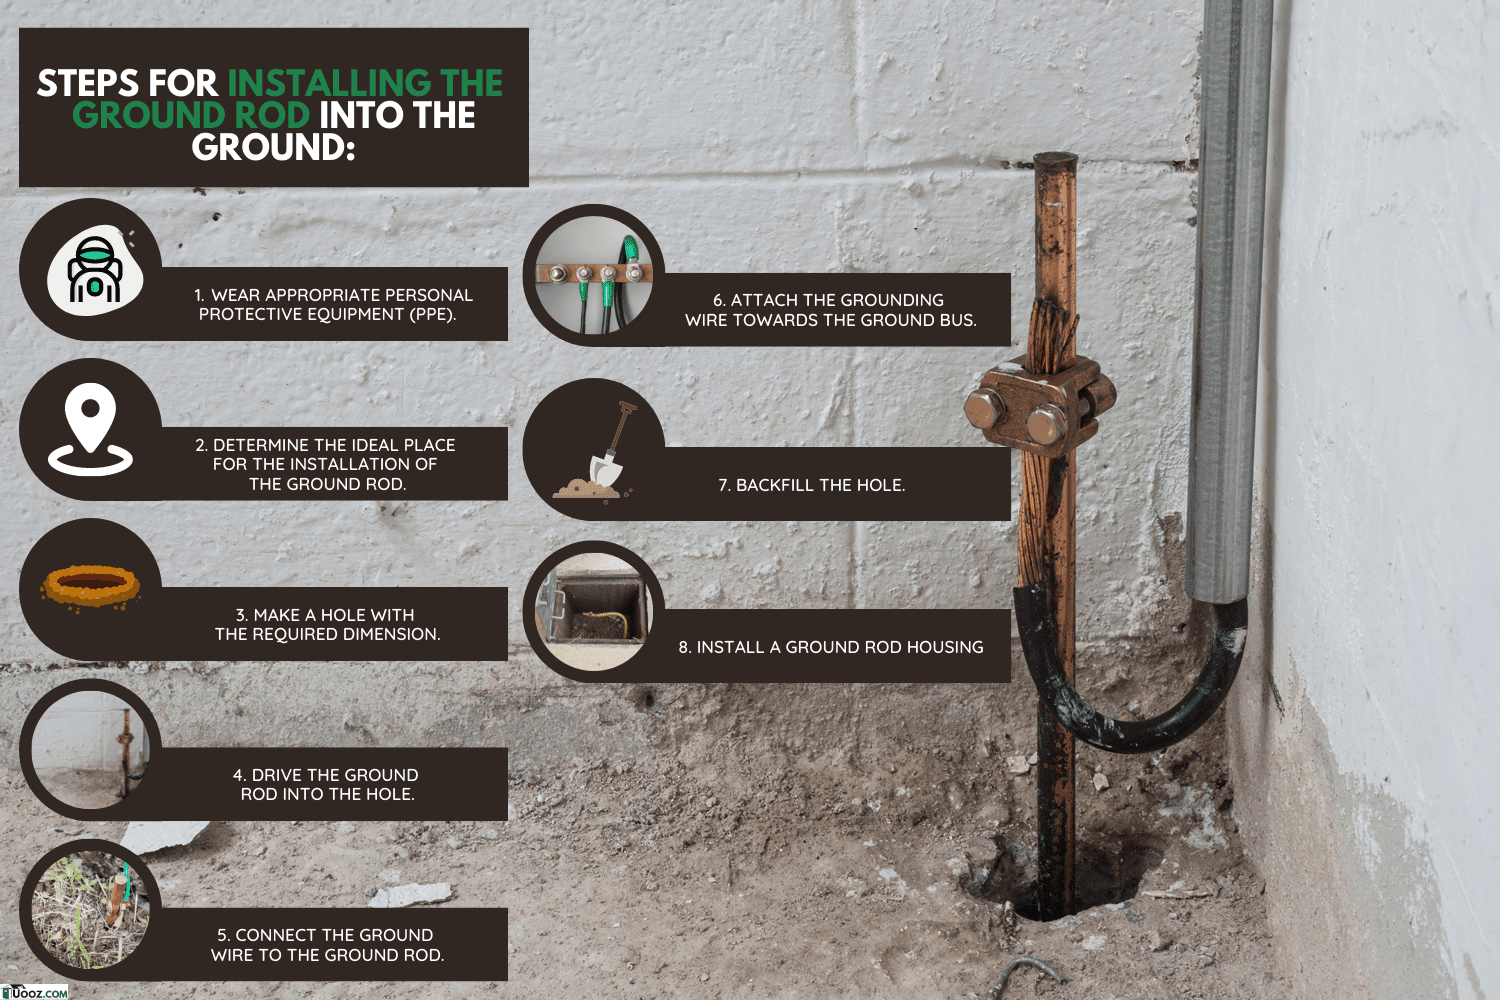
Following are the steps for installing the ground rod into the ground:
- Wear appropriate personal protective equipment (PPE).
- Determine the ideal place for the installation of the ground rod.
- Make a hole with the required dimensions.
- Drive the ground rod into the hole.
- Connect the ground wire to the ground rod.
- Attach the grounding wire to the ground bus.
- Backfill the hole.
- Install ground rod housing.
In this article, we'll go deeper with the grounding rod connection. We'll elaborate on the installation process and some ground rod options. Also, we'll share some factors to consider in choosing a grounding rod. So keep on reading for more details.
How To Drive A Grounding Rod Into The Ground?
The main electrical panel in a house is a crucial intersection where exterior power enters the structure and is dispersed throughout the house. A typical electrical panel receives 120 and 240 volts, which are then distributed to various electrical systems at home.
Lightning can damage the panel and render it ineffective if it strikes the house or even the surrounding ground. Additionally, it may overload the home's electrical systems, including wires, outlets, switches, and devices. It might potentially start a fire.
For this reason, a residential grounding rod is typically buried outside the home to direct electrical surges into the earth and away from the home. With the steps below, you can install your grounding rod safely.
1. Wear Appropriate PPE
To keep yourself safe from any de-energized elements while installing the grounding rod, you need the proper PPE. Wear electrically insulated rubber gloves to safeguard you from electrical shocks.

Check out these electrically insulated rubber gloves on Amazon.
2. Determine The Ideal Place For The Installation Of The Ground Rod
Installing ground rods requires finding a location outside where they may be driven 8’ into the ground. There is no set distance that they must be from a building, but it is better to choose a location that is easy to reach and has enough space to employ the tools needed to drive the rod.
Because of this, it's crucial to think about mapping out its path. Ensure it is simple to run the grounding wire from the grounding rod location to the panel.
Moreover, stay away from locations that are tough to dig in since you have to push the rod 8’ into the ground. Try to avoid picking a location where there are a lot of rocks, even though you won't always be able to notice or avoid them.
Most importantly, double-check that installing it won't cause any ground damage before proceeding. Find any pipes or wires that are in the ground rod's route.
There is a hotline you can contact (811) to receive information regarding the location of your utilities.
3. Make A Hole With The Required Dimensions
It is difficult to begin driving a ground rod with leverage on the top of the rod due to its length. So, it’s better to make a hole before driving the rod. You can use a post-hole digger or shovel to excavate a hole.
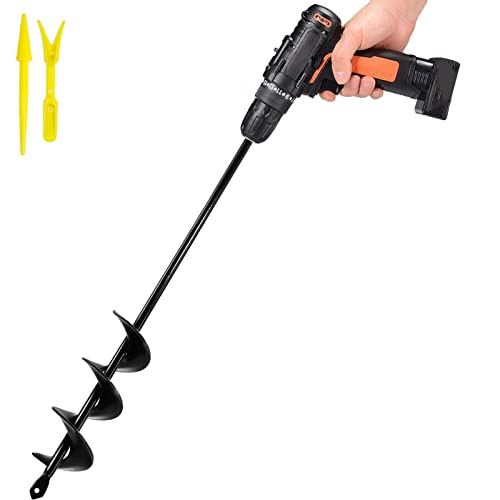
Check out this post-hole digger drill bit on Amazon.
Make a hole that is 2-4’ deep to lower the top of the rod to a more workable level. It is simple to hammer the top of the ground rod if you insert a few feet of it into the hole first.
4. Drive The Ground Rod Into The Hole
Use a hammer, drill, or driving tool to gradually drive the rod into the hole. You must drive it all the way down since the electrical code mandates that it have 8’ of contact with the ground.
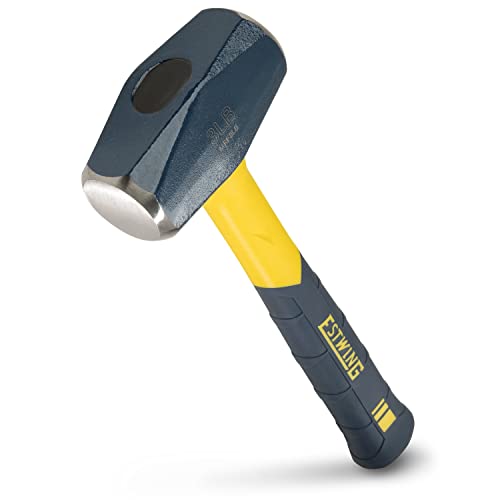
Check out this drilling hammer on Amazon.
The process of driving a ground rod into the ground takes time and effort. So, it will make the process much easier if you can find someone to help take turns driving the rod into the ground.
Some electrical inspectors will let you leave 1-2” protruding above the ground. However, some people want it to be completely covered in soil.
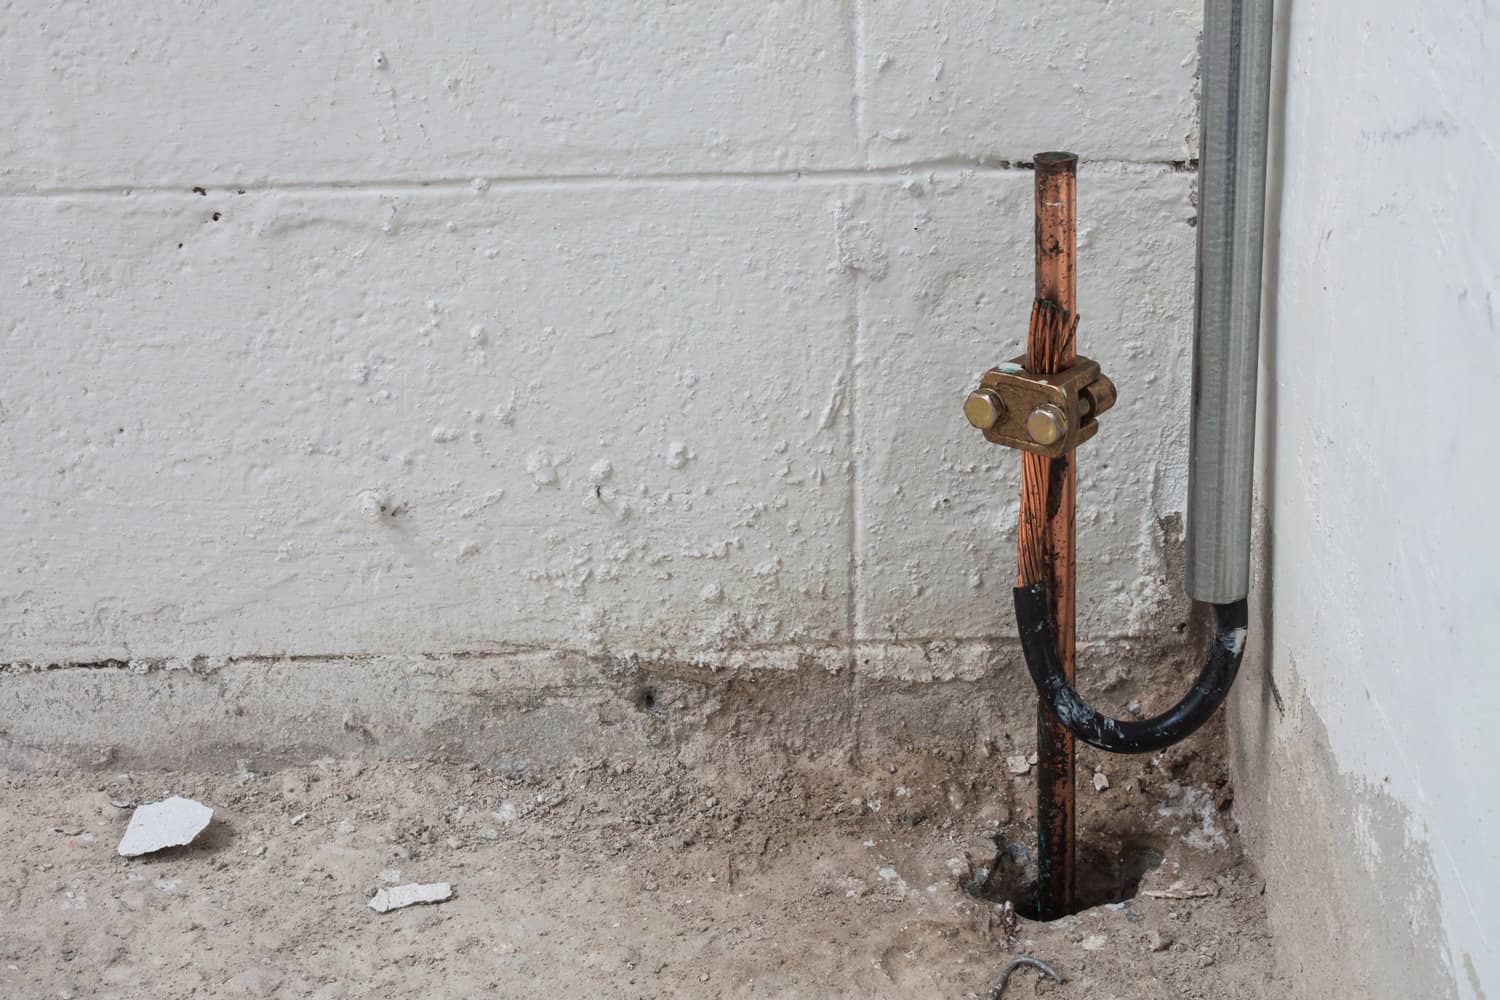
5. Connect The Ground Wire To The Ground Rod
You must link the grounding rod to the building's electrical system after driving it into the ground. To do it, pull up the grounding wire into the top of the rod. Just make sure the grounding electrode conductor is long enough to provide a continuous connection.

Check out this grounding wire on Amazon.
If the grounding electrode conductor is coated, remove around ½” of the covering to reveal the wire. Also, connect the grounding electrode conductor with a specific ground clamp for it. You only need one clamp for one rod.

Check out this ground clamp on Amazon.
To join, put the clamp into the rod ends and then insert the conductor. After that, tightly compress them together using a wrench. However, do not make the connection too tight; give it a little bit of slack. This will guarantee that if it is struck or pushed, it won't separate from the grounding rod.

Check out this wrench set on Amazon.
6. Attach The Grounding Wire To The Ground Bus
Before any electrical intervention, make sure you turn off the power when performing the task.
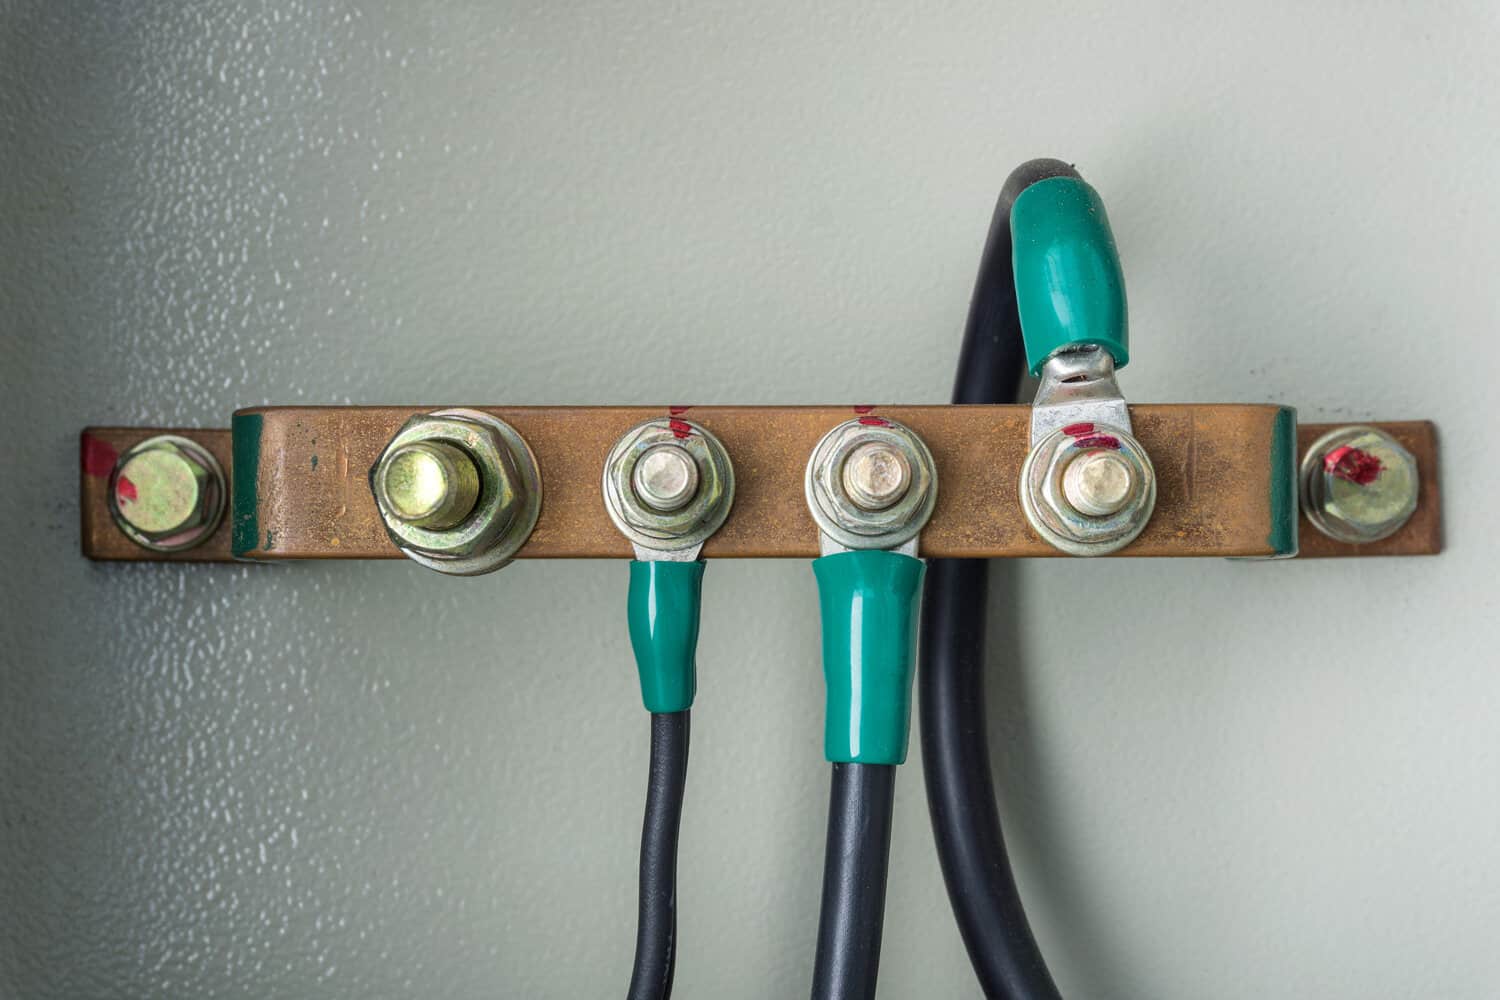
All of the neutral and ground wires are joined to the ground bus in the electrical panel. To connect, place one end of the grounding wire through a hole in the bus and tighten the screw until it firmly grabs the wire.
When performing any type of work in an electrical panel, you must use extreme caution. Make that your tools, fingers, or the grounding wire don't come into contact with the electrified bars in the panel, which are located behind the circuit breakers.
7. Backfill The Hole
It is a good idea to pour earth-enhancing compounds into the hole. It is a combination of minerals that are used to increase soil conductivity while lowering soil resistivity. They also absorb and hold onto moisture in the soil for extended periods.

Check out this earthing compound on Amazon.
Before backfilling with earthing compound, make a slurry mixture of it. To make it, just mix it thoroughly and vigorously with water to achieve an even consistency. Then, pour it into the hole entirely. Keep moving the rod while pouring the slurry to make sure it completely fills the hole.
You can fill the hole with excavated soil if there is any open space there or if no earth-enhancing substance is applied.
If a backfill made of an earthing compound is used, allow it to cure or set in the hole. After 1-2 days of installation, the earth pit is ready for usage, and you can start any earth connections after testing the resistance value.
8. Install Ground Rod Housing

To shield the ground rod from environmental elements or external factors, an earth pit or inspection housing can be mounted to it. Additionally, it makes future maintenance and inspections simple.
A video on YouTube below shows how the driving of a grounding rod is done:
What Grounding Rods Are Available?
The following are some ground rods that you might want to consider buying:
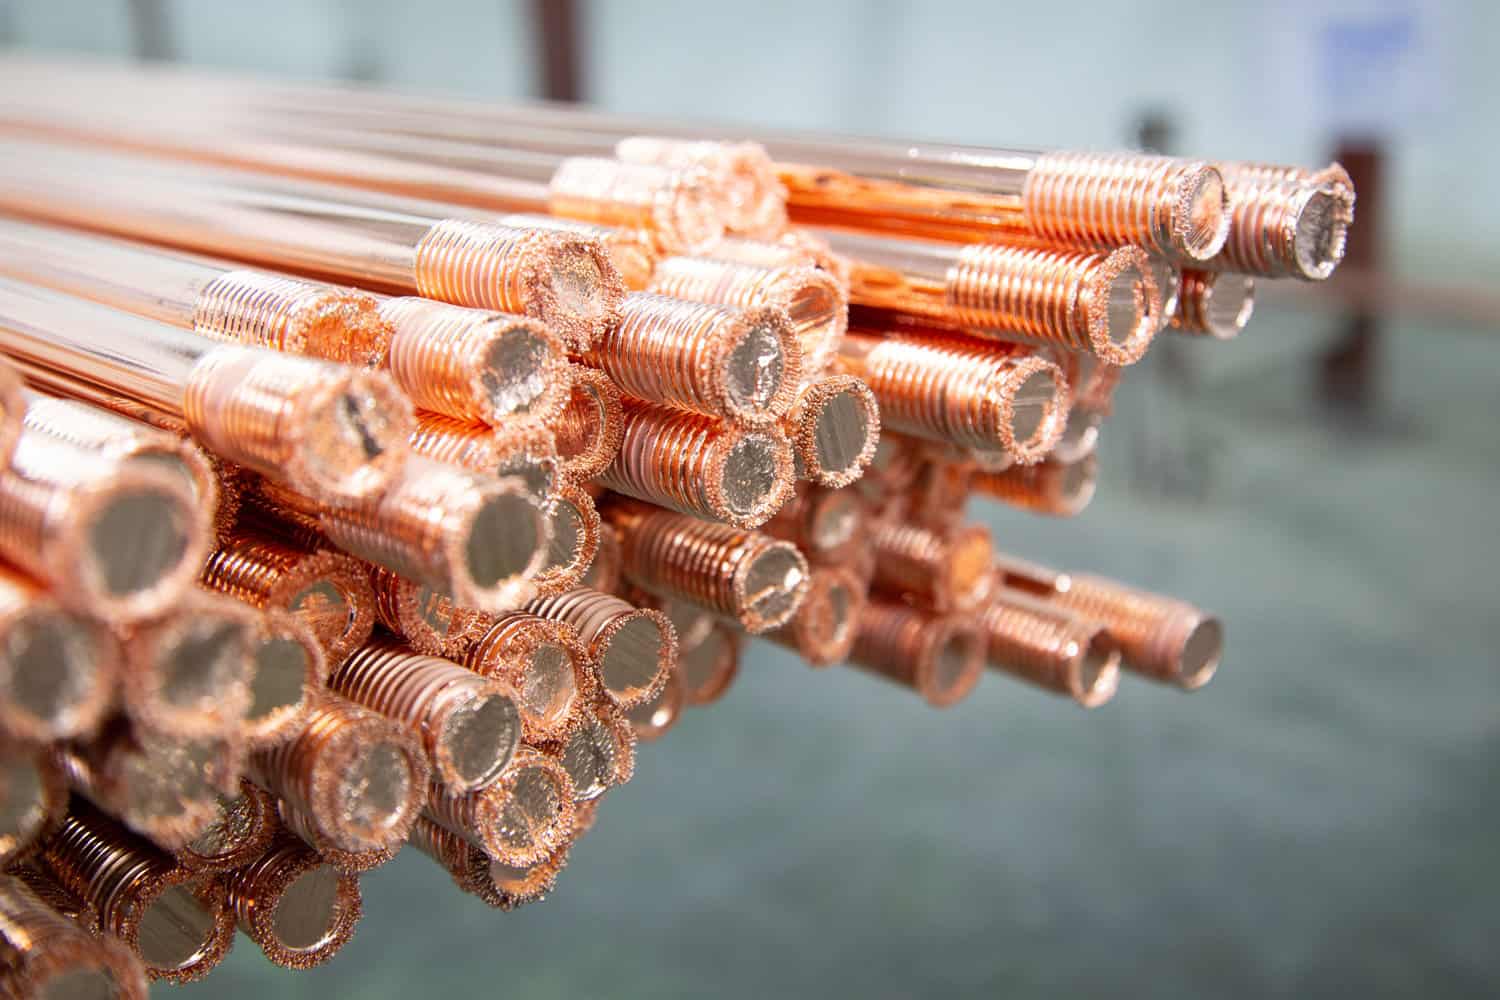
Copper-Bonded
These kinds of ground rods have steel cores with copper coatings. In fact, steel and copper form enduring molecular bonds. As a result, under typical circumstances, these rods are far less corrosive.

Check out this copper-bonded ground rod on Amazon.
Galvanized Steel
It is the most economical ground rod option, which is created by coating steel with zinc. These rods typically need to be changed after only 10 to 15 years.

Check out this galvanized steel ground rod on Amazon.
Stainless Steel
It must be manufactured from an alloy of iron, chromium, and other elements because it does not exist naturally. Although the material's strength is significantly increased, the cost is also substantially increased. Because of this, stainless steel ground rods may be too pricey for some properties.

Check out this stainless steel ground rod on Amazon.
What To Consider When Buying Grounding Rod?
To get the most out of your ground rod, consider the relationship between expected service life and cost. When choosing ground rods for a grounding system, the expected service life should be the first and most important consideration.
The service life and overall system efficacy of a ground rod are closely correlated with its corrosion resistance. The faster a ground rod corrodes, the less time it will have in service and the cheaper it will be.
The service life of the materials can differ by years or decades because below-grade products are exposed to serious corrosion hazards. When a ground rod is corroded, its resistance rises noticeably and eventually leads to a catastrophic loss of ground.
Another one is the cost of the product. The cost typically comes into play when building professionals want to save money by adopting a less expensive material or when weighing the pros and cons of materials like solid copper and stainless steel in terms of price and corrosion resistance.
When a grounding rod specification does not specify a particular brand or material, a contractor may select the lowest-priced permitted ground rod. But it might not be sufficient to optimize value and create the safest, most dependable system for consumers.
In Closing
You can reduce the risk of electrical fire and injury by following the installation instructions above for ground rods as well as taking a little extra care and precaution. If you are unsure of how to make this connection safely, it is a good idea to hire a professional electrician to finish the job.
Before leaving, check out some of our interesting articles below: