
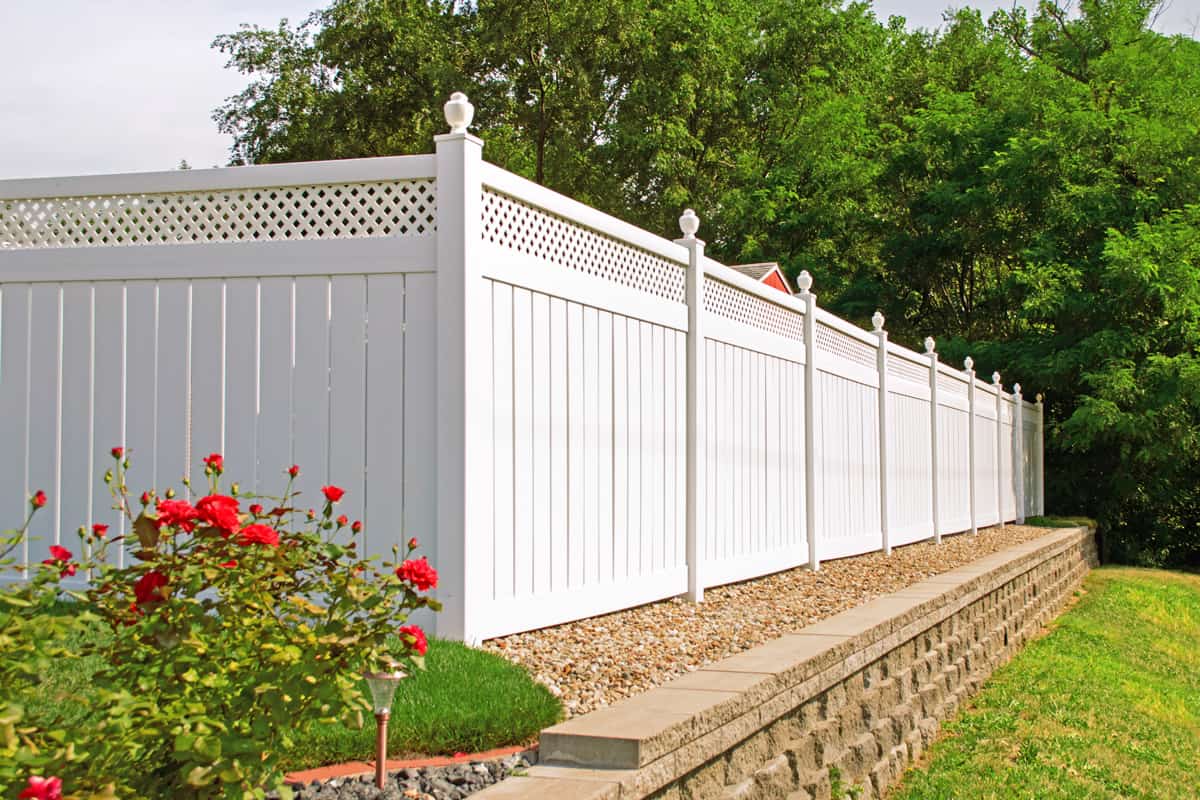
Looking to upgrade your chain link fence to something more attractive? Why not try installing a vinyl fence over it? This offers you an installation option other than using concrete. To help you with this project, we have put together an easy guide on how to transform your chain link into a vinyl fence.
Using your existing chain link fence makes the vinyl easier to install. Here is how you do it:
- Use the existing chain link post as a guide.
- Remove chain links.
- Install post-leveling collars.
- Set the vinyl posts over a metal pipe.
- Insert the bottom rails in the post.
- Set the post height.
- Fix pickets and top rails in place.
- Place top rail ties and mount cap.
The sections that follow will further discuss the specifics of converting chain links to vinyl fences, installing a vinyl gate, and how to adjust pre-fabricated fences to actual fence line measurement. If you want to learn more, keep scrolling!

How To Replace Chain Link Fence With Vinyl
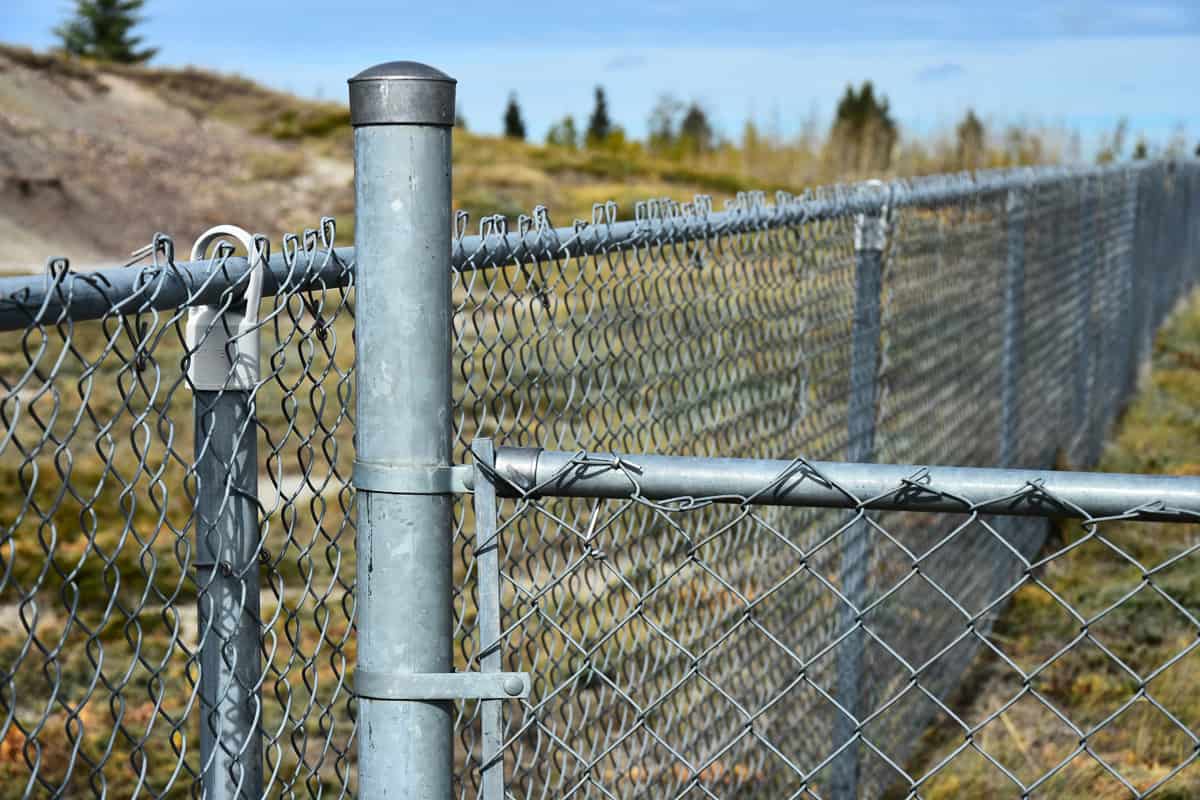
Traditional installations of vinyl fences require you to dig a hole for the post and pour concrete into its base. But if you have an existing chain link metal post, you can use this as an anchor to your vinyl post. Here is how to do it:
1. Use The Existing Chain Link Post As A Guide
The vinyl fence you can build will depend on the measurement of the existing chain link post. To determine the options available to you, first, get the height of the post. Then, measure the distance from the first post to the next.
From there, you can determine the vinyl fence dimension you can have. Pre-assembled vinyl measurements range from three feet in height for semi-privacy and as high as eight feet for privacy vinyl fence, and the typical width at eight feet.
For example, if you have an existing four-foot post, then the option of installing either a five-foot or six-foot vinyl fence is available to you.
2. Remove Chain Link Fence And Rails
Everything that is not going to be used in the vinyl installation needs to go. Follow these steps to remove your chain fence and rail:
- Start with a corner post. Remove the clamps that hold the chain fabric to the post. Loosen the bolt of the clamps with an adjustable wrench.
- Pull the tension bar from the weave.
- Mark the section of the fence to be removed. Since the posts are usually 10 feet apart, use these guidelines to determine the length of the fence you can take out. Additional factors that will help you decide on how much fence to remove at a time are the surrounding space and the help available. In an open area and with help available, you can go for 50 feet. If you're working alone with an open space, you can lessen the sections to 20 feet. If your fence area is narrow, it would be better to roll the fence vertically. Keep the bulk of the roll at a manageable level.
- Cut the fence ties a few at a time with wire pliers or a fence gripper. Dispose of the wire ties properly, as this poses a potential hazard to people and equipment, such as lawnmowers, within the vicinity.
- Remove the top rail by loosening the nut at the corner post that holds it in place. Once the rail is detached, proceed to twist and separate the poles at each attachment end. If the rail is welded together, cut it to reasonable lengths with a reciprocating saw.
- Finally, remove the caps from the post.
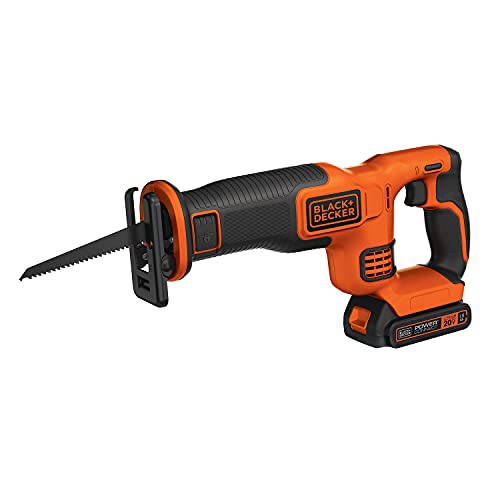
Check out this reciprocating saw kit on Amazon.
3. Install Post-Leveling Collars
Each post should have two collars. The bottom collar can be set a few inches from the ground, and one on top—30 inches from the bottom collar. Align the two collars using a level. Repeat the process for each post.

See this multipurpose laser level on Amazon.
4. Set The Vinyl Posts Over A Metal Pipe
Place your five-by-five vinyl sleeve over your metal post and collars. Note the bottom end of the sleeve has some four inches allowance as opposed to the two inches allowance of the top side. Also, make sure to install the corner and line posts in the correct place.
5. Insert The Bottom Rails In The Post
Fit the bottom rail into the post. You can distinguish the bottom from the top rail through its metal insert. Insert the rail until the clip is completely inside.
Work on the other end of the rail. For this, you may need to lift the other post out of the collar to give enough room for the other end of the rail. Place your post back over the collar once the rail is in the slot.
6. Set The Post Height
Starting with a corner post, fix the sleeve against the lower collar with a three-inch screw. Run a string at the top of your post over every fence line.
Set the post to the string line, and secure it to the collars and pipe using a three- or four-inch self-tapping screw. You can also secure the U-channel together with the vinyl post to the top collar.
7. Fix Pickets And Top Rails In Place
Erect the pickets on the insert of the bottom rail. Stand the picket side-by-side, fitting the tongue into the groove of one slat to the other. Towards the end, insert the last piece in first and slide the remaining slat into the vacant space. Place the top rail on top of the pickets and insert it into the posts.
8. Insert Top Rail Ties And Mount Cap
Put top rail ties on each post. Screw the tie on each end of the top rail inside the post. Finally, mount the cap on top of the post. Secure it place with either silicone or glue applied to the inside of the cap.
To preserve your vinyl fence longer, you need to leave allowance for weed eating. Even if it is heavy-duty vinyl fencing, it is not damage proof. What you can do is align ornamental rocks, garden rows, or even use herbicides to prevent grass from growing along the fence line.
You might want to read about 10 Types Of Landscaping Rocks You Need To Know
How To Install Vinyl Gate
Pre-assembled vinyl gates come in heights between three and six feet and widths from four to five feet. However, if your measurements do not conform with this, manufacturers offer kits that allow fence panels to be used for gate constructions. Since you already have an existing anchor, all that's left to do now is to hang the gate:
- When hooking the hinge, make sure it is positioned in the middle of the rail, and mark the hole positions of the screw. Before screwing the hinge into place, drill pilot holes first to prevent the rails from splitting. When drilling the screws, use a slow speed.
- Measure from the edge of one post to the other.
- Cut your rails to the measurement taken in the previous step minus 3.25 inches. This should leave enough room for the hinge and latch as well as the ends inserted in the gate post.
- Insert your cut rails into the gate post and set them on a non-scratch surface with the open side facing upward.
- Secure your U-channel with three pieces of one-inch self-tapping screws. Put the pickets into the rails and slide them into place. You may have to trim your last picket to fit your gate.
- Sit the other gate post well on the rails.
- Lock all four corners of the gate post into place using three-inch self-tapping screws.
- To hang your gate, you can use wooden blocks to help you lift the gate to the desired height.
- Attach the hinges to your gate post from the inside, and align the latch to its receiver with screws.
As a guide, here is a helpful video that gives a play-by-play of the steps in vinyl gate installation:
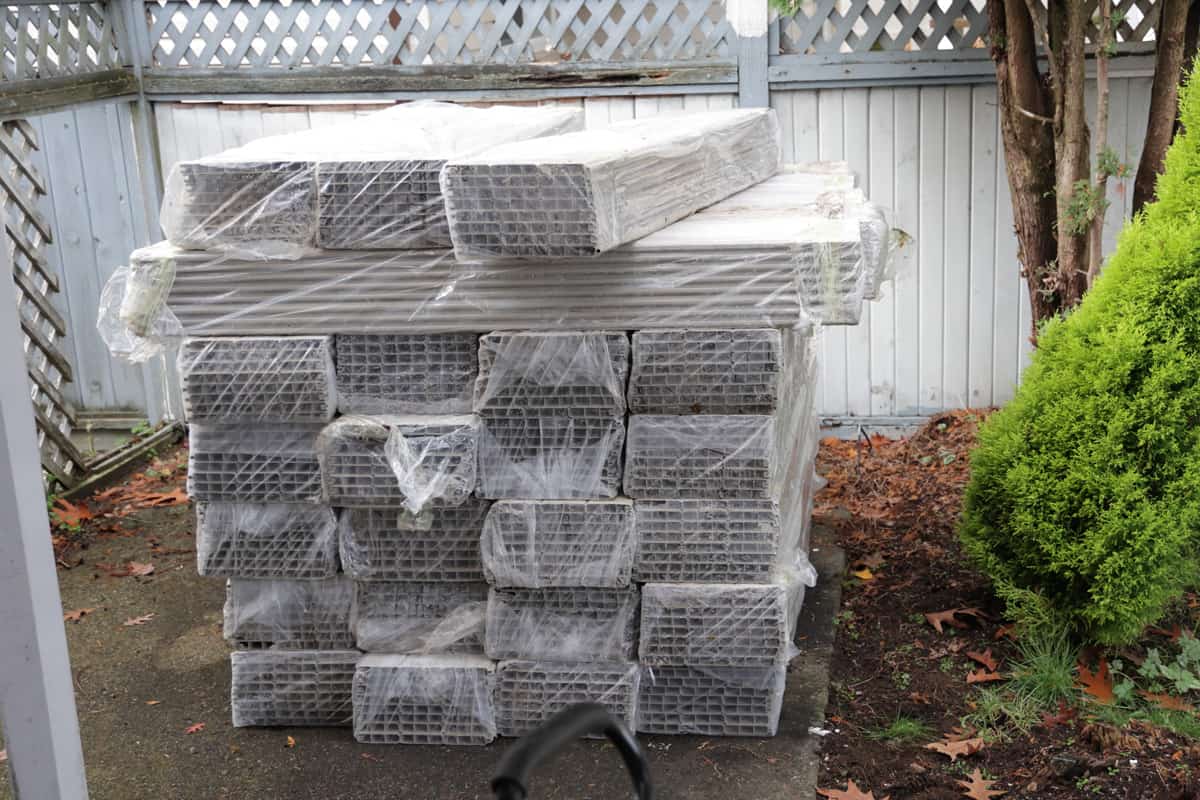
How To Cut Vinyl Fence
When installing your vinyl fence, you might notice some rails are longer than the distance between posts. For slope installations, some pickets will need the bottom part cut into a slant. Here is how you can cut your vinyl panels:
- Prepare the following equipment: saw (with fine-tooth blade), clamps, masking tape, tape measure, and eye protection gear.
- Measure the top and bottom of the fence line with a measuring tape. Leave a few inches allowance to be inserted into the posts.
- Clamp the rails in place and measure the rails.
- Stick the masking tape over the area where you intend to cut. This will prevent scratches on your vinyl.
- Mark the spot for cutting using a pencil or chalk and a ruler.
- Cut the excess section using the saw.
- Insert the rails and screw against the post to prevent it from sliding out.
- Expect that the last picket will need resizing as well to accommodate the reduction of the rails. Repeat steps 3 to 6.
- Now, you can install your pickets and rails.
To help you, here is a video on how to resize your vinyl rails and panels:
In Closing
Converting chain links into a vinyl fence is possible. With the power tools available on the market, do-it-yourself installations are possible.
Building a vinyl fence over your old chain link offers several advantages, but there are also drawbacks. So, before making up your mind about makeover projects, make sure to source proper information.
Here are other related topics for you:
How Long Does a Bamboo Fence Last? [and How to Make It Last Longer]