
RedGard is a highly useful product with superior adhesion. You may wonder how to clean RedGard off the tools that you use in working with it. Worry no more! We researched to give you the precise information for your convenience.
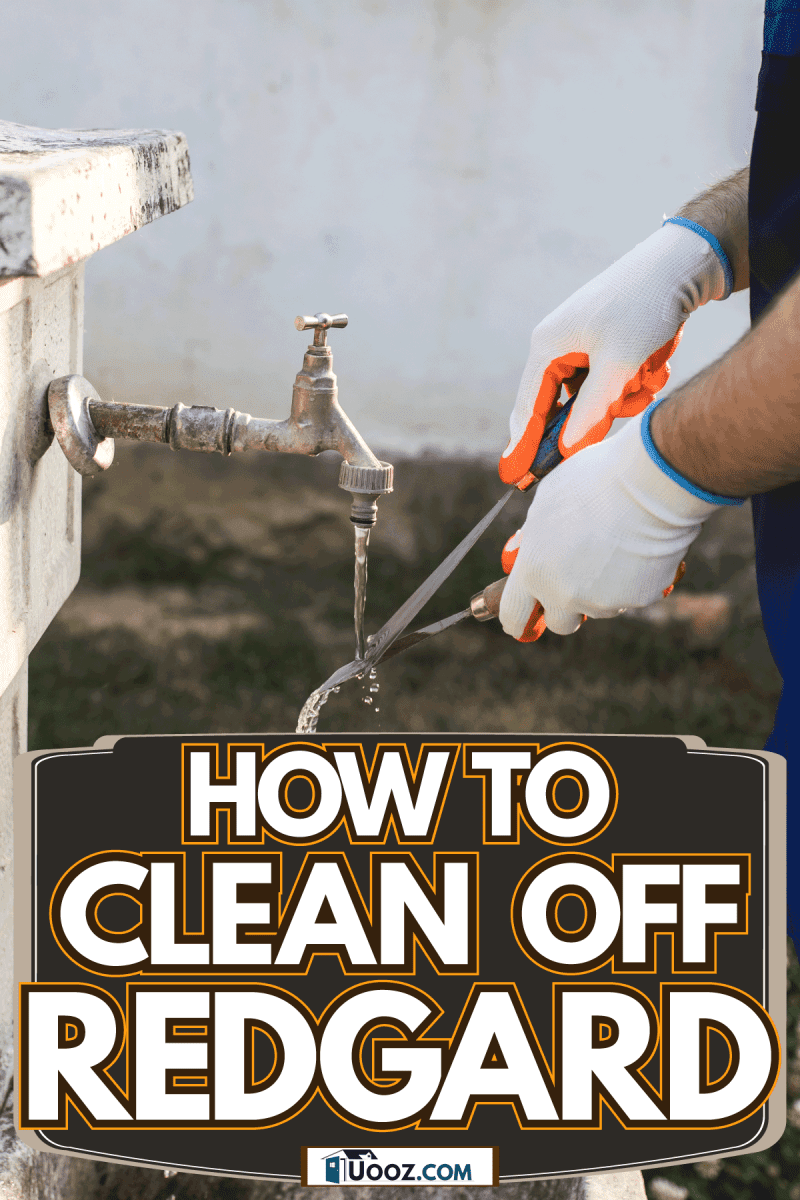
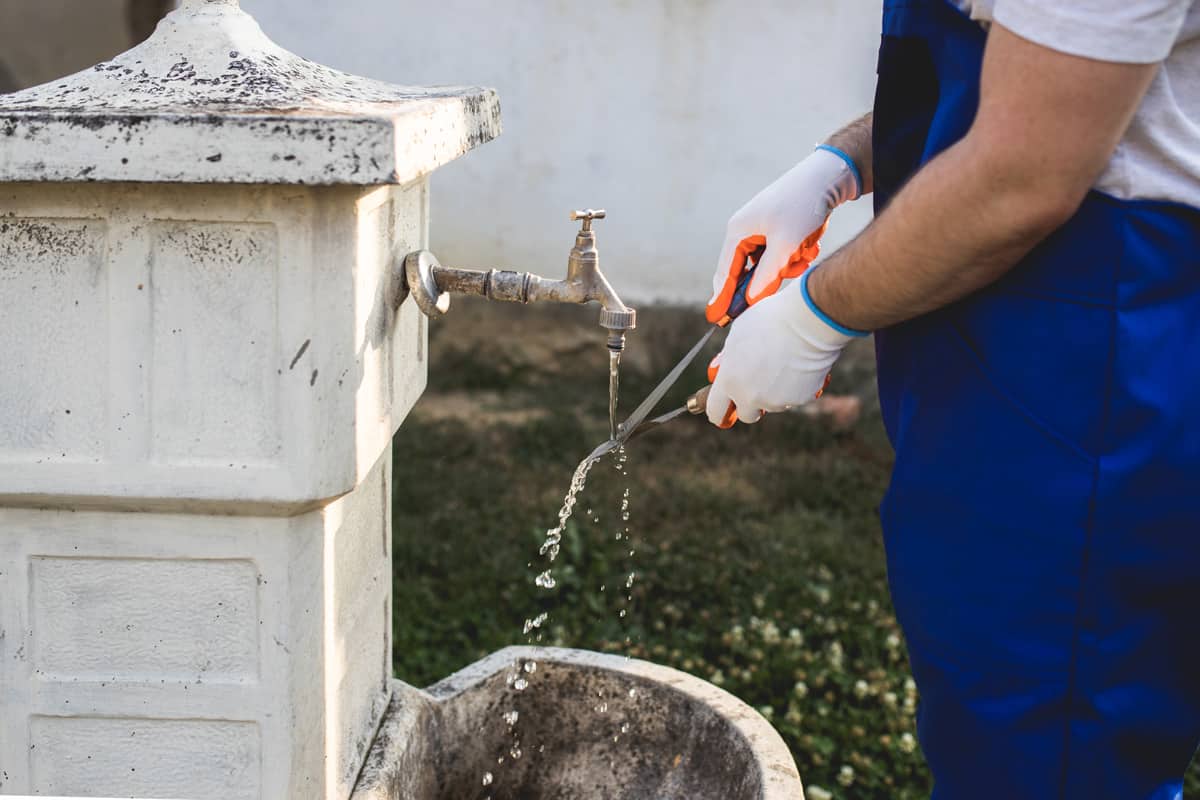
Be sure to clean RedGard off your hands and the tools you used with water while the product is still wet. If you have used an airless sprayer, detach the plastic tubing, and clean everything with water immediately after use. The reason behind this is that RedGard is highly soluble in water.
RedGard can be conveniently applied using a trowel, roller, brush, or airless sprayer. Cleaning these tools and getting them ready for repeated use is important. We will discuss how to clean off RedGard from these tools, as well as other relevant information on its application and use.
RedGard: An Overview
RedGard is widely used in commercial, industrial, and residential settings. It can also be used both for interior and exterior surfaces. It is your solution for waterproofing and the prevention of cracks.
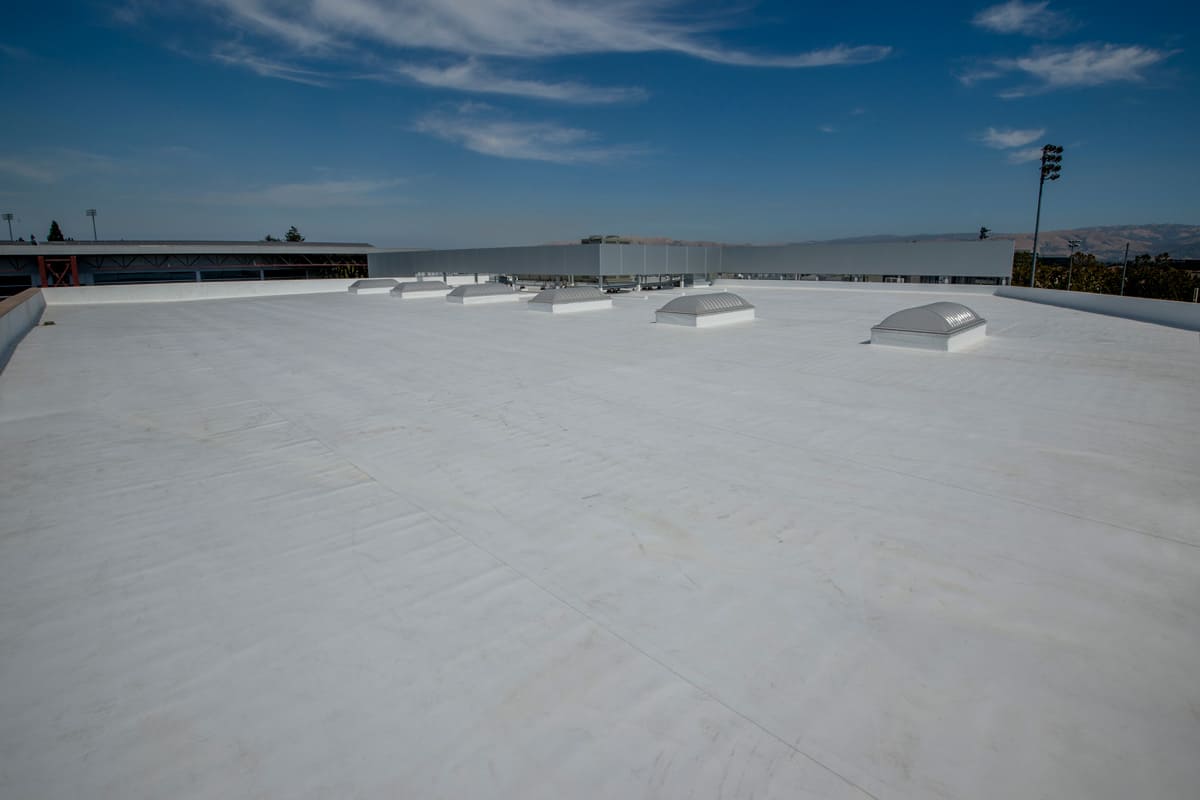
RedGard creates a waterproofing barrier by forming into a membrane after curing. It can also be used as a vapor barrier under various flooring materials. Similarly, you can use it to bridge gaps, joints, and seams in walls and floors.
RedGard's Outstanding Features
RedGard has gained popularity among professionals and even DIYers due to its highly useful features. Here is a list of its elements:
- It has outstanding adhesion that resists cracks and chipping in tiles and stone floorings.
- It superbly bonds subfloor materials. It is not conducive to being used as a walking surface.
- A ready-to-use liquid; no pre-mixing is required.
- A quick-dry formula; gets your job done in less time.
- It is colored pink when wet and turns red when dried—a useful indicator.
- Since there is a color change, you could easily detect if you have skipped certain spots at the surface.
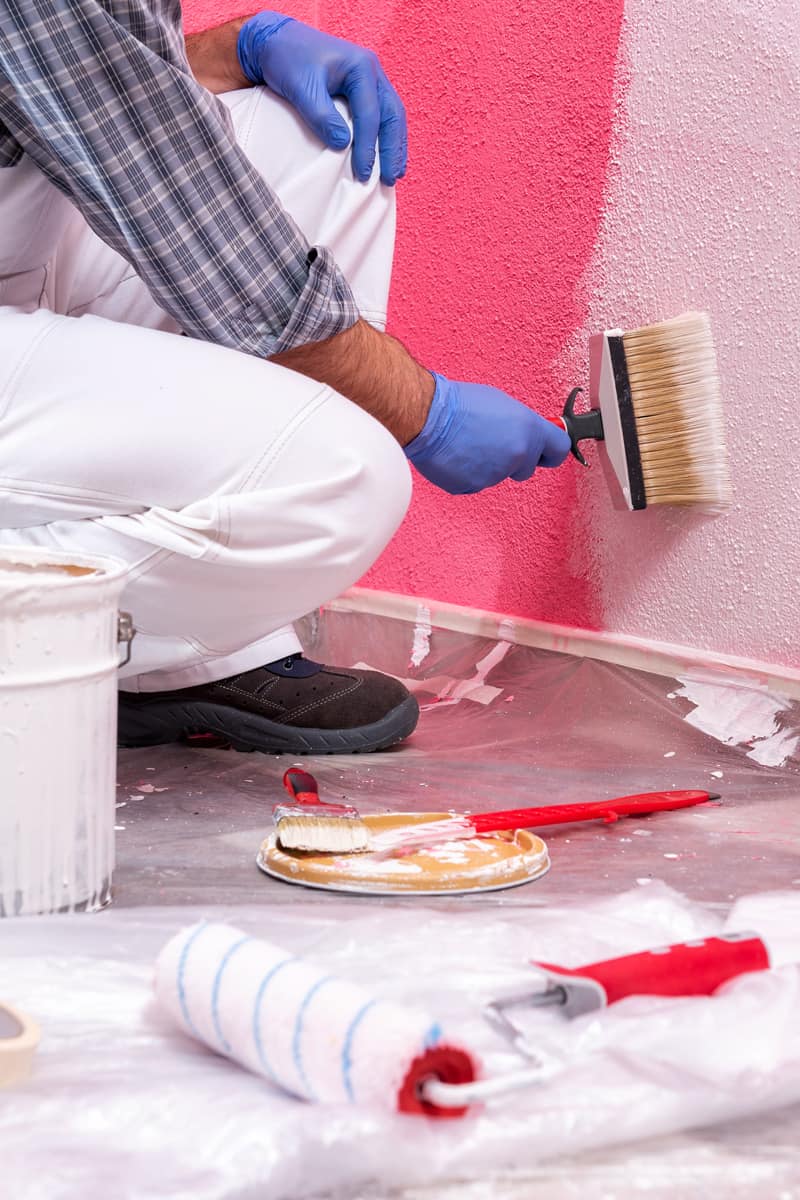
- Affords easy application, no need for a contractor which can give you substantial savings.
- With the appropriate tools, you just simply roll it on or brush or spray it over the surface.
- In plumbing, it superbly bonds to metal drains, PVC, ABS, and stainless steel.
RedGard Has Many Applications
ReDGard is highly flexible. You can use it in your interior and exterior foundations, basement, retainer walls, deck, porch, swimming pool, and spa. It is also used in plumbing assemblies such as storage and process tanks and shower pan liners.
It is compatible with the following materials:
- concrete
- cement mortar
- exterior plywood and other wood materials
- decking and fence posts
- gypsum boards
- ceramic tiles
- masonry
How To Clean Off RedGard
Cleaning the tools used for applying RedGard is important to maintain their quality and effectiveness.
The most important thing is doing the cleaning while RedGard is still wet to counter its superior adhesion. Your tools and hands should be cleaned with water before the material dries.
Due to the viscosity element of RedGard, you will readily notice that tge material just melts and slips from your hands and the surface of the tools under running water.
In cases when stubborn and thick residue clings to the surface, you can immerse the tools in water. Try submerging them in a bucket of water. This will not pose a problem, since wet RedGard readily dissolves in water and should take only a few minutes.
Do not leave the tools submerged in water unnecessarily, since it can degrade their quality and functionality.
If you have used an airless sprayer, or any spray equipment, clean the parts immediately after use. This is while the RedGard residue left on the surface of the equipment is still wet.
Everything looks smooth when you have done the cleaning before RedGard dries up. What if you have gone past this stage? The work involved might probably be worth more than if you are buying brand-new tools!
What If RedGard Has Dried Up?
For some homeowners, it would look unpleasant if even a thin membrane of the pink residue of RedGard is left at the edges of the surface you have worked on.
You might consider using solvents, such as acetone, paint thinner, WD-40, or mineral spirits, which could do the job of cleaning up. But nothing will happen with these solvents, since RedGard's composition doesn't dissolve on any kind of solvent.
Similarly, do not use anything abrasive, as you might end up doing more harm than good to the surface.
DIY experts recommend using a blade, the tip of a craft knife, or something similar to scratch off the dried membrane left on the surface. Another straightforward option is to peel it off.
What Are The Tools Used To Apply RedGard?
RedGard is easy to apply on cracks and surfaces with the right tools for every project. We discuss the specifics of the tools used:
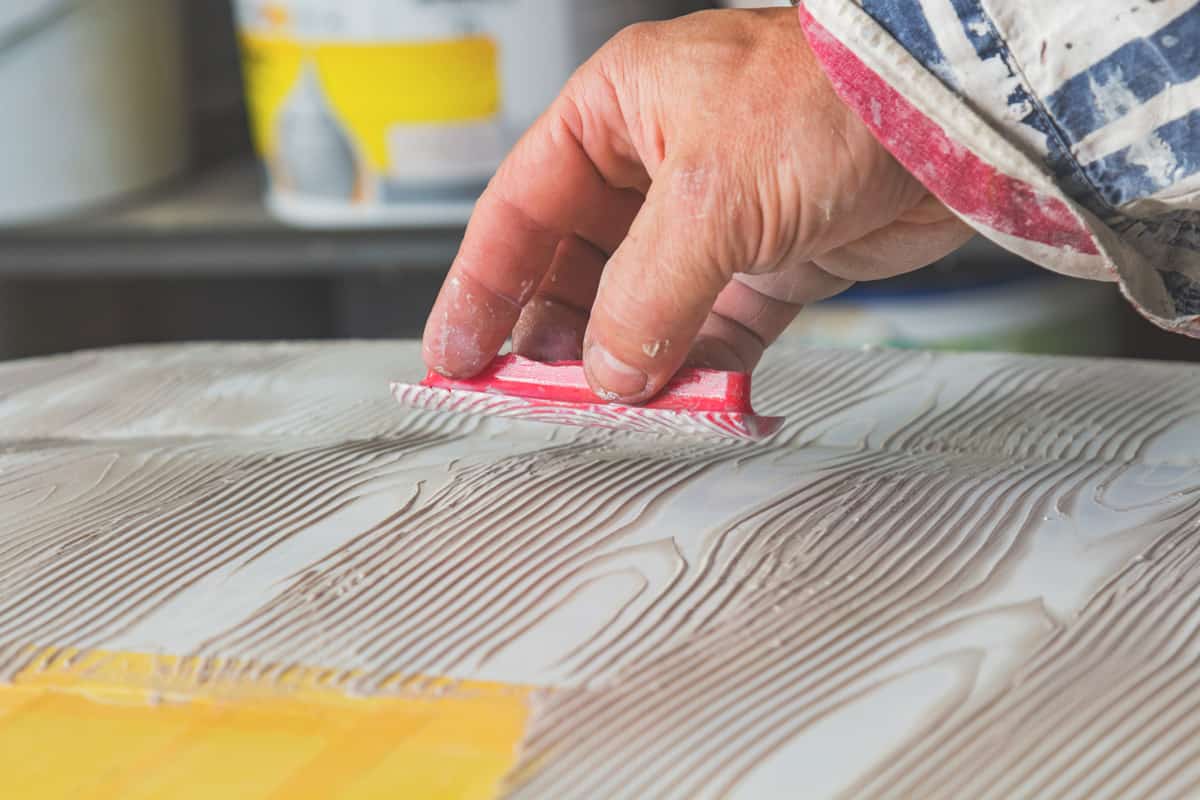
Flat Trowel

You need a flat trowel to apply RedGard over concrete walls, floors, and other flat surfaces. It is also handy for hard-to-reach areas.

Shop for this flat trowel in Amazon
The blade is large enough to have wider coverage for easy and convenient application. The blade is tempered and made of hardened steel, making it durable for repeated use.
It is anti-rust and anti-corrosive, with no grooves. You could easily wash and clean with water and be assured no membrane residue is left on the blade's surface.
With the trowel, it gives you maximum control over RedGard application. You can easily maneuver on almost all surfaces, whether for deep cracks and gaps or curves and grooves of the surface.
Use this tool to scoop out the material from the bucket. Also, it helps you to conveniently fill in gaps and crevices before leveling and smoothening the material over the flat surface.
Paint Roller
Using a paint roller with a paintbrush and tray is convenient and practical in applying RedGard. This gets your waterproofing job done quickly with seamless effort.
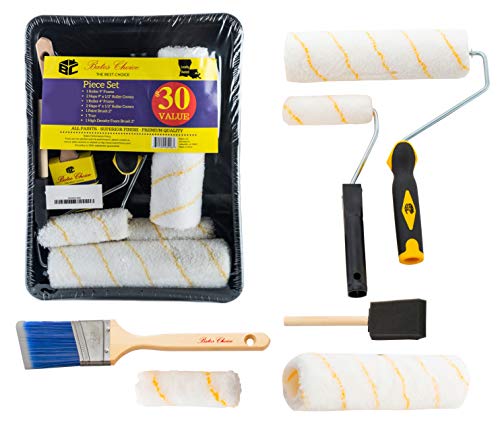
Shop for this paint roller kit on Amazon
Use a paint roller if you want a superior and smooth finish. The thick foam of the roller and the filaments in the paintbrush are designed to hold more RedGard liquid in one wipe.
The paint tray is useful, since RedGard is sticky, so you can contain your mess and drips. You can also rest your roller and brush on the tray between wipes.
Airless Sprayer
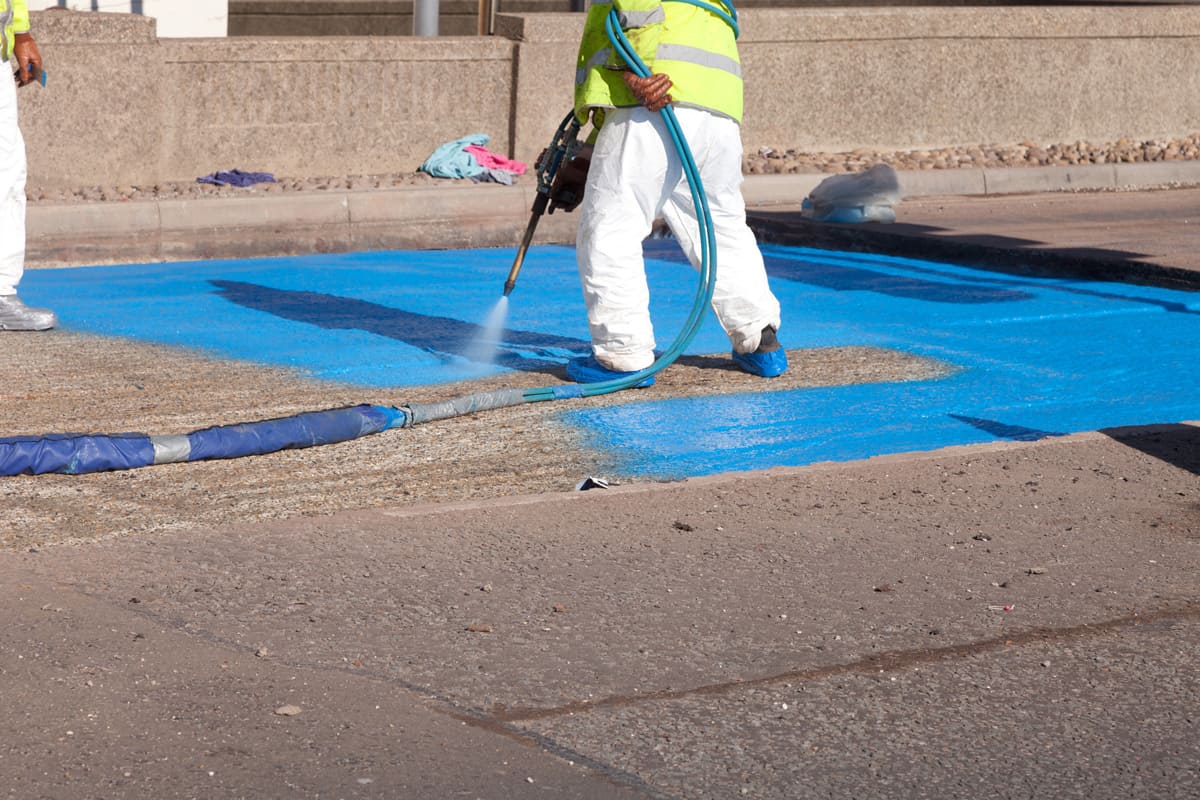
The airless paint sprayer is best suited for applying RedGard when working on a large area, such as walls and floors. It enables you to achieve a professional finish even if you aren't an expert.
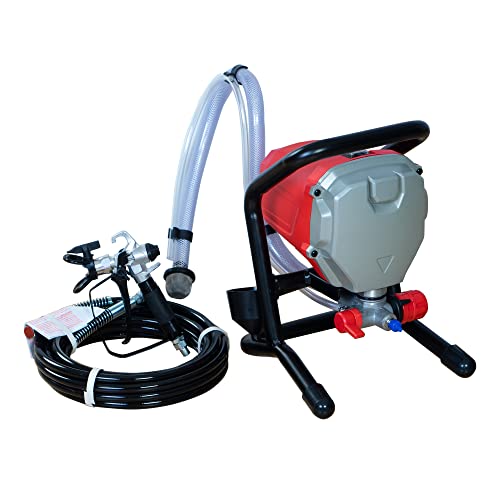
Shop for this airless sprayer on Amazon
The sprayer's parts are removable, making easy and thorough cleaning convenient. The spray nozzle lets you adjust the pressure needed for each project. With one spray, it encompasses a wide coverage that lets you finish your task in less time.
With the plastic hose attached, you get the convenience of siphoning RedGard straight from the bucket to aim at the surface directly. This way is economical since messy spills and drips are avoided. More importantly, you lessen skin contact with the material.
The plastic hose is 25-foot long and non-kinking, enabling you to spray high walls and wider floor areas. The sprayer is a compact design with a handle that can help you easily move around your work area.
Tips in Applying RedGard
Before RedGard application, the initial step is to ensure that the surface is structurally intact. It should be clean, dry, and free from contaminants.
If you intend to apply it over new concrete, level the wet concrete into a smooth surface with a trowel. Next, texture the surface into a broom finish.
This is done by running a broom with stiff bristles over the wet concrete. The curing of new concrete would take at least four weeks before Redgard is applied.
When applying it to large areas, you can pour RedGard and spread it with a broom or squeegee. Then level and smooth the surface with a trowel.
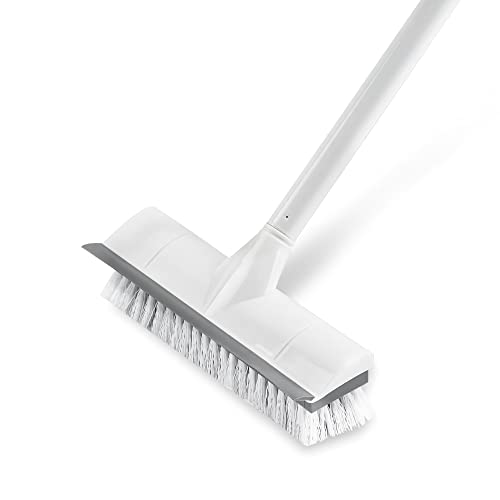
Shop for this hard-bristled push broom on Amazon
Avoid scheduling your work during extreme weather. Do not apply it under the intense heat of the sun. Likewise, do not apply it when rain is forecasted within 72 hours. This will hamper the curing time.
If you are working with an airless sprayer, especially indoors, it is best to have protective gear for yourself. Wear a coverall, gloves, goggles, and a mask since fumes and chemical particles get airborne.
The Takeaway
RedGard is your partner in waterproofing and crack prevention. It is flexible for many applications in your home. With its easy application, you can do it yourself without the services of a contractor.
Always clean your tools and hands with water while RedGard is still wet. This is because the material readily dissolves in water.
You might find these posts helpful for related topics:
Is Plywood Waterproof? [Complete Plywood Waterproofing Guide]