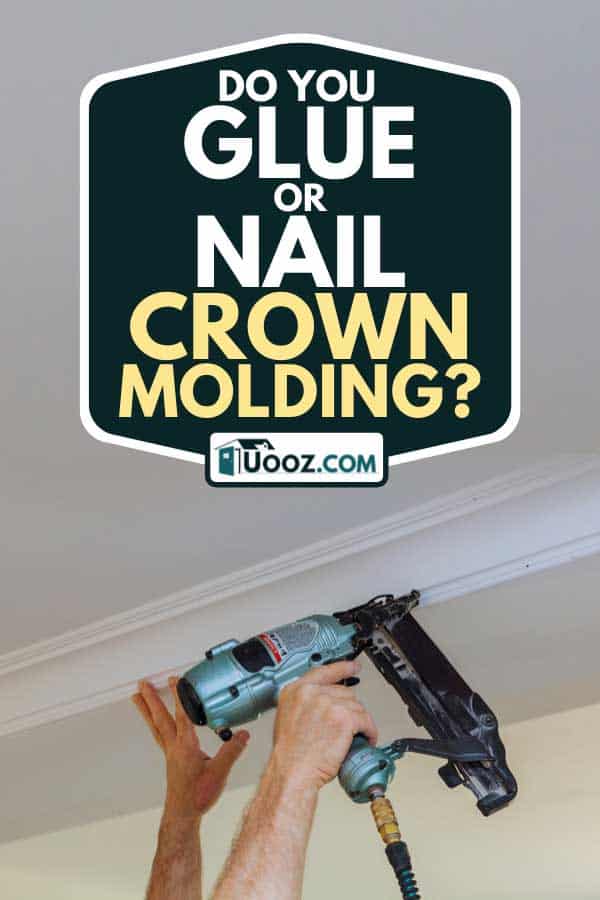
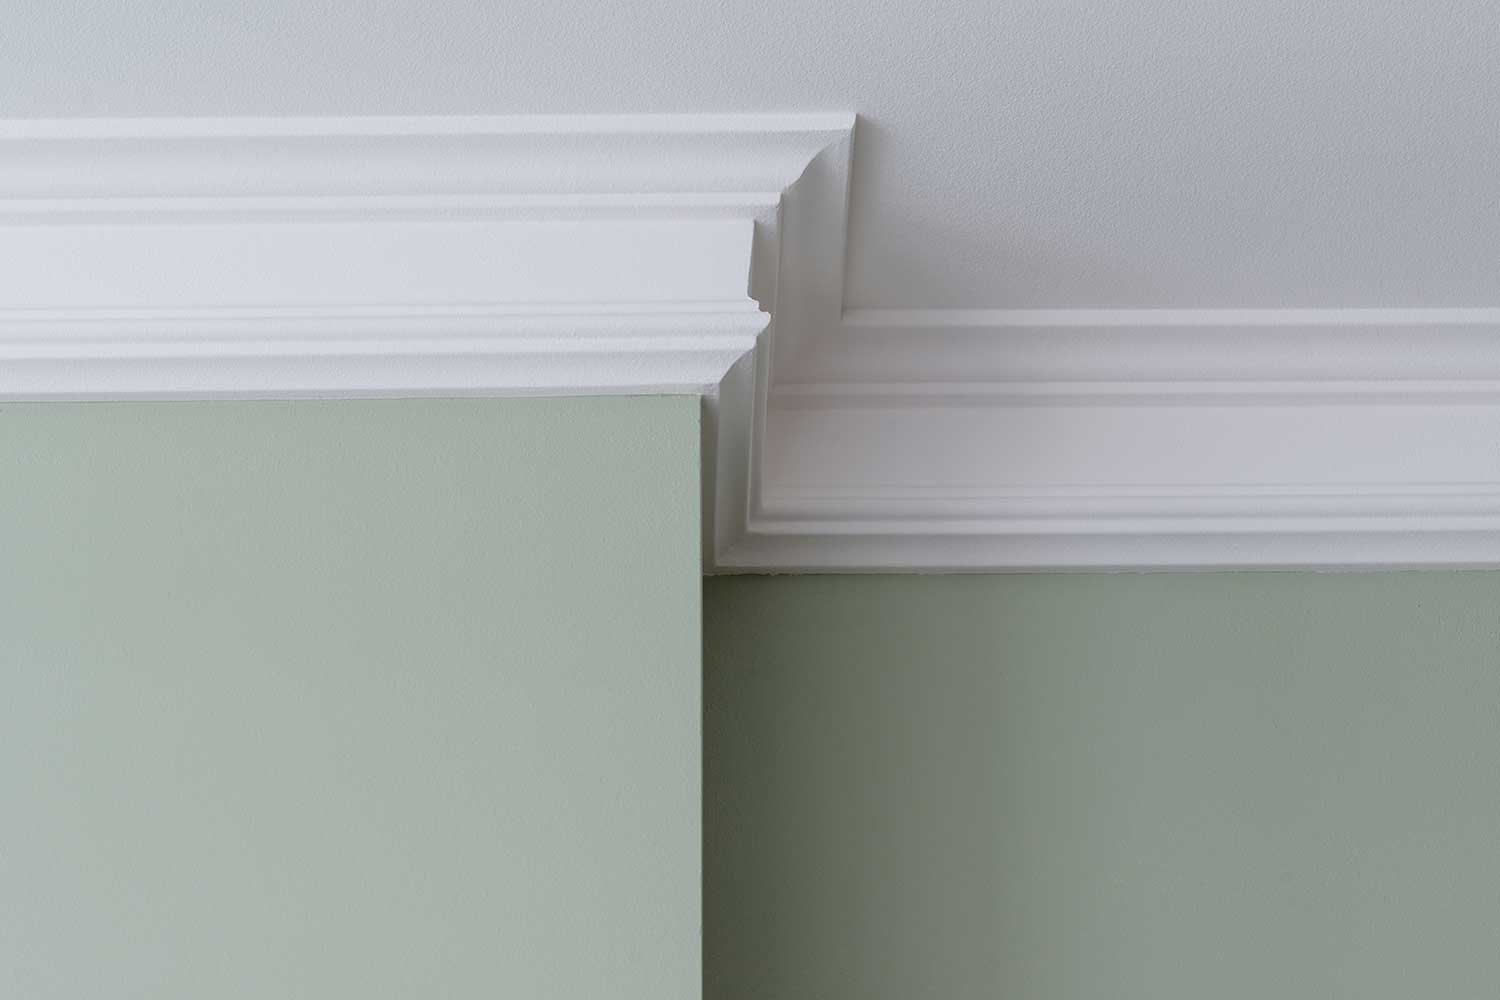
Crown molding installation invokes consideration concerning whether nails or glue supply the best attachment option. Made of plaster, wood, or composite materials, crown molding (ceiling trim) commands smooth connection of the pieces to one another, the wall, the ceiling, and any cabinetry. We consulted governmental, manufacturer, and home improvement guidelines to determine the recommended crown molding connection methods.
Whether a nail or glue option provides the best crown molding installation medium depends on the installation surface, the crown molding weight, and the upper wall surface accessibility. In certain situations, both glue and nails are used together, yet for other circumstances, either glue or nails are used independently. Consider these factors to determine which method is best for your crown molding installation:
- Use nails to hold the glued crown molding in place for drying or for extra security.
- Use glue to hold the crown molding in place to nail or to provide extra security for using thinner nails.
- Use material-specific glue when the installation does not allow for nails.
- Use nails without glue if the install may be a temporary solution to determine if the look is desired.
Crown molding (also known as molding) provides aesthetic polish to ceiling and wall connections. It has evolved from a practical separation and irregularity cover to an artful room refinement technique. Explore with us the glue and nail crown molding securing options.

Crown molding installation methods
While nail or glue may be utilized independently for crown molding installation, some crown molding situations are conducive to an adhesive-nail combination. The use of both provides combined strength while reducing nail holes. The nails in the combination method will hold the adhesive in place for a smooth drying process. Conversely, glue in a combination method will hold the crown molding in place while you complete the nailing process.

If a crown molding piece is not long enough to reach corner to corner, use angled overlapping scarf joints to connect section pieces. Apply wood glue at the edge of the first installed piece, then nail, glue, or use both methods to secure the new piece. Press tightly to secure.
To fill seams and nail holes, use caulk or a wood-appropriate putty or filler. Try latex caulk or wood putty for crown molding that will be painted. Use a matching or stainable wood filler when the installation leaves the wood exposed. Drywall mud is an option but may not be as flexible and expandable as some other options.
Leave fillers one day and check for any shrinkage. Use additional fill for any shrinkage areas. Let all adhesive and fill dry thoroughly before painting or staining the crown molding.
Check out DAP Latex Caulk at Amazon.
Check out the Edward Tools Drip Free Caulk Gun at Amazon.
What Nails Do You Use For Crown Molding?
Nails are measured in gauges; the higher the gauge, the thinner the nail. Crown molding nails are typically 16, 18, or 23 gauge, depending on the use. A 2-inch nail length provides a good fastening option for most crown molding projects. You may want to use a 1-inch brad for corners.
A nail gun (nailer) will speed up the installation process. Nailers come in pneumatic (compressor powered) or cordless (fuel cell with battery) versions. For cordless versions, be sure the nailer comes with the battery, that you have a compatible battery, or that you order the correct battery and charger.
A brad nailer (18 gauge) leaves a smaller hole and is good for most crown molding installations.
Check out the Porter-Cable Cordless Brad Nailer Kit on Amazon.
A pin nailer (23 gauge) leaves an even smaller hole. Pin nail installations may require the use of adhesive to ensure a secure connection.
Check out the Makita Cordless Pin Nailer from Amazon.
If you want to complete as much project as possible with one nailer, a finishing nailer (16 gauge) is a good choice for crown molding.
Check out the Makita 16-Gauge Finish Nailer Kit at Amazon.
Do You Have To Nail Crown Molding Into Studs?
While most home projects require nailing to the studs, backing strips provide an easy solution for crown molding installation. Nail strips of wood at the studs, then nail the crown molding directly to the backing strips. The backing strips speed up the actual crown molding attachment process since you are not required to find the studs for each crown molding nail. Backing strips also allow you to use shorter nails while ensuring a good connection.
Check out the Tavool Electronic Stud Sensor at Amazon.
Safety For DIY Installations
Safety is important for any home repair or improvement project. Nail guns increase both productivity and the need for safety awareness.
The Centers for Disease Control and Prevention (CDC) advises that contact (bump, automatic) trigger nail guns have twice as high an injury risk as full sequential (single shot) trigger nail guns. The most common nail gun injuries are hand and finger puncture wounds; however, nail guns may cause serious injuries and death. The CDC recommends the use of personal protective equipment (PPE).
You may purchase PPE items individually; however, safety equipment kits come with everything you need for your crown molding project.
Check out this Safety Sacks All-in-One Safety Kit at Amazon.
Can You Use Liquid Nails For Crown Molding?
Verify your liquid nails formula is suited to your crown molding and surface material. Liquid Nails has several multi-surface formulations that may provide what you need for your crown molding project.
Load Liquid Nails into a caulk gun. Place molding face down on a flat surface. Apply Liquid Nails in a zigzag pattern. Let set for a minute to increase adhesion—press molding to surface. Let dry.
To reduce the number of nails needed and provide a bond twice as strong as nails only, consider Liquid Nails FuzeIt. You will not want to use Liquid Nails FuzeIt on polyethylene or polypropylene.
Check out Liquid Nails FuzeIt All Surface Construction Adhesive at Amazon.
For a crown molding formula that does not require bracing during the drying process, try Liquid Nails Ultra Quick Grip construction formula. It works well for vertical installation projects on most surfaces.
Check out Liquid Nails Ultra Quick Grip Construction Adhesive at Amazon.
What Is The Best Glue For Holding Crown Molding?
Use lightly-applied glue to avoid overflow when pieces are secured. Latex gloves will help keep hands free of adhesive and molding free of fingerprints. Glue provides a reduced or eliminated need for nails or other fasteners for crown molding projects. Glue speeds installation and provides tight smooth seams. The type of glue utilized depends on the project setting and materials.
Wood glue is especially helpful if you want to glue crown molding edges to one another, have some flexibility in the connections during installation, and bond while nailing to the wall. As a bonus, wood glue will accept stain if the crown molding project will be stained.
Check out Titebond Molding and Trim Glue at Amazon.
Loctite Power Grab Molding and Paneling Instant Grab Adhesive holds crown molding to the wall while you nail it in place. This is especially relevant if you are using one of the micro pinner nailers.

Check out Loctite Power Grab Construction Adhesive at Amazon.
A miter clamp with clips will hold your mitered corners in place while the glue dries.
Check out the Collins Miter Pliers and Clamps at Amazon.
Summary
Crown molding greatly improves a home’s wall-to-ceiling transition. A home’s ceiling trim project involves fastening the molding to the walls, the ceiling, and any cabinetry with glue or nails. The best securing medium varies depending on the wall type, crown molding material, and overall project setting. Whether you select glue or nails, ensure all sides are securely connected to the wall and other pieces of crown molding.
You may also enjoy these crown molding posts:


