
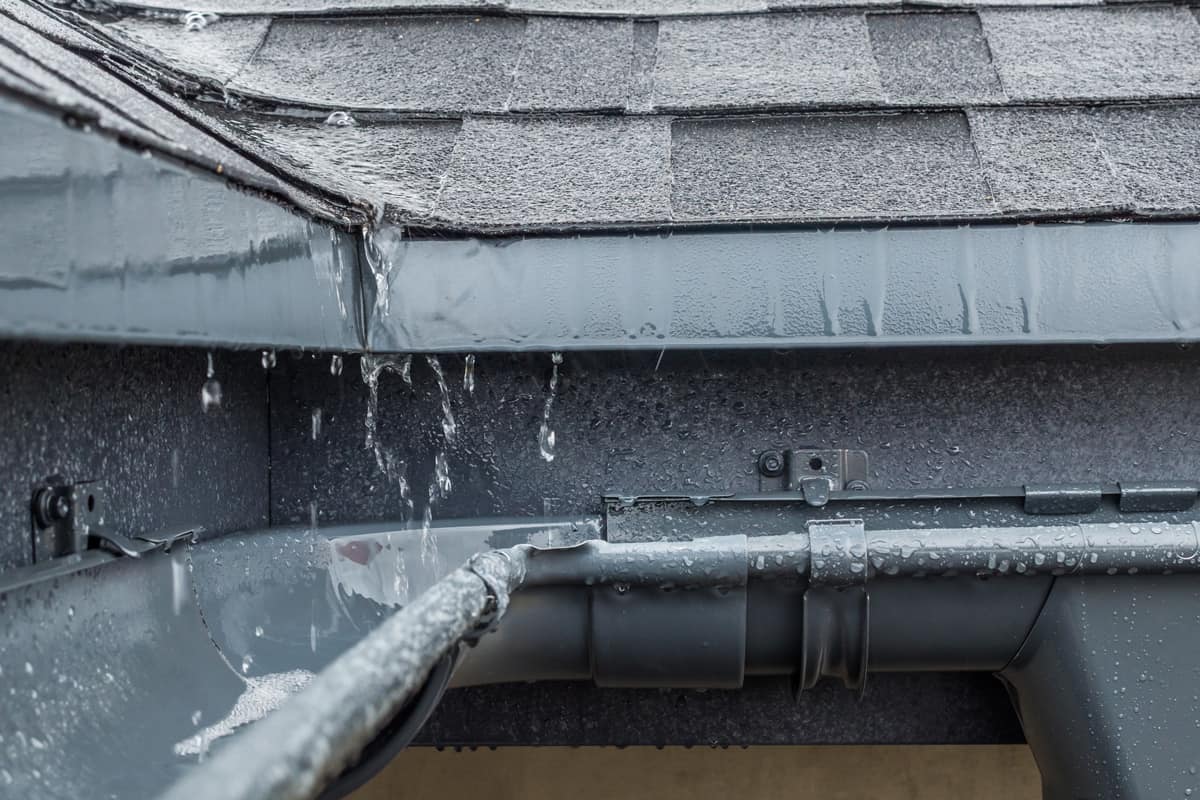
Gaps between your home’s gutter and roof may cause other problems, including leaks when it’s raining. Now, you’re wondering about the steps to fix this issue. We got curious, too! So we researched it for your convenience, and here’s what we found.
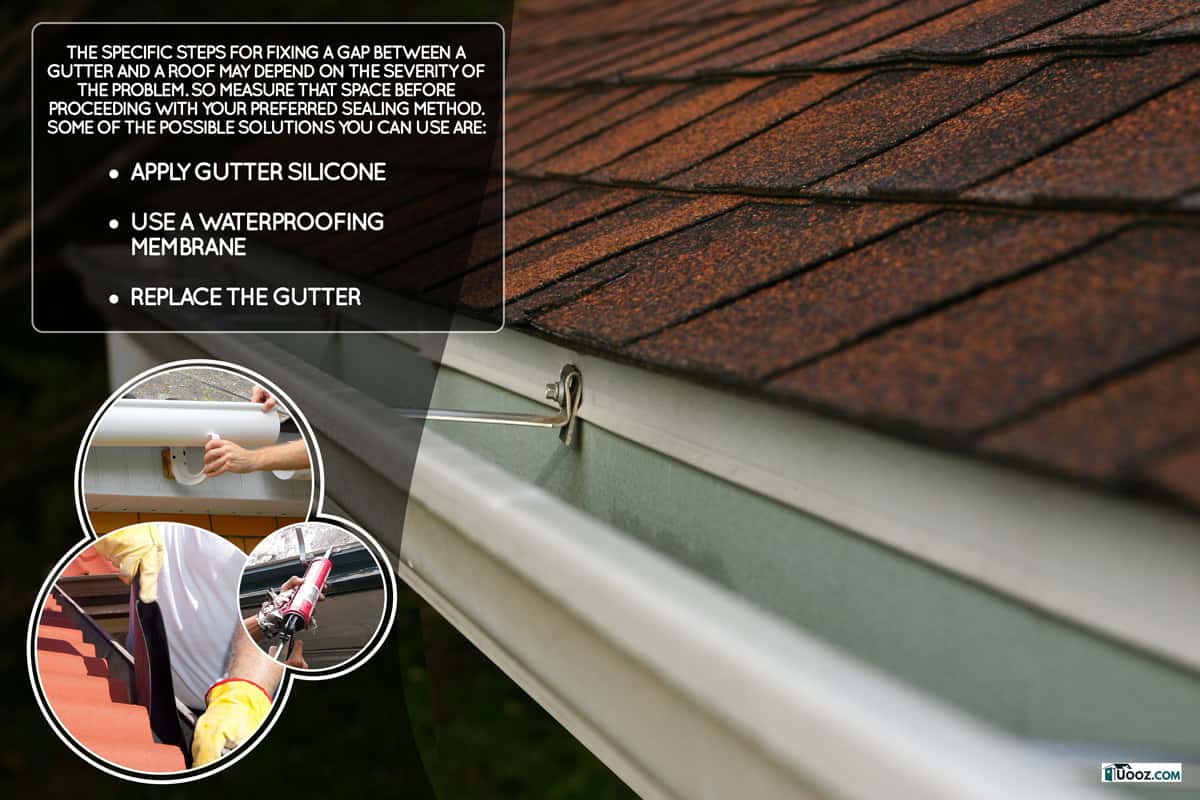
The specific steps for fixing a gap between a gutter and a roof may depend on the severity of the problem. So measure that space before proceeding with your preferred sealing method. Some of the possible solutions you can use are:
- Apply gutter silicone
- Use a waterproofing membrane
- Replace the gutter
You should learn as much as you can about improving the seal on your gutter and roof. So continue reading as we discuss these possible solutions in greater detail.
How To Stay Safe While Working On A Gutter Or Roof

Make sure to practice proper safety procedures when working with gutters or roofs. Failure to follow safety guidelines may lead to high risks of accidents and injuries.
Some of the preventive measures that you should pay attention to are:
- Wear a harness. This accessory may help prevent falls from stepladders, which may happen if you’re working on this project alone.
- Keep your work area tidy. Don’t leave things like gutter parts scattered across the job site.
- Don’t work in the rain. The wet season isn’t ideal for working on gutters or roofs, as you might slip and fall from a high place.
- Install a net. This can catch you if you slip on the roof or the stepladder.
Techniques To Fix Gaps Between The Gutter And Roof
Method #1: Apply Gutter Silicone
Gutter silicone sealant can be an excellent choice for sealing the gap between metal and vinyl gutters. Certain options on the market also have quick-drying properties, allowing them to create proper seals in about 30 minutes after the application.
Take note that gutter silicone sealant is usually a good option to repair reasonably small gutter and roof gaps. If you’re dealing with these small spaces, continue reading to learn the general steps to help you in applying this product correctly:
What You’ll Need
- Caulk gun
- Gutter silicone sealant
- Stepladder
- Cloth or rag
Step-By-Step Guide
- Remove the cap or lid of the gutter silicone sealant.
- Load the sealant into the caulk gun.
- Climb the stepladder and apply the sealant to the small gap between the gutter and the roof.
- Wipe the excess product with a clean cloth or rag.
- Allow the gutter sealant to dry and cure for about 24 hours.
- Apply additional sealant to the sealed location if necessary.

Check out this gutter sealant on Amazon.
Note: Read your gutter silicone sealant’s instructions before applying it. Certain silicone sealants may have different application guidelines than others.
Watch the short clip below if you need a visual guide for the steps mentioned above:
Method #2: Use A Waterproofing Membrane
A waterproofing membrane is another product to help seal the space between the gutter and roof. Generally made with ethylene propylene diene terpolymer (EPDM) rubber, this substance can help protect the gutter and roof assembly against leaks.
That material also generally has high fire resistance and a reasonably long lifespan of about 20 years. But be wary, as it may shrink as it reaches the end of its serviceable life.
Here are the steps to use a waterproofing membrane to help seal gutters and roofs:
What You’ll Need
- Gloves
- Stepladder
- Portable vacuum cleaner
- Power washer
- Surface primer
- Paint roller
- Waterproofing membrane
Step-By-Step Guide
- Climb a stepladder to reach the offending space between the gutter and the roof.
- Clean the gutter by removing debris from it with your hands.
- Suck up loose debris in the gutter with a portable vacuum cleaner.
- Use a power washer on the gutter to remove leftover gunk.
- Allow the gutter to dry before proceeding to the next step.
- Apply surface primer to the gutter with a paint roller.
- Measure the gutter lining while making sure to include the space between it and the roof.
- Apply or install the waterproofing membrane onto the gutter according to the manufacturer’s instructions.
Warning: Don’t cover the drainage holes in the gutter. Otherwise, the waterproofing membrane can reroute water from the drain pipe and cause leaks.
Take note that waterproofing membranes come in either liquid or solid forms. Make sure to read the manufacturer’s guidelines before using the membrane you bought to ensure a proper application.

Check out this product on Amazon.
Watch the video below for a visual representation of this procedure:
Perhaps you also noticed that rain goes beyond the gutter and doesn’t enter the nearby drainage system. If so, you can read our post on how to stop rain from overshooting the gutter to learn the appropriate steps in dealing with this problem.
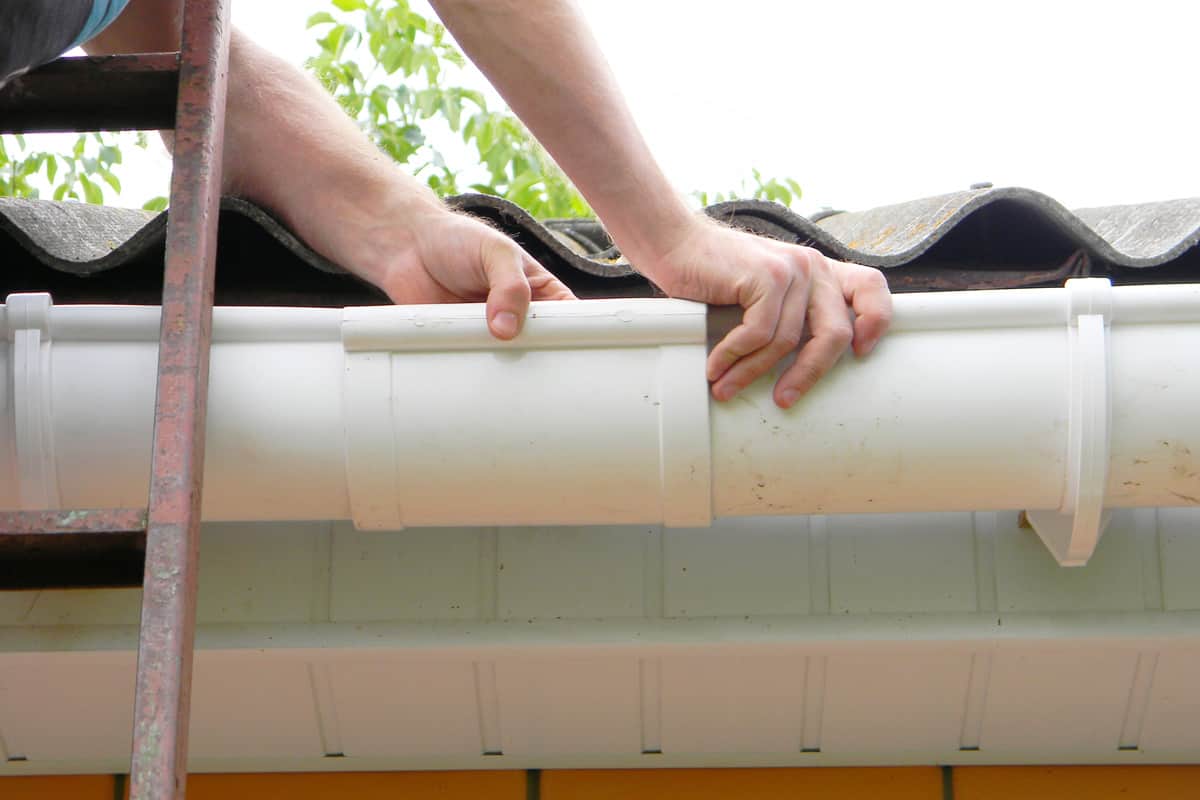
Method #3: Replace The Gutter
Improper installation can be a prime suspect for the gap that appeared between the gutter and the roof. If so, you may need to replace the gutter to seal that space.
Bear in mind that this operation is quite laborious and time consuming. You may leave this task to industry professionals for a fee.
Nonetheless, here are the DIY steps for this procedure to give you an insight into how to complete it:
What You’ll Need
- Hammer
- Pry bar
- Screwdriver
- Drill and drill bit set
- Self-piercing gutter screws
- Gutter installation kit
Step-By-Step Guide
Step #1: Remove The Offending Gutter
Inspect your house’s gutter assembly to check if you need to remove fasteners, such as nails, rivets, or screws. Unscrew the screws with a screwdriver. Use the claw of a hammer or a pry bar to remove nails. But use a drill with an appropriately sized drill bit to remove rivets.
After removing the fasteners, remove the downspouts connected to the gutter. If not, the downspouts may create additional weight to the gutter as you’re removing it. Pull out the gutter afterward.
Tip: You should have an assistant to help with transporting the removed gutter. Otherwise, you may find it challenging to carry the removed gutter from its original installation location to a temporary storage area.
Step #2: Assemble The Gutter
Assemble the new gutter while you’re at ground level (or on a reasonably flat and safe surface). Make sure to follow the manufacturer’s instructions to complete the setup. If the instructions aren’t available, you can ask a customer service representative from the company that made the product for assistance.
Moving forward, secure the connected pieces of the gutter by drilling the self-piercing gutter screws into strategic locations. Then, apply waterproof silicone caulk over the screws to seal them.
Tip: Use tin snips to cut long gutters to size. But make sure to measure the required length for certain pieces before cutting them.
Step #3: Attach The Gutter
Install the gutter to the roof. At this point, you can check for gaps between the assembly and the roof. That way, you won’t have to deal with unwanted spaces after completing this replacement operation.
Also, ensure that the gutter’s fasteners are secure under the roof’s lower trim. You may want to tug the gutter slightly to check the installation’s integrity.
After attaching one piece of the gutter assembly, repeat the same installation steps for the other parts of the setup. You might also want to install gutter guards to help prevent debris buildup in your gutters.
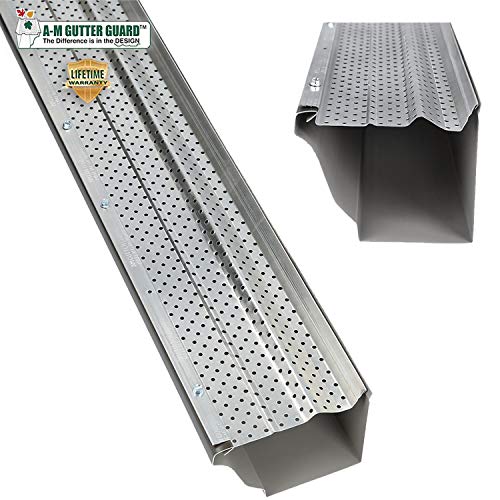
Check out these gutter guards on Amazon.
You can also watch this video to see these steps in action:
You may also need to cut the gutters to form it to form a proper seal with the roof. Read our post on how to cut vinyl gutters to learn the steps for this particular procedure.
Why Is There A Gap Between Gutter And Roof?
Identifying the possible reasons why a gap can form between the gutter and roof may help you in preventing this problem from reoccurring. Some of the potential causes of this unwanted space are:
- Improper gutter installation
- Poorly installed roof shingles
- Warping from inclement weather
- Pests
How Much Does It Cost To Replace Gutters Around House?
Gutter replacement using expert services generally costs about $2.80 to $25 per linear foot. However, the overall expenses may also differ based on certain factors, including the gutter’s material. For instance, replacing copper gutters may require you to spend approximately $22 per linear foot.
Other elements that may affect the price of replacing gutters are:
- Local professional labor charges
- Removal and/or replacement of gutter accessories
- Difficulty of the job
- Size of the house
Final Thoughts
Remember, you can take advantage of different methods to help you fix gaps between your home’s gutter and roof. Make sure to assess the difficulty of the job before attempting to fix it. That way, you can save valuable time, effort, and perhaps even money in completing this operation.