
Gaps around an electrical socket are both a safety hazard and an eyesore. But how should you fill it? There are several ways to fix gaps around electrical sockets that we have found in our research. To learn more about this, keep on reading!
You can fill gaps around electrical sockets with either caulk, expanding foam, silicone, or by repairing the surrounding wall.
You can even use everyday materials such as recycled styrofoam. Each solution has a different method of application.
The type of filling you use and how you use it depends on the size of the gap and the wall material. In this article, we will show you how to fill gaps around electrical sockets with each filling. Read on!
What Do You Use To Seal Outlets?
As we mentioned, you can use caulk, expanding foam, or silicone to repair gaps around electric outlets. There are other types of filling, but these are the most popular. In some cases, like in drywall, it may be better to replace or repair the wall to fill the gap.
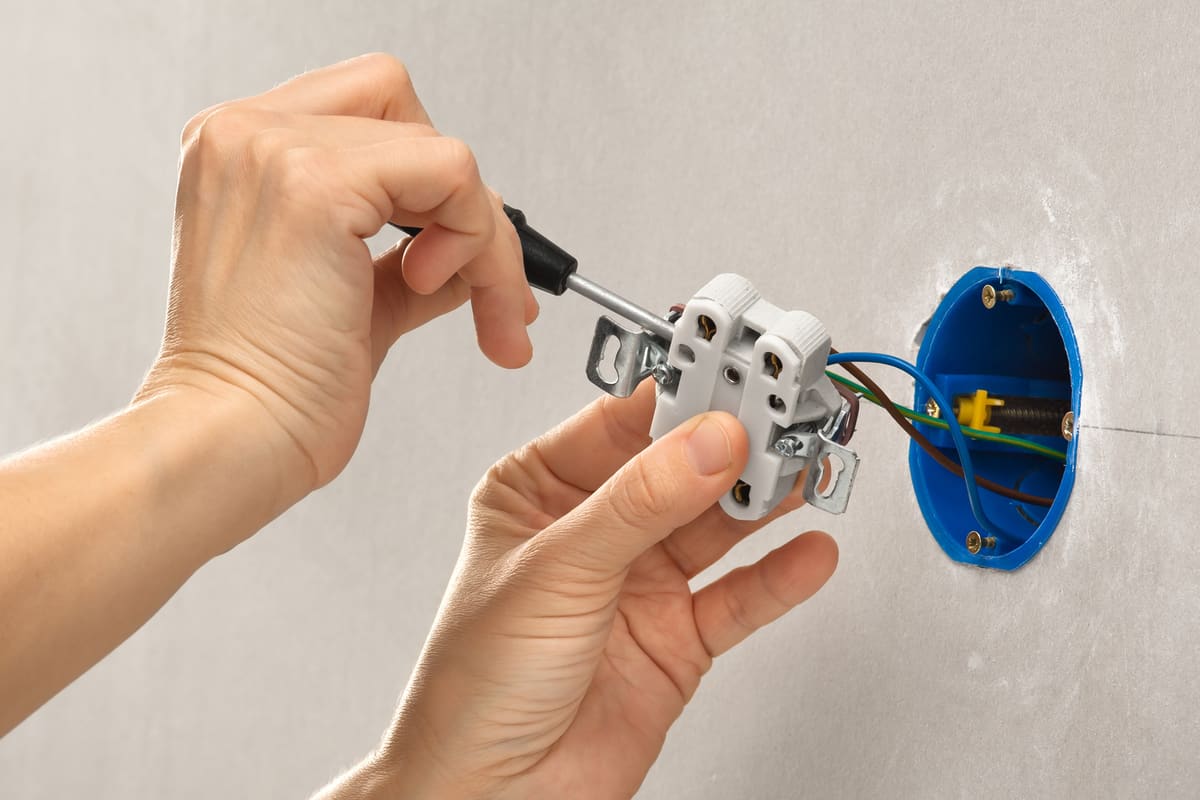
Ideally, you should not have any gaps around electrical sockets. Gaps happen when the socket is not flush with the wall or if there is damage to the wall. This can also cause or lead to gaps behind wall plates.
Before going to seal your electrical socket, inspect the size of the gap. You can easily fix gaps smaller than 1/4 inch with caulking, but larger gaps need foam sealants or more complicated fixes.
Also, check to see the cause behind the gap. Perhaps the electrical box does not properly fit, leading to alignment issues. If you do not check this first before filling it, you could risk the gap coming back. Another cause is simply overcut drywall.
When filling gaps around your electrical socket, prepare your materials beforehand. This usually includes measuring equipment, your filling of choice, tools for cutting, sanding, and application, as well as safety equipment like gloves and goggles.
How To Use Caulk Around Electrical Sockets
Caulk is a good method for filling gaps between the electric plate and the wall. This means that the socket is jutting out of the wall a little further than it should be, leaving an unwanted gap.
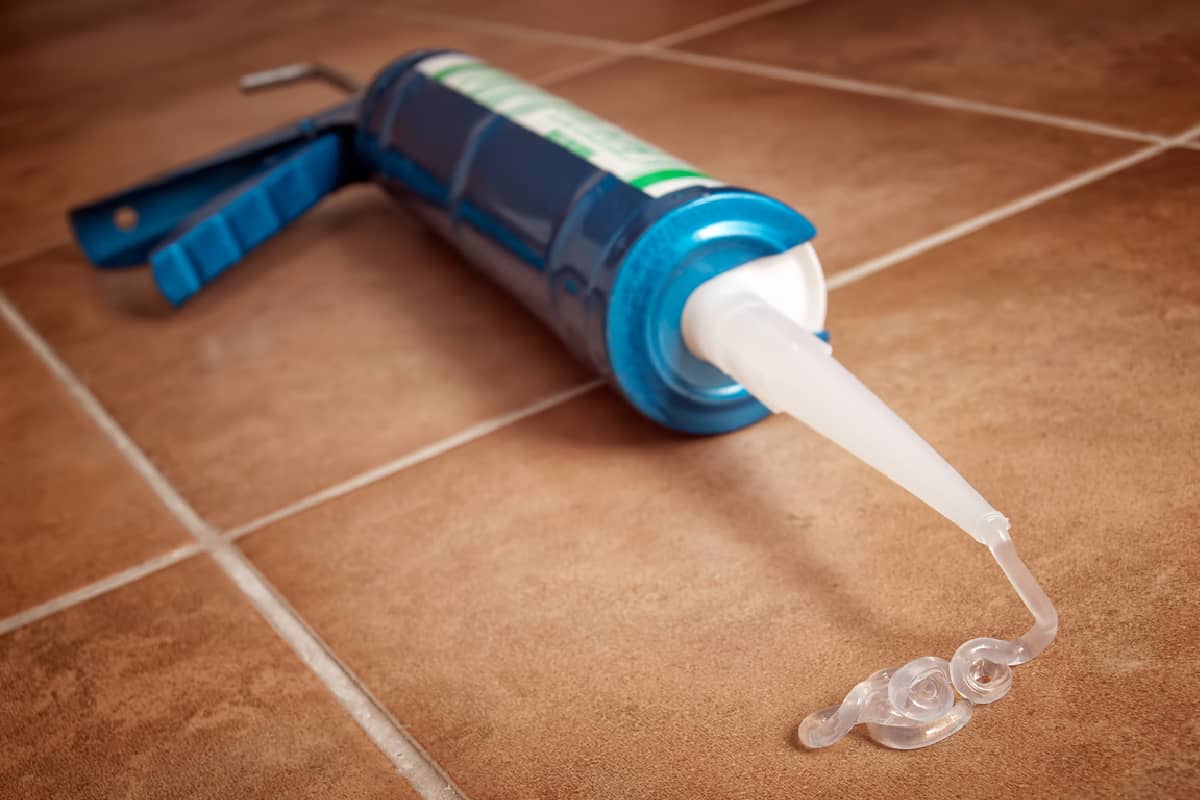
Caulking is a minimal fix or finishing for gaps around electrical sockets. Because of this, you cannot use caulk around gaps that are too large. Most caulking is done straight from the tube.
Make sure to test out the caulk on another surface before filling your gap. This is to make sure you will get a steady and even flow. You can do this on a piece of scrap material, like wood, cloth, or paper.
Once you have your caulk working smoothly, here are the steps to filling in gaps around electrical sockets:
- Point the open caulk nozzle at a corner starting point between the gap
- Gently squeeze to let out the caulk and carefully drag the product
- Fill out all the gaps
- You can also smooth out the caulking with your finger to get a level edge
- Leave the caulk to completely cure for 24 hours.
Caulk is mostly silicone-based, so it is waterproof once cured. However, this gives it an expiration date. Ensure that the caulk is still good for use because expired caulk will not cure or dry properly.
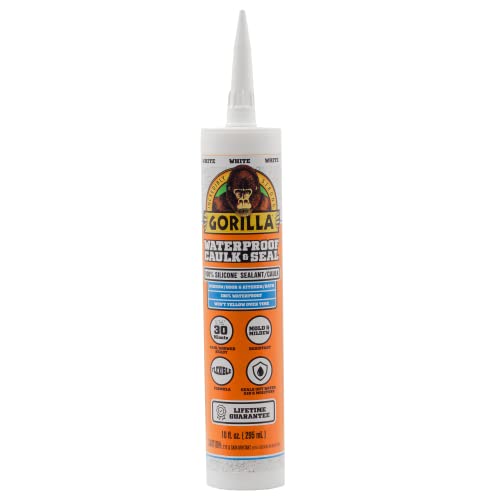
Click here to see Gorilla Waterproof Caulk Sealant on Amazon.
How To Use Expanding Foam Around Electrical Sockets
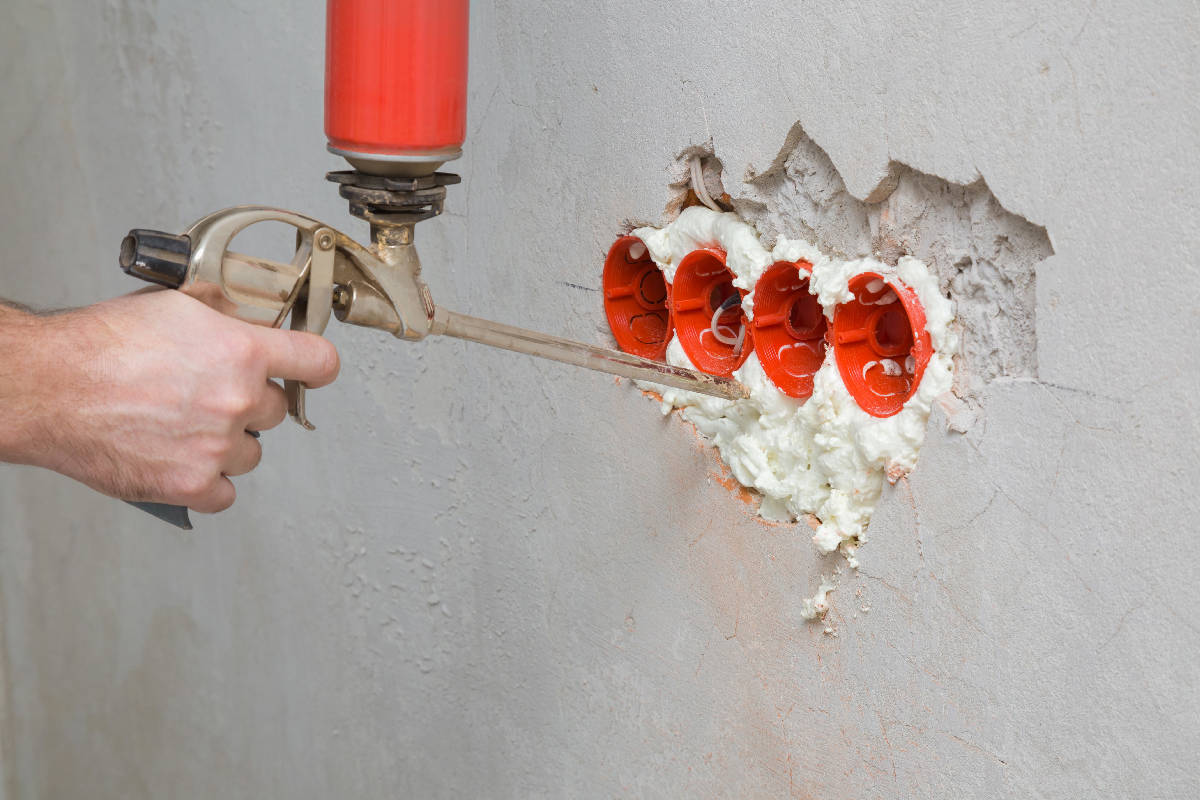
Expanding foam is a great way to either fill the back of a too-loose electrical box or to fill around a gap in an electrical socket. You can use this option if gaps around a socket are larger than 1/4 inch or the socket is lopsided in the hole.
Aside from making repairs and closing gaps, expanding foam spray also works as a way of insulation. It usually comes in a spray bottle that directly dispenses the product.
When working with spray foam, you must follow the instructions that come with the product. In general, though, expanding foam is used the same way. Here are the steps to using spray foam:
- Clean the area you will be spraying. Dirt and debris will affect how well it adheres.
- Shake the spray bottle as indicated [usually 60 seconds]
- Attach the dispenser nozzle and point into the gap
- Dispense the foam by pulling the trigger and drag along to fill
- Smooth out the edges using a rag with foam solvent
Expanding foam can take up to 15 minutes to cure depending on the instructions. Once it is fully hardened, you can clean it up by cutting any excess edges. You can also clean up using foam solvent.
Remember that spray foam will expand around 30 to 60 times its size, so be careful when applying it. You do not want it to come into contact with anything it shouldn't, such as a wire.
You will likely need to clean it up after it dries due to the extreme change in size.

Click here to see Locktite Insulating Foam on Amazon.
Can You Use Silicone To Seal Electrical Connections?
Silicone is ideal for sealing electrical connections since it is an insulator. However, you may find silicone formulated to be conductive to electricity. In the case of filling gaps in electrical sockets, you want the former.
Both caulk and spray foam have properties of silicone in them. Silicone is a type of inorganic synthetic polymer, a major component in caulk, as we mentioned before. However, caulk can also be made up of acrylic and latex. All three are insulating materials.
Meanwhile, spray foam is a combination of polyurethane and isocyanate. Polyurethane is a plastic material, so like silicone, this makes it a good insulator.
Using insulators to fill up the gaps around electrical sockets is the best way to prevent future accidents. You could probably also use household or recycled products such as polystyrene [styrofoam] boards; however, these will not look very nice and are not the most secure.
Cardboard can also be a short-term fix, however, note that it is flammable. Using options such as cardboard or polystyrene is alright for temporary fixes but is never the best idea in the long run.
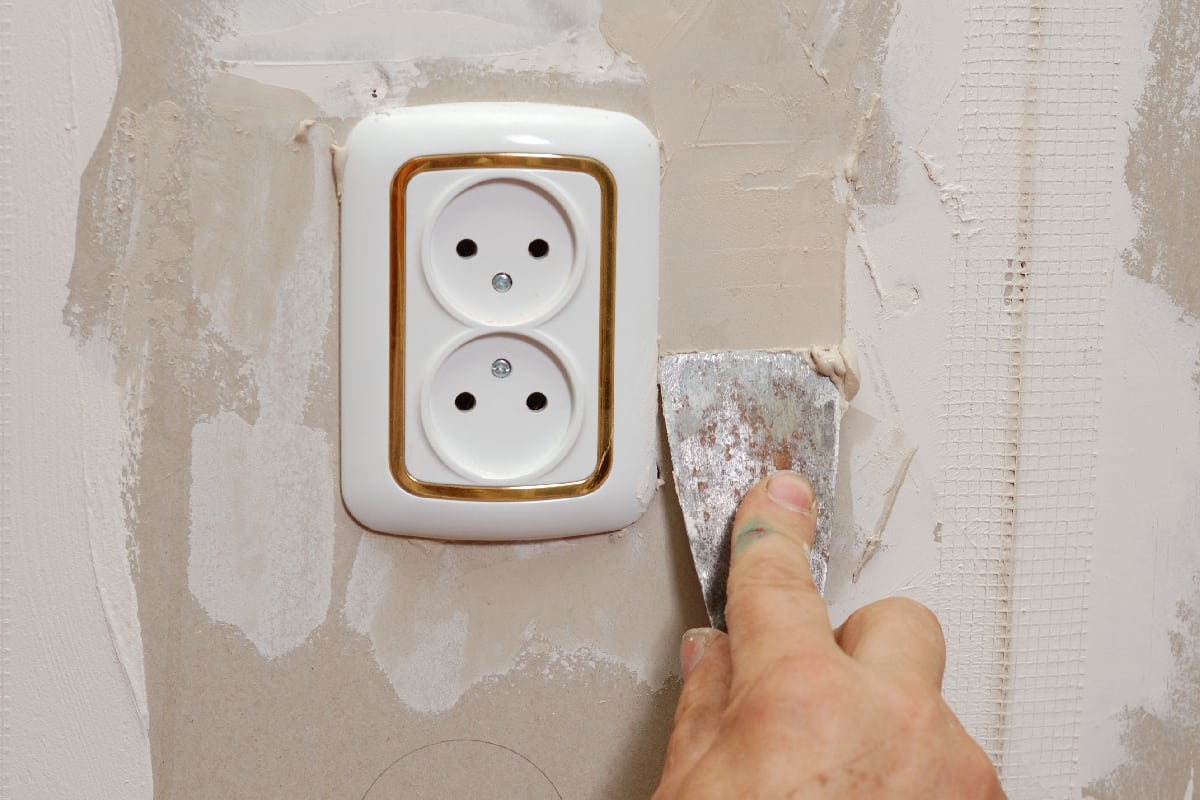
How To Fix Drywall Around Outlet
Both the caulking and spray foam methods of filling can work on most wall types, including drywall. However, at times it may be better for you to replace the drywall panel around your electrical outlet instead.
This is usually the case for bad damages or an oversized electrical box cutout.
First, prepare all the needed materials. Aside from the drywall replacement, you will also need a screwdriver, a repair clip, mesh tapes, measuring tools, and a piece of plywood.
You can also prepare safety equipment if you wish. Use whatever tools will make the job more efficient for you.
Fixing An Overcut Hole
Here are the steps to fixing drywall that is overcut and leaves a gap around your electrical socket.
- Turn off the power source of the outlet
- Safely remove the electrical outlet cover
- Assess any damage
- Measure a template for the electrical box outlet
- Screw the repair clip to the piece of plywood into the damaged area
- Replace the electrical socket with a well-fitting one if the original is damaged
- Plaster the wall
Use joint compound when plastering around the electrical outlet. This will create an even surface. You can add as many layers as you need once each layer is cured. Sand, prime, and paint according to your needs.
Repairing Torn Drywall
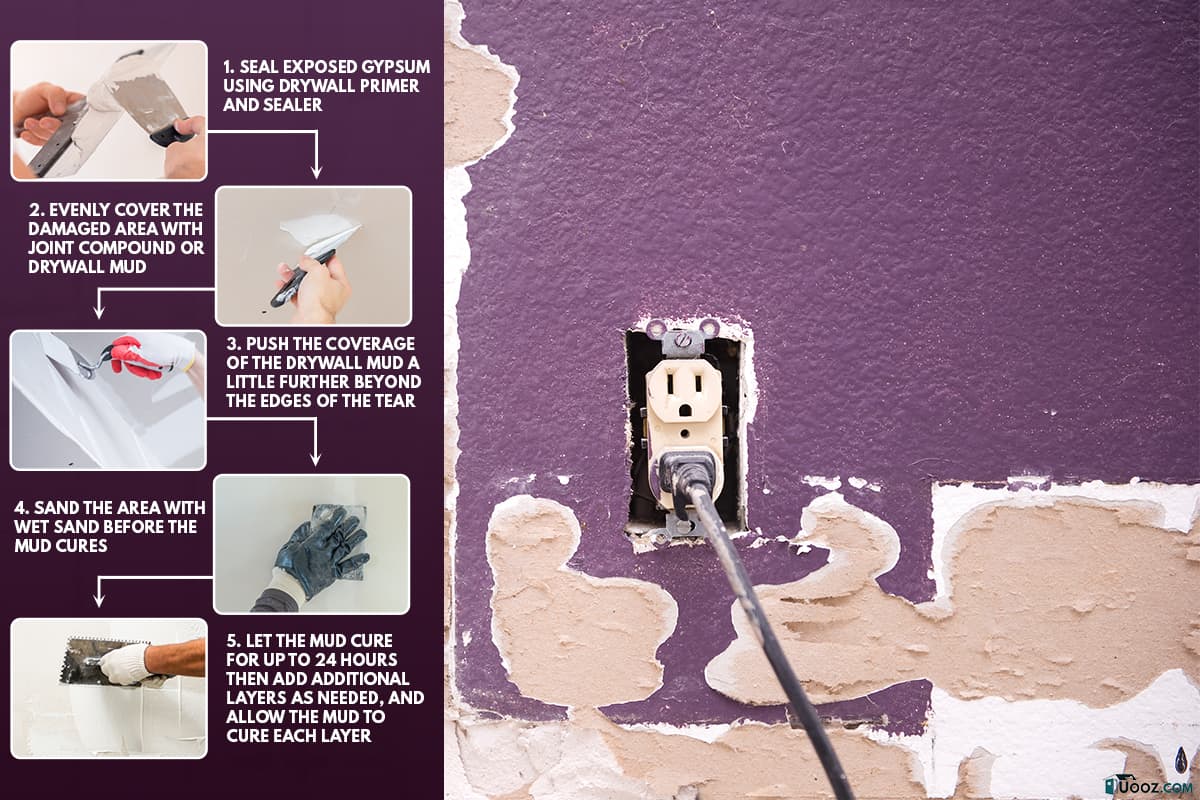
Gaps can also appear due to more surface-level damage. In this case, the torn drywall around your outlet may seem like torn-off paper. Here are the steps to dealing with this.
- Seal exposed gypsum using drywall primer and sealer
- Evenly cover the damaged area with joint compound or drywall mud
- Push the coverage of the drywall mud a little further beyond the edges of the tear
- Sand the area with wet sand before the mud cures
- Let the mud cure for up to 24 hours
- Add additional layers as needed, and allow the mud to cure each layer
You can sand, prime, and paint over the final layer of mud as desired to match the rest of the wall.
Wrapping Things Up
Fill the gaps around electrical sockets using malleable insulators. The most popular methods are caulk and expanding spray foam. You can use other silicone-based fillers as well. In a pinch, pieces of polystyrene can work as a temporary fix.
You can replace or repair the drywall boards in cases of gaps from damaged drywall. Remember to prioritize your safety when doing repairs. Contact a professional to help you out if the task is too difficult to do on your own.
Did you find this post helpful? If you did, check out our other articles!
What Can I Use Instead Of A Caulking Gun? [4 Alternatives Explored]