
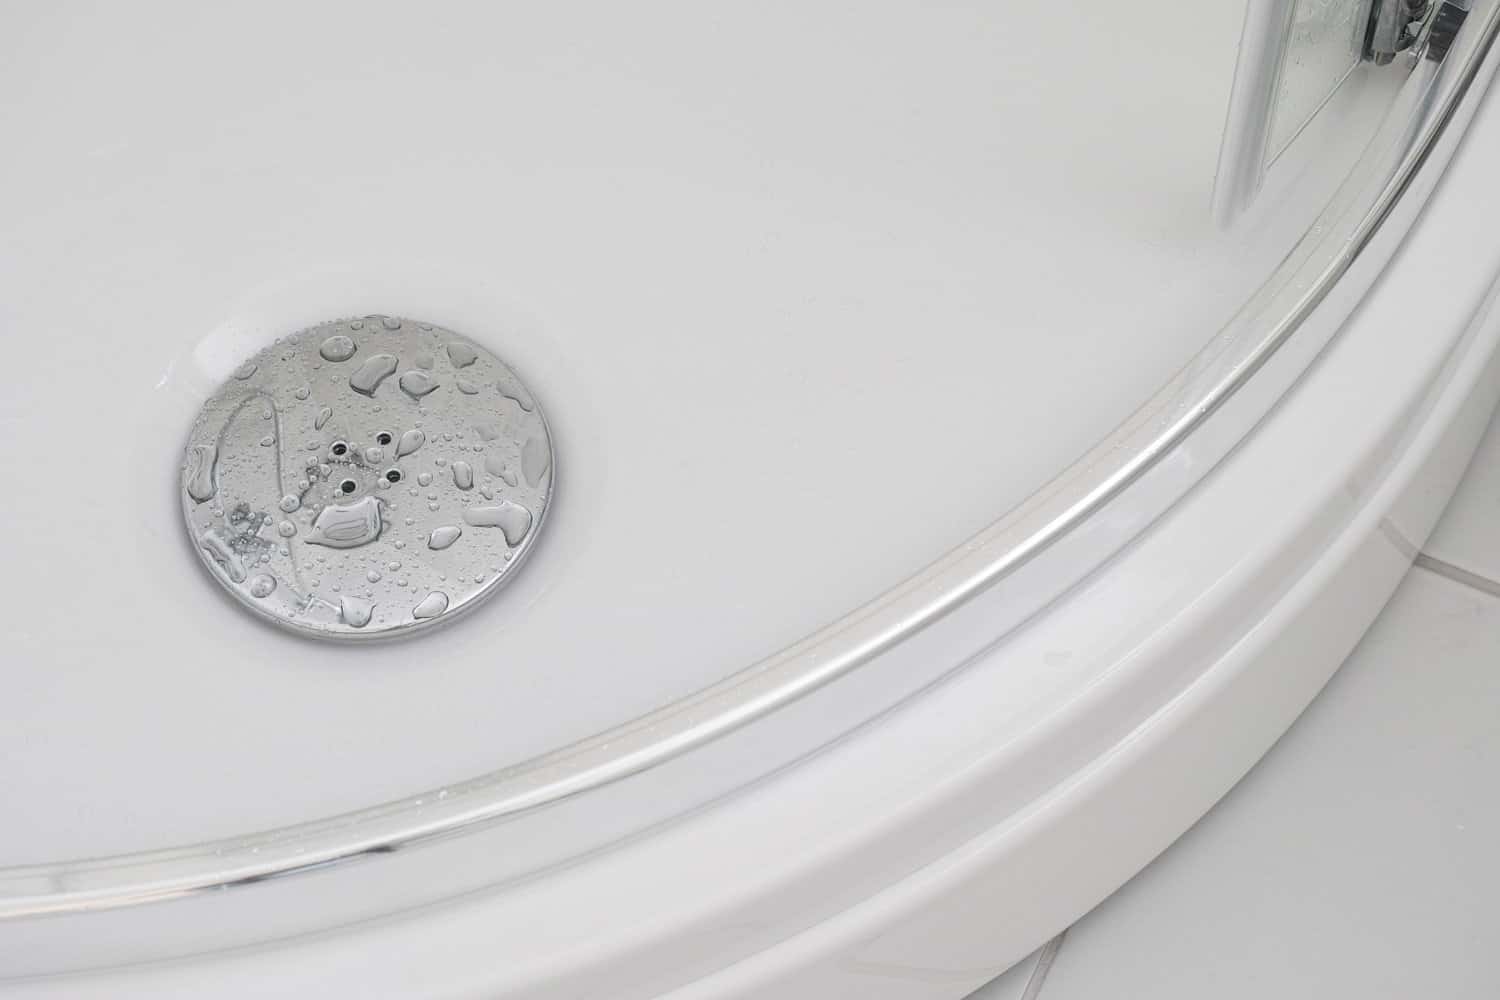
So you've found a large gap between your shower tray and the tiles. That's too bad. However, there's no need to fret, for we're here to provide you with everything you need to know. We've created this article to help you with that dilemma, backed by hours of intensive research.
To fill in the large gap between your shower tray and the tiles, you'll need a trusted sealing product, such as a waterproof caulk, to seal the gap.
For very wide gaps, add a backer rod to the gaps first before applying the caulk to help control the amount of caulk you will be using.
Leaving a gap is necessary between a shower tray and the tiles is customary to leave space for movement between the two. However, there are some unfortunate cases where the gap is larger than the suggested length.
There are some reasons why this happens, so if you're ready to know more about them, keep on reading.

How Far Apart Should The Shower Tray and the Tiles Be?
The recommended gap between the shower tray and the tiles is approximately 3 to 5 millimeters away from each other. This length is enough for the tray to be watertight and to help ensure that the tiles won't crack over time if the tray expands.
If the gap is any larger than this, there'll be a tendency for dirt and debris to sneak in between, which are all challenging to clean up.
Furthermore, having the right amount of gap could save you from having leaks around your bathroom, saving you a few bucks on water bills.
How to Apply Caulk Between The Gaps
When you're ready to fix that problematic gap within your bathroom, it's time to get to work. Get these tools ready before you begin:
- Silicone caulk
- Caulk gun
- Painter's tape
- Pencil (optional, alternative to painter's tape)
Prepare your workspace for the application and follow the steps below.
- Before you begin, make sure the surfaces are clean and dry.
- Choose a silicone caulk that matches the color of your grout.
- Mark your caulking area with painter's tape to ensure the caulk will be applied evenly and won't be all over the place. You may line the area with a pencil if painter's tape isn't available.
- Puncture the foil covering the nozzle inside the caulk packaging.
- To fill in the gap, load your caulk gun with your chosen caulk product and make sure that the canister's tip is facing outwards.
- Pump the caulk gun's trigger until the product comes out. If you're unfamiliar with using a caulk gun, you may practice this step on paper to avoid making a mess along the tiles.
- Carefully apply the caulk along the gap by placing the canister at a 45-degree angle. If you're using silicone caulk, you can apply the right amount, as it won't shrink during curing.
- Before the caulk sets, run it down with a flat tool to push the product further into the gaps. Wipe off any excess caulk.
- Wait for the caulk to cure, referring to the instructions on the product packaging.
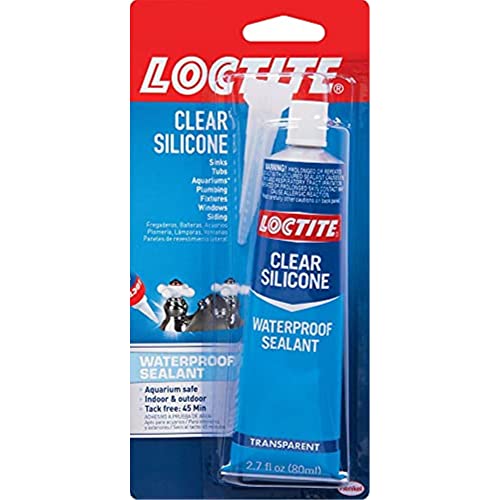
Check out this silicone caulk on Amazon to get you started.
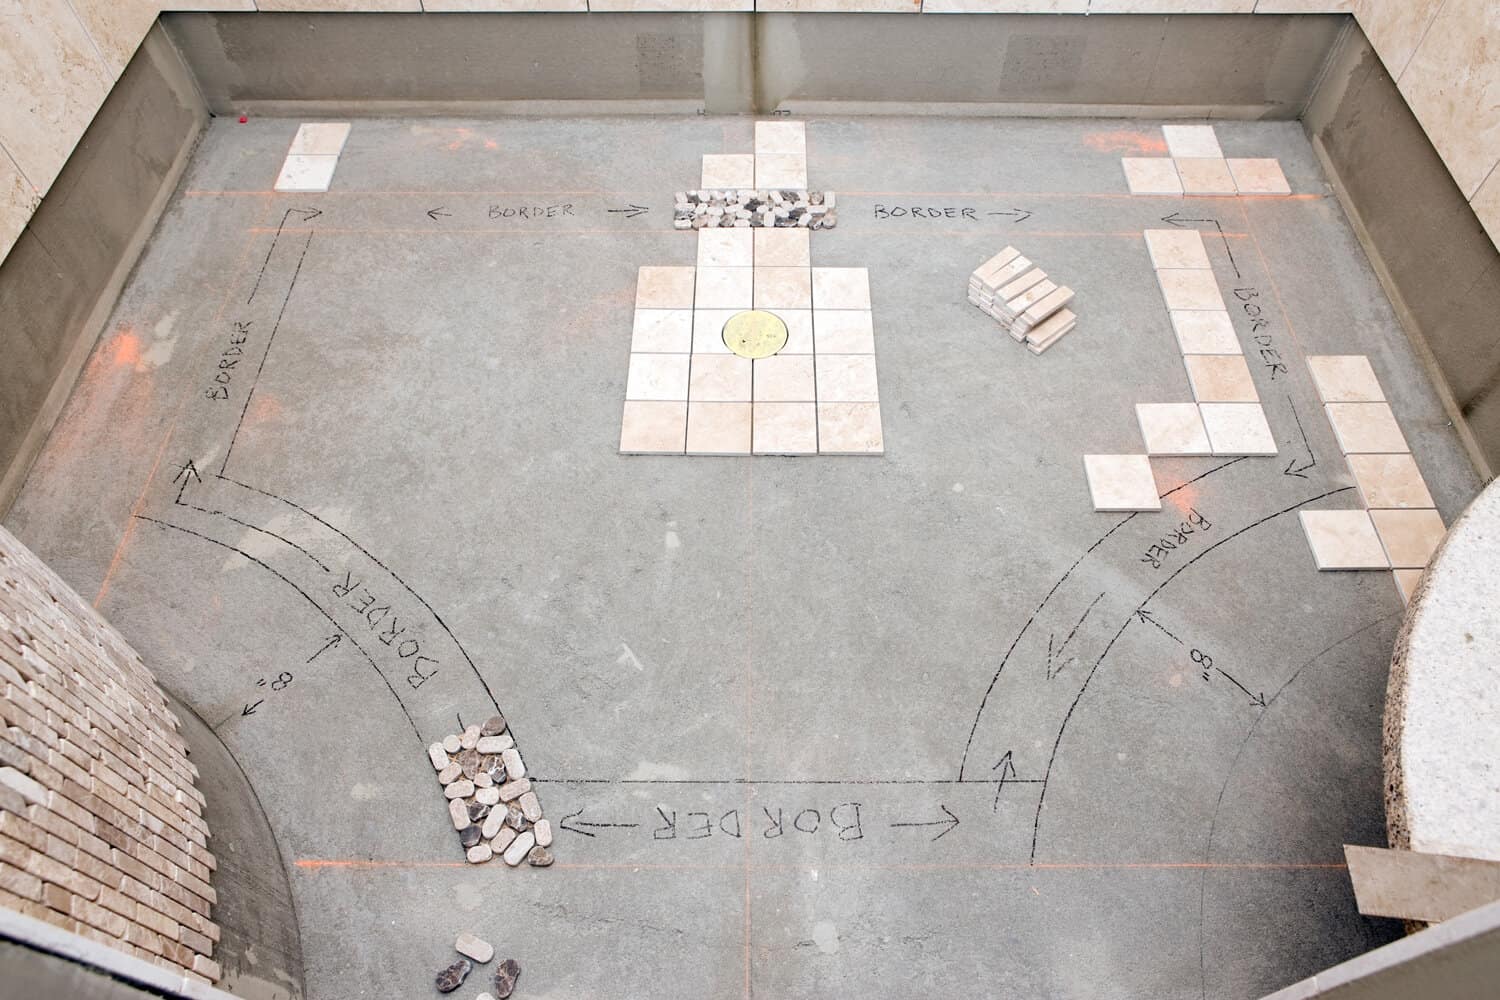
How To Properly Install A Shower Tray

Now, to ensure you won't have to go through all this trouble fixing large gaps, it's best to avoid it by installing the shower tray appropriately right from the get-go. Here are some quick ways for you to do so.
Aside from the shower tray, have these tools on hand to prep the process.
- 4-in-1 screwdriver
- Adjustable wrench
- Circular saw
- Corded drill
- Hole saw kit
- Jigsaw
- Knee pads and safety glasses
- Nut driver
- Pipe wrench
- Reciprocating saw
- Slip joint pliers
- Soldering torch
- Tape measure
- Trowel
- Tube cutter
- Utility knife
Once you have these all set up, you may begin the installation.
- Check if the bathroom floor is sturdy enough to support the tray. It's also best to replace existing plywood with marine plywood for better compatibility.
- Using your jigsaw, cut out an access hatch to give access to the waste.
- Measure and cut out a hole for the waste pipe.
- Apply your mortar mixture and lightly press on the shower tray on top of it, ensuring it's secured in place without breaking it.
- Connect the waste trap and the included outlet pipe.
- Seal off the edges using any compatible silicone sealant, such as caulk.
Does Water Get Under Shower Tiles?
Caulk that has dried out allows water to accumulate behind shower tiles. However, water may also leak through the shower wall if there are large gaps, missing tiles, or grout. The drywall may be damaged, the tile may fall, and mold may develop due to the water seeping behind the wall.
To prevent such instances, ensure that the gap between the shower tray and the tiles is ample. You may also do maintenance checks from time to time to check the quality of the grout.
How Can I Tell If There Is Water Under The Tiles?
Give your shower tiles a quick tap to see if they have been damaged in the bathroom. When you tap a tile, if it sounds hollow, it probably means that water has gotten underneath and the glue has failed. Watch out for minor movements as you tap the tile.
Water that has built up will also be too noticeable—you can easily spot a funky smell and growing mold when you hop into your shower due to water build-up.
You can refer to this YouTube video for ways to fix a shaky tile.
How big of a gap can I fill with caulk?
Caulk can fill gaps up to 1/4 inch wide with an amount just about the size of a bead. If the gap is larger than 1/4 inches, caulk it with an amount that extends further into the space inside but make sure it does not touch the surface.
Before you return to apply a surface bead, you should first wait for the caulk to cure fully.
Can Gap Fillers Be Sanded?
The answer is a no if you're using a liquid or silicone-based filler. The only types of gap filler that can be sanded are the powder-type fillers, which are popularly used for preparing walls, and isn't common to be used to fill in the shower tray and tile gaps.
How Often Should Grout Be Replaced?
Grout is not permanent, and a lifespan of 8 to 16 years is its normal turnaround time. Plus, the time it lasts will depend on how you care for your shower. You probably don't know the exact date your grout was put in.
You can tell that your grout needs to be replaced when there are signs of mold growth and a crumbly texture.
Should your tiles need a grout replacement, you may opt for epoxy grout because it is stain-resistant and easy to use.

Check out this epoxy grout on Amazon.
Some Final Thoughts
There are some unfortunate cases where there is a large gap between your shower tray and tiles, which is generally not a good telltale sign.
These unsightly gaps can contribute to water leaks in the bathroom, which can be costly.
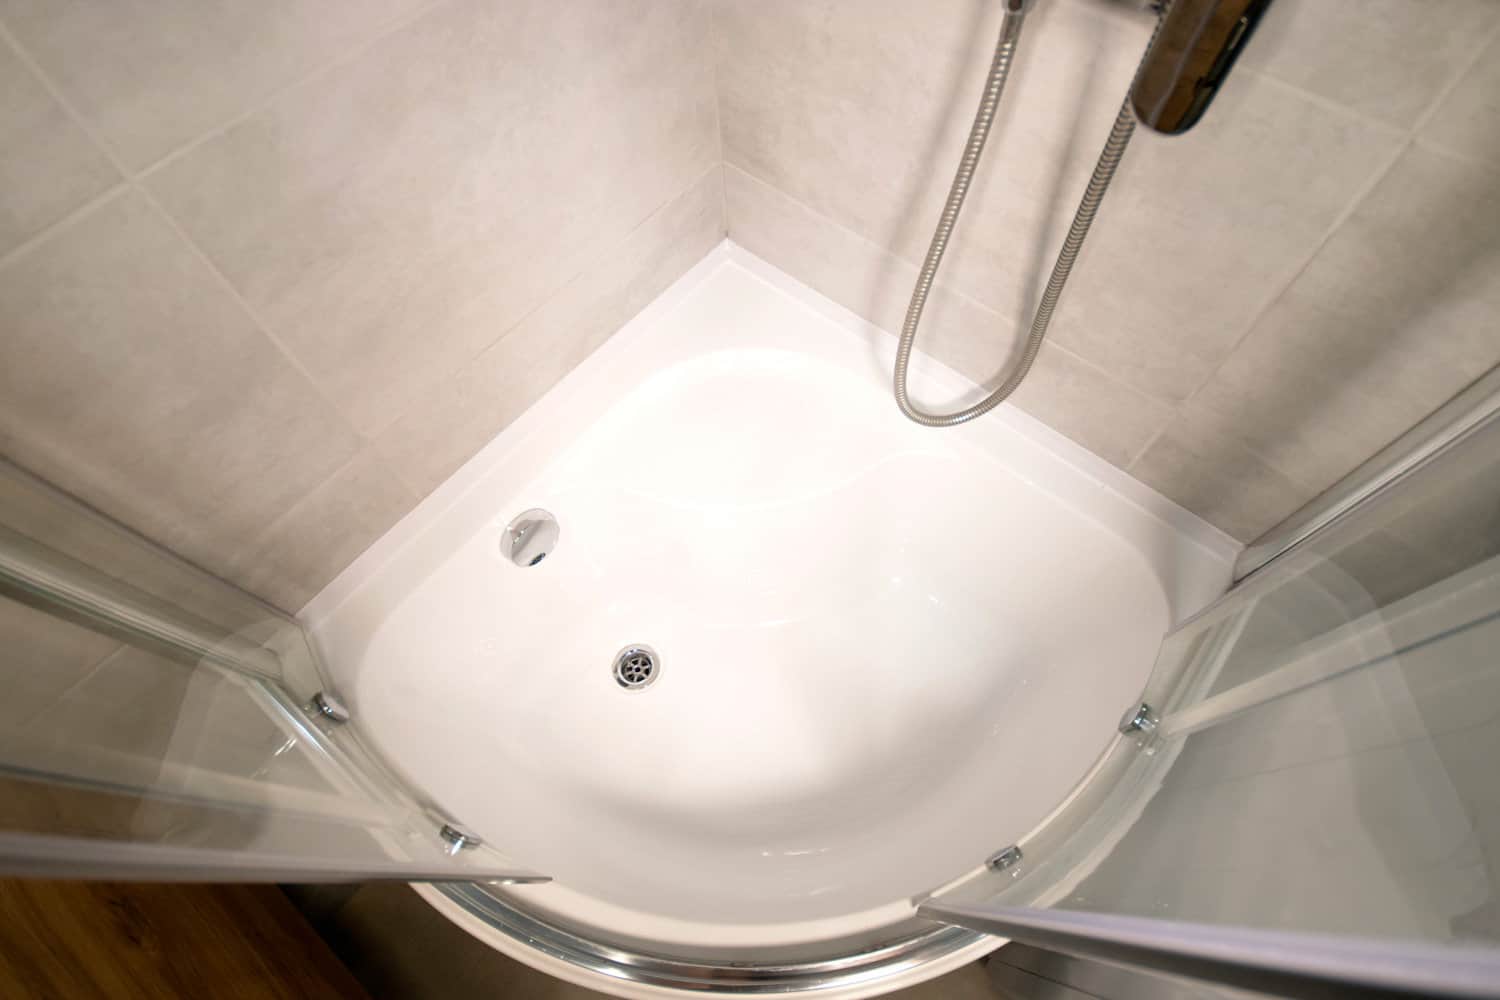
However, this can be solved by using the right amount of silicone caulk—or better yet, installing the shower tray near the tiles, somewhere around 3 to 5 millimeters, so you only have to take care of the maintenance over the next few years.
If you ever feel lost along the process of filling in the gap, feel free to return to this post to guide you through.
Enjoyed this post? Before you leave, look at a few of these related topics.
How To Install A Shower Base On Concrete Floor