Luxury vinyl flooring has been popular with homeowners for quite a while. It is versatile and can be in any indoor space over any flooring. Vinyl is highly durable, resistant to dents, scratches, and rough use from daily activities around the house. Correctly installing vinyl flooring can elongate its lifespan and make it resilient against wear and tear. This leads to the question, does a floor have to be level for installing vinyl? We've done the work to bring you the answer.
It is essential to have a level floor for installing vinyl flooring. This ensures that the vinyl won't tear or rip. Follow these steps to install vinyl floor correctly:
- Get the subfloor ready.
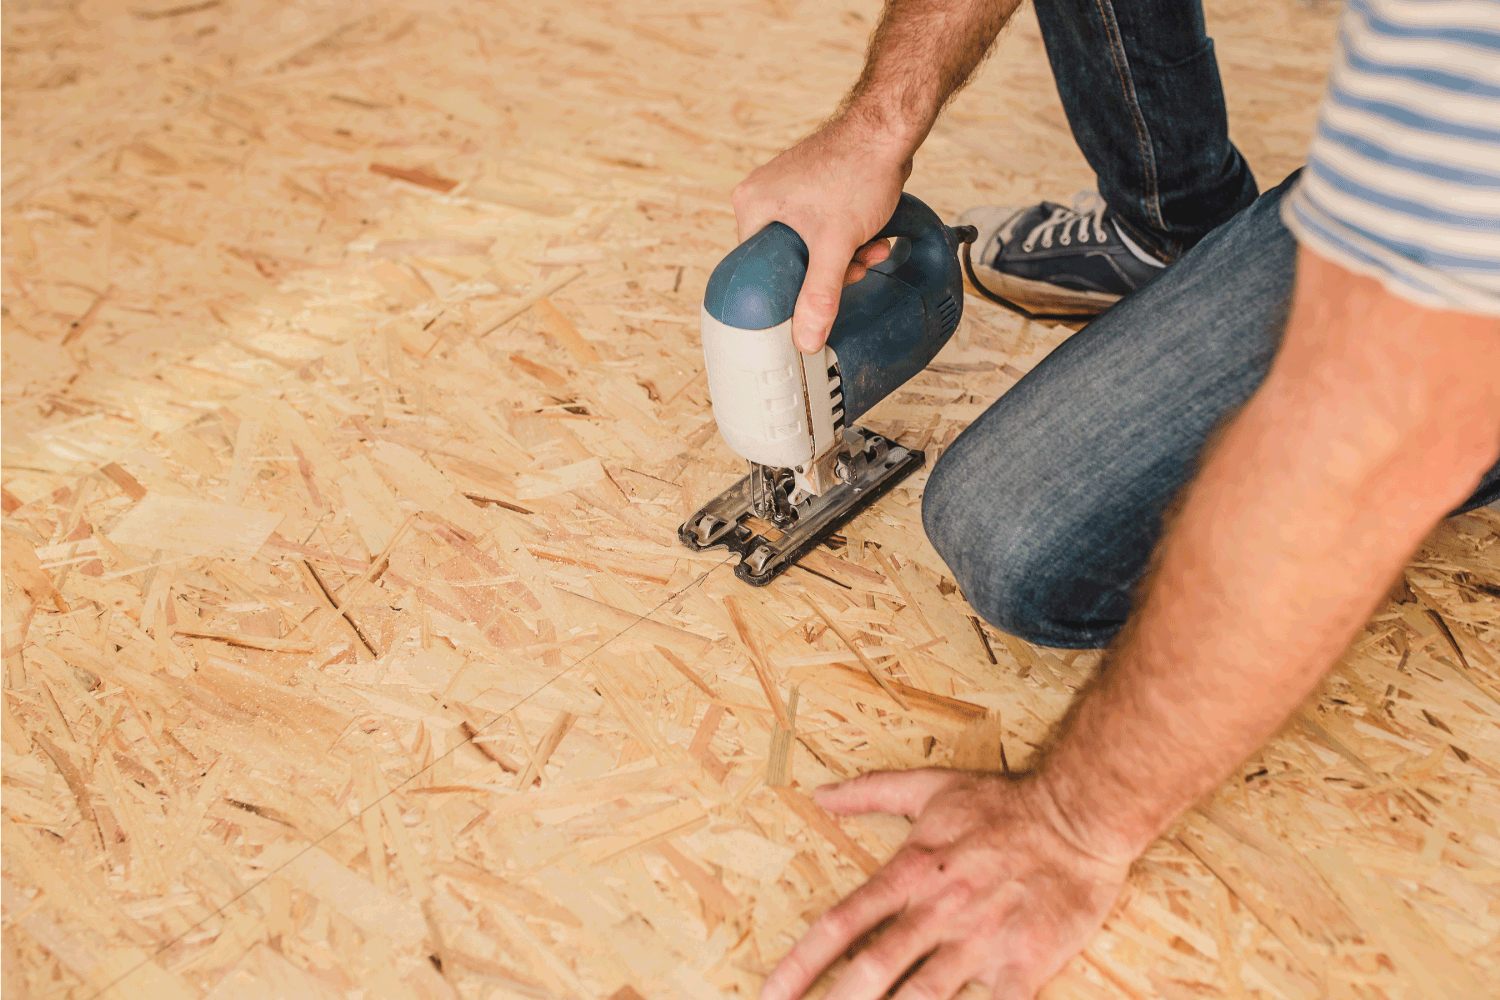
- Cut the vinyl appropriately.
- Trim around door jambs and other protrusions extending out from the wall.
- Apply the adhesive.
- Use solvent to remove extra glue.
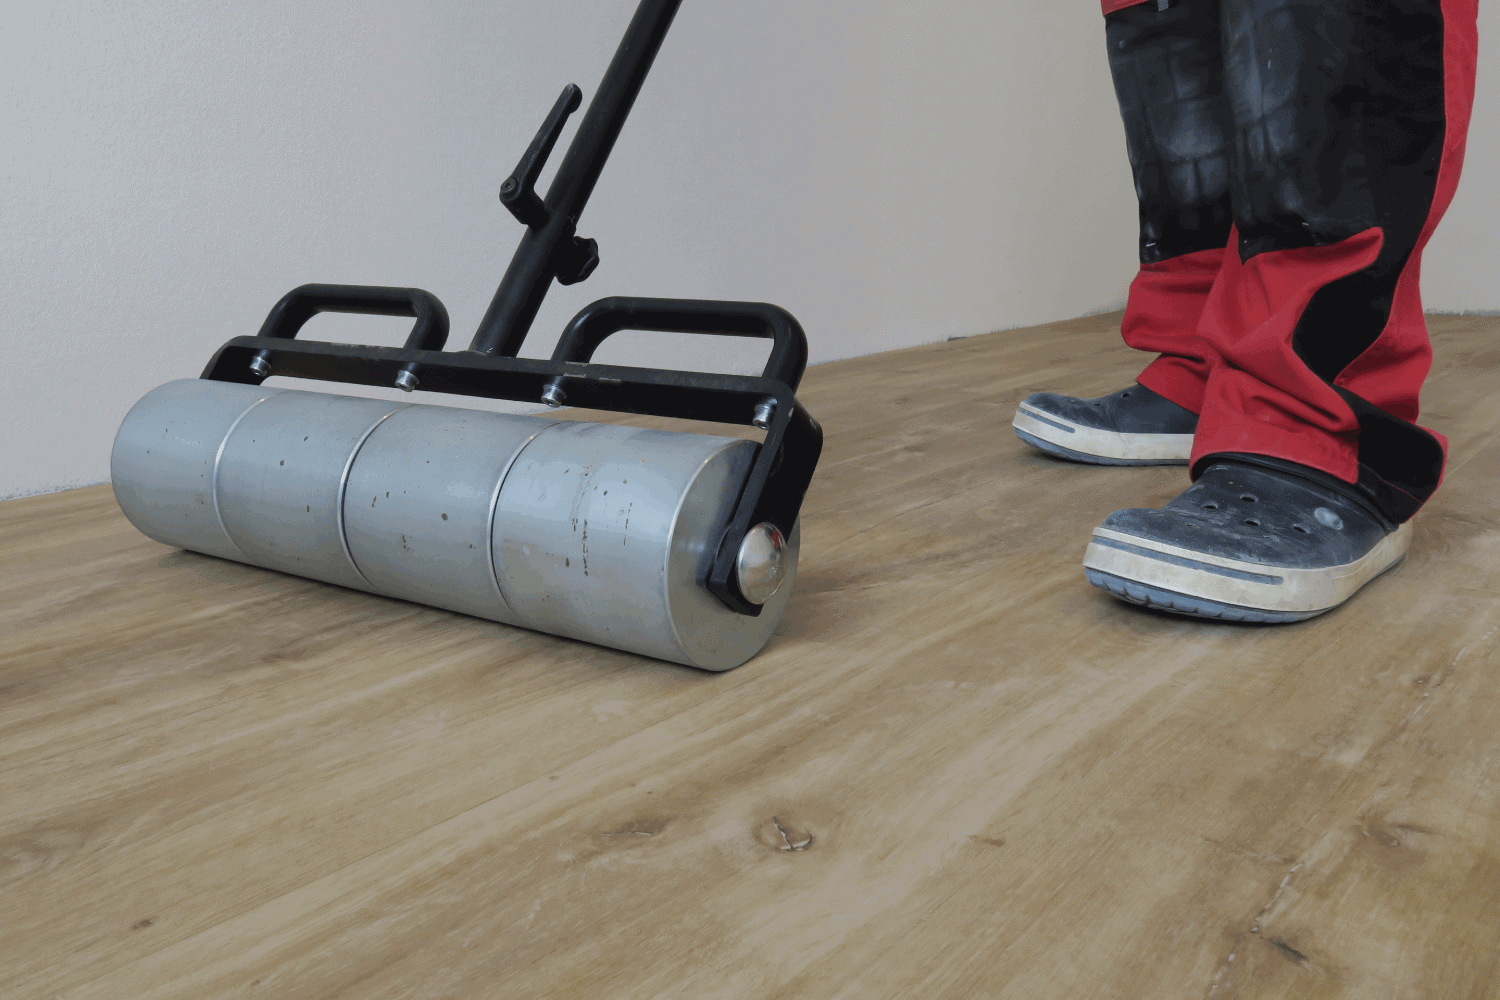
- Roll the surface of the entire floor to ensure good adhesion.
- Wait 24 hours for the glue to fully dry before washing the floor.
- Return furniture and other items to their place.
Now that we have given an overview of installing vinyl flooring, we need to get into the specifics. Not only will you know the importance of the stages of the process, but you will also be able to perform them correctly or supervise workers as they do the job. Having a level floor is important, after all!

Preparing The Subfloors
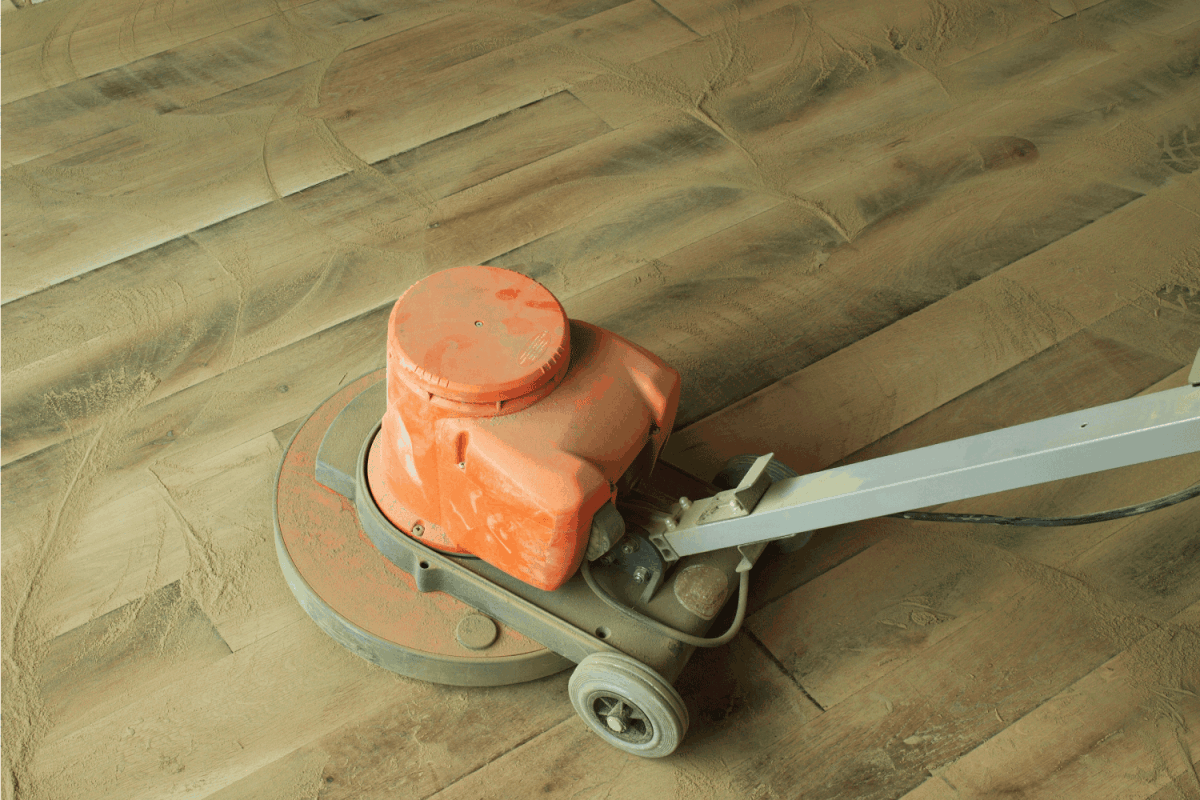
The first step to preparing the subfloors is to remove the baseboard molding and toe kicks. Since vinyl is a thin material, the subfloors must be smooth. You may have to sand down the subfloor if it's wood. Fill in crevices using a skim coat.

The floor must also be free of any dust or debris so that the adhesive may stick effectively with the floor. If the floor is concrete, remove any raised imperfections with a hammer and a chisel. Make sure that the floor is smooth, or the vinyl will tear.
Bring The Vinyl Flooring Home 24-48 Hours Before Installation
This step is crucial because the vinyl needs to get accustomed to the temperature and humidity in your home before you install it. This way, it might not shrink or expand after application. If you bring home the vinyl just before installation, it can cause issues.
Cut The Vinyl Correctly
To get a good fit, leave a breathing space of around 6 inches when cutting the vinyl for each room. Use a template kit or pre-cut pieces for smaller rooms and areas. Kits come with the best quality vinyl flooring sets. Utilize these tools for a more pleasing finish. As you cut the vinyl, leave 3 inches overlapping for trimming.
When you start to trim the corners, push the vinyl against the wall as you move along. Move slowly and carefully. Take your time and press the vinyl against the corners to create a crease. Leave 1/8-inch of the floor to allow the vinyl to expand in summers, or it will get wrinkly.
Trim Around Door Jambs and Other Protrusions
Remove the toilet if you're laying the floor in the bathroom and take doors off their hinges for a better finish. You can use markers and tape measures to get an accurate placement of any protrusions so that your finish may not be affected by them. If you need to cut a hole, remember to start cutting from the middle and then around the edges.
Apply Adhesive And Remove Extra Adhesive With Solvent
There are two kinds of floors: bond floor and perimeter bond floor. The first requires adhesive to be applied to the entire floor, and the second only to the edges. The manufacturer will provide directions when you buy the vinyl. Follow these directions carefully when you apply the adhesive. Use the recommended solvent to remove any extra glue that gets on the surface.
Roll The Surface And Wait

Roll the entire surface of the floor to ensure proper adhesion. Wait at least 24 hours to allow for adequate drying of the adhesive and correct installation of the vinyl floor. You may return the furniture and move around the area 24 hours after installation.
How Do You Know If Your Floor Is Uneven?
Very slightly uneven flooring is fine, but you need to make sure that there aren't very obvious imperfections before installing the vinyl flooring. You should level obvious faults by sanding them down if the floor is of wood. Likewise, remove any protrusions with a hammer and a chisel if it is concrete. Vinyl tiles and planks are better at covering slight imperfections as compared to sheets.
As long as the floor is on a plane, it won't matter if the level is a bit off. If you think the flooring is too uneven for you to level it, you might wish to consider some other type of flooring, such as laminate. You will also need to thoroughly clean the floor to ensure good adhesion of the vinyl.
How To Level Plywood Subfloor For Vinyl Plank Flooring?

First, you must fill the gaps between panels, hammer indentations, and fill any surface irregularities. Then, sand down any unevenness at the plywood joints between its panels to a level surface.
You might need to add an extra layer of wood over your subfloor, especially if it is uneven. Measure and cut the plywood according to the size of the area where you plan on installing the vinyl flooring. You must then arrange the plywood on the first layer of wood without lining up the second layer of the wood over the joints in the first layer. Give at least a ¼-inch gap between each joint.
Secure the newly installed plywood with 1-inch deck screws when it's ready. The screw-heads must not protrude from the surface of the wood because they might end up damaging the vinyl that you will install. Use floor patching compound to cover the gaps between the screw heads and joints and then sand it down once it is dry. Remember to clean any dust or debris before moving on to the next step! You can also use a wet-dry vacuum for this purpose.
How Do You Prepare A Concrete Floor For Vinyl?
Concrete is a pretty standard subfloor found in various homes. Concrete readily holds moisture even if it may not be obvious. Concrete subfloors should cure for a minimum of two months before the installation of flooring.
Take a moisture reading to test your subfloor for moisture. You can purchase a moisture reader from your local hardware store. Another method to measure this is by taping a small piece of vinyl to the floor and sealing the edges so that no air may escape. After three days, you can then remove vinyl. If it's easy to pull up the piece of vinyl, the concrete subfloor has too much moisture for vinyl flooring.
You will need to dehumidify the room by airing it out and running a dehumidifier if you have one. Take a moisture rating every few days to check the progress. Next, you will need to find any irregularities in the subfloor level and clean it thoroughly to prep it for the adhesion process.
If you have low patches, smoothen them by using a floor patching compound. However, if you have any high patches in your subfloor, sand them down using a belt sander. Then, sand them down with sandpaper and sweep again to clean any debris.
Do You Need Underlayment For Vinyl Flooring?

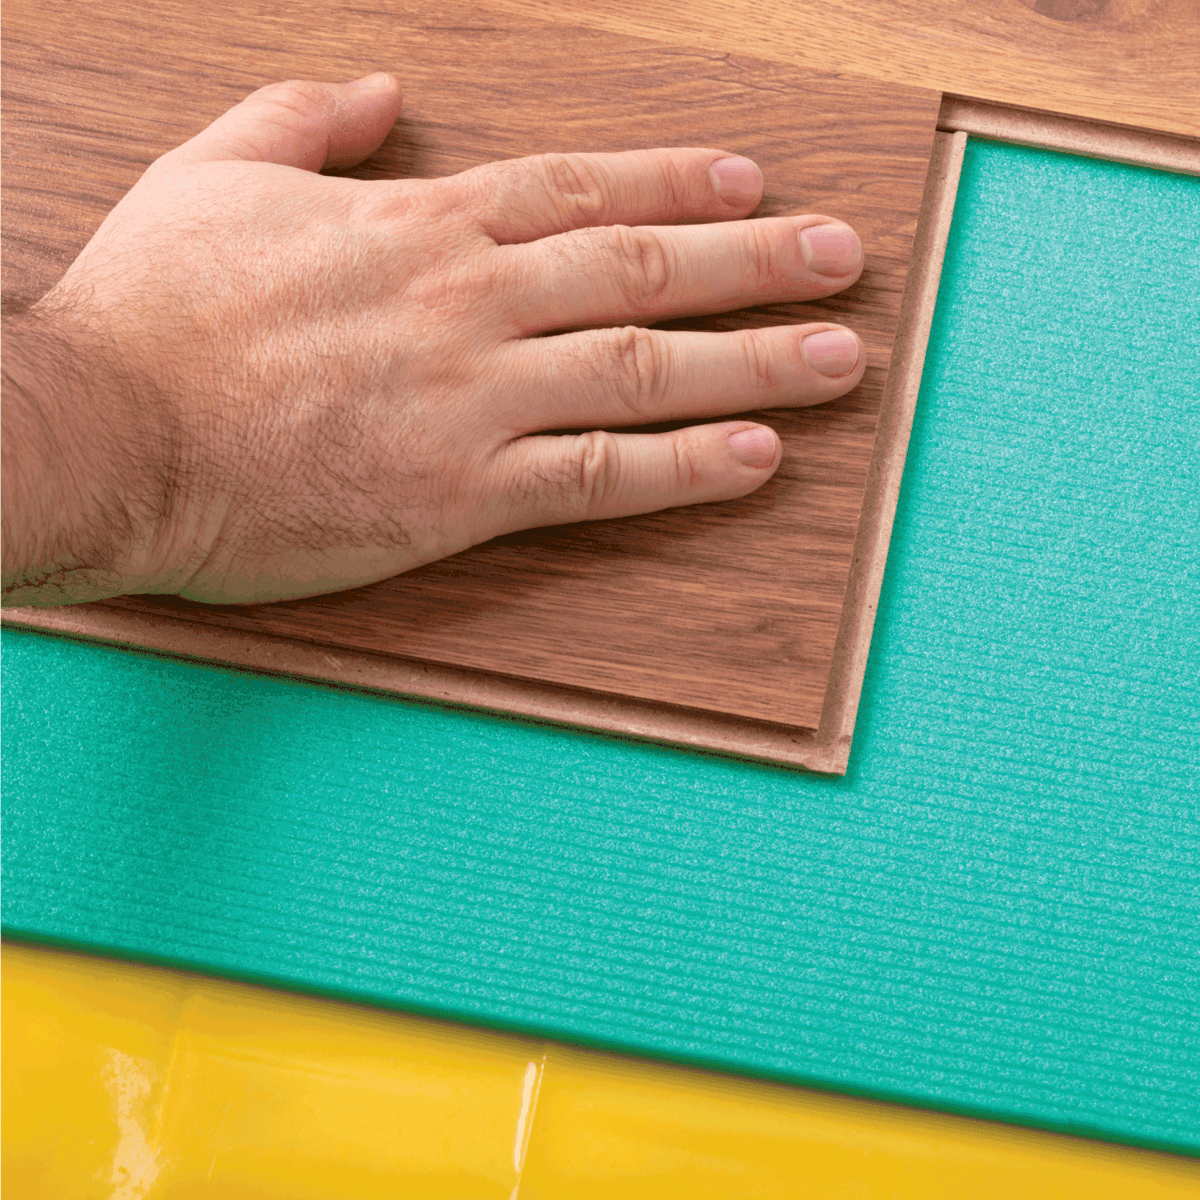
Flooring contains several layers, which include joists, subfloor, underlayment, and finish flooring material, in that order. Floor joists are in the home's structure, and the subfloor is a layer over that. Underlayment is a thin material that covers the subfloor. The floor finish material is the layer on top of the subfloor, and vinyl is one type.
Underlayment plays a significant role in preventing bouncy floors and cupping. It has other advantages, such as sound deadening, acting as a moisture barrier, and softening the feel of the floor underfoot. However, vinyl underlayment is not always an unnecessary expense, especially if the vinyl that you purchase already has a pre-attached underlay.
Generally, underlay isn't necessary for vinyl sheet flooring because you can easily glue down the sheets directly over flooring surfaces. However, if your floor is uneven due to age or lousy construction and has bumps and dips or buckled, you might consider spreading an underlay before installing your vinyl sheets.
Final Takeaway
Vinyl floors are popular and won't go out of style any time soon. There are many advantages to using it over others flooring types. They can last a long time if you treat them properly.
Before you go, do you have a hole in your door? We can offer some guidance for that. Check out our post here.
Do you want to know if vinyl flooring needs padding? We also have some answers for that. Check out our post here. We hope you found the article informative and insightful. Until next time!
