
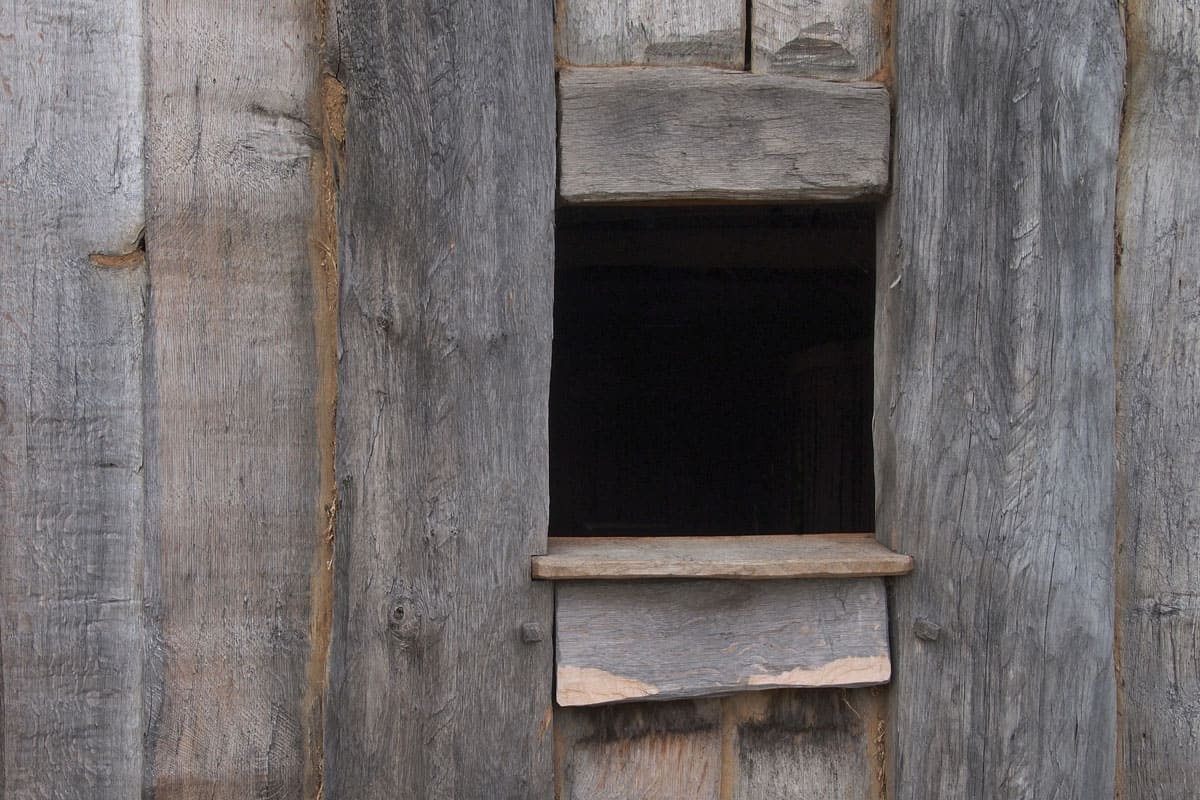
Suppose you need to cut a square hole into the middle of some wood and wonder how to do this without purchasing or borrowing a jigsaw. This post combines professional carpenter experience and online research to thoroughly answer your question.
There are many ways to cut a square hole into the middle of a piece of wood without a jigsaw. The method you choose depends on the size of the square hole and your available tools.
A few methods include using a:
- Handsaw
- Circular saw
- Angle grinder
- Router
- Chisel
Keep reading the rest of this post for details on when each of the above methods is appropriate for your specific hole. We also include directions on how to cut a square hole using each technique.
We begin with basic directions that apply to all of these methods. To conclude, we provide an additional reading list.

How To Cut A Square Hole In Wood
Before starting the cutting process, taking the time to perform the steps covered in these subsections is essential.
Take these few steps first, no matter your method (even if you have a jigsaw).
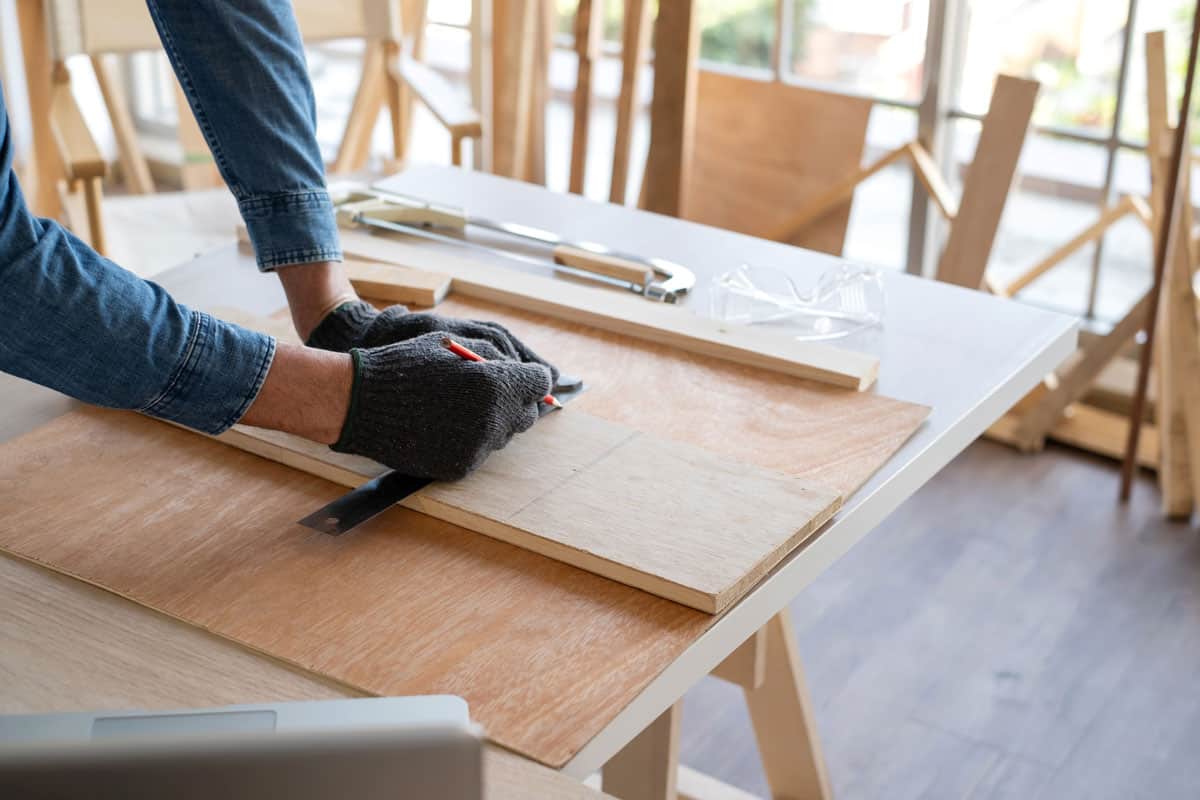
1. Layout The Hole
Remember the old carpenter's adage, measure twice and cut once when laying out the hole. This is especially important for expensive countertops or flooring materials.

See this carpenter's square from Amazon.
First, mark the corners of your square. Usually, a tape measure is handy for this step. Use a carpenter's square or another straight edge to connect the corners.
During this step, ensure all sides are the same length.
To verify that you have drawn a perfect square, measure the distance between both of the diagonally opposite corners. You have a nice perfect square if the two distances are the same.
If the two distances are different, you drew a slightly off-kilter square.
Consider the project at hand when deciding how perfect your square needs to be. For instance, if you are cutting a hole for a sink with 1/2-inch overhangs, you can be cavalier than if your sink only has 1/4-inch overhangs.
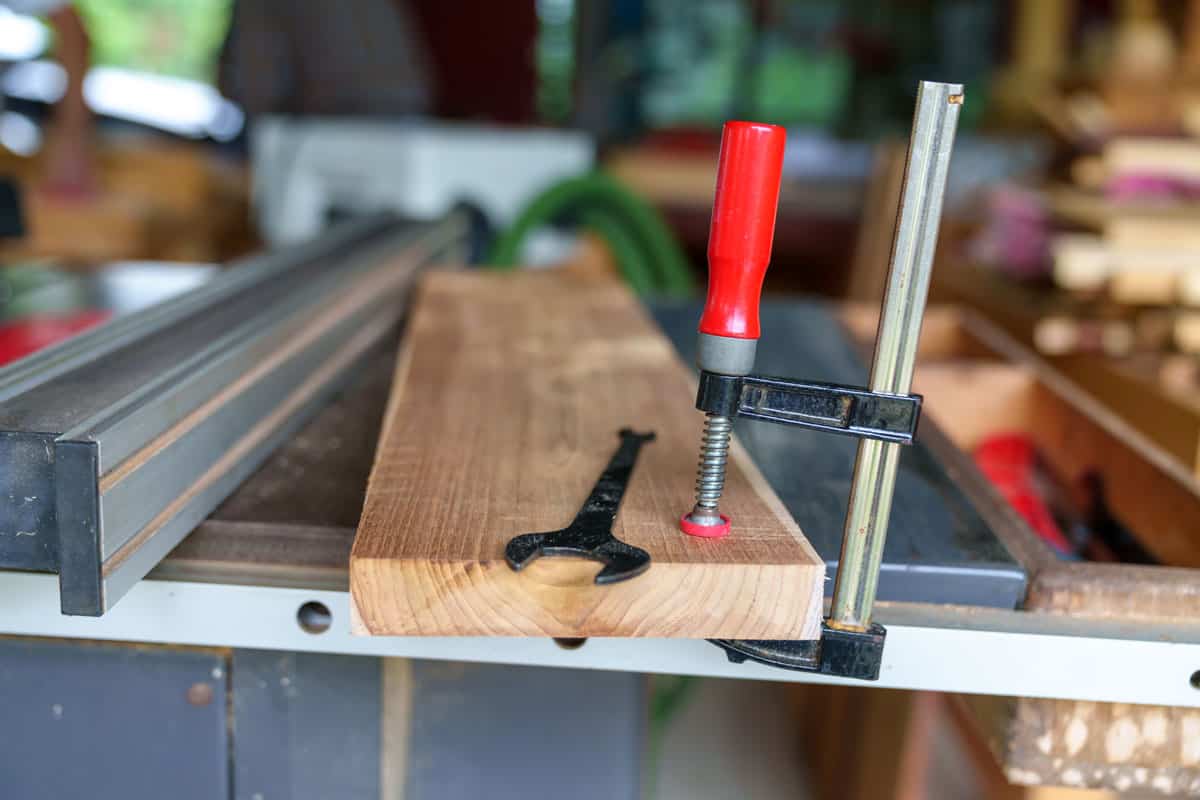
2. Secure The Wood
Before cutting the hole, firmly clamp the wood onto a stable cutting surface so that your saw blades are not obstructed.
Often, this is easily accomplished by using a pair of saw horses and a set of handheld clamps.

Click here for a set of clamps from Amazon.
Securing the wood makes cutting an accurate hole much easier and usually saves much more time during cutting than securing during setup.
Using A Handsaw
Using a handsaw alone or with a drill is an appropriate way to cut a square of almost any size in virtually any wood. To perform this method, follow these basic steps:

1. Begin Cuts/Drill Access Holes
It isn't easy to engage the back-and-forth motion of a handsaw in the face of a piece of wood. Therefore, many professionals will choose to drill access holes to make starting the handsaw cut easier.

Click here for a handsaw from Amazon.
That being said, it is also possible to carefully draw a handsaw back and forth along your drawn line until it breaks through to the back side of the wood.
Because we are cutting a square, you will have to start the cuts or drill the holes at least four times.
If drilling access holes, use the largest drill bit possible and be sure that it does not walk to the outside of your lines.
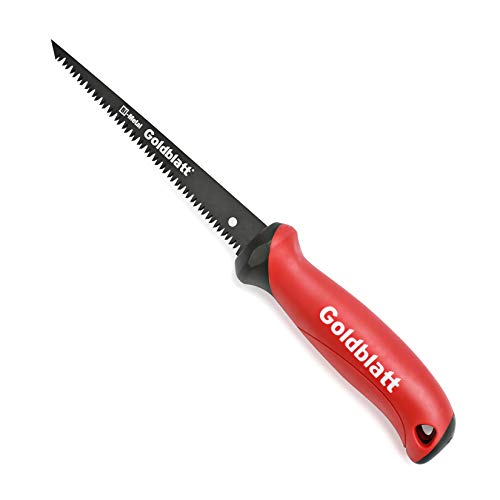
Click here for a keyhole saw from Amazon.
Take note that it is helpful to have a keyhole saw on hand to start the cutting process. These narrow pointy saws can easily slip into a drilled hole.
It is possible to use a regular handsaw for the entire process.
2. Connect Holes Using Handsaw
Once you have your cuts started or holes drilled, connecting them using a handsaw is a matter of combining them. You may often have to resecure your piece of wood a few times to access the entire hole.
Use the most caution when finishing out the corners.
Using A Circular Saw

The blade of a circular saw is relatively long, making this method only appropriate for larger squares.
Further, this technique is quick but is best attempted by someone with circular saw plunge cut experience. To perform this method, follow these steps.

Click here for a circular saw from Amazon.
1. Set Depth Of Saw Blade
The rule of thumb is to set the depth of the circular saw so that it will cut through your piece of wood, but just barely. This decreases the risk of injury.
However, if you are comfortable using a circular saw, consider setting the saw to its deepest setting. This will create a more squared-off cut on the corners of your square.
2. Make Plunge Cuts
Now, perform a plunge cut on each of the four sides. This involves setting the saw above the line, pulling the trigger, and then slowly pushing it down into the wood. Warning - there is a risk that the saw will bind or jump.
Once in, push the blade up to the next corner. Now shut the saw off, pull it out, turn it around, put it in the cut, and finish it to the other corner.
Never pull a circular saw backward towards you, as this can lead to injury.
Watch this helpful YouTube video on how to perform plunge cuts with a circular saw:
https://www.youtube.com/watch?time_continue=51&v=boIQA21F__I&feature=emb_logo
3. Finish Corners With A Handsaw
Now, if you only push the saw up to each inside corner, there will be a small amount of wood on the bottom that remains because of the circular nature of the blade. Use a handsaw to finish these cuts neatly.
Consider holding the square in place with a clamp or tape while you finish so that the small wood does not splinter on the last corner or two.
Alternatively, you can push the circular saw past your marks to perform the whole job with just a circular saw.
This will leave cuts in the wood past the square but is appropriate for rougher applications or places that will be covered up by siding or other material.
Using An Angle Grinder
Angle grinders can be fitted with wood cutting blades and used similarly to circular saws for this task. These tools are notoriously dangerous and often jump out of cuts.
Therefore, this method is only recommended for experienced angle grinder users.

Click here for an angle grinder wood-cutting wheel from Amazon.
Since angle grinders have smaller blades than circular saws, it is possible to cut a much smaller square with this technique.
After you put the wood blade securely on the grinder, turn it on and get it up to full speed. Only once it is fully spinning do you want to touch this tool to the material you are cutting.
Slowly draw the grinder blade into the wood and make the cuts on the four sides.
Like with a circular saw, you can either stop at the line, which will leave a small round of wood, or cut past the line to complete the cut with just the grinder.
If you only cut to the line with the grinder, you will have to finish the cuts with a handsaw.
Using A Router
Routers can be affixed with bits that can be plunged into the wood and drawn along a line. Routers can be used to cut a square hole of almost any size but are limited by how long of a bit you have.

Click here for a cutting router bit from Amazon.
First, put one of these cutting bits into your router. Then, turn the router on and let it reach full speed before pushing it into the wood.
Now, push the router into the wood and carefully cut along your line. You can cut all four sides in one go since you can easily change the direction of the router without lifting it out of the wood.
By doing this, you will leave rounded corners that match the width of the router bit. For many applications, this is acceptable. However, you must finish your hole using a handsaw if you want squared corners.
Using A Chisel And Hammer

Of all the methods described here, this one is the most difficult. However, it is often the best option for squares smaller than 2x2 inches or if you have no other available tool.
It is inadvisable to use this method for any wood thicker than 3/4-inch.
First, affix the wood onto a completely solid surface. Consider laying down a piece of plywood on a concrete floor and then putting the wood you need to cut on top of that.
Now, set the chisel on your line and hit it with the hammer. You will likely have to do this many times in each location.
It is best to cut a little bit of the whole square and then a little more until you have finished cutting it out. If you pound the chisel into one location, you may splinter the wood or get the chisel stuck.
In Closing
This post provides five methods for cutting a hole in wood without a jigsaw. We include directions for each process and notes when each approach is best applied.
To conclude, we recommend some additional reading. Good luck!
To learn more about cutting tools and cutting, read these posts:
How To Cut Hardwood Flooring That's Already Installed