
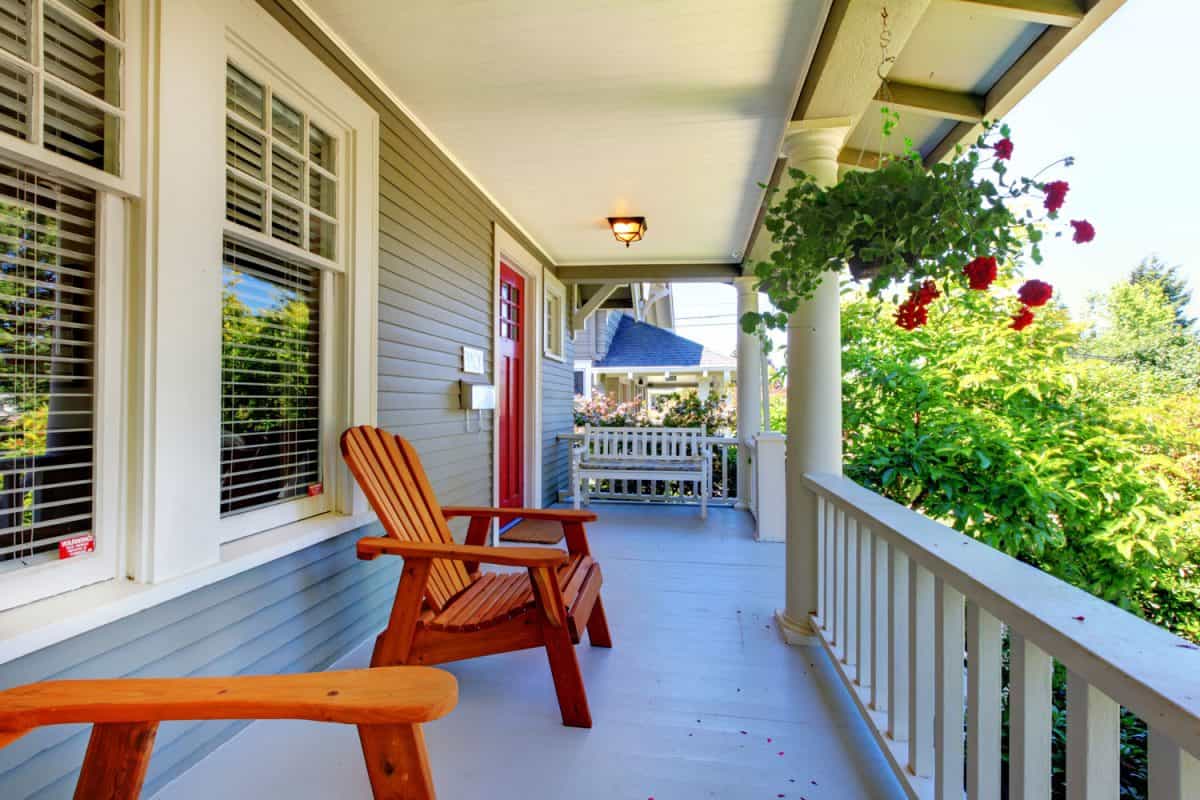
Adding a roof to your porch has many advantages. It provides shade on hot summer days, protects the porch from weathering, adds curb appeal, and can increase your home's value. However, your new porch roof must connect seamlessly with the roof of your house to guard against leaks. So, what's the best way to connect a porch roof to the roof of a house? We've done the research, and we have the answers for you!
There are three common porch roof structures, each requiring a different method for attaching it to a house roof:
- Flat porch roofs use a rubber roof membrane. Its top edge must be covered by the house's main roof's shingles to ensure that the junction between the two roofs is leakproof.
- Shed porch roofs require the top section of underlayment to be covered by the main roof's shingles. In addition, you should install metal flashing along the junction between the two roofs.
- Gable porch roofs are built over the existing roof. They require a more complex structure, as well as flashing along both valleys.
Of course, adding a porch roof to your home isn't a simple task. Below, we'll provide a step-by-step overview of how to connect each of the three major types of porch roof to the roof of a house. We'll also describe the ideal positioning of porch roof columns and provide a range of costs to install a porch roof. And we'll explain how to attach a ledger board to the side of your home to support a patio roof. Keep reading to learn more!

How To Connect A Porch To The Roof Of A House
Although there are nearly unlimited options for designing the roof of your porch, the vast majority feature one of three basic structures: flat, shed, and gable roofs. Each connects to your home in a different way, and each requires unique installation methods. Below, we'll describe each basic porch roof structure and explain how to attach it to the roof of your home.
Flat Porch Roof
A flat porch roof extends horizontally over the porch. The roof's primary structural support is a post or pillar at each of its corners. Flat porch roofs have a slight slope (about 5°) down and away from the house to allow water and snowmelt to drain off.
Flat roofs need to shed water quickly and efficiently. There are several options for design and materials. The most common of these (and the simplest to install) is a synthetic rubber membrane called EPDM. Beneath the membrane is a 1/2" rigid foam board called "isoboard," and beneath the isoboard is a layer of plywood sheathing.
Connecting A Flat Porch Roof To A Flat House Roof
If your house has a horizontal roof, adding a flat porch roof can be a relatively simple and inexpensive project. As with other porch roof additions, the most critical issue is to ensure that the joint between the new porch roof and the house roof is waterproof. Follow these steps for a successful job:
- Pull up the rubber roof membrane, isoboard, and sheathing on your house's roof at the spot where you will connect the new porch roof. This will expose the main roof's rafters.
- Tie in the new porch rafters to the main roof's rafters.
- Replace the sheathing and isoboard on the main roof.
- Replace the main roof's rubber membrane, adhering all of it except the last 4".
- Install sheathing and isoboard on the new porch roof.
- Install rubber membrane on the new porch roof. Make sure the new membrane extends at least 3" onto the main roof.
- Apply rubber primer in a 4"-wide stripe to the top side of the new membrane and the bottom side of the main roof membrane.
- Once the rubber primer has dried to the touch, affix EPDM seam tape over the primer on the top side of the new (porch roof) membrane.
- Allow the old (main roof) membrane to fall back into place. It will lie on top of the new membrane and the seam tape.
- Remove the release film from the top of the seam tape, a little at a time, pressing the old roof membrane down onto the seam tape as you go.
- Use a hand-held seam roller to seal the join between the two membranes and the seam tape.
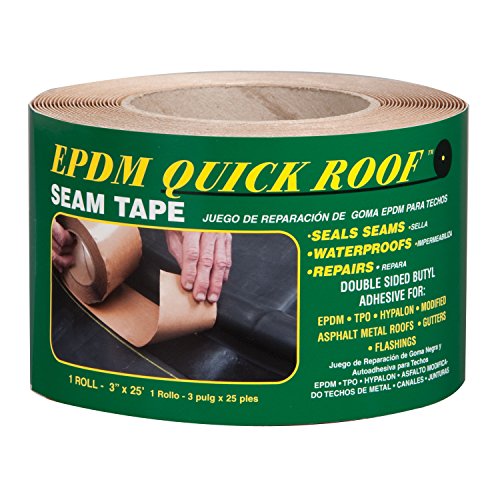
Click here for EPDM seam tape on Amazon.
Connecting A Flat Porch Roof To A Sloped House Roof
Water flows much faster down a sloped roof than it does on a flat roof. This can lead to the pooling of water or ice buildup on the flat porch roof. So it's critically important that the transition from a sloped house roof to a flat porch roof is smooth and leak-proof:
- At the spot where you will connect the new porch roof to the existing roof, remove the shingles and plywood sheathing from the bottom 3' of the existing roof.
- Tie in the porch roof's rafters to the rafters of the main roof. Make sure the new roof's rafters slope down and away from the house slightly.
- Replace the plywood sheathing on the main roof. (Do not replace the shingles yet.)
- Install plywood sheathing and isoboard on the flat porch roof.
- Install EPDM roof membrane on the flat porch roof, extending it 3' up the sloped roof of the house.
- Reinstall the shingles on the sloped roof. They will cover the top 3' of the EPDM membrane, ensuring a watertight finish.

Click here for EPDM rubber roofing on Amazon.
Shed Porch Roof
A shed roof is the simplest type of porch roof to construct; it's also the easiest to connect with your existing house roof. It is a single, flat plane that connects to the side or roof of your house and then slopes down over the porch.
Connecting A Shed Roof To A Flat Or Sloped House Roof
Shed-style porch roofs can be attached to any style of house roof, using the following procedure:
- At the spot where you will connect the porch roof, remove the bottom 3' of shingles, underlayment, and sheathing from the existing roof (if the existing roof is flat, pull up the rubber roof membrane and remove the isoboard and sheathing.) This will reveal the rafters of the existing roof.
- Tie in the new porch rafters to the existing house rafters.
- Replace the sheathing and underlayment on the existing house roof; do not replace the shingles yet. (For a flat house roof, replace the sheathing and isoboard, but do not re-glue the rubber membrane yet.)
- Install plywood sheathing on the new porch roof.
- Install underlayment on the new porch roof, extending it 3' up the existing roof to ensure a leakproof joint.
- Replace the shingles on the existing roof.
- Install shingles or other finishing material on the porch roof.
- Install metal flashing along the joint between the old and new roofs; make sure to caulk the flashing thoroughly to ensure watertight.

Click here for galvanized metal flashing on Amazon.
Gable Porch Roof
A gable porch roof features a triangle-shaped front view, with sides sloping down from a ridged peak. Connecting a gable porch roof with a house roof is more challenging than adding a flat or shed roof. It is also more invasive to the existing house roof than are other types of porch roofs. However, gable roofs require less maintenance than shed- or flat-style porch roofs, and they add a sense of spaciousness to the porch.
Attaching A Gable Porch Roof To A Sloped House Roof
For aesthetic reasons, gable porch roofs are seldom added to homes with flat roofs. However, they are very popular on sloped-roof homes. Here's how to connect a gable porch roof to a sloped house roof:
- At the spot where you will attach the porch roof, remove enough shingles, underlayment, and sheathing from the existing roof to expose the header that supports the main roof's rafters.
- Tie in two 4" x 6" support beams for the new porch roof to the header.
- Replace the sheathing, underlayment, and shingles on the house roof. You will need to cut the sheathing and underlayment to fit around the jutting support beams.
- Install two valley boards (2" x 6") on top of the shingles on the existing roof, angled to define the width of your gable.
- Install a 2" x 8" ridge board at the peak of the gable. (See diagram below)
- Install rafters, attaching one end to the support beam and one end to the ridge board at the gable's peak.
- Install plywood sheathing, underlayment, and shingles on the porch roof.
- Along both valleys where the new porch roof intersects with the main house roof, affix metal flashing over the shingles. Make sure to caulk thoroughly around the flashing to avoid leaks.
- Install a cap over the peak of the new roof to make it watertight. Caulk thoroughly around the edges of the cap.
Click here for roofing underlayment on Amazon.
How Much Does It Cost To Add A Roof To A Porch?
You should plan to spend between $16 and $30 per square foot for your porch roof. Your actual cost will depend on several factors:
- The type of roof: shed roofs are the least expensive to construct, while gable roofs are the most costly.
- The roofing material: asphalt shingles are less expensive than metal, tile, or EPDM.
- The quality of materials you choose: higher-quality framing and finishing materials cost more upfront but generally last longer and have fewer problems.
- The cost of labor and materials in your area.
Are Porch Columns Attached To A House?
Porch columns sit along the front edge of the porch. They are often decorative in appearance, but they also bear much of the porch roof's weight. They are not attached directly to the house; instead, they are attached at the bottom to the porch floor and at the top to the support beams of the porch roof.
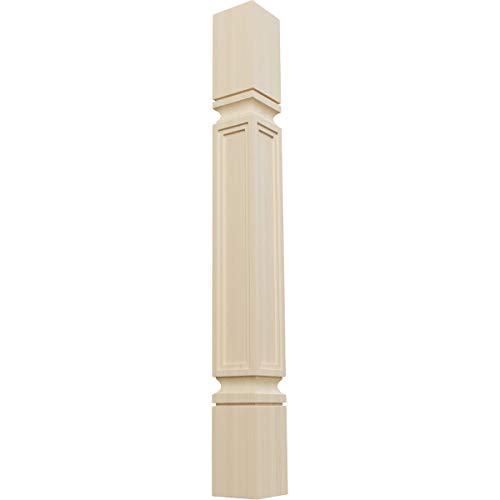
Click here for porch columns on Amazon.
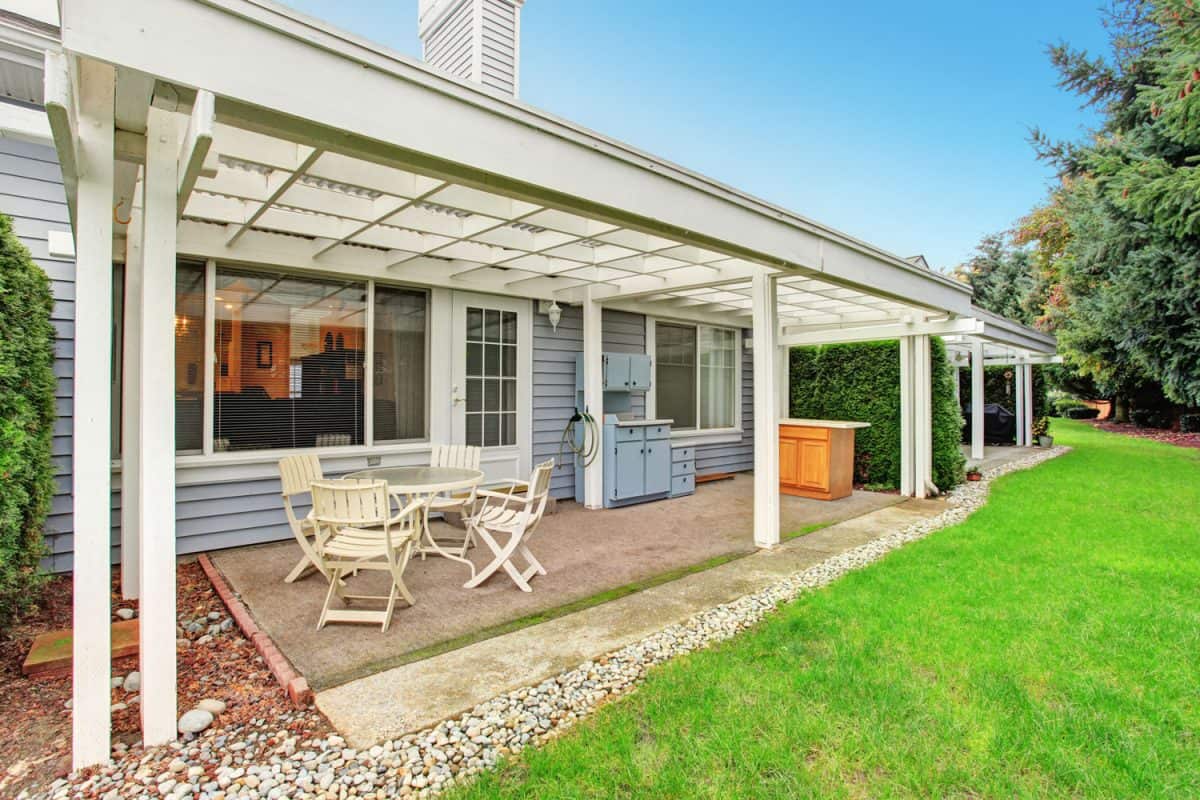
How Do You Attach A Ledger To A House For A Patio Cover?
Installing a patio cover that ties into the side of your home is a much simpler process than connecting a porch roof to the roof of your house. The rafters for the patio cover rest on the ledger board.
Here's a step-by-step guide to attaching a ledger board to your house:
- Choose where to attach the ledger board: if you have a single-story home, attach it to the header beam just under the eaves of your roof. If you have a two-story house, attach the ledger board to the rim joist between the first and second floors.
- Remove the siding where the ledger board will be located so you have a flat surface.
- Attach the 2" x 6" ledger board to the rim joist or header beam using lag bolts. Where possible, bolt it into the wall studs, as well.
- Attach washers to the lag bolts to increase their holding strength.
- Install metal flashing along the top of the ledger board, with the top edge of the flashing under the siding just above the ledger board.
- Carefully caulk the edges of the flashing and the nail heads.
- Now you're ready to build your patio cover, using the ledger board as the main structural support!
In Closing
Adding a roof to an existing porch is not a project for the faint of heart. It requires skill and planning, and if done wrong, can lead to leaks and structural damage. However, if you're an experienced DIYer with a solid understanding of carpentry and roofing, you can complete this project on your own, adding comfort and value to your home. If you prefer to hire a contractor for the job, the guidelines above will give you a good sense of what to expect as the work progresses. Enjoy your new porch roof!
You may also enjoy: