
Routine checking for your split AC’s refrigerant level can help prevent it from experiencing problems. But now you’re wondering how you can inspect the cooling unit’s current refrigerant level. We researched for your convenience so we can give you the following information regarding that concern.
First, ensure that you’re following the right safety guidelines in handling AC refrigerants. Next, gather the necessary materials and tools for the job. Once the preparations are complete, check your split AC’s refrigerant level by following these steps:
- Determine the ac refrigerant
- Check the current pressure
- Identify the condensation or evaporation temperature
- Measure the AC's temperature
- Calculate the split AC's refrigerant level
Take note that checking a split cooling system’s refrigerant level often needs paying careful attention to details. So continue reading as we talk about this procedure in greater detail.
Safety Measures When Working With Refrigerants

Be wary as AC refrigerants may contain harsh chemicals that might bring harm to your well-being. Following proper usage as dictated by manufacturers should help reduce the risks of accidents and injuries from using these products.
Other preventive measures you should follow while using AC refrigerants and their associated pieces of equipment are:
Wear Protective Gear
Equip yourself with equipment like a respirator, gloves, and safety goggles while maintaining your split AC. Take note that you’re going to work with an AC refrigerant. Failure to wear safety gear may increase the risks of irritation from handling the product and other AC maintenance equipment.
Don’t Work In Wet Weather
Wait for the weather to clear before checking your split AC’s refrigerant levels. Bear in mind that you’re typically going to expose the AC’s internal components. So working on the cooling system in wet weather may increase the risks of short-circuiting its components, particularly if you need to turn on the system.
Turn Off The Power
Disconnect the split AC unit from its power source before doing work on it. Turn off the power to the appliance from its connected circuit breaker to ensure it doesn’t have electricity.
Don’t maintain, repair, or replace parts in the cooling unit while it has power unless needed. Otherwise, you might bring harm upon yourself as electrocutions might be more apparent than intended. Plus, tinkering with the appliance while it has a current may increase the likelihood of it experiencing an overload or short circuit.
Tip: Use a voltage tester to check if your split AC has power or not. Contact industry professionals for help if the tool registers that the cooling appliance has electricity despite the circuit breaker being in the off position.
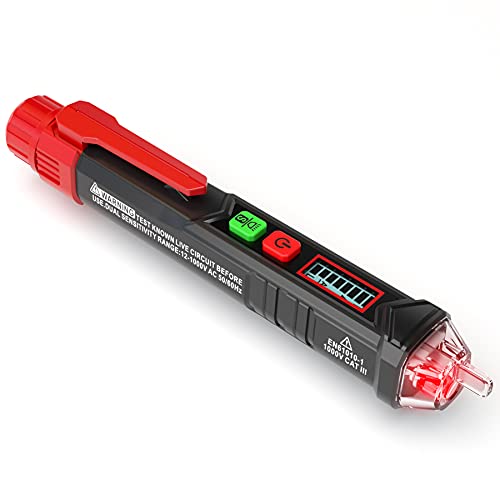
Check out this non-contact voltage tester on Amazon.
The Things You’ll Need
- Screwdriver
- Smartphone
- Calculator
- Pen
- Paper
- Manifold gauge kit
- Digital thermometer
DIY Instructions To Check The Refrigerant Level Of A Split AC
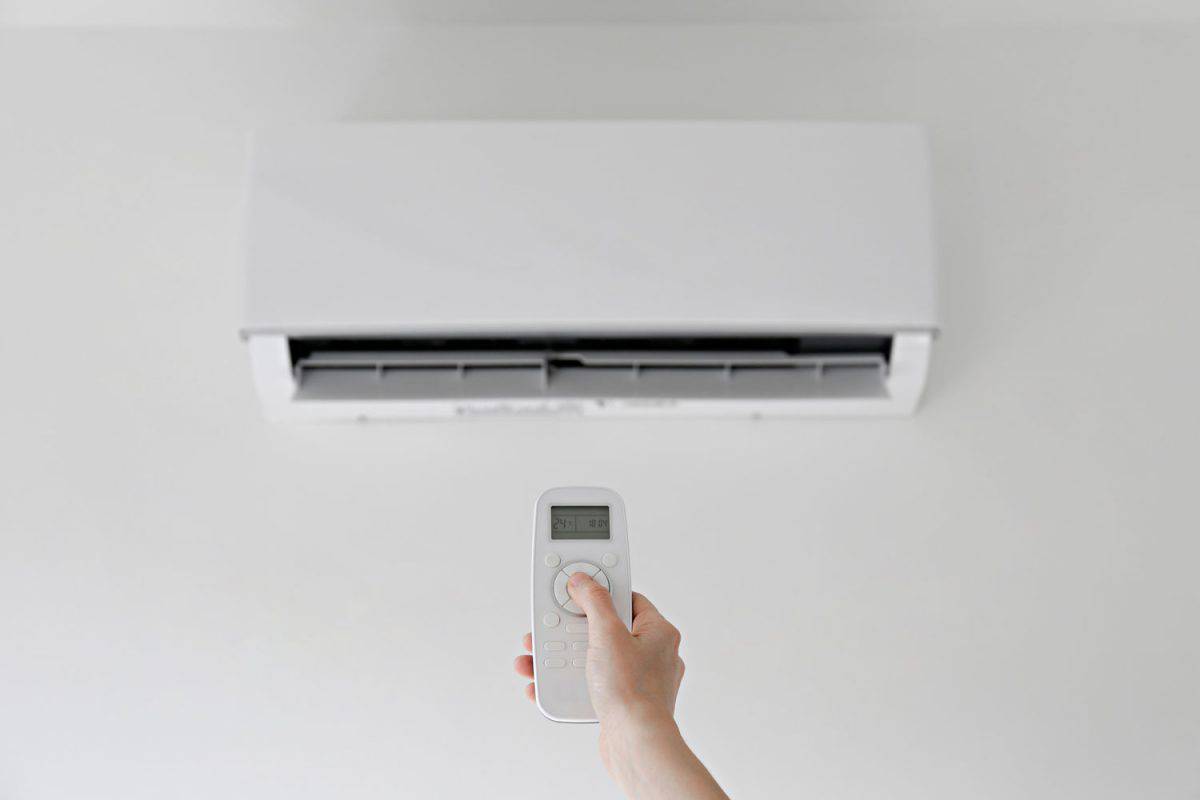
![Hand holding the remote control of newly installed white air conditioner, How To Check Refrigerant Level In A Split AC [Step By Step Guide]](https://uooz.com/wp-content/uploads/2022/12/Close-up-shot-of-a-womans-hand-holding-the-remote-control-of-newly-installed-white-air-conditioner.-AC-hang-1200x800.png)
Checking the refrigerant level of a split AC system typically means calculating the superheating and subcooling values. The temperature readings acquired from your findings should be within the 5k to 10k range. If so, the split AC should still have sufficient refrigerant in its system.
Superheating and subcooling values that are lower than the mentioned range often mean that the AC needs a recharge. On the other hand, you may need to bleed the system if the calculated values are higher than 5k to 10k.
After understanding those pieces of information, and you’re ready to continue, move forward by following these steps:
Step #1: Determine The AC Refrigerant
Split AC units often use different refrigerants. Some examples are R-503, R-12, R-22, and R-13B1.
Take note that not all refrigerants are Freon. Although some people interchange the terms Freon and refrigerant, the former is typically a brand name for the latter.
One way to determine the AC refrigerant to use for your split system is to look at a sticker on either the indoor air control unit or the outdoor condenser. Identifying the refrigerant used on your split AC can help you identify its properties. Doing so may help you in assessing the appliance’s refrigerant level and for checking for potential risks and issues.
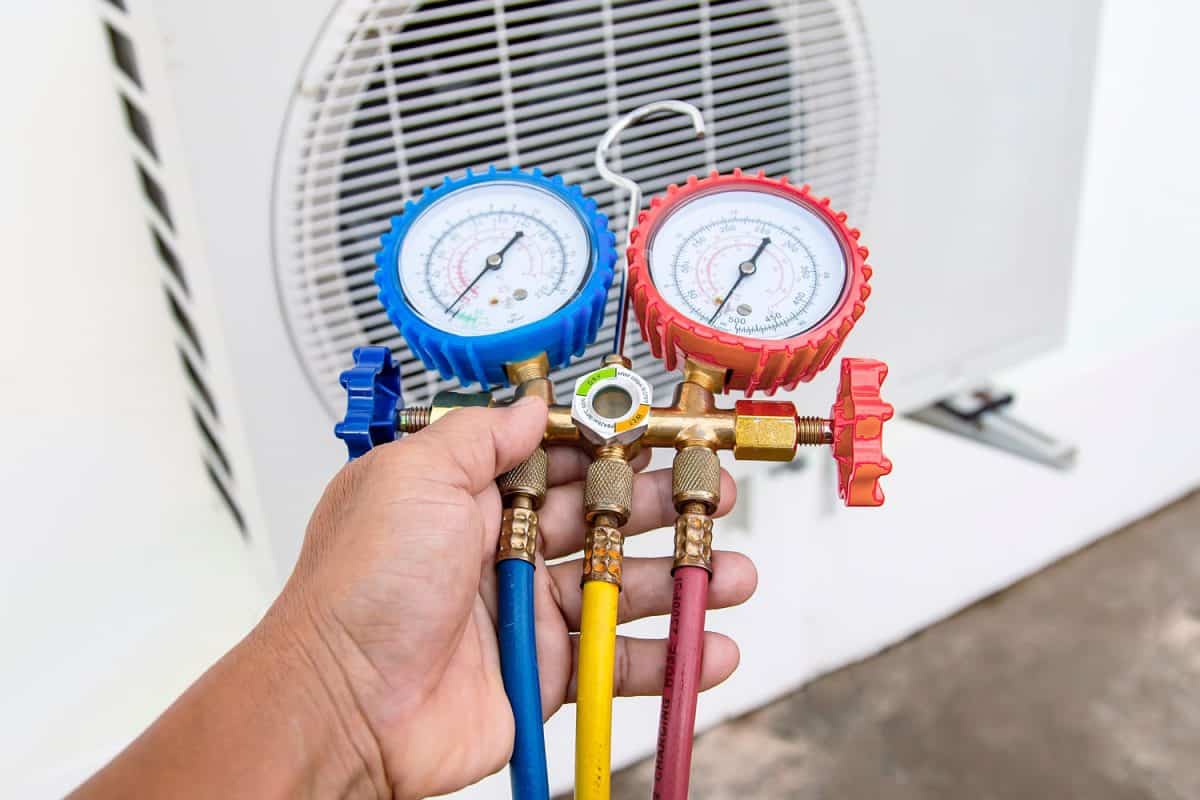
Step #2: Check The Current Pressure
Connect your manifold gauge kit to the outside condenser unit. Make sure to attach the yellow hose to the cylinder and the red hose to the compressor port.
Then, open the valve near the gauges. Read and take note of the split AC’s current pressure level, particularly the low- and high-pressure levels.
You can watch the video below to see this particular step in action:
Step #3: Identify The Condensation Or Evaporation Temperature
Connect your smartphone to the Internet. Download a refrigerant slider to the mobile device. Take note that the app library you’re going to use for this step depends on your phone’s operating system. In particular, access the Google Play Store if you’re an Android user or the Apple App Store if you have an Apple device.
Bear in mind that each app's user interface often varies with the other. Nonetheless, the process should still be similar regardless of the refrigerant slider app you're using.
In the application, set the slider to "Dew." Then, indicate the low-pressure level on the corresponding box. The app should calculate the evaporation temperature automatically. Write down the result that appeared.
Take note of the results and set the slider to "Bubble." Then, indicate the high-pressure level of the split AC unit. You should be able to see the calculated condensate temperature afterward. Again, take note of the result.
Step #4: Measure The AC’s Temperature
Place a digital thermometer on the suction pipe, which should be near the compressor’s inlet. Next, turn on the AC and inspect the reading from the digital thermometer and write down the result. The value acquired from this particular step is the superheating temperature.
Next, turn off the AC temporarily. Remove the digital thermometer from its previous location and place it before the expansion valve. Turn on the split AC again and take note of the reading presented by the thermometer. This time, the value that appears on the tool’s display is the subcooling temperature.

Check out this digital thermometer kit on Amazon.
Step #5: Calculate The Split AC’s Refrigerant Level
Use the following formulas to find the subcooling and superheating temperatures:
- Superheating = superheating temperature – evaporation temperature
- Subcooling = condensation temperature – subcooling temperature
Watch the video below to gain additional insight into finding the charge for your split AC unit:
How Do I Know If My Split Unit AC Has A Leak?
After checking your split AC unit, perhaps you noticed that its refrigerant level is lower than expected. If so, the system might leak.
But you might be able to skip the fairly lengthy troubleshooting to diagnose that your split AC leaks. You can achieve this objective by taking note of certain symptoms like:
- AC blowing warm or hot air
- Frozen coils
- Increase in energy bills
- Unknown sounds coming from the indoor air outlet
- Evident signs of leaking from the indoor air outlet and/or outside compressor
How Do I Know If My Mini Split Is Low On Refrigerant?
Aside from calculating the current refrigerant level of your split AC, it might be possible to determine if the cooling unit needs a recharge. Here are some possible symptoms the appliance may encounter if it’s low on refrigerant:
Frozen Condenser Coils
Low refrigerant may promote heat insulation within the outside condenser unit. If so, the internal temperature of the outdoor assembly may reduce significantly, causing the coils to freeze.
Evident Leaking
Frozen condenser coils may also produce leaks from the split AC's outside condenser. This excess moisture may escape from the assembly, particularly when the system is off. The outside temperature may contribute to the ice buildup melting, leading to a puddle underneath the condenser.
Poor Cooling Performance
If your split AC lacks sufficient refrigerant, the appliance may have trouble converting hot air into cold air. The result would be the system's inefficiency in producing comfortable cold air, even if you set the system at its lowest possible temperature.
Final Thoughts
Checking the refrigerant level in a split AC system often requires an understanding of how the cooling unit works. You also need to make some calculations to determine if the split AC requires you to bleed or recharge it.
If you’re looking for answers to other AC concerns, check out these other great reads: