Sanding is essential to smoothen a wooden surface by removing blemishes and scratches. Want to know if you can sand your wet deck? You are on the right page! We’ve sifted through the internet and researched the answers to share with you.
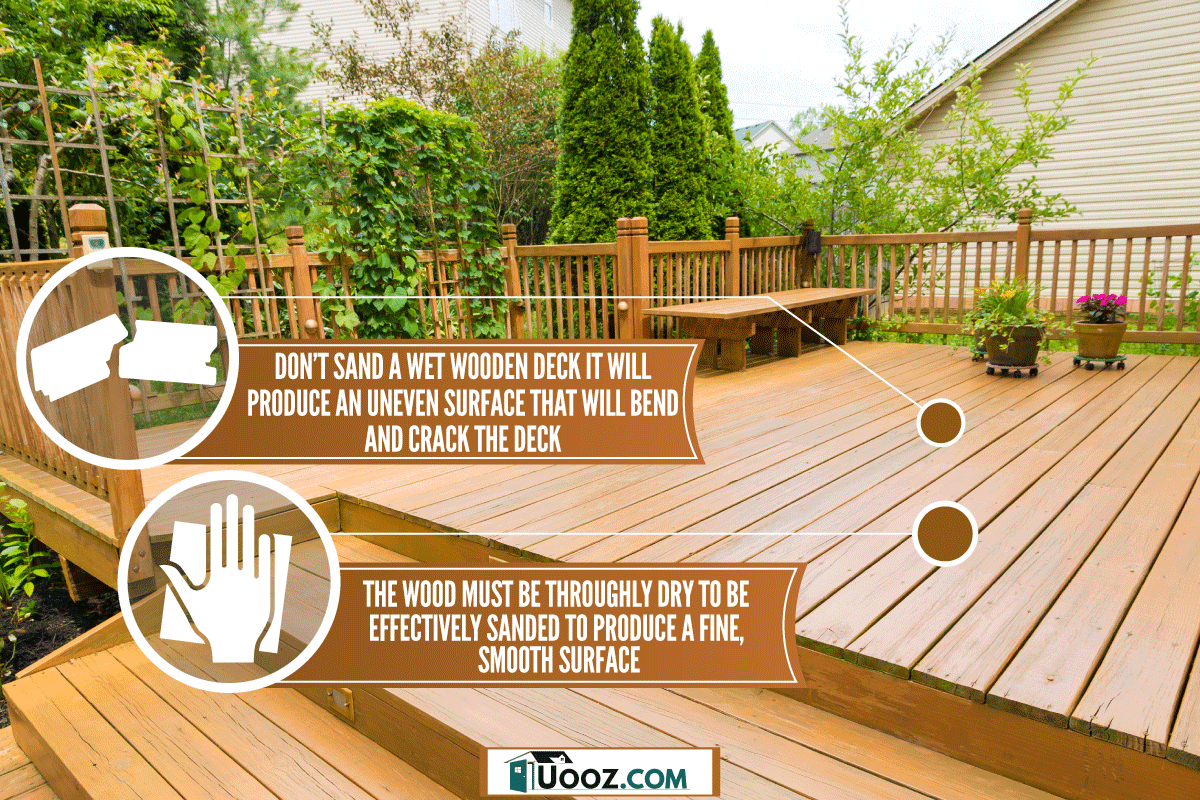
Don’t sand a wet wooden deck because it will produce an uneven surface that will bend and crack. Wet wood sawdust will stick between the grains of sandpaper and won't blow away, damaging the sandpaper. The wood must be thoroughly dry to be effectively sanded to produce a fine, smooth surface.
In this article, we’ll thoroughly discuss sanding your deck, especially after it rains. We’ll also share steps on sanding your deck to get a fine, smooth surface. We'll cover all you need to know to approach this project successfully. Without further ado, let's get into it.
Can You Sand A Deck After It Rains?
We all know that the deck is made out of wood and you can only sand wood surfaces. Sanding wet wood is ultimately a bad idea. Although it is possible, you probably won't achieve the look you desire.
The sandpaper will shred and jam wood when it is wet. Therefore, it is better to postpone sanding until the wood is totally dry. Wooden fibers will then start to stand up, which makes them simple to sand off if the wood is dry.
The wood cells of your deck function like sponges. After it rains, the deck has a great capacity for water absorption. Due to the water that is absorbed from the environment, which causes the wood to become wet, it typically expands beyond its normal size.
This water absorption will cause the wood fibers to expand, which will cause the grain effect to pop. If you sand wet wood that has already been impacted by the popping-the-grain effect, it will expand even more, leaving you with an uneven surface and clogged sandpaper.
Your sandpaper's grit will start to come off if it gets wet. So, sanding wet wood will also shorten the lifespan of your sandpaper. That is why it is preferable to let wet wood dry for a few days before beginning to sand.
Though, it might entail waiting until it stops raining before working on a wooden deck. But it is preferable than damaging the materials by attempting to sand them too soon.
Therefore, always be sure to dry the wet deck before beginning the sanding process. You will save time and money by drying wet wood. A wet wooden deck will aid in getting a good, smooth finish once it has dried.
How To Sand Your Deck After It Rains
Sanding your deck is an important part of keeping it in good condition, especially after washing it or before staining or sealing it. Following are the steps for deck sanding after it rains:

1. Allow Drying Time
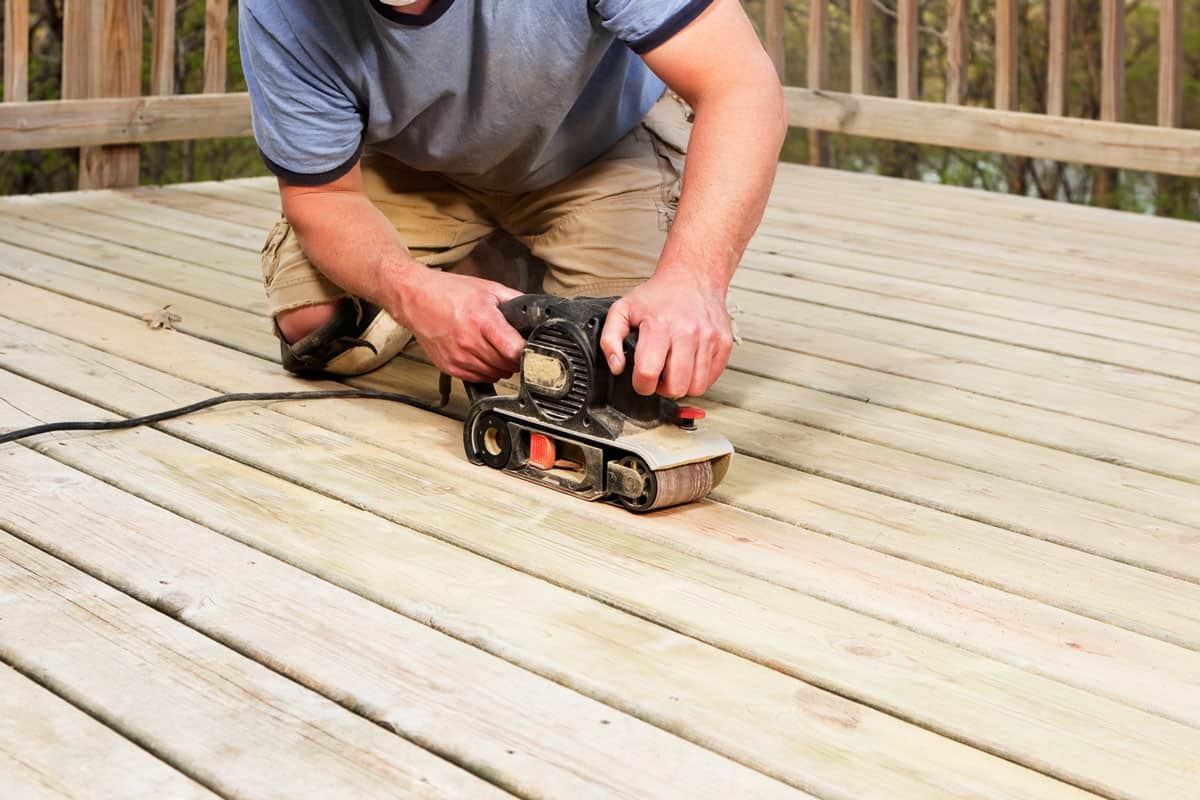
Your deck must be dry before beginning the sanding process. Wait a few days if it rains to make sure the surface is entirely dry. If it is totally exposed to the sun, it could dry in less time than 24 hours.
As the temperature drops and the humidity rises, the drying time will prolong. Naturally, if it doesn't rain, drying should often only take a couple of days.
2. Wear Safety Gears
While sanding, be sure to use safety goggles and a particle mask because breathing in wood dust can be harmful to your health.
Click here to see these safety goggles on Amazon.
Click here to see this mask with activated carbon filters for woodworking on Amazon.
Additionally, using knee pads and hearing protection will make your work safer and more comfortable.
Click here to see these knee pads on Amazon.
3. Check Your Deck Thoroughly
Examine all the surfaces you'll be sanding, such as the decking, edges, stairway, and railings, before you begin. Any damaged old screws should be replaced.
To hold loose boards in place, use new fasteners. If there are splinters or gouges, fill them and restore the wood. Make sure that any wood fillers you plan to use have completely dried and hardened before sanding.
Click here to see this wood filler on Amazon.
4. Deck Sanding
Usually, the goal of sanding hardwoods is to provide the smoothest surface. To such an end, you shouldn't sand the deck's external surface using the same reasoning. It is advised that you use sandpaper with a less fine grit (60 or 80). Grits that are rougher than that will damage the outside.
Click here to see this 60-grit sandpaper on Amazon.
The wood will become overly smooth and its pores will close down if the sandpaper grit is 100 or higher, making it more difficult for stain or sealer absorption. When using a hand sander, use medium pressure and make an effort to maintain evenness.
Click here to see this hand sander on Amazon.
If the decking has any little grooves, sand those areas as well. Check the size of the grooves before looking for a piece of wood that will fit in them loosely.
Wrap the wooden slat in sandpaper and use it as a sanding block to smooth out the grooves in the decking. Wrap solid handles to complete the flatter parts.
5. Board Edges Sanding
The outer edges of the board may be more challenging to sand depending on the type of deck you have. If the deck railings include a baluster rail, it is more difficult to reach specific locations. Use a tiny detail sander in these areas if your regular sander won't fit.
Click here to see this detail sander on Amazon.
To balance out and smooth the end grain of the decking board, use 60 or 80. The panels will absorb the stains unevenly if the end grain is uneven.
Click here to see this 80-grit mouse detail sander sandpaper on Amazon.
6. Sanding The Railings
The railing on a deck is the feature that attracts attention the most since it is the most noticeable. So be sure to give it a good sanding. Be careful that the railing needs to be sanded to avoid splinters that could hurt someone.
Make sure you sand everything, using a grit of 80 to 100 on the railings. You can reach every crevice with the aid of a detail sander. For this part, you might have to manually file. To prevent the wood from not staining, be careful not to over-polish the surface.
Click here to see this 100-grit mouse detail sander sandpaper on Amazon.
7. Clean Up
Vacuum the whole deck with a shop vac, and then use tack cloths to wipe away any lingering clinging dust. Pay close attention to the corners and crevices. Do this before applying any stains or sealants. The decking shouldn't have any sanding residue.
Click here to see this shop vacuum on Amazon.
A video demonstration of deck sanding is shown on YouTube below:
How To Determine That Your Deck Is Dry After The Rain
If it's raining, hold off on sanding your deck until it has dried. After at least 24-48 hours (depending on the weather), you can sand the surface and then finish it. The sealant, paint, or stain won't stick to the wood if there is moisture present. It will probably wash off after a few rainfalls.
Following are the methods to determine if the wooden deck is dry.

Touching
Before sanding your deck after the rain, wait until it dries. Touching is the basic method of determining whether your wood is dry. If you touch the wood with your hands, it ought to feel dry and hard. But if it is moist, then it is still wet.
Water Test
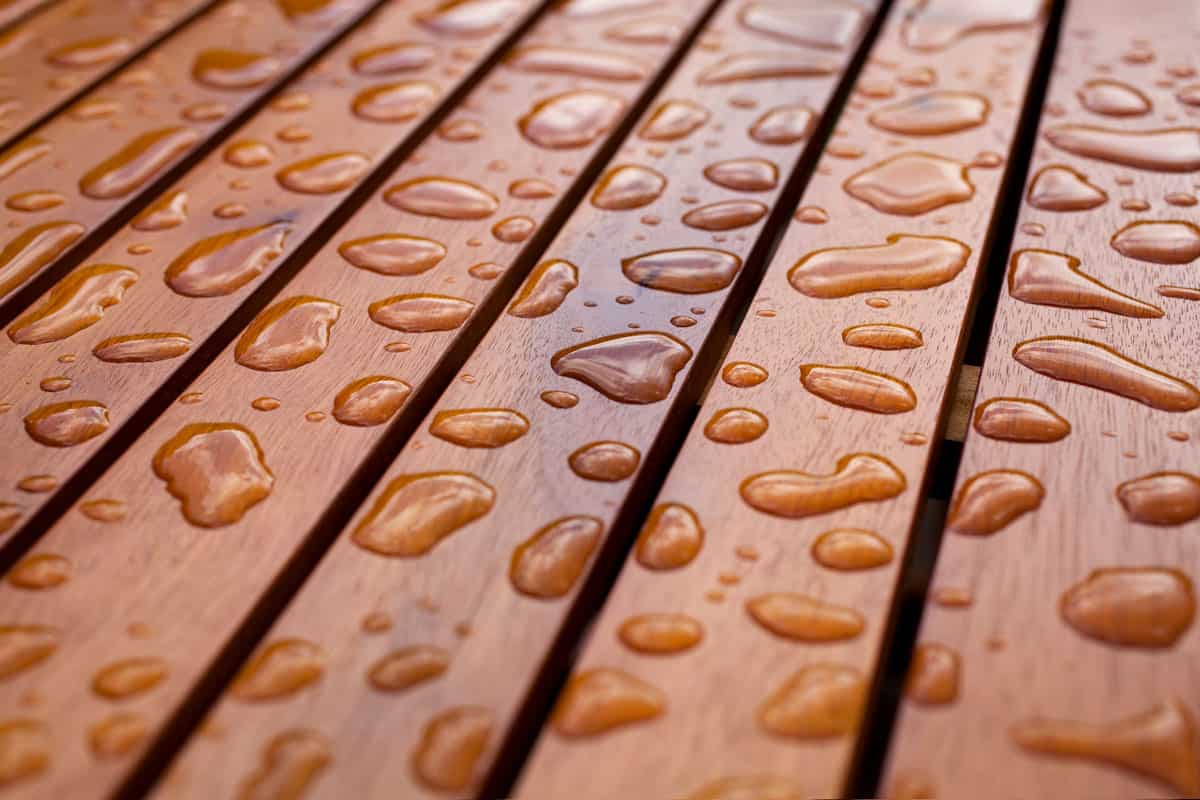
Test your deck to make sure it's dry even if you think it is. Sprinkle water on your wooden deck and if it absorbs, then the wood is dry. But if the water beads start to form on the wood, it is still wet and you need to wait until they dry before you start the sanding process.
Moisture Meter
Using a moisture meter is one clear way to determine whether the deck is dry enough for sanding. A moisture meter determines how much moisture is present in the wood itself.
Click here to see this moisture meter on Amazon.
Make sure to check your deck lumber for moisture in several locations along the board when using a moisture meter. Dry wood is supposed to have a moisture content of less than 15%.
Condensation Test
Another way to check for dryness in lumber is to place the wood's edge in a black garbage bag and expose it to the sun for a couple of hours. Open the bag a few hours later to check the wood for condensation. If there is any moisture or water seen, the wood isn't yet dry enough to sand.
Presence Of Splinters Or Raised Wood Fibers
As discussed above, one sign that your deck is dry is the presence of splinters or raised fibers. None of these things will be present if your deck is still wet.
In Closing
Sanding is one of the best woodworking activities that give you a nice and smooth surface if done correctly using the right techniques.
It is necessary to dry your wooden deck before you sand it and put any finish on it for the best results. However, you will get the opposite results if you sand the wood when it is wet. Several approaches are discussed above that you can use to determine whether your deck is dry after it has rained.
We hope you now have a solid understanding of why it is not advisable in the woodworking industry to sand wet wood. Continue to learn and have fun with woodworking!
If you are interested in learning more about decks, take a look at these other posts:


