
Are you planning to install laminate flooring in your home, and would like to know if you can nail it to the subfloor? You’ve come to the right place, for we have researched this question, and we have the answer for you.
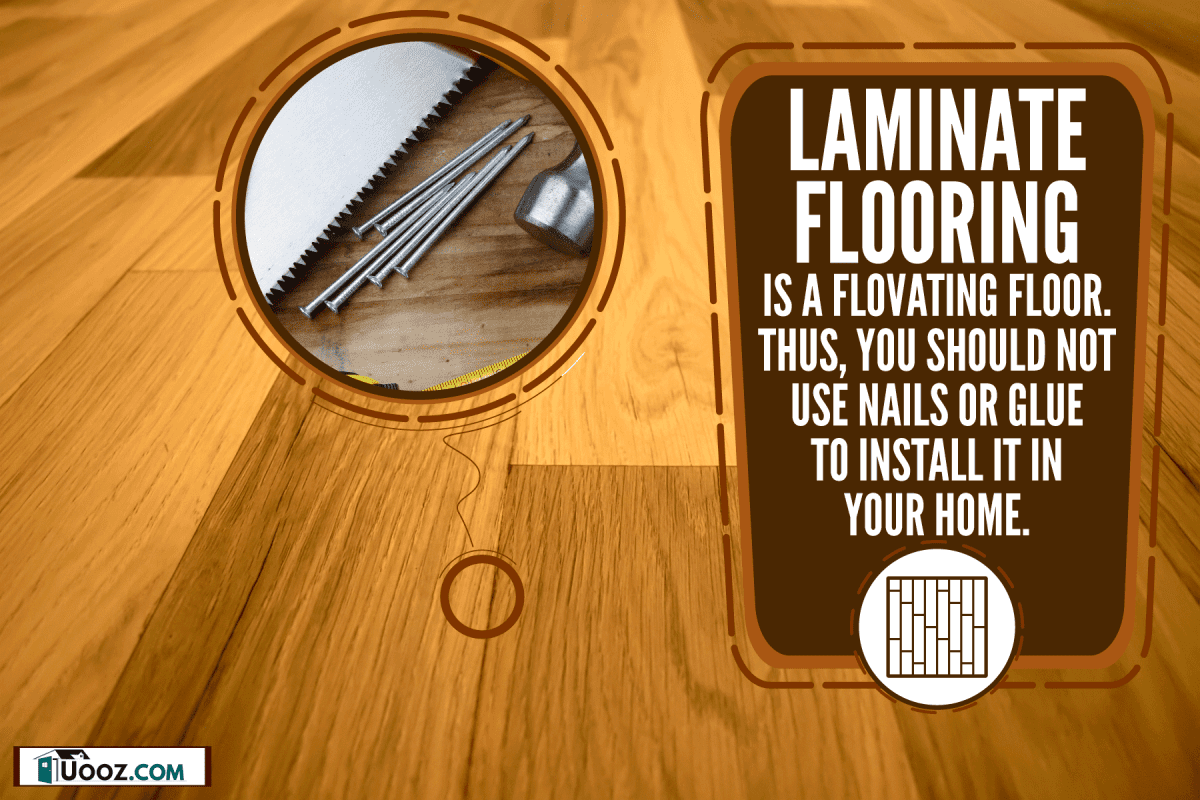
Laminate flooring is a floating floor. So, you should not use nails or glue to install it in your home.
Since you can’t use nails or glue on laminate flooring, let’s talk more about how you can fasten it in the succeeding sections. Learn about how to install laminate flooring so that you’d better understand why nailing it is not a good idea.
Read on!
Laminate Flooring: The Illusion of Hardwood
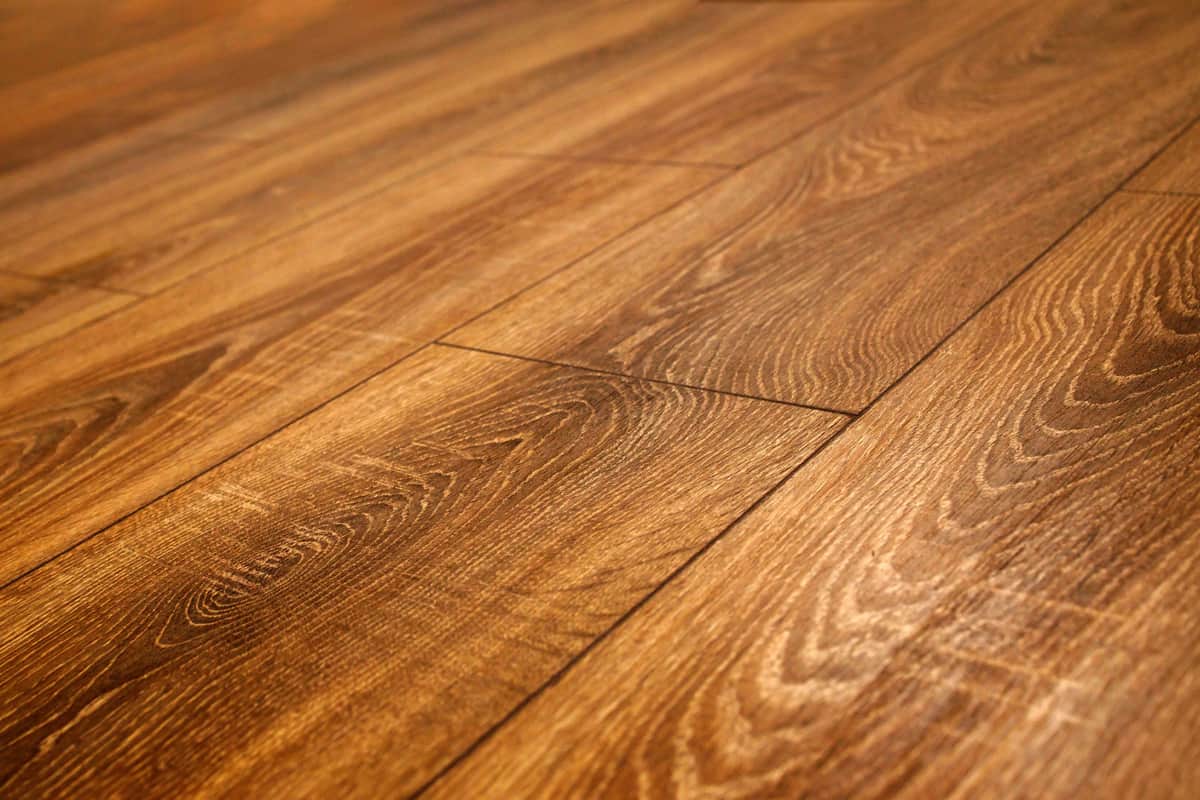
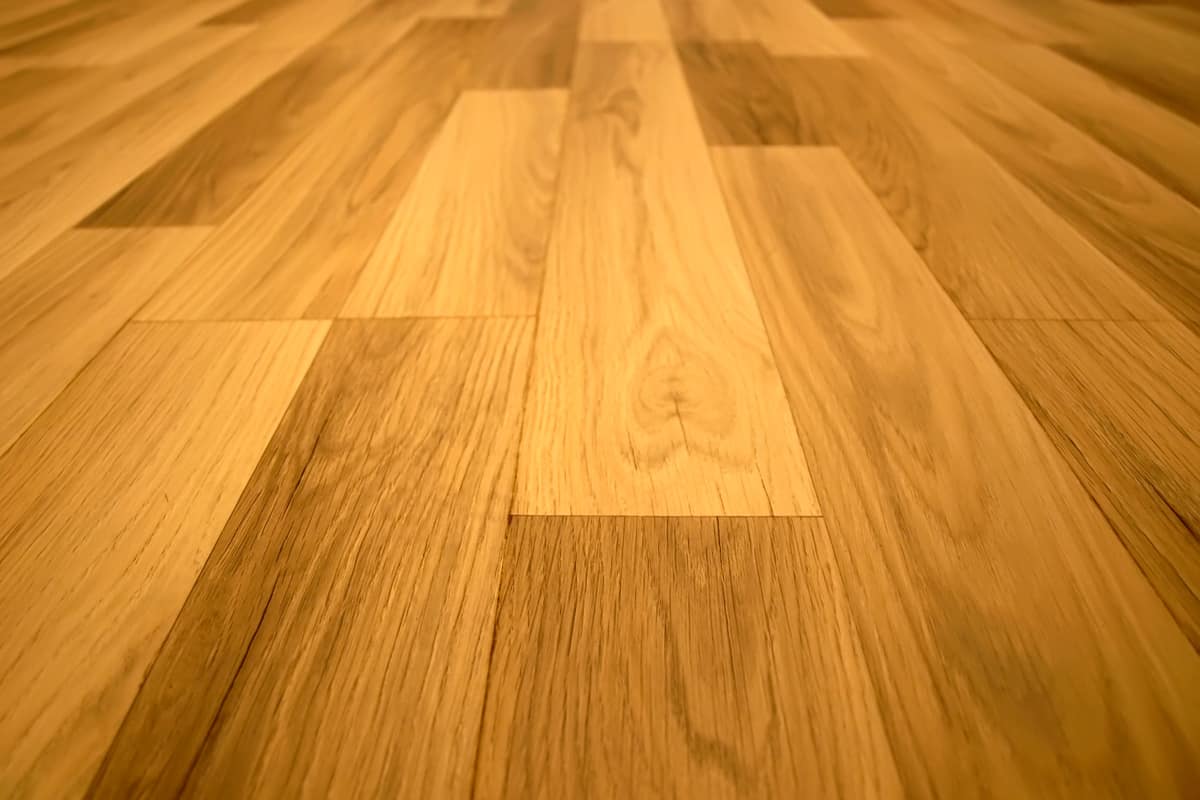
Laminate flooring or floating wood tile is synthetic flooring that is made to mimic the look and feel of wood flooring. Laminate flooring has been around for about 50 years, and some types of laminate flooring do not even look like wood anymore.
What is laminate flooring made of?
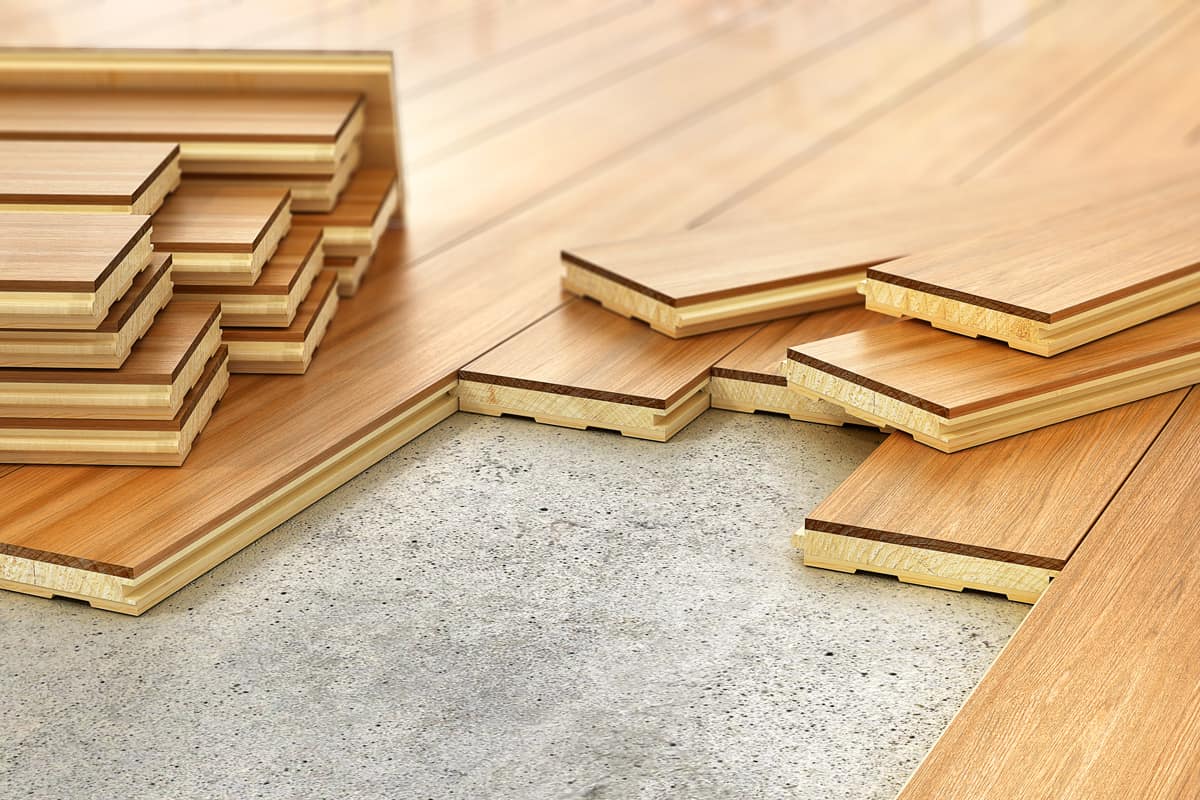
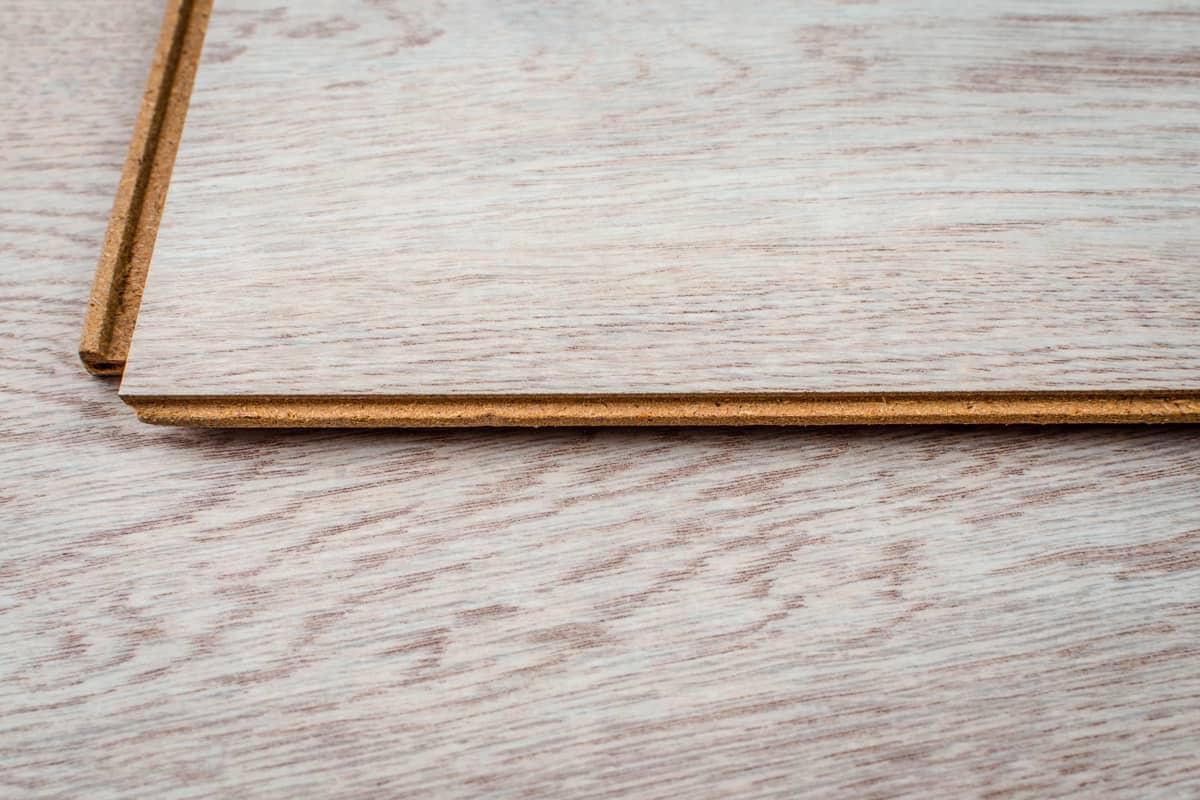
The base of laminate flooring can be plywood or fiberboard. The fiberboard layer is of a high-density type because it is the layer that gives the laminate flooring its rigid structure.
Most engineered wood products also use the same type of high-density plywood or fiberboard.
Some laminate flooring brands have an underlayment under the plywood or fiberboard layer. The underlayment adds a waterproof layer against moisture buildup under the floor. Some underlayment versions add a soundproofing layer to the laminate flooring.
On top of the rigid fiberboard layer is the image layer. This is a print layer that can look like real wood. Other types of laminate flooring have an image layer that makes them look like stone or even metal.
This is a high-resolution printed layer. Thus, advances in printing technology make this layer look more realistic.
The image layer is vulnerable to abrasion and scratches. To protect it, laminate flooring has a highly durable transparent anti-wear layer. This laminate layer also adds to the overall hardness.
The laminate layer is tough and sturdy, and it is this layer that helps make laminate flooring one of the more durable options for flooring.
Where can you install laminate flooring?
Laminate flooring looks great in dining rooms, entryways, hallways, and living rooms. The anti-wear laminate layer provides great protection against heavy foot traffic and various scratches.
You can also install it in bedrooms and family rooms. The modern photo-realistic layer helps make an atmosphere of a real hardwood floor.
Technically, you can install laminate flooring anywhere you can install a hardwood floor. Its laminate layer makes it even more durable for some areas than a hardwood floor.
Some laminate flooring brands can even be installed where engineered wood or hardwood flooring cannot. Waterproof laminate flooring products are now available.
Vinyl and tiles were once the only waterproof flooring option for busy kitchens and bathrooms.
Is laminate flooring kid and pet friendly?
Laminate flooring is resistant to scratches from active dogs.
However, all durable floors—laminate floors included—are hard floors. Thus, a laminate floor might not be ideal if you have a baby who is just learning how to walk.
If you have older kids at home, a laminate floor’s anti-abrasion layer makes it durable enough for them.
Why should you not nail or glue the laminate floor?
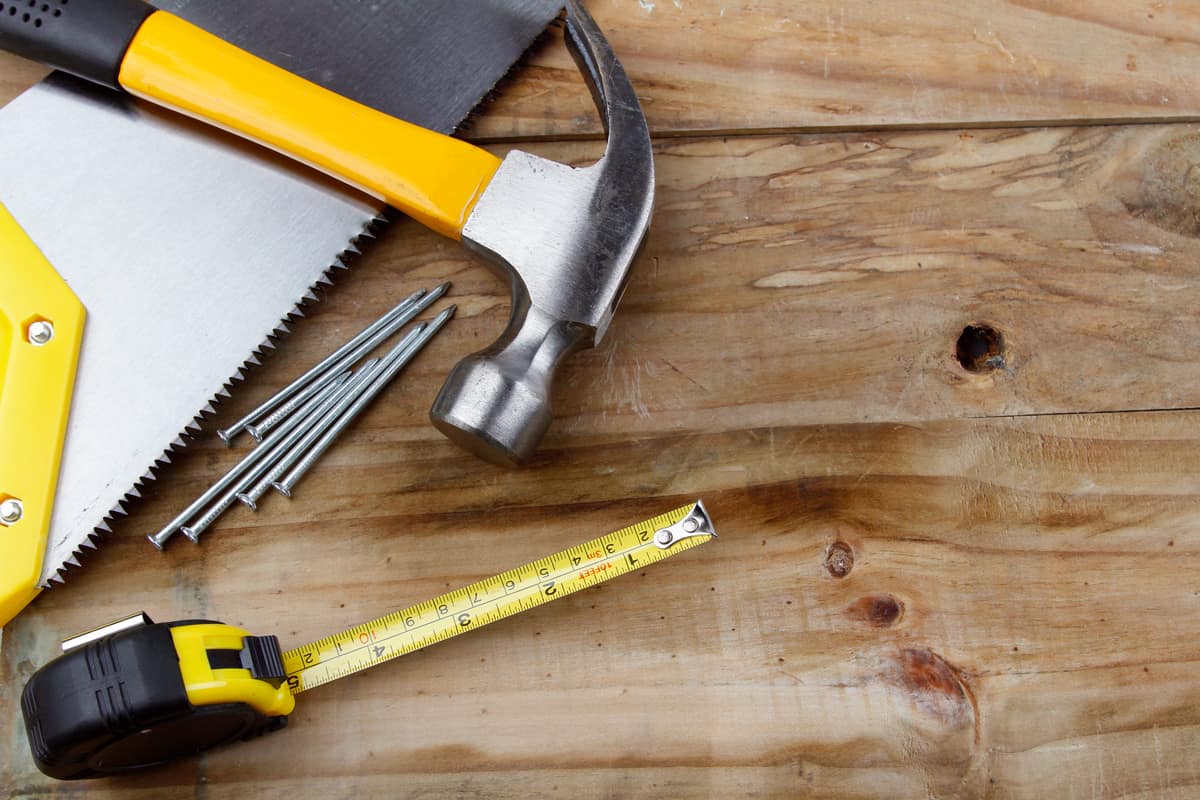
Using nails to fasten the laminate floor to the subfloor is a bad idea. The nail will ruin the top laminate layer, and this will expose the underlying layers to damage.
Moreover, the laminate layer helps add to the structure of the laminate floor. Damaging it can compromise the structural integrity of the laminate board.
Additionally, a laminate floor is a compressed board. This board becomes vulnerable to cracking and splintering once the abrasion-resistant laminate layer receives damage. This is why it is not a good idea to tack anything to the laminate floor.
If you need to drill into the subfloor later, plan the area where you need to make the installation. Measure and mark the areas where you will do the installation later. Install the laminate flooring around the area that you marked.
Another important reason why you should never nail laminate flooring is expansion. Laminate flooring will expand with the seasonal changes. If you nail your laminate flooring to the subfloor, you will prevent them from shifting or sliding when they expand or contract.
When your laminate flooring expands, the nails will prevent the laminate slabs from sliding. This will lead to valleys on your floor.
The effect of gluing the laminate floor to the subfloor is the same as with nailing it to the subfloor.
How to install a laminate floor?
Here are the steps to install a laminate floor. The installation will not involve any nails or glue, so go through each step carefully to see how the laminate flooring will stay on your floor without any fasteners.
Preparing Door Jambs
- Lie one of the laminate flooring tiles face down on the subfloor near the door jamb or casing.
- Use an undercut saw to cut the bottom of the door jamb or casing. This is important so that any laminate flooring will be able to slide under the door jamb and casing. This will create a more professional-looking finish.
- Test fit the laminate flooring tile under the door jamb or casing.
Preparing The Subfloor
- Check your subfloor and make sure that it is level.
- Look for nails or screws that are sticking out of the subfloor.
-
- If you find nails or screws that are sticking out of the subfloor, remove them by pulling out or cutting off.
- Use sandpaper on the area to even out the nail or screw that you cut.
- Look for nail heads that are sticking out too. Hammer these into the subfloor to make the subfloor even.
- Clean the top of the subfloor. This will get rid of any debris that can cause the laminate floor to become uneven.
- Install your underlayment over the subfloor, making sure that there is no debris or dirt left on the subfloor. A common underlayment is a thin foam pad layer made of polypropylene or polyethylene. The perfect underlayment is a breathable material that will not trap any moisture under the laminate floor tiles.
- Use a utility knife to cut any excess underlayment material.
- The underlayment sheets should touch but not overlap. Use tape to connect the seams of the underlayment. Follow the type of taping material that the manufacturer recommends for their product. Some brands have their own lip and tape system that you can use to connect the seams of the underlayment material.
- Install 3/8-inch spacers around the walls where you will install the laminate flooring. Use painter’s tape to fasten the spacers. Install one spacer every three to four inches.

ScotchBlue Multi-Surface Painter’s Tape is available on Amazon through this link.
Installing The First Row Of Laminate Tiles
- Open all the boxes of laminate flooring planks.
- Take out a few planks and look for a mix that you like. Your goal is to create a naturally random look. You don’t want to have planks that look the same to be next to each other. Pick the planks that will go together for the first row and the next few planks for the second row.
- Use a circular saw to cut all the tongues of the planks that will be along the wall, with the bottom of the planks facing up. This is important because the saw blade cuts from the bottom upward. This prevents the saw from chipping the topmost layer of your planks.
- Cut the first plank of the second row in half.
- Connect the planks by seating the tongue of one plank into the groove of the other. Push down with a gentle but constant force to lock the planks together.
- Use a drawbar and a rubber mallet to push planks together and give them a tighter fit after locking them together.

TEKTON Rubber Mallet is available on Amazon through this link.
Installing The Rest Of The Planks
- Install the next row of planks, making sure that you stagger the seams by at least six to eight inches.
- Use a scrap piece of plank and the rubber mallet to tap the long side of the floor to connect the two rows together.
- Repeat the same process, staggering the seams of each layer until you cover the entire floor with the laminate flooring planks.
Removing The Spacers
- Remove the spacers one wall at a time.
- Insert a compressible PE backer rod to fill the gap between the laminate floor plank and the wall. A 3/8-inch backer rod should be a perfect fit.
- Apply silicone sealant over the backer rod to make it flush with the floor. The sealant should cover from the edge of the floor to the bottom of the wall.
- Wipe away any excess sealant.
- Repeat the process to remove all the spacers and replace them with backer rods and silicone sealant.
- Install shoe moldings on the wall. Nail the shoe molding to the wall and make sure that the nail doesn’t hit any part of the laminate floor.

M-D Building Products Backer Rod is available on Amazon through this link.
Conclusion
Nails should never be used on laminate flooring. You can simply interlock the boards -tounge and groove style -and tap them into place with a rubber mallet. A floating floor such as laminate will be able to expand and contract as it settles and as temperatures fluctuate through the seasons.
If you enjoyed reading this article, you might find the articles below equally enjoyable to read:
How Thick Is Wood Flooring? [Including Natural Hardwood And Engineered Wood]