
Have you caught yourself in a circumstance that requires you to install plumbing on an exterior wall? You may be wondering if this is possible or not, with the weather elements significantly affecting the pipes. To help answer this question, we researched this topic to learn everything about plumbing on exterior walls.
It is generally advised that you avoid using a home or commercial building's exterior walls to install plumbing pipes. Your plumbing system should be within the interior walls for safety, effectiveness, and efficiency.
On top of telling you whether you can do plumbing on the exterior of a wall and the dangers it comes with, we will also share several methods of doing it right. We will touch on plumbing maintenance, why pipes burst during summer, and at what temperature pipes freeze in winter.

Can Plumbing Be On An Exterior Wall?
We cannot put enough emphasis on the importance of locating plumbing within the interior of the walls. But sometimes, inevitable circumstances can require you to put the plumbing pipes on exterior walls. The plumbing will have to follow unconventional installation methods to work effectively and stay properly secured when this happens.
Insulate Exterior Wall Plumbing
Plumbing on exterior walls should be well insulated to minimize heat loss and condensation. Proper insulation also protects the pipes from freezing in colder climates. Frozen pipes can be disastrous and cause hefty repair bills when the pipes inevitably burst from expanding the ice.
Studies from the Department of Energy indicate that heat loss on uninsulated pipes can range between 16% and 23%, with the difference in a particular area's climate. The same studies also establish that ¾-inch insulation can reduce heat energy bills by 4-5% every year.
Seal Gaps Around Exterior Wall Plumbing
Another layer of protection needed when putting plumbing on an exterior wall is air-sealing the exterior wall cavity with caulk or foam at the seams of the pipes' framing and the back of the exterior wall's cavity. Any holes between the pipes and framing should be sealed completely. For houses with hydronic heating systems, insulating the returning and steam distribution pipes can reduce heat loss by almost 90%.
Exterior Plumbing Insulation Methods
Plumbing insulation can be done in a variety of ways. However, the three most common and effective ones are spiral insulation or fiberglass batts, tubular pipe sleeves, and steam pipe fiberglass insulation.
Always Wear Personal Protective Equipment (PPE)
Before we start, it is always important to have the correct safety equipment for working with fiberglass and other harmful substances. Here is some recommended personal protective equipment to use during your handling of insulation.
Honeywell Dust Mask
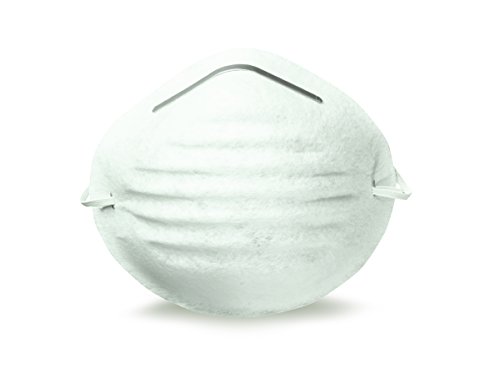
Click here to see more on Amazon.
Gateway Safety Glasses
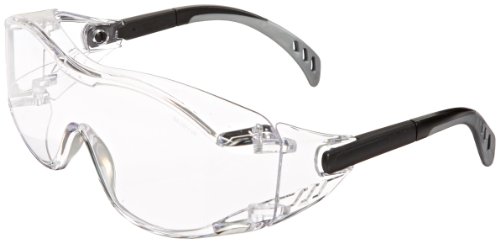
Click here to see more on Amazon.
Dex Fit Nitrile Work Gloves

Click here to see more on Amazon.
Spiral Insulation
Necessary Materials
- Polythene foam, foil, or fiberglass wraps.
- Goggles, gloves, and dust masks for fiberglass insulation.
- Aluminum or acrylic foil.
- Tape, metal clamps, plastic tie, or wire.
- Foam or caulk.
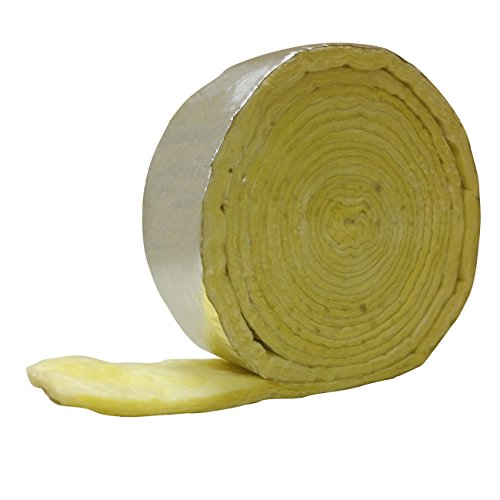
Click here to see foil-backed fiberglass pipe wrap on Amazon.
Installation
To begin insulating your plumbing pipes on an exterior wall, secure the spiral wraps or fiberglass batts with tape at both ends. Wrap the installation around the pipe in a spiral, ensuring that each layer of the wrap or the batt insulation overlaps with at least 1/2-inch of tape. Ensure that you keep the batts loose since tightening can significantly reduce the R-value or thermal resistance.
If you are using fiberglass batts without an added moisture barrier, seal the plastic wrapping with tape to prevent moisture from creeping into the exterior wall. To keep the insulation in place, clamp or use a plastic tie to secure the insulation every two feet. Look for any holes in the wall, ceiling, framing, or floors and fill it up with foaming or caulking.
Tubular Pipe Sleeves
Necessary Materials
- Tubular pipe sticks
- Goggles, gloves, and dust masks for insulation
- Acrylic tape or duct tape
- Foam or caulking.

Click here to see pre-split, fiberglass tubular pipe sleeves on Amazon.
Installation
To start, wipe down the plumping pipes to remove any grease or debris. Cut the sleeves to the required length for the pipes and wrap them around the pipe. The slits of the tubular sleeves must be facing downward, and you shouldn't leave any gaps between the sleeves. If the plumbing changes direction, use an elbow joint to join both sides.
Tubular sleeves typically have an adhesive that can be revealed by removing the paper strips and pushing the two sides together until they are glued. Tape the seams and their joints to increase the longevity and durability of the insulation. Use duct tape or acrylic tape every one or two feet to fasten the insulation properly.
Seal all points where the pipes penetrate through the wall, framing, ceiling, or floors with foam or caulking. For open wall cavities, insulate them properly with fiberglass and spray foam to protect the plumbing from the harsh elements.
Steam Plumbing
Necessary Materials
- 1-inch thick fiberglass sleeves
- Goggles, gloves, and dust masks for insulation
- Acrylic tape or duct tape
- Foam or caulking

Click here to see this 1" silicone-coated, fiberglass sleeve on Amazon.
Installation
Steam pipes are best installed on the interior of the wall. However, if the plumbing is on the exterior, proper insulation must be done as detailed below. Generally, surfaces reaching over 120° F, such as returning pipes and fittings, steam, and boiler surfaces, must be insulated in this fashion.
Determine the length of the pipe you are insulating and cut the fiberglass sleeve the same length. The fiberglass should be 1-inch thick, with a resin-bound, heavy-density material. Any other material will melt under the high heat. Once you have cut the sleeve, pull the release strip from the cut fiberglass and carefully fit the fiberglass sleeve over the pipe's length.
Press the adhesive strip over the sleeve's length and seal the sleeve's joints with high-temperature resistant tape. If you have any corners, use fittings like tees and elbows to properly cover each part of the steam pipes. Once the pipe is insulated, you can seal the rest of the area, such as the framing and ceilings.
At What Outside Temperature Do Pipes Freeze?
Water freezes at 32° F. However, the plumbing insulation protects that from happening when the temperatures outside reach that level. You may have issues with proper insulation and copper piping if the temperature reaches below 20° F.
However, it will come down to where you are in terms of climate. A good example is those who live in areas with relatively low temperatures for the better part of the year. Their plumping pipes are specifically insulated with thick materials to withstand lower temperatures.
How Do You Know if a Plumbing Pipe Bursts?
With falling and rising temperatures, water pipes can burst. But you have to know what to look for and how to tell whether your plumbing pipes have burst. Here are the most common signs of a burst plumbing pipe:
Leaking
In cases of leaks caused by a burst pipe, you will start to hear dripping noises. This points to a problem in your plumbing system, and you should address the problem before causing any severe water damage.
Watermarks
Since plumbing is in a dry environment, you can quickly notice water leaks. Watermarks will appear on the wall, and that can help you trace the location of the leak. Big marks mean a lot of water is leaking and will affect your home's walls' integrity.
Changes in Water Pressure
With holes in the pipework, you will notice a dramatic drop in water pressure. Your faucets and shower will have low pressure. In instances where there is no water coming from the tap, it could also cause your water to become infected if the flow is too low.
Stagnant Water
Water puddles are a sign of leaking pipes. Follow the trace of water, and you will find the burst points. Significant leaks will create large pools and will need immediate fixing.
Why Do Pipes Burst During The Summer?
People living in cold areas are accustomed to bursting water pipes in the icy temperatures. Water freezes in cold weather; ice expands and builds pressure leading to pipe bursting. But, not many people know that water pipes can burst in the summer as well. With extreme heat during summer, pipes will expand as the soil shifts and loosens. That, coupled with high water pressure, could lead to the pipe bursting even in the summer months.
Another reason why water pipes might burst during the summer is the increased water demand. You fill up the swimming pool or water your lawn while doing the dishes simultaneously, and this excess use strains your plumbing system. The high water demand will strain the water pipes, leading to the pipes bursting if they are damaged or weak.
Conclusion
Plumbing on exterior walls shouldn't be your first choice. If there is no other way you can do it, then you should proceed with caution. The pipes have to be properly insulated, with heavy-duty and durable materials to protect against the elements.
Additionally, cavity insulation should also be done behind the pipes. It is also advisable for the wall cavity to be air-sealed to prevent a coat of cold air from building around the pipes and cause freezing problems.