
Using a brad nailer is a fast, easy to install brad nail quickly. This is especially important because putting in brad nails by hand is difficult and tedious. But if you want to countersink the nails for a smooth finished look, you'll need to know one important thing—how to adjust the nail depth on a brad nailer. We researched this, so you know how to do it.
Adjusting the nail depth on a brad nailer is only a few simple steps.
- If it's a pressure gun, adjust the pressure to the right setting first.
- If there's a lock preventing adjustments, usually on the side of the handle, depress that.
- Then once the lock is held down, adjust the depth. This is a slide or dial which tells the nail how deep to go.
- Test the depth setting by using a scrap piece of wood, making adjustments as needed.
Keep reading, and we'll walk you through the process. We'll tell you exactly how to make the adjustments and even show you some helpful video examples. Then we'll cover what the right pressure setting is for a brad nailer. Finally, we'll tell you what to do if, despite all your efforts, some of the nails don't sink far enough in.
How To Adjust Brad Nailer Depth
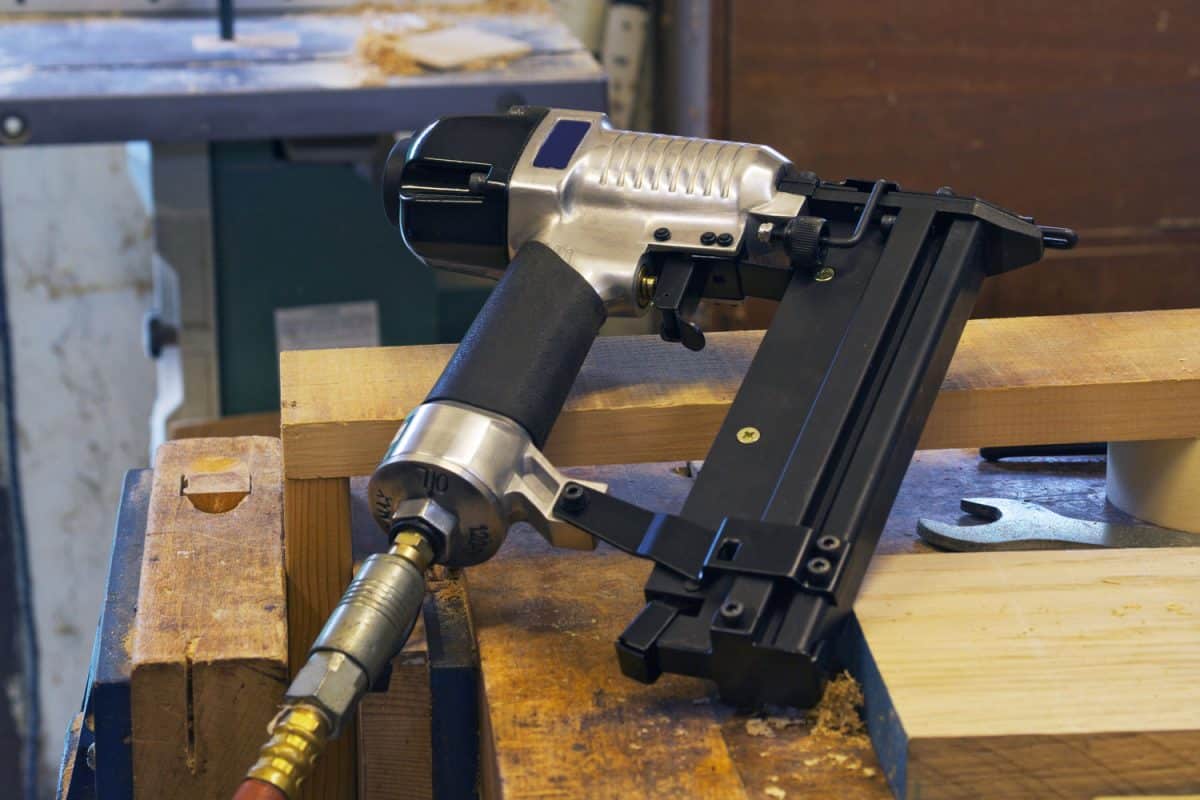
Nail guns pretty much adjust one of two ways. They may have a lock on the side, which you need to hold down before making adjustments. Then, they either have a slide or a dial that changes the depth.

The dial just spins, changing the depth setting higher or lower. The slide is similar, simply moving up and down into position. These nail guns may look something like this:
Of course, always consult your manual for information specific to your model. Follow any safety recommendations. If your nailer is an air pressure gun, set the air pressure correctly before adjusting depth.
How Do You Adjust A Bostitch Brad Nailer?
There are a few different models of Bostitch brad nailers—but they're all relatively simple to adjust. Some will adjust with a slide, much like described above.
What's unique to (some) Bostitch nailers is a feature called "Dial-A Depth adjustment." This is an adjustable thumb dial that you can spin. It's on the top of the gun, by the nose (where the nails come out).
Like other nail guns, be sure to adjust the pressure to the correct setting first. Test various depth settings on a scrap piece of material to be sure you're getting the best results before beginning your project.
What Pressure Should A Brad Nail Be Set?
Nail guns typically have a range of recommended pressure settings. For example, Bostitch 18 gauge models range from 60-120 pounds per square inch. As always, check your manual for the recommendations for your particular model.
If the material you're working with is fairly light, start with a lower pressure setting. Higher settings are for penetrating difficult, dense wood.
Use a piece of scrap material to test, ensuring that you have the right setting to get good results consistently.
If the nail has difficulty getting deep enough, turn the pressure up a bit higher. Even if you get a few nails in and a few fail, adjust the pressure. Sometimes there's a tough spot in the wood or a knot, and you want to be sure every nail can sink properly.
How Deep Is A Brad Nail?
Brad nails range from 1/2 inch to 2 1/2 inches long. They can be challenging to put in by hand, as they're thinner than most other nails.
As a result, hand nailing can give inconsistent results and a lot of bent nails. Using a nail gun is the easiest, fastest way to set brad nails. With the right pressure setting, you can get them in with relatively little hassle.
And adjusting the depth can even allow you to countersink the nails. But if you do have to use a hammer, check out this guide for tips: Can You Use A Hammer With Brad Nails?
Can Brad Nails Go Through A 2x4?
Whether or not brad nails can go through a 2x4 depends, really, on what it is you're trying to accomplish. Since brad nails are only 2 and 1/2 inches or less, they're not the best choice for joining 2x4s. If you want it to go through a 2x4, attaching it to another piece of wood, pick a framing nail instead.
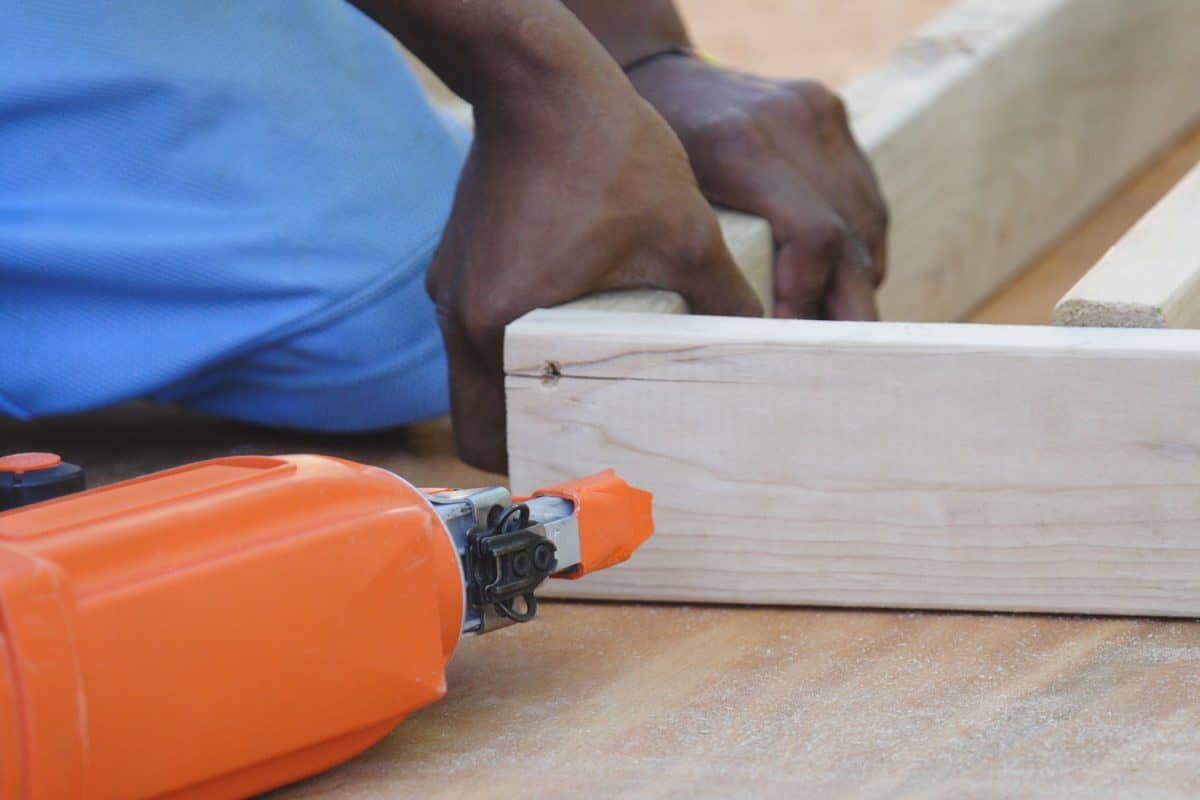
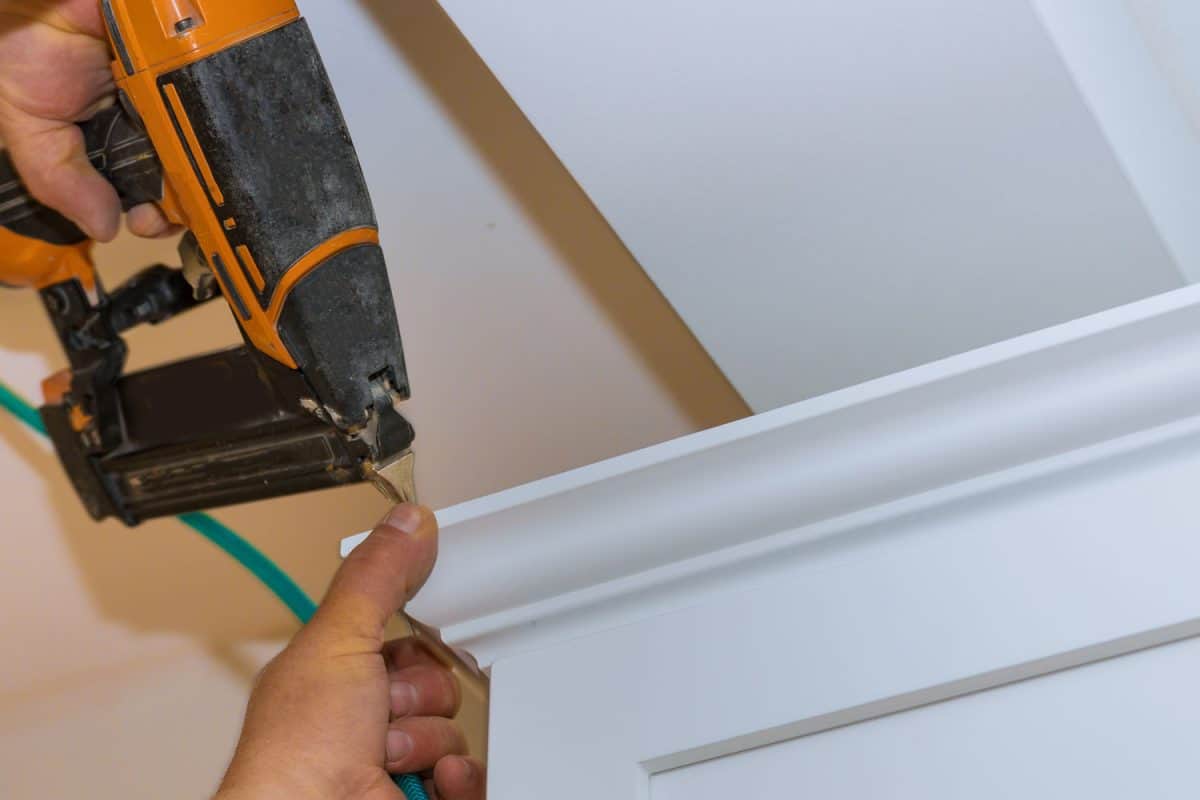
But brad nails can go into a 2x4. While they aren't quite as sturdy as larger nails, you can use them to attach something to a 2x4. For example, if you're nailing a piece of trim, a brad nail can penetrate both surfaces.
Plywood is relatively soft, as far as wood goes. If you have a gun and the correct pressure, it's doable. It may be tricky by hand, and you might have to pull a lot of bent nails out before you're finished.
For harder woods, brad nails may not be a good choice. Very dense, thick wood is a tough match for brad nails. On the other hand, finishing nails are still small but a bit tougher.
Want some more information? See: How Strong Are Brad Nails?
How Do You Push Brad Nails In Further?
Since brad nails are so tough to hammer in by hand, it can be a real pain if they don't all sink in flush for some reason. You can grab a hammer, but usually, it doesn't seem to move. Or if you use enough force to move it, it just bends instead.
A hammer probably won't work, but you're not out of luck yet. Two tools just may - a brad pusher and a nailset. If those don't help, you may just have to pull the old brad out and try again.
Brad Pusher
The best way to push a brad nail in further is with a special tool called a brad pusher. A brad pusher is a tool with an empty metal tube.
Inside the tube is a metal rod. When you put the brad in the tube, the tube slides down, and the rod pushes the nail in.
This is sort of like a low-tech, old-fashioned nail gun. It's not a very popular tool anymore since brad nailers save so much more time and effort.
But if you're just trying to push a few nails flush, this is the easiest way to do it.

Click here to see this brad pusher on Amazon.
Nailset
Nailsets are short little bars of metal, tapered at the end. This tapering lets you put the very end against the small head of a nail.
Using a hammer, you can strike the nailset, which then pushes the nail in. This lets you set the nail without hitting or smashing the nail itself. It also keeps you from marking the surface, easy to do when you're trying to hit a tiny nail with a big hammer.
Work carefully, as it's easy to miss, even with the nailset.
Just be careful picking out a nailset, if it's for a brad nail. They have tiny heads, and an average nailset might be too large. Look for one with a very small diameter, like this set:
Click here to see this nailset on Amazon.
Remove The Brad Nail
If you don't have the tools, you might just have to remove the old nail and try again. The easiest way to remove a brad nail is to use a gripping tool, like pliers.
Be sure to work slowly and carefully—with such a small nail; it's easy to slip. You don't want to put a dent in the wood, so take your time.
You can also use a thin putty knife to protect the area around the nail head while you pull. For more advice and tips on removing brad nails, check out this guide: How To Remove Brad Nails From Baseboards
Even if you're not working on a baseboard, the suggestions can still apply!
In Closing
Adjusting the depth on a brad nailer only takes a few steps. First, set the pressure correctly. Set the air compressor in the recommended range of pounds per square inch stated by the manufacturer's manual.
Use the lower settings for softer wood and higher pressure settings for hardwood. Then be sure that the adjustment lock is off or held down, and change the depth setting.
This is a dial or a slide on the gun—it may be on the handle or the top head of the gun. Test the settings by putting some nails into a piece of scrap material, making sure the nails perform as desired.
If they aren't going in deep enough, adjust the depth again or use higher pressure.
Good luck!